

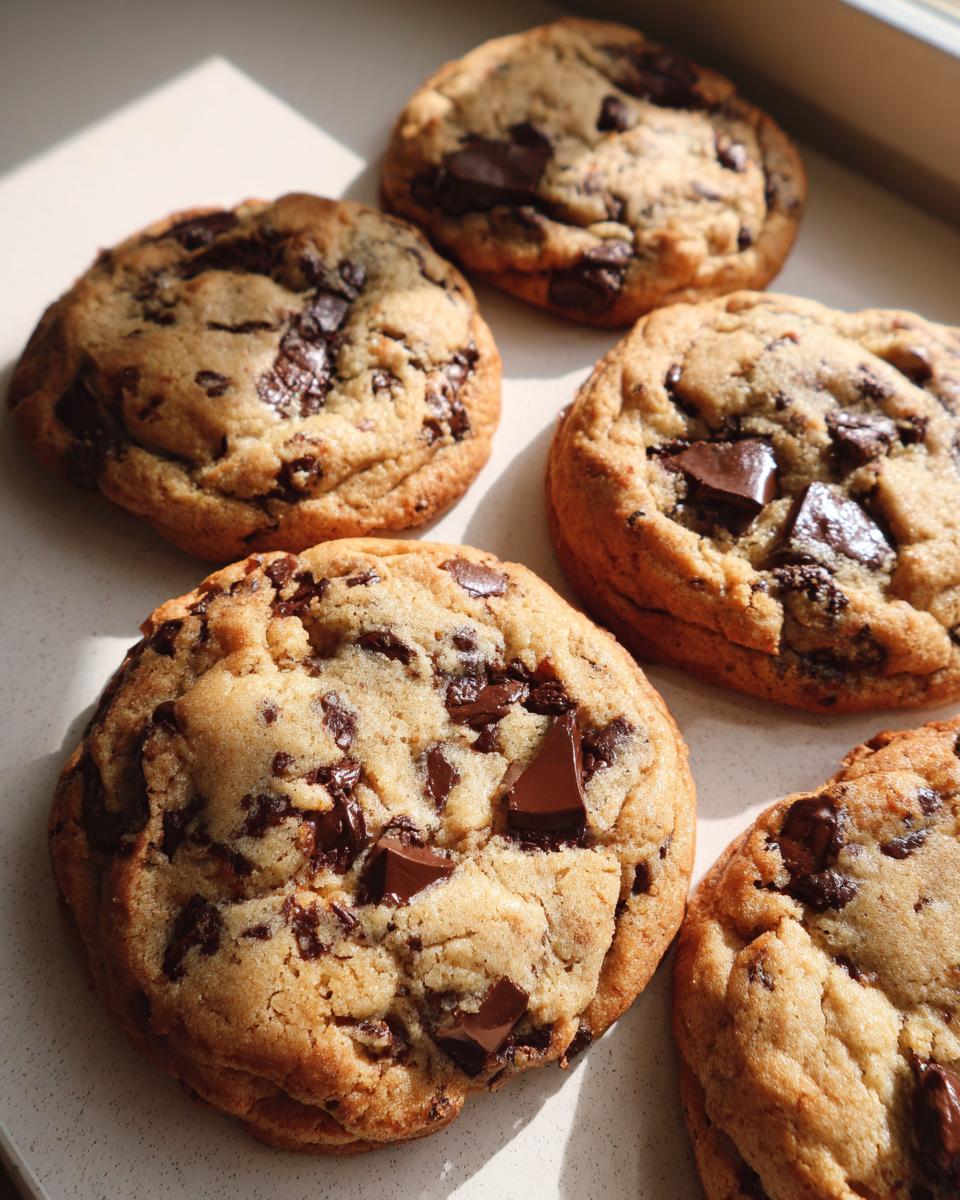
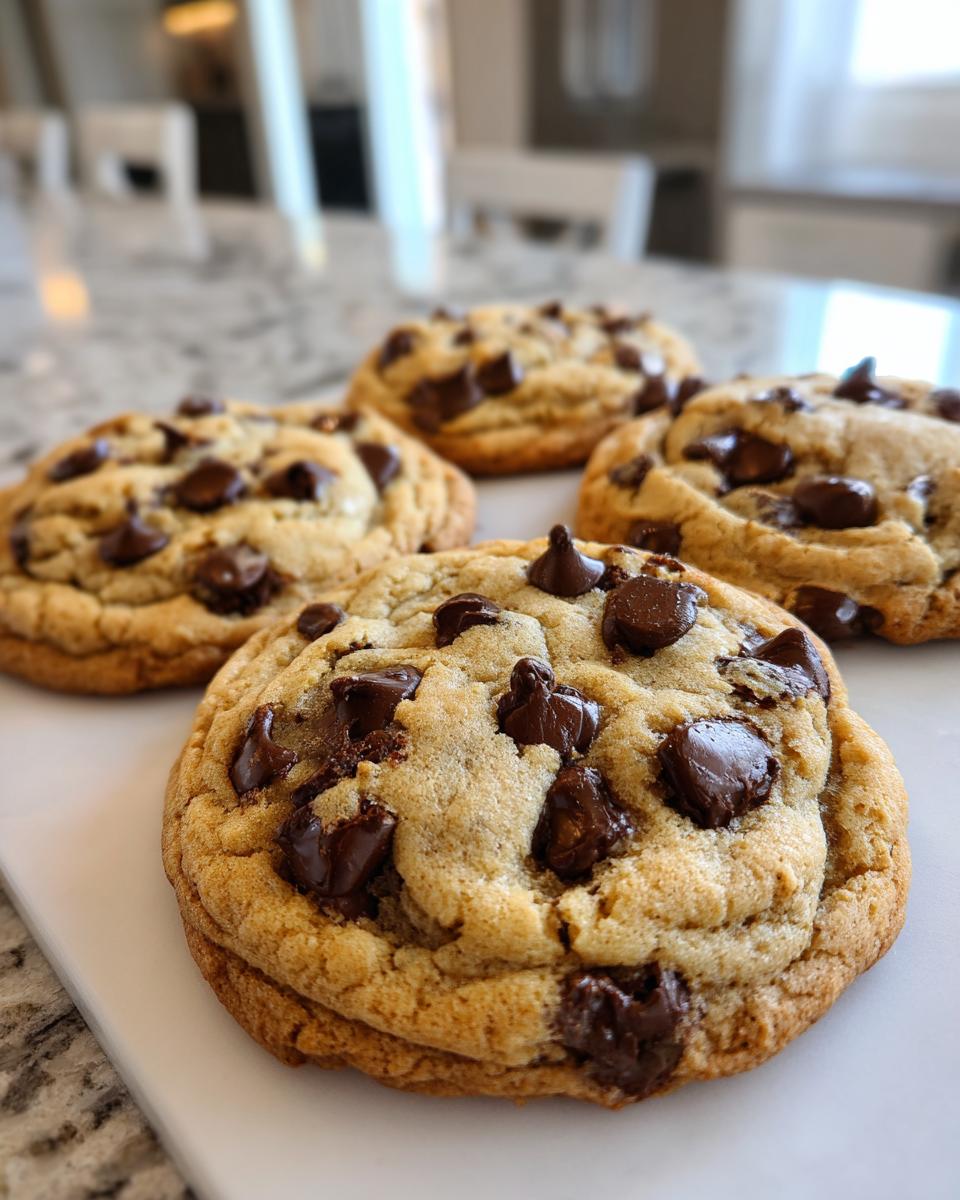
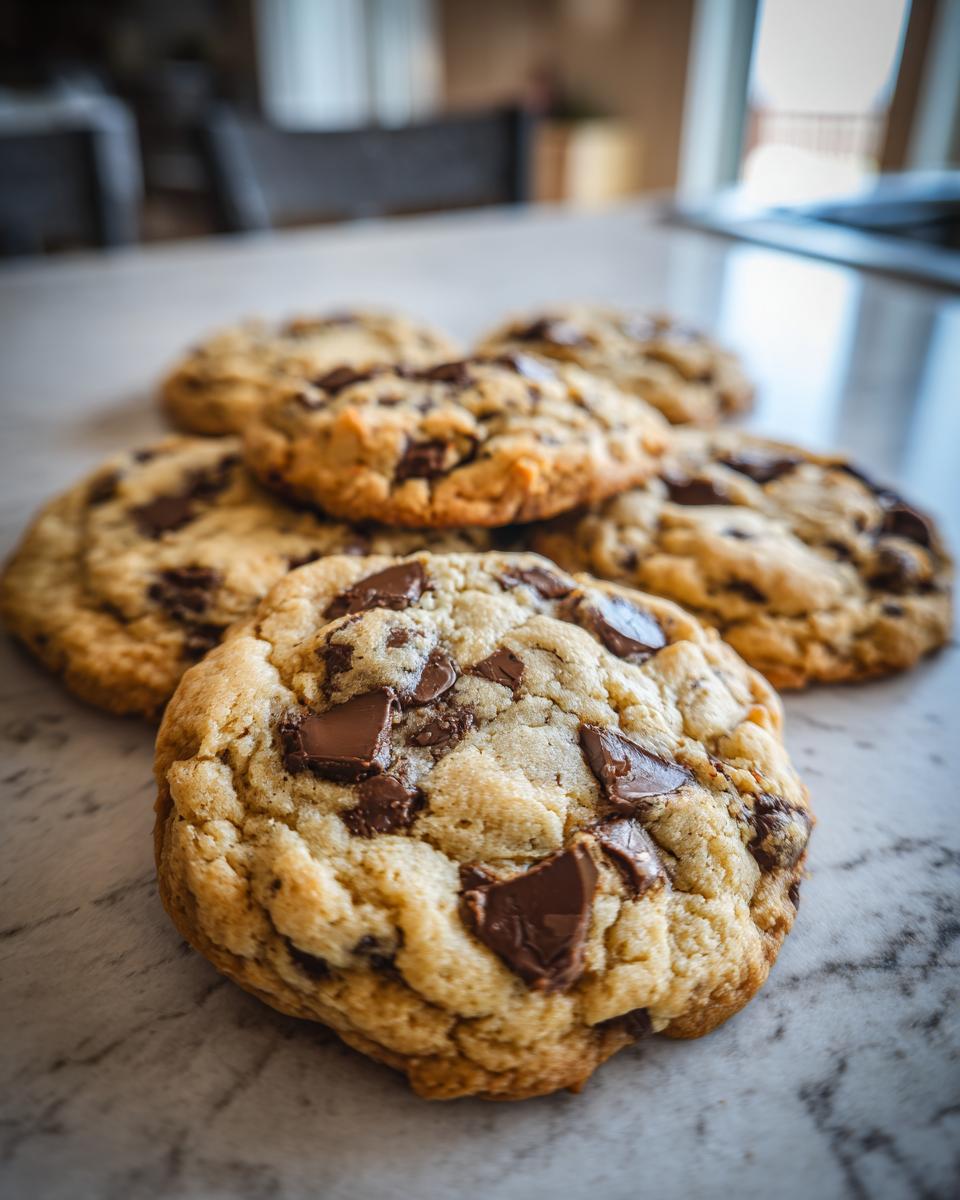
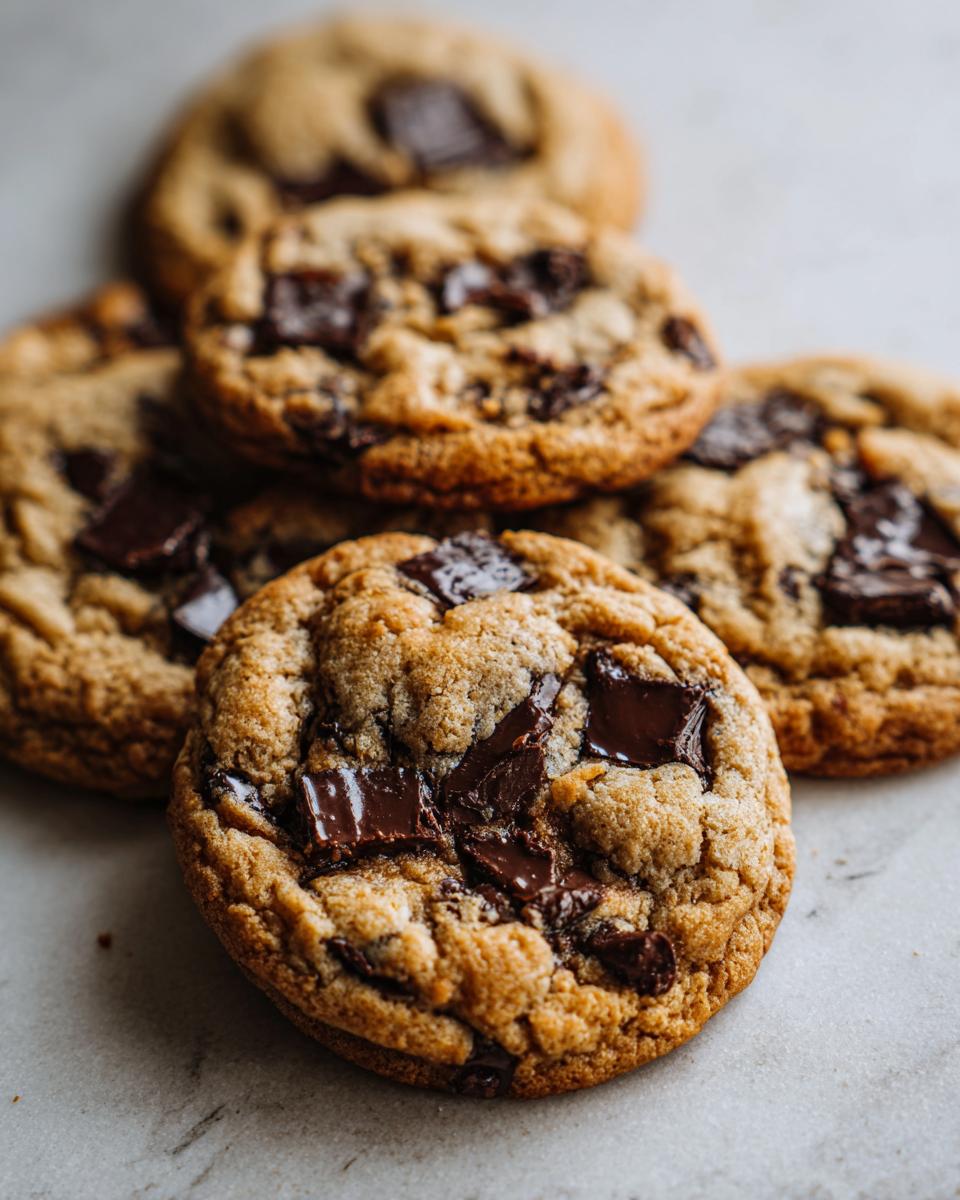
Oh, who doesn’t dream of that perfect chocolate chip cookie? You know the one – soft and chewy on the inside, with just the slightest hint of crisp around the edges, bursting with warm chocolatey goodness. That’s exactly what we’ve captured here with our classic chocolate chip cookies. Forget those dry, crumbly disappointments; these are the kind you find at the best little bakeries, made with simple pantry staples that you probably already have. It’s a recipe born from my lifelong love for home cooking and gathering folks around the table. For me, food is all about connection, and sharing these kinds of comforting, easy-to-make treats feels like sharing a little bit of love. Trust me, this is the recipe you’ll want to pull out again and again, especially when the kids start begging for something sweet! You can read more about my journey and why these simple connections matter over on our story page.
- Why You'll Love These Classic Chocolate Chip Cookies
- Gather Your Pantry Staples for Classic Chocolate Chip Cookies
- Mastering the Art of Soft and Chewy Cookies: Step-by-Step
- Expert Cookie Baking Tips for Perfect Results
- Troubleshooting Common Cookie Baking Issues
- Frequently Asked Questions About Classic Chocolate Chip Cookies
- Estimated Nutritional Information
- Share Your Delicious Creations!
Why You’ll Love These Classic Chocolate Chip Cookies
Seriously, who can resist a perfect chocolate chip cookie? These aren’t just any cookies; they’re the whole package! Here’s why you’ll be making them over and over:
- SO easy! It’s a truly easy cookie recipe that even beginners can nail.
- Uses simple pantry staples dessert ingredients you likely have on hand right now.
- Guaranteed soft and chewy texture – no sad, dry cookies here!
- The perfect balance of gooey chocolate and sweet dough.
- Kid-approved and super fun to make together.
- It’s the ultimate comfort treat for any day.
Gather Your Pantry Staples for Classic Chocolate Chip Cookies
Alright, the secret to these amazing cookies starts with having the right players on your team! Don’t worry, it’s all stuff you probably already have hiding in your kitchen. Here’s what you’ll need to grab:
- 1 cup (that’s 2 sticks!) of unsalted butter, make sure it’s softened up nicely.
- 3/4 cup of regular granulated sugar.
- 3/4 cup of light brown sugar, make sure it’s packed down in there!
- 2 large eggs, room temperature is best if you can remember!
- 1 teaspoon of good old vanilla extract.
- 3 cups of all-purpose flour.
- 1 teaspoon of baking soda.
- 1 teaspoon of salt – just regular table salt is fine!
- And the star of the show: 2 cups (about 12 ounces) of semi-sweet chocolate chips. Use good quality ones; they make a difference!
Mastering the Art of Soft and Chewy Cookies: Step-by-Step
Alright, let’s get baking! Making these classic chocolate chip cookies is super straightforward, and I promise, the results are *so* worth it. You’ll see how simple it is to get that bakery-style texture right in your own kitchen. Just follow along with these steps, and you’ll be diving into warm, gooey cookies in no time!
- First things first, let’s get that butter and sugar all creamy. In a big bowl, toss in your softened butter, granulated sugar, and that packed light brown sugar. Beat them together until the mixture looks light and fluffy. This step is important for getting that soft texture later, so don’t skimp on it!
- Now, crack in your two eggs, one at a time, beating after each one. Then, stir in the vanilla extract. Smells amazing already, right?
- In a separate bowl, it’s time to whisk together your dry ingredients: the flour, baking soda, and salt. Just give ’em a quick swirl to make sure they’re all mixed up evenly.
- Here’s a little trick: gradually add those dry ingredients to your wet mixture. Mix them until they’re *just* combined. Seriously, stop as soon as you don’t see streaks of flour anymore. Overmixing is the enemy of chewy cookies, so be gentle!
- Time for the best part – stir in those gorgeous chocolate chips! Get them all distributed nicely throughout the dough.
- Now, this next step is a game-changer and absolutely crucial for texture: Cover the dough and pop it in the fridge. You want to chill it for at least 30 minutes, but honestly, up to 2 days is even better! This helps the cookies spread less and really deepens that amazing flavor.
- When you’re ready to bake, preheat your oven to 375°F (190°C). While it’s heating up, line your baking sheets with parchment paper. This makes cleanup a breeze and stops the cookies from sticking.
- Scoop out rounded tablespoons of that chilled dough. Place them on your prepared baking sheets, making sure to leave about 2 inches between each cookie. They’ll spread a bit, so give them some breathing room!
- Bake for about 9 to 11 minutes. You’re looking for the edges to be perfectly golden brown, but the centers should still look a little soft. Trust me on this one – slightly underbaked is key for chewiness!
- Let those beauties cool on the baking sheets for just a few minutes. They’ll finish cooking from the residual heat. Then, carefully transfer them to a wire rack to cool completely. Or, you know, until you can’t resist anymore!
Expert Cookie Baking Tips for Perfect Results
Okay, let’s talk about getting these cookies *just right*. I’ve learned a few things over the years that really make a difference, especially when it comes to achieving that perfect soft, chewy texture we all love. These aren’t just random tips; they’re my go-to cookie baking tips that I swear by!
First off, never skip chilling the dough! Seriously, it’s a game-changer. When you chill the dough, it lets the flour hydrate properly, which makes for a chewier cookie and prevents them from spreading out into sad, flat disks in the oven. Plus, the flavors really meld together beautifully. I’ve found that using more brown sugar than granulated sugar also makes a huge difference. Brown sugar has that lovely molasses component that adds moisture and a richer flavor, giving you that super chewy bite.
And here’s a little secret: adding an extra egg yolk (just the yolk, not the whole egg!) can really boost the chewiness. It adds extra fat and emulsifiers, making them wonderfully gooey. It’s one of those tiny tweaks that feels like magic. Trust me, with these tips, you’re well on your way to the best batch of classic chocolate chip cookies ever!
The Secret to a Gooey Center and Crispy Edges
Ah, the holy grail of chocolate chip cookies – that perfect balance of a gooey center crispy edges. It sounds fancy, but it’s actually pretty simple! The main trick is how long you bake them. For that divine gooeyness, you want to pull them out when the edges look beautifully golden brown, but the center still looks *slightly* soft and underbaked. That residual heat on the baking sheet will do the rest of the magic while they cool. Don’t be afraid to slightly underbake them; it’s the key to avoiding dry cookies and achieving that delightful gooey center crispy edges texture. Just a few extra minutes on the cooling rack, and voilà – perfection!
Troubleshooting Common Cookie Baking Issues
Sometimes, even with the best intentions and a fantastic recipe, cookies can have a mind of their own! Don’t you fret if your first batch isn’t *exactly* what you dreamed of. It happens to all of us home bakers. Here are a few common hiccups and how to fix them with our classic chocolate chip cookies:
Cookies Spread Too Much? This usually happens if your butter was too soft, you didn’t chill the dough long enough, or maybe your oven was a little too hot. The fix? Make sure your butter is *softened*, not melted, for creaming. And that chilling step? It’s non-negotiable for making sure these cookies keep their shape. Pop them in the fridge for at least 30 minutes, or even longer!
Cookies Are Too Cakey? If your cookies are coming out more like little cakes, it might be because you added too much flour, or maybe you overmixed the dough after adding the dry ingredients. Try scooping your flour lightly into the measuring cup instead of packing it down. And remember, mix *just* until combined – no more!
Cookies Are Burning? Ovens can be tricky beasts! If the bottoms are burning before the tops are done, your oven might run hot. Try moving your baking sheet to a lower rack. Also, using parchment paper helps create a protective buffer between the hot pan and the cookie dough.
Frequently Asked Questions About Classic Chocolate Chip Cookies
Got questions? I’ve got answers! Making perfect classic chocolate chip cookies is totally achievable, and I’m here to help clear up any little doubts you might have. Think of me as your friendly cookie guru!
Can I freeze the cookie dough? Absolutely! This is one of my favorite cookie baking tips. After you’ve made the dough and it’s chilled for a bit (or even before chilling!), scoop it into balls. You can freeze these dough balls on a lined baking sheet until solid, then transfer them to a freezer bag. Bake them straight from frozen, just add a minute or two to the baking time. It’s the best way to have fresh cookies whenever the craving hits!
What kind of chocolate chips are best? For the ultimate chocolate chip cookie experience, I really love semi-sweet chips. They give you that classic bakery flavor without being too sweet. However, feel free to experiment! Dark chocolate chips add a richer, more intense chocolate flavor, and milk chocolate chips make them super sweet and melty. You can even use a mix!
How do I store these cookies? Honestly, the best way to store these soft and chewy cookies is in an airtight container at room temperature. They usually stay perfectly chewy for about 3-4 days. If you want to keep them extra soft, you can even pop a slice of bread in the container with them – it releases just enough moisture to keep them from getting stale too quickly. They usually disappear long before that, though!
My cookies spread too much. What did I do wrong? Don’t worry, it happens! Usually, this means your butter might have been too soft, or the dough wasn’t chilled long enough. Make sure your butter is just softened, not melted, when you cream it. And definitely give that dough at least 30 minutes (or longer!) in the fridge. That chilling step is your best friend for preventing cookie spread and ensuring that lovely gooey center crispy edges texture.
Estimated Nutritional Information
Now, let’s talk numbers! While these classic chocolate chip cookies are pure joy, here’s an *estimated* breakdown of what you’re looking at per cookie. Keep in mind these are just ballpark figures, and your actual numbers might vary a bit depending on your ingredients and how big you scoop ’em!
- Calories: About 200
- Fat: Around 11g
- Protein: Roughly 2g
- Carbohydrates: About 25g
- Sugar: Approximately 15g
- Sodium: Close to 100mg
These estimates are based on a standard serving size of one cookie.
Share Your Delicious Creations!
I absolutely LOVE seeing your baking adventures! Did you whip up a batch of these incredible classic chocolate chip cookies? Please, please, please leave a comment below, share your thoughts, or even give the recipe a star rating. It helps other bakers know just how wonderful these are! And if you’re sharing on social media, don’t forget to tag us – we can’t wait to see your delicious masterpieces! You can also reach out with any questions through our contact page.
PrintClassic Chocolate Chip Cookies

Make soft and chewy bakery-style chocolate chip cookies using simple pantry staples. This no-fail recipe is perfect for kids and includes tips for achieving a gooey center and crispy edges.
- Prep Time: 15 min
- Cook Time: 10 min
- Total Time: 25 min
- Yield: 24 cookies 1x
- Category: Dessert
- Method: Baking
- Cuisine: American
- Diet: Vegetarian
Ingredients
- 1 cup (2 sticks) unsalted butter, softened
- 3/4 cup granulated sugar
- 3/4 cup packed light brown sugar
- 2 large eggs
- 1 teaspoon vanilla extract
- 3 cups all-purpose flour
- 1 teaspoon baking soda
- 1 teaspoon salt
- 2 cups (12 ounces) semi-sweet chocolate chips
Instructions
- Cream together the softened butter, granulated sugar, and brown sugar in a large bowl until light and fluffy.
- Beat in the eggs one at a time, then stir in the vanilla extract.
- In a separate bowl, whisk together the flour, baking soda, and salt.
- Gradually add the dry ingredients to the wet ingredients, mixing until just combined. Do not overmix.
- Stir in the chocolate chips.
- Cover the dough and chill for at least 30 minutes, or up to 2 days. This step is crucial for texture.
- Preheat your oven to 375°F (190°C). Line baking sheets with parchment paper.
- Scoop rounded tablespoons of dough onto the prepared baking sheets, leaving about 2 inches between cookies.
- Bake for 9-11 minutes, or until the edges are golden brown and the centers are still slightly soft.
- Let the cookies cool on the baking sheets for a few minutes before transferring them to a wire rack to cool completely.
Notes
- For extra chewiness, use more brown sugar than granulated sugar.
- Adding an extra egg yolk can contribute to a chewier cookie.
- Chilling the dough prevents cookies from spreading too much and deepens the flavor.
- For gooey centers and crispy edges, slightly underbake the cookies.
- Use good quality chocolate chips for the best flavor.
Nutrition
- Serving Size: 1 cookie
- Calories: 200
- Sugar: 15g
- Sodium: 100mg
- Fat: 11g
- Saturated Fat: 7g
- Unsaturated Fat: 4g
- Trans Fat: 0g
- Carbohydrates: 25g
- Fiber: 1g
- Protein: 2g
- Cholesterol: 30mg