
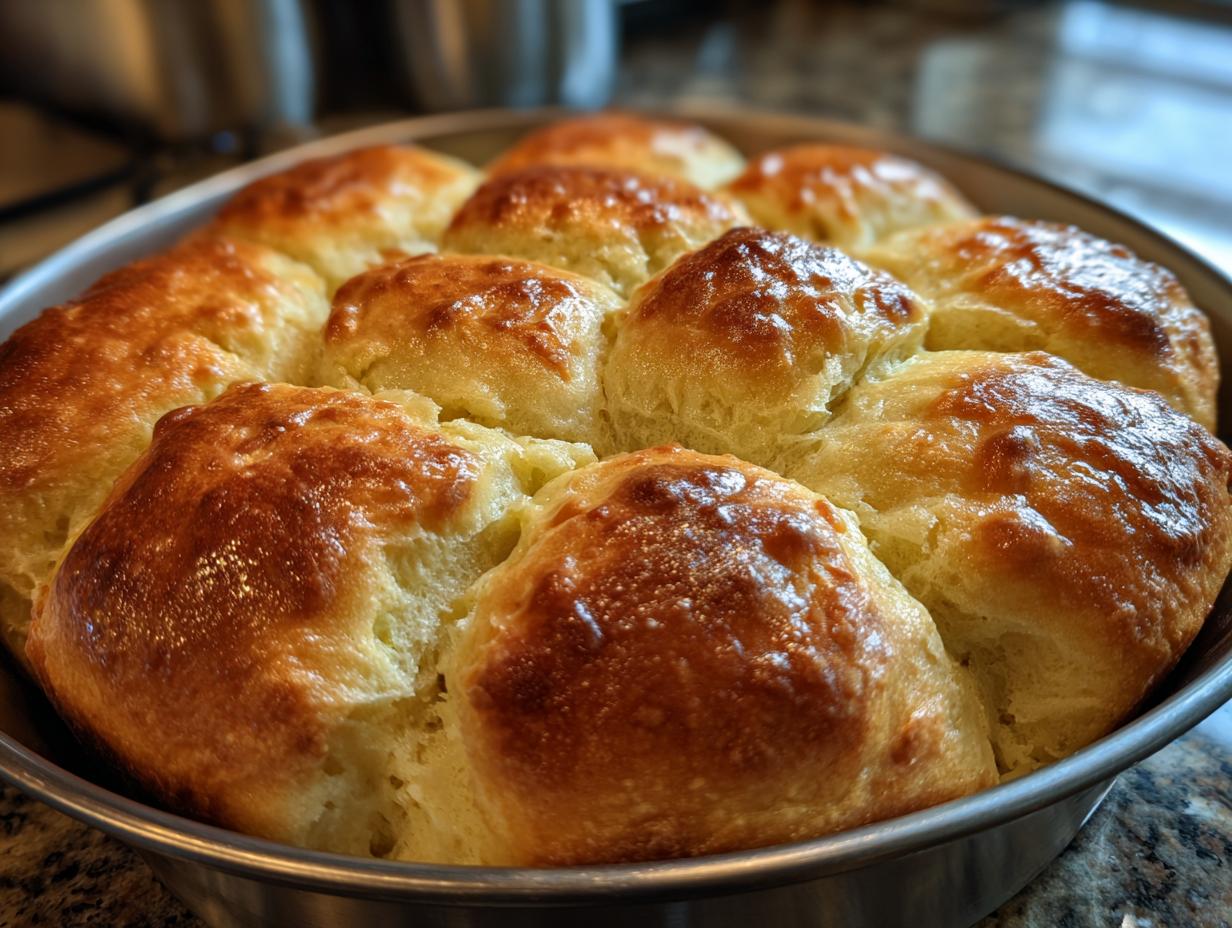
Oh, the holidays! They are wonderful, but trying to time homemade bread when you’re juggling the turkey, the sides, and a dozen other things? That’s enough stress to make you reach for the grocery store rolls. Don’t you worry about that this year. I, Mike, have been relentlessly testing recipes in my own kitchen to conquer that timing challenge. I’m here to tell you that you absolutely can serve incredible, homemade **Sourdough Pull-Apart Rolls** that smell heavenly and taste perfectly tangy without hovering over the oven all day.
This recipe is my answer for achieving that impossibly soft texture everyone craves while letting time do the heavy lifting for you. We’re using an overnight fermentation process. That means you mix it up the night before you need them, stick it in the fridge, and wake up to the foundation of an amazing Thanksgiving bread rolls waiting for you. It’s simple, it’s reliable, and trust me, your family will think you spent the entire day making them!
- Why These Sourdough Pull-Apart Rolls Are Your New Holiday Staple
- Essential Ingredients for Perfect Sourdough Pull-Apart Rolls
- The Overnight Sourdough Rolls Schedule: Timing Your Bake
- Shaping and Proofing Your Pull Apart Sourdough Dinner Rolls
- Baking Tips for Golden Tops on Your Sourdough Pull-Apart Rolls
- Make Ahead Sourdough Pull-Apart Rolls: Holiday Bread Basket Prep
- Storing and Reheating Sourdough Pull-Apart Rolls for Serving Warm
- Frequently Asked Questions About Sourdough Pull-Apart Rolls
- Serving Suggestions for Your Fluffy Dinner Rolls Sourdough
Why These Sourdough Pull-Apart Rolls Are Your New Holiday Staple
Seriously, I developed this recipe because I needed bread that worked with my schedule, not against it! You want rolls that are soft enough to melt in your mouth but still have that amazing sourdough tang, and this overnight method delivers that complexity without the all-day commitment.
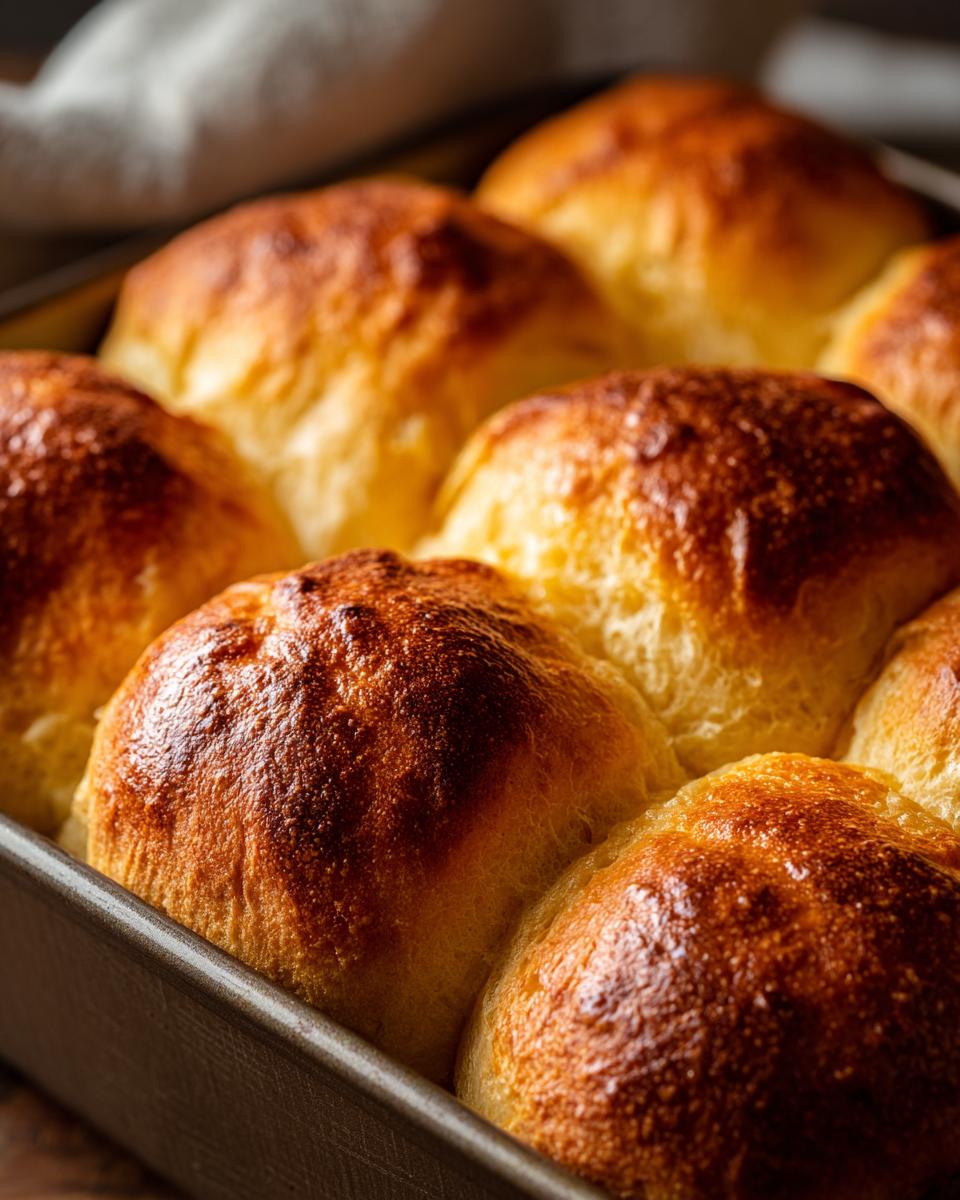
- They are incredibly soft sourdough rolls. We use butter right in the dough, which is the secret handshake for maximum tenderness.
- That deep flavor? That comes from the long, cold fermentation overnight. It develops the sourdough beautifully while you sleep!
- The ultimate make ahead sourdough option. Prepare them the night before you need them for any big dinner, keeping your oven free for the main event.
- They are totally manageable for anyone new to sourdough. If you can mix, fold, and refrigerate, you can nail these fluffy dinner rolls sourdough.
Achieving Fluffy Dinner Rolls Sourdough Texture
It’s all about the gentle handling and the fat, honestly. Slow fermentation keeps the structure open and airy, not tight or dense. Then, incorporating that softened butter *after* the initial mixing locks in moisture. Those two steps work together to give you the softest, fluffiest results possible for your pull apart sourdough dinner rolls.
Essential Ingredients for Perfect Sourdough Pull-Apart Rolls
You won’t find some weird specialty flour or hard-to-find item here. I kept this list short and sweet because, remember, we are focusing on practical techniques for a flavorful life! These few components are all you need to create amazing sourdough rolls that pull apart beautifully.
- 100g active sourdough starter (Yes, it has to be active!
- 350g warm water
- 500g bread flour (Don’t skimp here!)
- 10g salt
- 30g unsalted butter, softened (This is key for softness!)
- 1 egg, beaten (Just for that gorgeous egg wash top)
Ingredient Notes and Substitutions for Sourdough Pull-Apart Rolls
When I’m developing these recipes, I’m always aiming for high yield with accessible items. For this recipe, the starter has to be humming—ripe and bubbly before you mix anything. If it’s sluggish, your overnight fermentation won’t happen properly, and you won’t get that wonderful development of flavor.
I strongly insist on using good quality bread flour. It has a higher protein content, which is exactly what you need to support all that fluffiness and stretch when kneading. That strength is what gives the final product its beautiful structure. If you use All-Purpose, the rolls might spread a little too much, or you might not capture enough of that signature sourdough tang we are aiming for!
The Overnight Sourdough Rolls Schedule: Timing Your Bake
This is where the magic happens, and honestly, it’s the easiest part of the whole process. For my fellow planners out there, this recipe is your new best friend because it lets you do all the hard work—the mixing, the kneading, the initial strength building—today, so you can just assemble a **holiday bread basket** tomorrow morning.
The timeline breaks down simply: Day One is for mixing, adding the fat, building structure with folds, and putting it to sleep in the fridge for at least 8 hours. That slow, cold fermentation is what makes this a true **make ahead sourdough** technique. Day Two is all about shaping and the final, warm rise before baking. You get that amazing complex flavor without sacrificing your entire morning!
Step-by-Step Instructions for Overnight Sourdough Pull-Apart Rolls
Okay, let’s get started when you have about an hour free this evening. First, whisk your ripe starter right into the warm water until it’s mostly dissolved. Then grab your bread flour and salt, mix it up until you see no dry patches—it’ll look shaggy, and that’s perfect for now. Cover it and give it a quick 30-minute rest; this lets the flour get happy.
Next, we add the softened butter. This part takes a little muscle if you’re hand-kneading, but keep working until that butter disappears, and the dough starts feeling smoother. Once it’s incorporated, we build strength! Do a series of stretch and folds every 30 minutes for the next two hours total. You’ll feel the dough transform from messy to elastic during these folds.
Once those folds are done, cover the bowl tightly and banish it to the refrigerator overnight—8 to 12 hours is ideal! It’s resting, marinating, and getting ready for a perfect next-day rise.
Shaping and Proofing Your Pull Apart Sourdough Dinner Rolls
Welcome to Day Two! You’ve snoozed through the hard part, and now we make these beauties look like the perfect **pull apart sourdough dinner rolls**. This step is so satisfying because you can actually see the volume coming back after that long, cold rest in the fridge.
First thing: gently turn that chilly dough out onto a lightly floured counter. I mean gentle! We don’t want to knock out all those lovely gases the yeast worked hard to create overnight. We just want to form it into a loose round and let it relax for about an hour, covered, before we divide it. This lets the gluten chill out a bit, making it easier to handle.
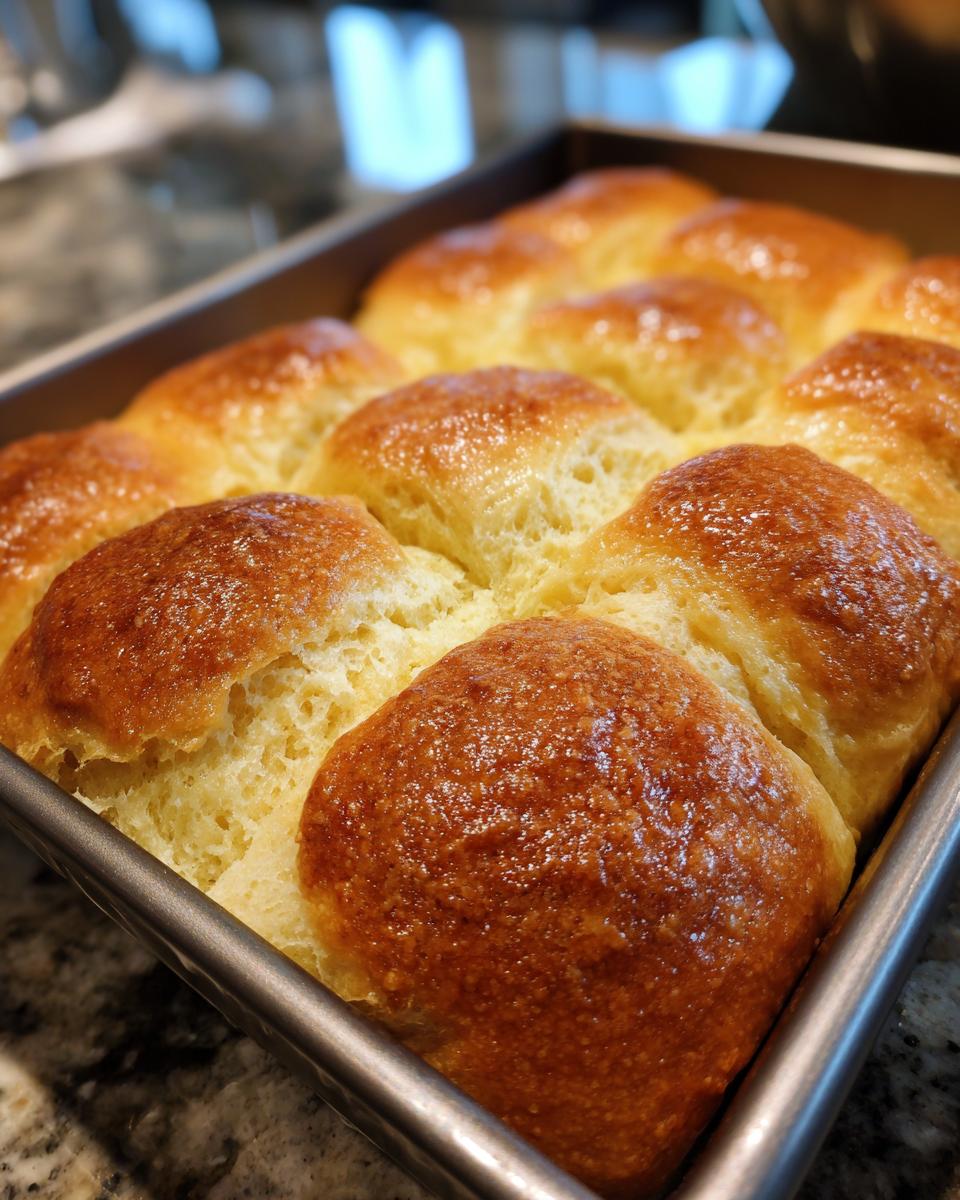
Next, grab your 9×13 pan—make sure you’ve greased it well! This is super important so they separate easily when hot from the oven. Take your dough and divide it evenly into 12 pieces. I usually weigh them if I want them perfectly uniform, but you can eyeball it if you’re feeling confident!
Now for the rolling part. For truly beginner sourdough rolls, you want to shape each piece into a tight little ball. Cup your hand over the dough and gently rotate it on the counter until you feel it tighten up into a smooth sphere. Place them snugly in rows, leaving just a little breathing room between them in the pan.
Cover the pan again! Now comes the final proofing, and this is critical for that soft texture. You need these to sit at room temperature for about 2 to 3 hours. How do you know they are ready? Don’t stress over the clock too much. You are looking for them to get puffy, look airy, and have nearly doubled in size overall. They should feel jiggly and soft when you poke them lightly. If you’re nervous, check out my tips for easy breakfast recipes—it helps build confidence with dough!
Baking Tips for Golden Tops on Your Sourdough Pull-Apart Rolls
The moment of truth! Once those beautifully puffed rolls have proofed nicely, it’s time for the oven. You need to preheat that oven to 375°F (190°C) first. Get it good and hot!
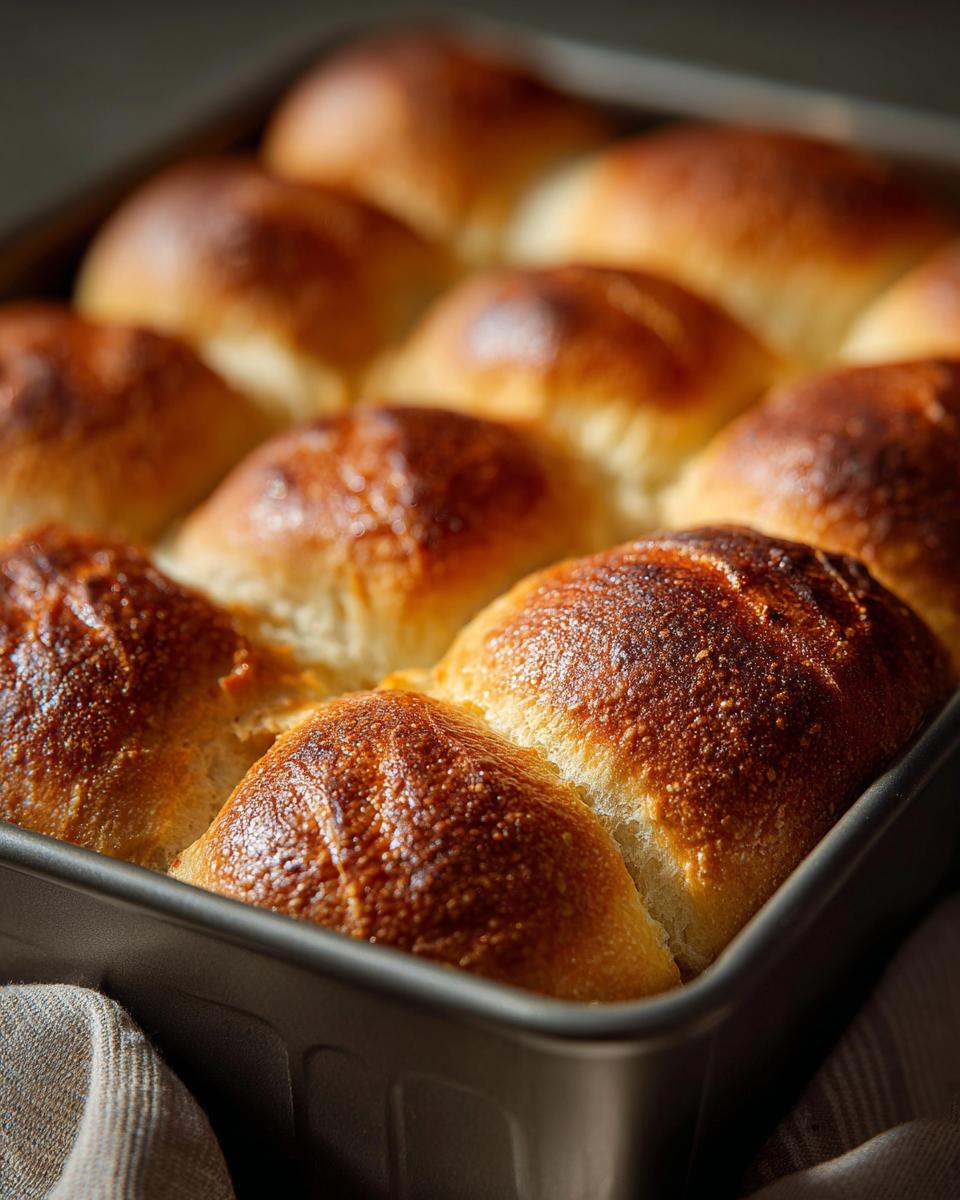
Before they go in, brush the tops lightly but thoroughly with that beaten egg wash we prepared. That wash is what delivers that incredible, shiny, golden brown color everyone wants for their Thanksgiving bread rolls. You’ll bake them for about 20 to 25 minutes. Don’t just pull them out when the timer stops, though!
I always do the ‘hollow tap’ test, which is my go-to expert move. Carefully take one roll out, flip it over, and tap the bottom with your finger. If it sounds truly hollow, that means the interior is cooked through and dry, not gummy. That sound means success for your soft sourdough rolls!
Make Ahead Sourdough Pull-Apart Rolls: Holiday Bread Basket Prep
Can we talk about how to use this recipe to absolutely dominate your holiday schedule? This is truly the best part of the **make ahead sourdough** technique. You don’t have to get up at 4 AM on Thanksgiving morning to have fresh, **warm bread side**!
Once you’ve divided and rolled your dough balls and placed them snugly in the greased 9×13 pan (that step we talked about when shaping them), you have an option. You can let them proof right away, or—and this is the winner for busy cooks like me—you cover that pan tightly and pop the whole thing straight into the refrigerator. They can hang out down there for up to 24 hours!
This cold time works double duty: it keeps developing that complex sourdough flavor, and it pauses the final proofing so those rolls aren’t getting fuzzy and over-proofed while you’re busy wrestling with the oven temperature for the roast. It’s the ultimate strategic move for your **holiday bread basket** setup.
Crucially, though, you can’t bake them straight from the fridge. About an hour—maybe slightly more if your kitchen is chilly—before you plan to bake them, pull that pan out. Let them sit on the counter, still covered, to warm up and finish that final rise until they look puffy again. Then, brush with the egg wash and bake away! This timing trick means you’re only dealing with a quick 25-minute bake time right when you need them.
And if you bake them early? No sweat! Store your perfectly baked rolls in an airtight container once they cool a touch. If you’re making homemade preserves to go with them, you’ll love my recipe for Christmas jam recipe—it’s a perfect topper for these rolls the next morning too!
Storing and Reheating Sourdough Pull-Apart Rolls for Serving Warm
So you have these incredible, soft **sourdough pull-apart rolls**, and you want them to taste just-baked even if they aren’t coming straight out of the oven. I totally get that! If you have leftovers, freezing baked rolls is surprisingly easy. Just make sure they are completely cooled down first—that ensures no weird moisture gets trapped. Wrap them super tight in plastic wrap, and then wrap that whole bundle in foil for extra protection.
When you need that delicious, **warm bread side** ready for dinner, skip the microwave! Pop those frozen beauties right into a 350°F (175°C) oven for about 10 to 15 minutes. They reheat perfectly, bringing back that fluffiness that everyone loves, especially alongside my Sweet Potato Casserole with Pecan Streusel. It’s seriously like magic how they taste fresh again!
Frequently Asked Questions About Sourdough Pull-Apart Rolls
I know when you’re planning a big meal, you need certainty! Here are a few common sticking points I ran into when I was first perfecting these tender sourdough rolls for my own family table. If you have doubts, chances are, they’re answered right here.
How sour will these Sourdough Pull-Apart Rolls taste?
That’s a fantastic question, and it depends on your starter! The overnight cold proof develops a nice, gentle tanginess that is really complex—it’s not nose-scrunching sour, I promise. But because we are using a good amount of butter and the flour balances it all out, the overall note is rich and slightly tangy, not overwhelmingly sour. Think perfect flavor depth for a holiday bread basket!
Can I use instant yeast instead of an active starter roll recipe?
Okay, so if you use instant yeast, you technically aren’t making sourdough anymore, right? You’ll end up with a great, fluffy dinner roll, but you’ll lose that signature deep flavor from the long fermentation process we’ve worked so hard to capture here.
If you absolutely must substitute, you can use about 1.5 teaspoons of instant yeast mixed in with the flour, and then let the dough have a quick 1-hour bulk ferment at room temperature instead of doing the whole overnight chill. However, for the true flavor and texture of these soft sourdough rolls, stick to that bubbly starter. It’s worth the effort, I promise!
Serving Suggestions for Your Fluffy Dinner Rolls Sourdough
Now that you have these perfect, **warm bread side** cushions ready to go, what should you eat them with? Honestly, you can’t mess this up. They are incredible just torn apart with a thick smear of room-temperature salted butter—that’s my simplest go-to!
But since you went to the trouble of making them for a holiday spread, try serving them alongside something savory. They are absolutely phenomenal for soaking up the rich broth from a hearty soup, like my recipe for Irish Potato & Leek Soup. They also pair beautifully with glazed ham or just dipped straight into gravy. Or, for a sweeter moment, a drizzle of local honey makes these **fluffy dinner rolls sourdough** taste like dessert!
PrintOvernight Sourdough Pull-Apart Rolls

Create ultra-soft, pull-apart sourdough rolls perfect for holiday meals. This recipe features an overnight fermentation for deep flavor and a simple process for beginner bakers.
- Prep Time: 30 min
- Cook Time: 25 min
- Total Time: 13 hours 55 min
- Yield: 12 rolls 1x
- Category: Bread
- Method: Baking
- Cuisine: American
- Diet: Vegetarian
Ingredients
- 100g active sourdough starter
- 350g warm water
- 500g bread flour
- 10g salt
- 30g unsalted butter, softened
- 1 egg, beaten (for egg wash)
Instructions
- In a large bowl, combine the active sourdough starter and warm water. Stir until the starter is mostly dissolved.
- Add the bread flour and salt to the bowl. Mix with a spatula or your hands until a shaggy dough forms and no dry flour remains.
- Cover the bowl and let the dough rest at room temperature for 30 minutes.
- Add the softened butter to the dough. Knead the dough by hand or with a stand mixer until the butter is fully incorporated and the dough is smooth and elastic, about 8-10 minutes.
- Perform a series of stretch and folds every 30 minutes for the next 2 hours. This builds dough strength.
- Cover the bowl and refrigerate the dough overnight (8-12 hours) for slow fermentation.
- The next day, turn the dough out onto a lightly floured surface. Gently shape it into a round and let it rest, covered, for 1 hour.
- Grease a 9×13 inch baking pan. Divide the dough into 12 equal pieces. Roll each piece into a ball.
- Arrange the dough balls in the prepared baking pan, leaving a little space between them.
- Cover the pan and let the rolls proof at room temperature for 2-3 hours, or until they are puffy and have nearly doubled in size.
- Preheat your oven to 375°F (190°C).
- Brush the tops of the rolls with the beaten egg wash.
- Bake for 20-25 minutes, or until the rolls are golden brown and sound hollow when tapped on the bottom.
- Let the rolls cool slightly in the pan before serving warm.
Notes
- For a make-ahead option, you can refrigerate the shaped rolls for up to 24 hours before baking. Bring them to room temperature for about 1 hour before baking.
- To freeze baked rolls, let them cool completely, then wrap them tightly in plastic wrap and then foil. Reheat in a 350°F (175°C) oven for 10-15 minutes.
- Ensure your sourdough starter is active and bubbly before you begin.
Nutrition
- Serving Size: 1 roll
- Calories: 250
- Sugar: 2g
- Sodium: 300mg
- Fat: 7g
- Saturated Fat: 4g
- Unsaturated Fat: 3g
- Trans Fat: 0g
- Carbohydrates: 40g
- Fiber: 2g
- Protein: 7g
- Cholesterol: 20mg