
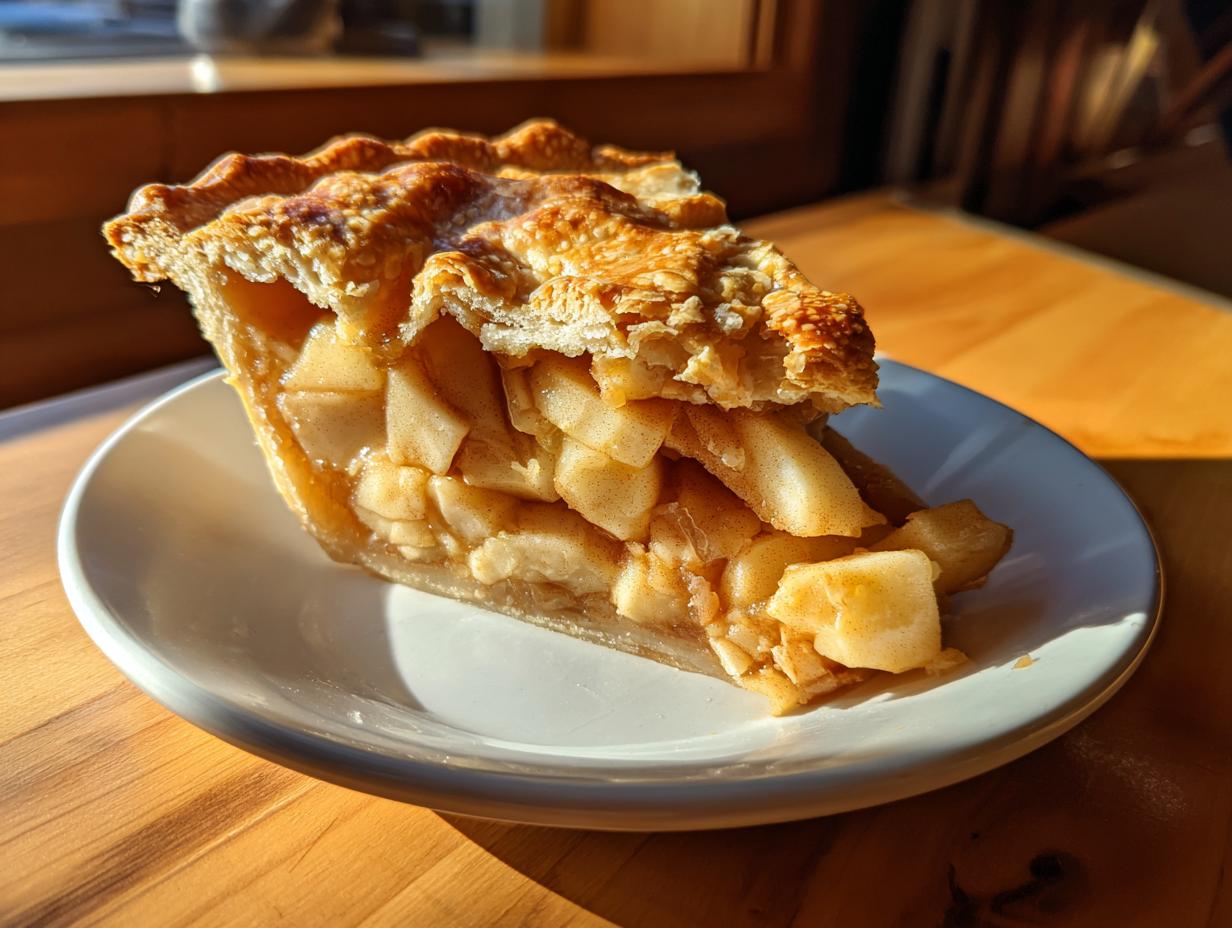
There’s nothing that smells quite like a kitchen filled with the scent of slow-simmering cinnamon and baked apples. It just screams “home,” doesn’t it? So many recipes online are way too fussy, but trust me, I’ve nailed down the absolute best apple pie recipe that is genuinely easy to make from scratch. I’m Michael, and after years of tinkering in my own kitchen—way out of my IT career—I figured out the secret to that elusive flaky crust. This is the real deal: a classic, rustic pie perfect for any gathering.
- Why This Classic Apple Pie Recipe Works for Home Cooks
- Gathering Ingredients for Your Flaky Apple Pie Recipe
- Mastering the Flaky Pie Crust Tutorial for Your Apple Pie Recipe
- Creating the Perfect Cinnamon Apple Pie Filling
- Assembling and Baking Your Easy Homemade Apple Pie
- Ingredient Notes and Substitutions for Your Apple Pie Recipe
- Serving Suggestions for This Apple Dessert Classic
- Storage and Reheating Instructions for Homemade Apple Pie
- Frequently Asked Questions About the Apple Pie Recipe
- Share Your Experience with This Apple Pie Recipe
Why This Classic Apple Pie Recipe Works for Home Cooks
I know so many of you out there want that nostalgic, Thanksgiving feel but are terrified of the pastry. That’s why I designed this recipe to be one of the best easy homemade apple pie versions you’ll find. It hits every mark for true comfort baking recipes without the panic.
When you look through the steps, you’ll see exactly why this method cuts down on fuss while maximizing flavor:
- Truly Flaky Crust: We focus on an incredibly cold butter technique. That results in those beautiful, flaky layers you crave without fussing over pastry wheels or fancy folding.
- Perfect Filling Balance: By using tart Granny Smiths and a deliberate blend of spices, your filling is never too sweet and it sets beautifully—no soupy mess here!
- Maximum Flavor, Minimal Stress: Everything is straightforward, designed for the everyday baker. You get that incredible, old fashioned apple pie taste without needing a full afternoon of work.
It’s simple, it’s reliable, and it tastes exactly like the pie everyone remembers from their childhood!
Gathering Ingredients for Your Flaky Apple Pie Recipe
Okay, step one in achieving that spectacular, flaky pie crust is making sure every single thing you pull out of the fridge is properly chilled. Seriously, this whole apple pie recipe hinges on keeping things cold! Don’t skimp here; great ingredients make the difference between good and OMG-I-need-another-slice good.
We break things down into two main groups: the crust (where the magic happens) and the filling (where the cozy flavor lives!). I always pull everything out and line it up so I can see exactly what I have before I start mixing. It’s just good practical technique!
Ingredients for the Flaky Double Crust
Remember, we are aiming for flakiness here—that means the butter has to stay icy while we work it in! For this double crust, you’ll need:
- 2 1/2 cups of all-purpose flour—good quality, please!
- 1 teaspoon of salt.
- 1 cup of cold unsalted butter, and I mean *cubed* and very cold. Two sticks is what you’ll use.
- 1/2 cup of ice water, plus maybe a teaspoon or two extra if your dough seems too dry.
Ingredients for the Sweet Spiced Apple Filling
This is where we get that perfect sweetness that pairs wonderfully with that buttery crust. For the filling, make sure you grab your tart apples—the Granny Smiths are the star here. If you have any questions about making apple sauce or other fruit purees, check out my notes on homemade applesauce, but for pie, we keep them chunky.
For your cinnamon apple pie filling:
- 6 large Granny Smith apples, peeled, cored, and important: sliced about 1/4 inch thick.
- 3/4 cup granulated sugar.
- 1/4 cup packed light brown sugar—that molasses is key!
- 1 teaspoon ground cinnamon—don’t be shy!
- 1/4 teaspoon ground nutmeg.
- 1/8 teaspoon ground cloves.
- 2 tablespoons all-purpose flour (this helps thicken up the juices).
- 1 tablespoon of lemon juice to keep those apples bright.
Oh, and don’t forget the bits you need right at the end for that beautiful golden finish:
- 1 large egg, beaten with 1 teaspoon of water for the egg wash.
- 1 tablespoon of coarse sugar to sprinkle on top—it gives the crust a nice crunch!
Mastering the Flaky Pie Crust Tutorial for Your Apple Pie Recipe
Alright, let’s talk crust. This is the part where people panic about their apple pie recipe, but honestly, it’s just a matter of temperature control. If you keep your ingredients cold, you are golden. I’ve got a great guide on making cookie dough, and the chilling principle is the same—patience pays off!
First, grab your dry stuff—the flour and salt—and whisk them up real quick. Now, the butter. You need to “cut it in.” I prefer using a pastry blender, but your fingers work just fine if you squash the butter quickly before it warms up too much. You are looking for coarse crumbs with some chunks the size of small peas left intact. Those pea-sized butter pieces are what turn into steam pockets and make your crust flaky!
Water comes next, and this is precision timing. Add the ice water just a tablespoon at a time. Use a fork to gently mix until the dough barely holds together when you squeeze a handful. Stop immediately! If you have to knead it, you’ve gone too far. Divide that shaggy mess into two disks, wrap them up tight, and tell them to chill out in the fridge for at least an hour. That rest lets the dough relax so it won’t fight you when rolling.
My personal tip here: Don’t try to rush the chilling. That hour (or even two!) is non-negotiable for a truly flaky pie crust tutorial finish. It’s worth the wait, trust me.
Creating the Perfect Cinnamon Apple Pie Filling
Now for the heart of our pie—the filling! While our crust is getting nice and cold, we get to toss around the apples and the spices. This is where that incredible warm apple pie aroma starts building up in your kitchen, so get ready for the cozy vibes!
Grab that big bowl you used earlier (or just grab another one, no need to be precious about dishes right now!). Toss in those beautiful, uniformly sliced Granny Smiths. Then, sprinkle everything else on top: both sugars, that cinnamon, nutmeg, cloves, and the couple of tablespoons of flour you need to help thicken things up later. Don’t forget the little splash of lemon juice!
Here’s the technique tip: toss everything *gently*. We want every apple slice coated evenly in sugar and spice, but we absolutely do not want mush. Bruised apples turn into applesauce faster than they turn into pie filling! Toss it lightly with a rubber spatula until everything looks coated—that’s your cue.
Once it’s mixed, just leave that bowl right on the counter. That sugar mix starts working immediately, pulling out those lovely juices from the apples. This pre-maceration step is crucial for developing a deeply flavored, sweet spiced dessert that isn’t watery. Let it sit while you roll out that bottom crust. If you want to see another gorgeous rustic pie idea, I saw a great one over at this site that shows off how simple the filling process can be!
Assembling and Baking Your Easy Homemade Apple Pie
The scary part is over! If you’ve kept your crust cold and your filling sweetly spiced, assembling this easy homemade apple pie is actually kind of fun—it feels very rustic and satisfying. Take the first chilled disk of dough and roll it out right on a lightly floured surface until you have a circle about 12 inches across. Gently drape that over your 9-inch pie plate. Don’t stretch it! Just let it settle in, trim the edges so you have about an inch hanging over the rim, and set it aside for a second.
Now, scoop all those gorgeous, syrupy apples right into the prepared bottom crust. Make sure to pile them up slightly higher in the middle, because they will cook down a bit. Next, take that second 11-inch dough round for the top crust. Lay it right over the apples. Now comes the fun, tactile part: trim the overhang, and then use your fingers to crimp the top and bottom edges together securely. This seals in all that wonderful moisture. Don’t forget to score about five or six vent slits on the top crust!
Before it goes anywhere near the oven, grab that small bowl with the beaten egg wash—just one egg and a tiny bit of water works wonders. Brush this all over the top crust, kind of like you’re painting it. Then, sprinkle that coarse sugar on top for crunch. Always place your pie on a rimmed baking sheet, seriously! It will catch any rogue bubbles that erupt during baking. We start hot, at 425 degrees Fahrenheit, for 15 minutes to set that beautiful crust structure. Then, drop the temperature down to 375 degrees Fahrenheit for another 40 to 50 minutes. If you’re finding this process helpful for more easy baking projects, you might want to check out my guide on banana bread too!
Tips for a Golden Brown Double Crust Pie Recipe
A couple of critical things while this classic apple pie is baking. First, watch those edges! If the pastry near the rim starts looking too dark before the filling is bubbly, just cut little strips of aluminum foil and drape them loosely over the edges. This shields them from direct oven heat, letting the center finish cooking without burning the border.
How do you know it’s done baking? Don’t rely just on the color! You need to see those filling bubbles—thick, slow, gooey bubbles coming up through those vents you cut. That means the starches have activated and the juice has thickened. If it’s still runny or thin bubbling, give it another 5 to 10 minutes. Getting that perfect internal setting is how you achieve that professional look for your double crust pie recipe!
Ingredient Notes and Substitutions for Your Apple Pie Recipe
I get so many questions about adjusting this apple pie recipe, and honestly, that’s half the fun of baking! The most frequent query is definitely about the apples. Granny Smith is my absolute go-to because their tartness cuts through the sweetness so perfectly. However, if you want a more complex texture, mix in half Granny Smith and half a firmer, slightly sweeter apple like Honeycrisp or Braeburn. It gives you that great blend!
What about sugar? If you run out of brown sugar, use all granulated sugar, but maybe add just a tiny, tiny dash of molasses on its own—or just accept the slightly less rich caramel note. It’ll still be delicious, promise!
Now listen, if you are short on time, remember that little note I put in the ingredients list? You absolutely can skip making the top crust and instead whip up that simple crumb topping. Just mix the ingredients listed in the notes together until crumbly and sprinkle that over your fruit. You get a totally different but equally amazing apple dessert classic!
Serving Suggestions for This Apple Dessert Classic
Now that you’ve waited (impatiently, I know!) for your pie to cool, it’s time for the best part: serving! Part of the joy of a perfect apple pie recipe is knowing what to serve it with, especially when you’re planning for big thanksgiving pie ideas.
Of course, a thick slice next to a scoop of really high-quality vanilla bean ice cream is non-negotiable for me. That hot-cold contrast totally sets off that amazing warm apple pie aroma.
But if you want to get truly nostalgic and traditional—and I highly recommend this—try a slice with a thin sliver of sharp, good-quality cheddar cheese melted right on top. Sounds wild, but trust me, it balances the sweetness! If you’re looking for other great holiday sides, check out my ideas for sweet potato casserole.
For a simpler option, a dollop of fresh, slightly sweetened whipped cream is always welcome. No matter how you top it, that pie is going to be the star. Seriously, this recipe never fails; you can see how popular this best apple pie recipe is!
Storage and Reheating Instructions for Homemade Apple Pie
You made a whole pie, and while I secretly hope you eat most of it right away—warm pie for breakfast is perfectly acceptable—you might have leftovers. If your pie is fully cooked and cooled, you can generally leave it covered on the counter for up to two days. That’s the beauty of a mostly sugar-based filling!
If you need it to last longer, cover it loosely and pop it in the fridge. But here’s the absolute most important thing: when you reheat a slice, skip the microwave! It makes the crust soggy. I always reheat individual slices on a small baking sheet in a toaster oven or regular oven at about 350 degrees Fahrenheit for about 10 minutes. That little blast of dry heat brings back that glorious, flaky texture we worked so hard for in this apple pie recipe!
Frequently Asked Questions About the Apple Pie Recipe
I get so many messages after folks try out this classic apple pie recipe! It’s amazing to see everyone diving into comfort baking recipes at home. Here are some of the questions I hear most often when people are tackling their first homemade apple pie from scratch.
Can I use frozen apples instead of fresh Granny Smiths?
Oh, gosh, I really advise against it if you want that perfect texture. Frozen apples release way too much water when they thaw, and that extra moisture means you’ll likely end up with a soupy mess, even with the flour we added! If you must use them, thaw them completely first, drain off every single drop of liquid you can press out, and maybe add an extra tablespoon of flour to the filling. But for the best baking results, stick to fresh, firm apples!
How long does the pie *really* need to cool down?
This is the hardest test of patience, honestly! You’ll want to cut into that beautiful double crust the second it comes out of the oven, but you simply can’t. If you slice it hot, all that gorgeous, thickened filling will immediately run out onto your plate. You need a minimum of two full hours on a wire rack for the filling to properly set up and gel. Trust me—the wait makes for the perfect slice!
I’m short on time; can I cheat and use a store-bought crust?
Look, I’m all about making easy baking projects manageable, but hear me out: the crust is 70% of what makes this pie special. Since I spent so much time detailing the flaky pie crust tutorial above, I really hope you give it a shot! However, if a weeknight demands speed, yes, you can grab a reputable frozen crust. Just take it out early so it’s workable. If you do use a store-bought crust, try mixing a little extra cinnamon into the pre-made dough mixture just to sneak in some of our signature flavor!
What is the secret to getting that beautiful, spiced flavor profile?
It’s all in the blend of spices for this ultimate sweet spiced dessert! Don’t just use cinnamon. The addition of nutmeg gives it depth, and the tiny whisper of cloves ties everything together beautifully—it’s what makes it taste like an old fashioned apple pie. If you want to try a variation, check out this fantastic guide on making some truly irresistible fillings over here!
If you found these tips helpful as you work through your easy apple pie recipe, I have many more helpful guides for everyday baking over on my easy baking recipes page. Let me know how your pie turns out!
Share Your Experience with This Apple Pie Recipe
Now that you’ve got this phenomenal classic apple pie recipe under your belt, I absolutely need to hear how it went! Did that crust turn out as buttery and flaky as you hoped? Did the cinnamon and nutmeg give you that nostalgic punch you were looking for?
Baking here at Delish Symphony is all about sharing the harmony, so your feedback means the world to me. If you followed these steps for your homemade dessert favorite, please take a moment and rate the recipe right here on the page—a five-star rating tells me I’ve shared a winner!
And don’t stop there! I love seeing your creations! Snap a picture of your finished golden beauty—whether you served it warm with ice cream or went for the sharp cheddar slice—and share it on social media. Tag me so I can celebrate that delicious win with you!
If you tried any fun modifications, like swapping out apples or adding a drizzle of caramel, leave all those helpful details in the comments below. That’s how our community grows and learns together! Need to ask a question or just send a note? You can always reach out directly through my contact page, too. Happy baking, everyone!
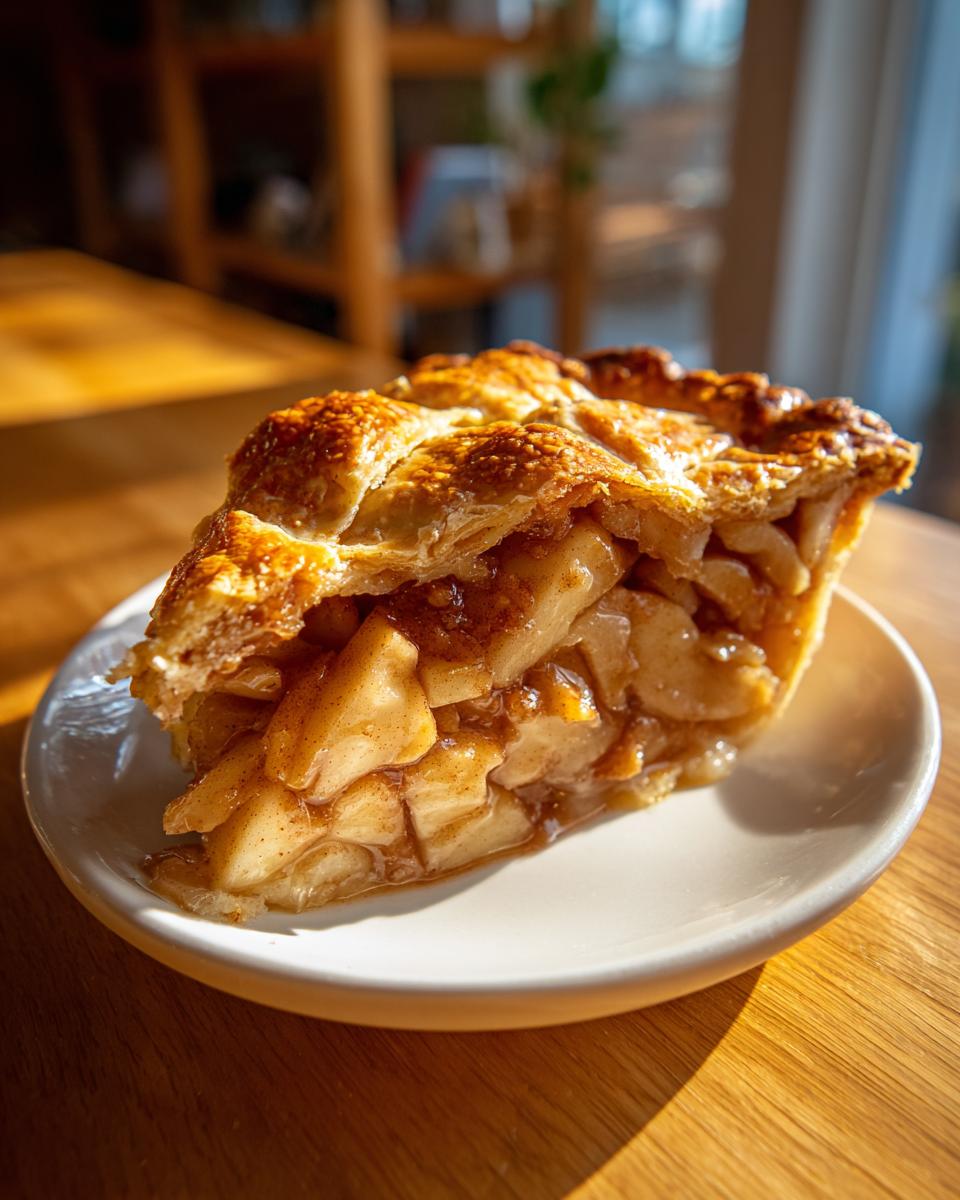
PrintClassic Flaky Double-Crust Apple Pie with Cinnamon Filling

Make this easy homemade apple pie from scratch for a classic dessert featuring a flaky, buttery crust and a sweet, spiced filling using Granny Smith apples.
- Prep Time: 45 min
- Cook Time: 65 min
- Total Time: 110 min
- Yield: 8 servings 1x
- Category: Dessert
- Method: Baking
- Cuisine: American
- Diet: Vegetarian
Ingredients
- 2 1/2 cups all-purpose flour
- 1 teaspoon salt
- 1 cup (2 sticks) cold unsalted butter, cut into cubes
- 1/2 cup ice water, plus more if needed (for the crust)
- 6 large Granny Smith apples, peeled, cored, and sliced 1/4 inch thick
- 3/4 cup granulated sugar
- 1/4 cup packed light brown sugar
- 1 teaspoon ground cinnamon
- 1/4 teaspoon ground nutmeg
- 1/8 teaspoon ground cloves
- 2 tablespoons all-purpose flour (for filling)
- 1 tablespoon lemon juice
- 1 large egg, beaten with 1 teaspoon water (for egg wash)
- 1 tablespoon coarse sugar (for sprinkling)
Instructions
- Prepare the Pie Crust: In a large bowl, whisk together the 2 1/2 cups flour and 1 teaspoon salt. Cut in the cold butter using a pastry blender or your fingers until the mixture resembles coarse crumbs with some pea-sized pieces of butter remaining. Gradually add the ice water, one tablespoon at a time, mixing until the dough just comes together. Do not overmix. Divide the dough in half, flatten each half into a disk, wrap in plastic, and chill for at least 1 hour.
- Prepare the Apple Filling: In a large bowl, combine the sliced apples, granulated sugar, brown sugar, cinnamon, nutmeg, cloves, 2 tablespoons flour, and lemon juice. Toss gently until the apples are evenly coated. Set aside while you roll out the bottom crust.
- Assemble the Bottom Crust: On a lightly floured surface, roll out one disk of dough into a 12-inch circle. Carefully transfer the dough to a standard 9-inch pie plate. Trim the edges, leaving a 1-inch overhang. Place the filling mixture into the crust.
- Assemble the Top Crust: Roll out the second disk of dough into an 11-inch circle. Place this top crust over the filling. Trim the edges, leaving a 1-inch overhang. Crimp the top and bottom edges together to seal. Cut several slits in the top crust to allow steam to escape.
- Bake the Pie: Preheat your oven to 425 degrees Fahrenheit (220 degrees Celsius). Brush the top crust with the egg wash and sprinkle with coarse sugar. Place the pie on a baking sheet to catch any drips. Bake for 15 minutes at 425 degrees Fahrenheit.
- Reduce the heat to 375 degrees Fahrenheit (190 degrees Celsius) and continue baking for 40 to 50 minutes, or until the crust is golden brown and the filling is bubbly. If the edges brown too quickly, cover them loosely with foil.
- Cool: Let the pie cool on a wire rack for at least 2 hours before slicing and serving. This allows the filling to set properly.
Notes
- For the flakiest crust, keep your butter and water as cold as possible during the mixing process.
- If you prefer a crumb topping instead of a full top crust, use 1 1/2 cups flour, 1/2 cup brown sugar, 1/2 cup white sugar, 1/2 teaspoon cinnamon, and 1/2 cup cold butter mixed until crumbly, then sprinkle over the filling.
- Granny Smith apples provide the best tartness to balance the sweet filling.
Nutrition
- Serving Size: 1 slice
- Calories: 450
- Sugar: 35g
- Sodium: 250mg
- Fat: 25g
- Saturated Fat: 15g
- Unsaturated Fat: 10g
- Trans Fat: 0g
- Carbohydrates: 58g
- Fiber: 3g
- Protein: 5g
- Cholesterol: 60mg