
There is nothing, absolutely nothing, like that first slice of pizza when you know you made the dough yourself. Forget that sad, plastic-wrapped stuff in the grocery aisle; we’re talking real satisfaction here! If you’ve ever been intimidated by making your own dough, wipe that worry away right now. I’ve spent serious time in the kitchen—just like Michael over here at Delish Symphony—testing until I perfected this pizza dough recipe. It is the ultimate easy, chewy homemade pizza dough recipe, and trust me, it’s perfect for beginners.
We build all our recipes here around accessible ingredients and practical techniques, which means flavor harmony without the fuss. This base recipe, with just six simple ingredients, delivers that dreamy texture you usually only find at your favorite local spot. If you’re looking for simple routes to amazing weeknight meals, you’ll want to bookmark this now. For more quick dinner inspiration that keeps the joy in cooking, check out some of our weeknight dinner recipes.
- Why This is the Best Pizza Dough Recipe for Home Cooks
- Gathering Ingredients for Your Homemade Pizza Dough
- Step-by-Step Instructions for Your Pizza Dough Recipe
- Expert Tips for the Master Pizza Dough Recipe
- Make Ahead Pizza Dough and Storage Guidelines
- Troubleshooting Common Pizza Dough Recipe Issues
- Frequently Asked Questions About Making Pizza Dough at Home
- Estimated Nutritional Data for This Pizza Dough Recipe
- Share Your Homemade Pizza Night Ideas
Why This is the Best Pizza Dough Recipe for Home Cooks
When I first started making my own pizza, I thought I needed some super complicated, long-fermented flour blend to get it right. Nope! This pizza dough recipe breaks all those myths. This is honestly the best way to make Homemade Pizza Dough From Scratch because it hits all the right notes without demanding hours of your time. It’s fast enough for a weeknight, which means less stress and more pizza!
The real trick here isn’t adding a million things; it’s keeping it lean and letting the basic ingredients do the heavy lifting. This method is designed exactly for people who want incredible results but don’t want to feel like they need a culinary degree to get there. It’s my go-to for feeding a crowd quickly, and people always ask for the recipe!
Achieving That Perfect Chewy Pizza Crust
Everyone wants that perfect bite—you know, the one that’s soft enough to fold but sturdy enough not to flop over? That’s the magic of the chew! It comes down to the right hydration level, which just means the balance of the water to the flour. Since this is the Best Pizza Crust Recipe I’ve landed on, I’ve already nailed that balance for you. We use just enough water to keep things relaxed, which prevents the crust from getting hard or cracker-like after baking. It gives you that satisfying pull when you chew.
Simple 6 Ingredient Pizza Dough Success
Remember that our philosophy here is accessible ingredients. Seriously, this is a Simple 6 Ingredient Pizza Dough! You probably have everything sitting in your pantry right now. We skip the fancy additives because they aren’t necessary. This means fewer trips to the specialty store and more money saved for toppings—which is the real goal, right? This is the definition of an Easy Pizza Dough From Scratch that you can rely on every single time you need a solid base. If you’re looking for some quick sides to go with your pie, check out these easy breakfast recipes; sometimes pizza for breakfast just happens!
Gathering Ingredients for Your Homemade Pizza Dough
Before we get that beautiful dough mixing, we need to make sure we have our six core players lined up. I love this part because it feels like collecting the building blocks for something awesome. We’re sticking strictly to what works for a reliable, flavorful base, so no need to go searching for exotic flours today!
Here is exactly what you need to grab for this pizza dough recipe—this makes enough for two lovely 12-inch pies, by the way:
- 1 1/2 cups warm water. And listen, I have to stress *warm*. We need that temperature between 105°F to 115°F so the yeast wakes up happy!
- 2 1/4 teaspoons active dry yeast. Don’t substitute this unless you know what you’re doing!
- 1 teaspoon sugar. This is the yeast’s first meal, so don’t skip it.
- 3 3/4 cups all-purpose flour, plus a little extra for dusting later when we knead. Stick to all-purpose for this specific chewy texture.
- 2 teaspoons salt. This is crucial for flavor development!
- 2 tablespoons olive oil, plus a little extra coating for the bowl later on. Good quality oil really helps bring out that classic Italian Pizza Dough Recipe vibe.
See? Super simple. When all this is sitting on the counter, you know you are moments away from having real Make Pizza Dough at Home success. Having everything measured out beforehand is half the battle when you’re aiming for a Perfect Pizza Crust for Beginners!
Step-by-Step Instructions for Your Pizza Dough Recipe
Okay, now for the fun part! Following the instructions precisely is what turns flour and water into something magical. Don’t worry if you’ve never done this before; I’m going to walk you through every step of this pizza dough recipe so you get that amazing, pliable dough ready for baking. This process is where we start building that incredible flavor and texture.
We’re going to use a standard mixing bowl here, but if you have a stand mixer, great! I’ll give you times for both, because we all love options. Once you’re done, you’ll have enough dough for two lovely 12-inch masterpieces, or you could try making a batch of that amazing pizza lasagna skillet bake we talked about!
Activating the Yeast: The First Step in Your Pizza Dough Recipe
This is the make-or-break moment for anything involving yeast, so pay attention! Grab your large bowl and pour in the warm water. Remember that sweet spot: 105°F to 115°F. If it’s too cold, your yeast just sleeps. Too hot, and well, you kill your little yeast buddies.
Toss in the teaspoon of sugar—that’s their snack time!—and then sprinkle the yeast right on top. Don’t stir it yet! Cover the bowl lightly with a towel and just wait about 5 to 10 minutes. If you did it right, you’ll see your surface get foamy, maybe even bubbly, like a tiny, happy aquarium. That foam means GO TIME!
Kneading and Developing the Soft and Chewy Pizza Dough
Once you have foam, dump in the flour, salt, and that 2 tablespoons of olive oil. Start mixing everything with a wooden spoon or your mixer’s paddle attachment until it starts to come together into what we call ‘shaggy dough.’ It won’t look pretty.
Now, get your hands dirty! Turn the shaggy dough out onto a surface you’ve dusted lightly with flour. You need to knead this for about 5 to 7 minutes until it feels smooth and elastic. When you poke it gently, it should spring back slowly—that means you’ve developed the gluten structure you need for a fantastic, Chewy Pizza Crust.
If you’re using a stand mixer with the dough hook, keep it on medium-low speed for about 5 minutes. Stop when it cleans the sides of the bowl nicely and feels tight.
The Rise: Patience for a Great Pizza Dough Recipe
Next up: oiling the bowl. Squirt a tiny bit of olive oil into a clean, large bowl and just roll your beautiful, kneaded dough ball around in it. You want it lightly coated all over; this stops it from drying out while it rests.
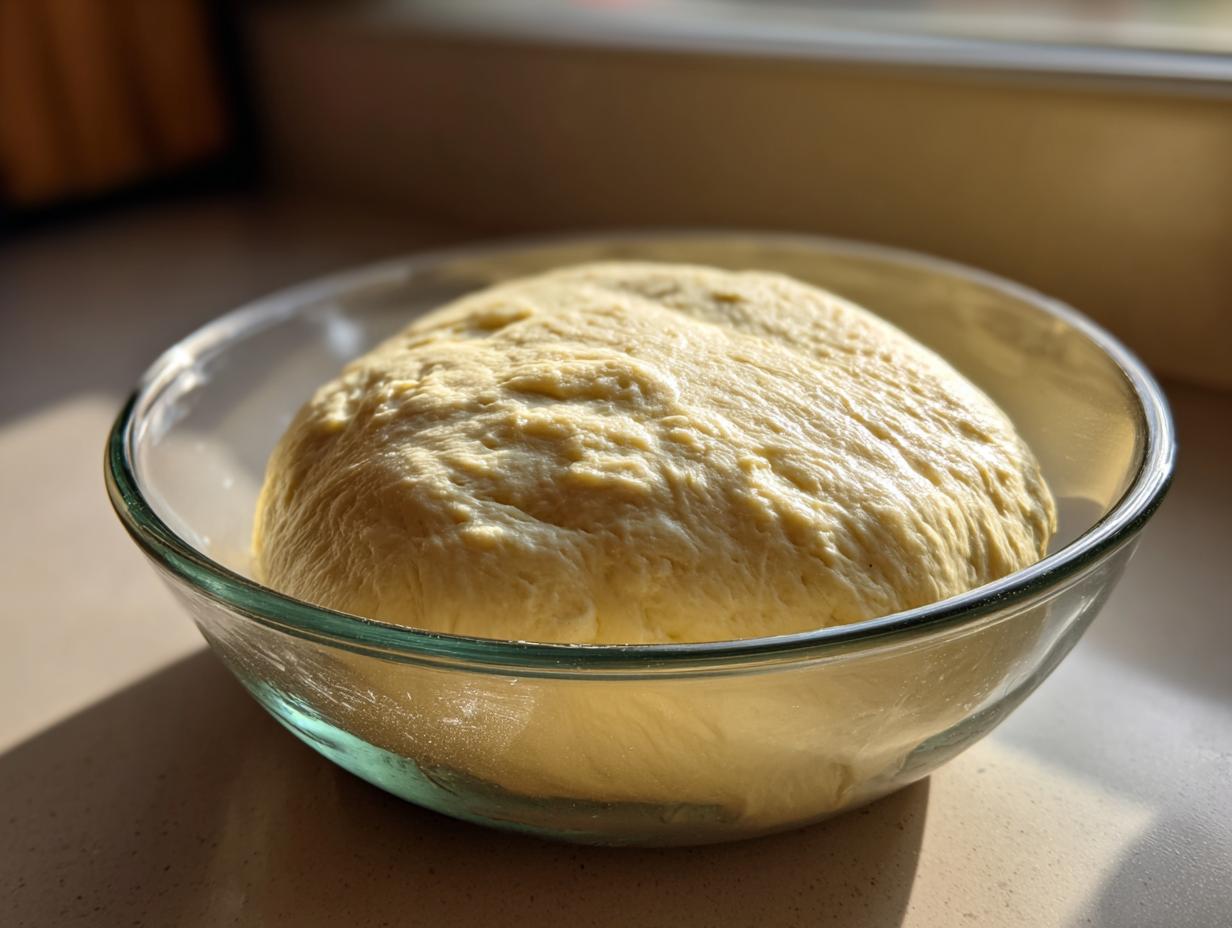
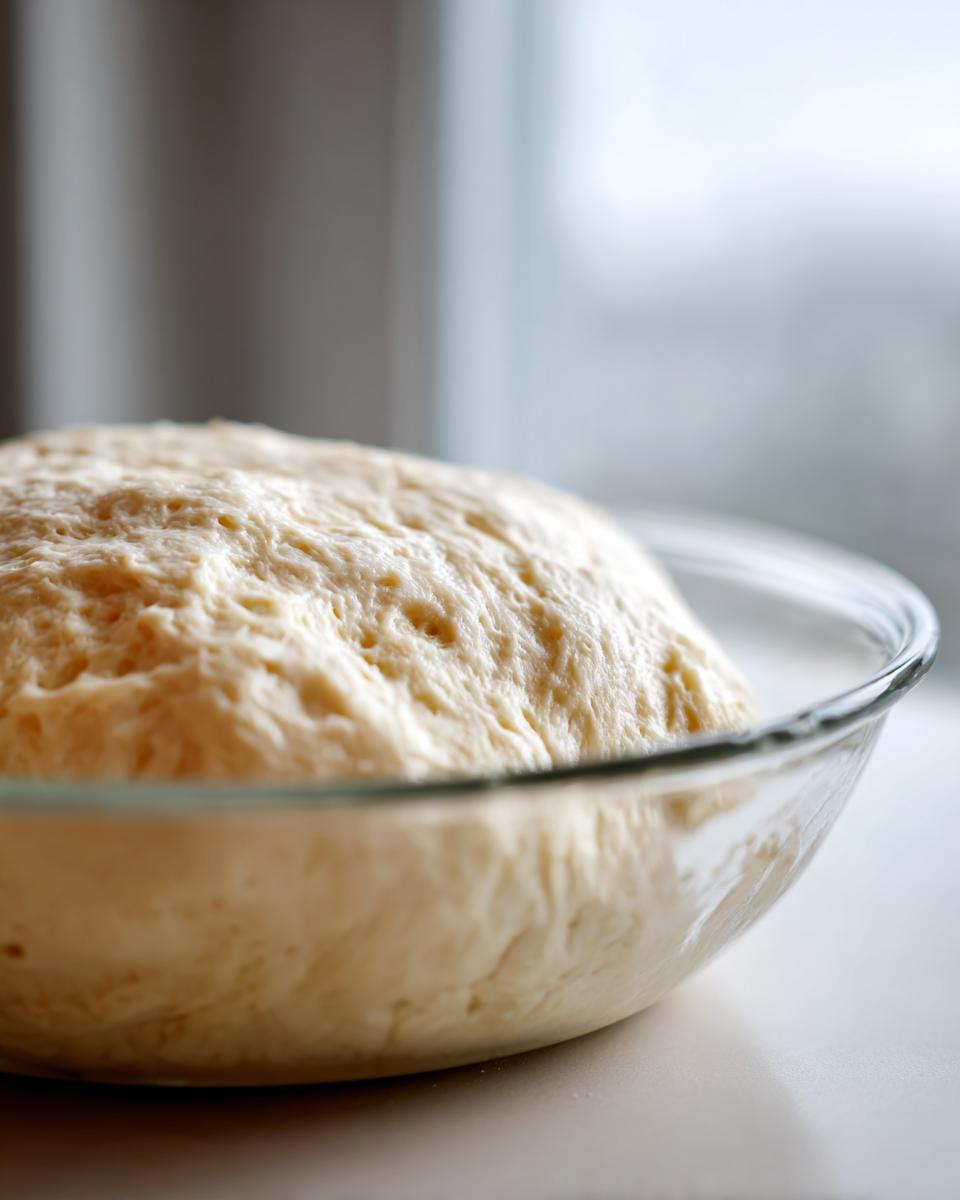
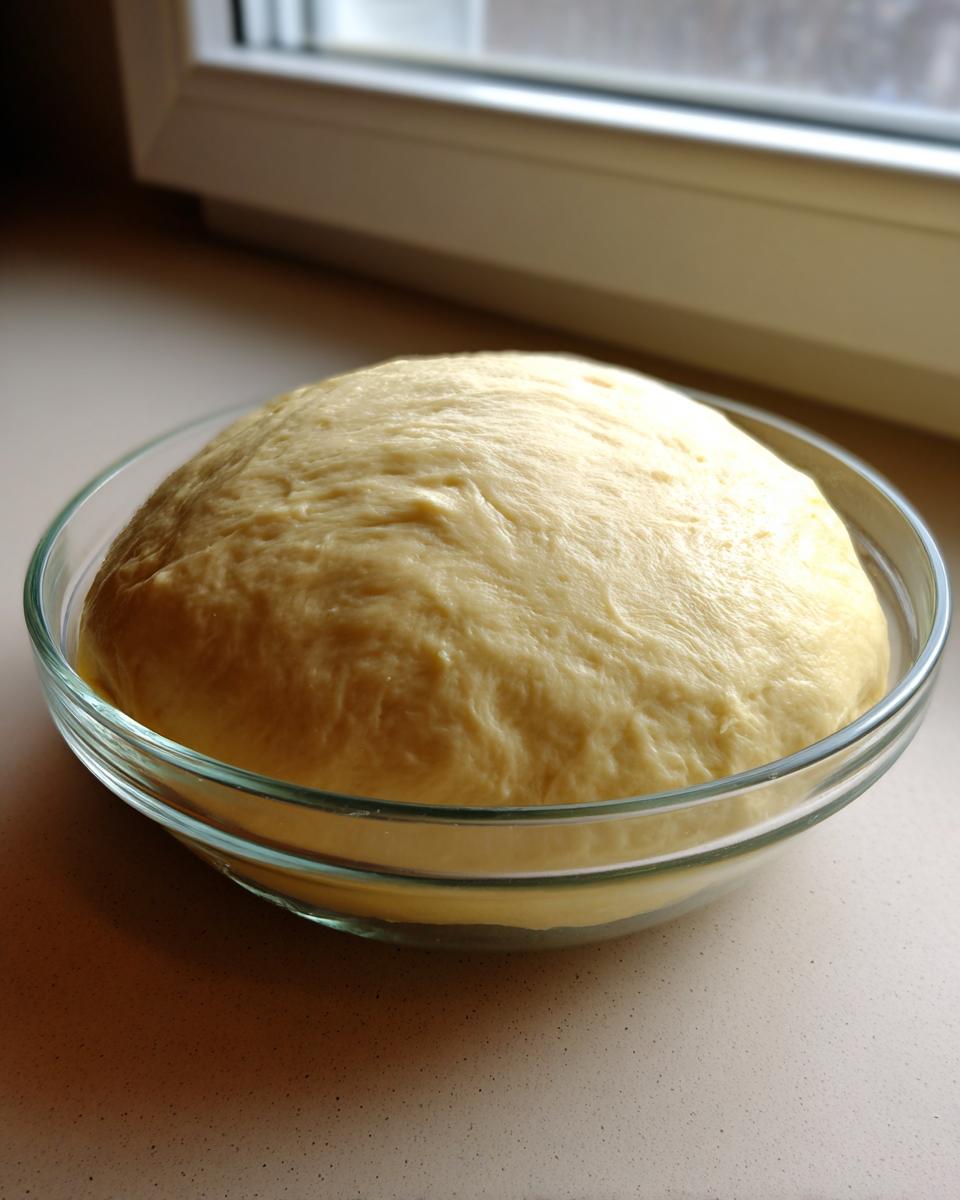
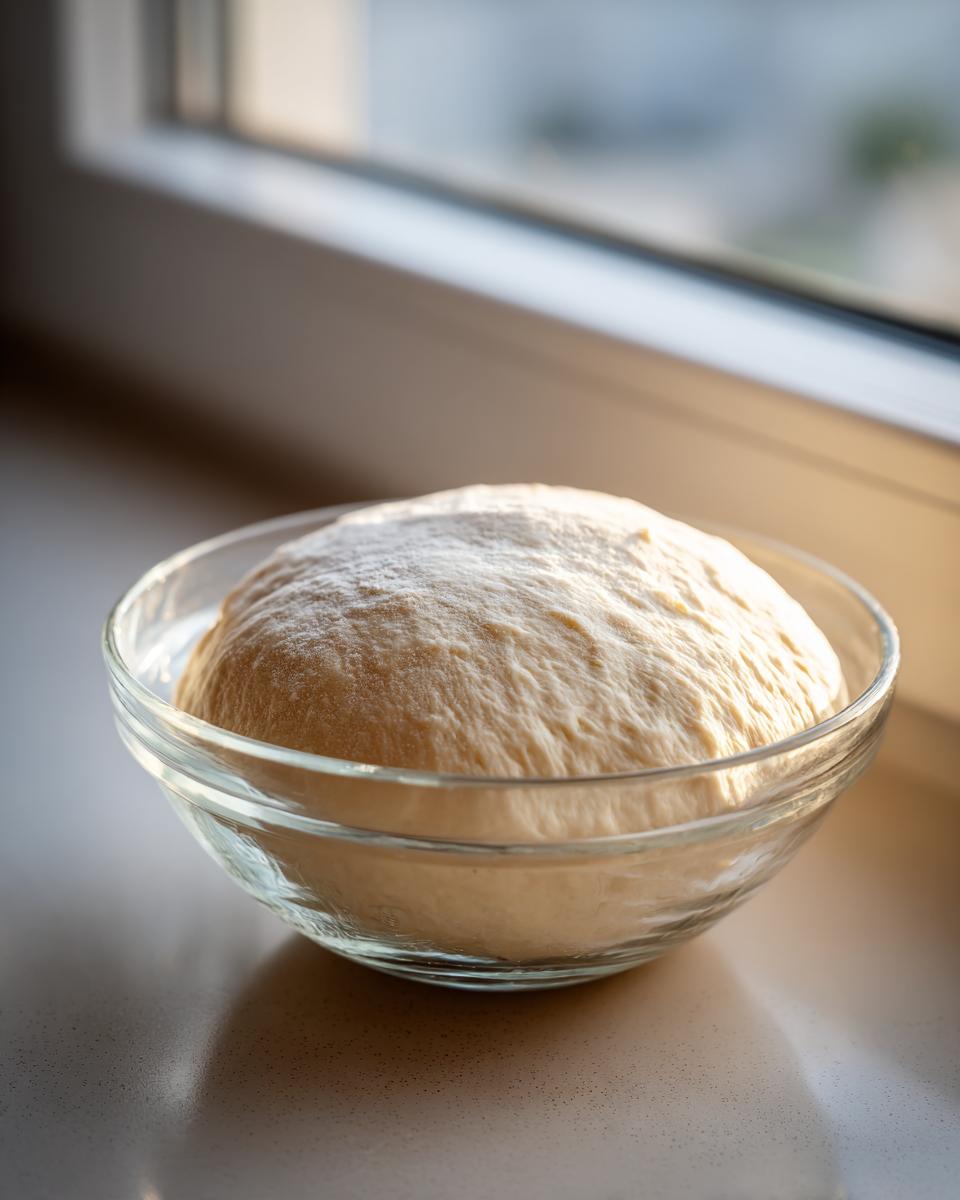
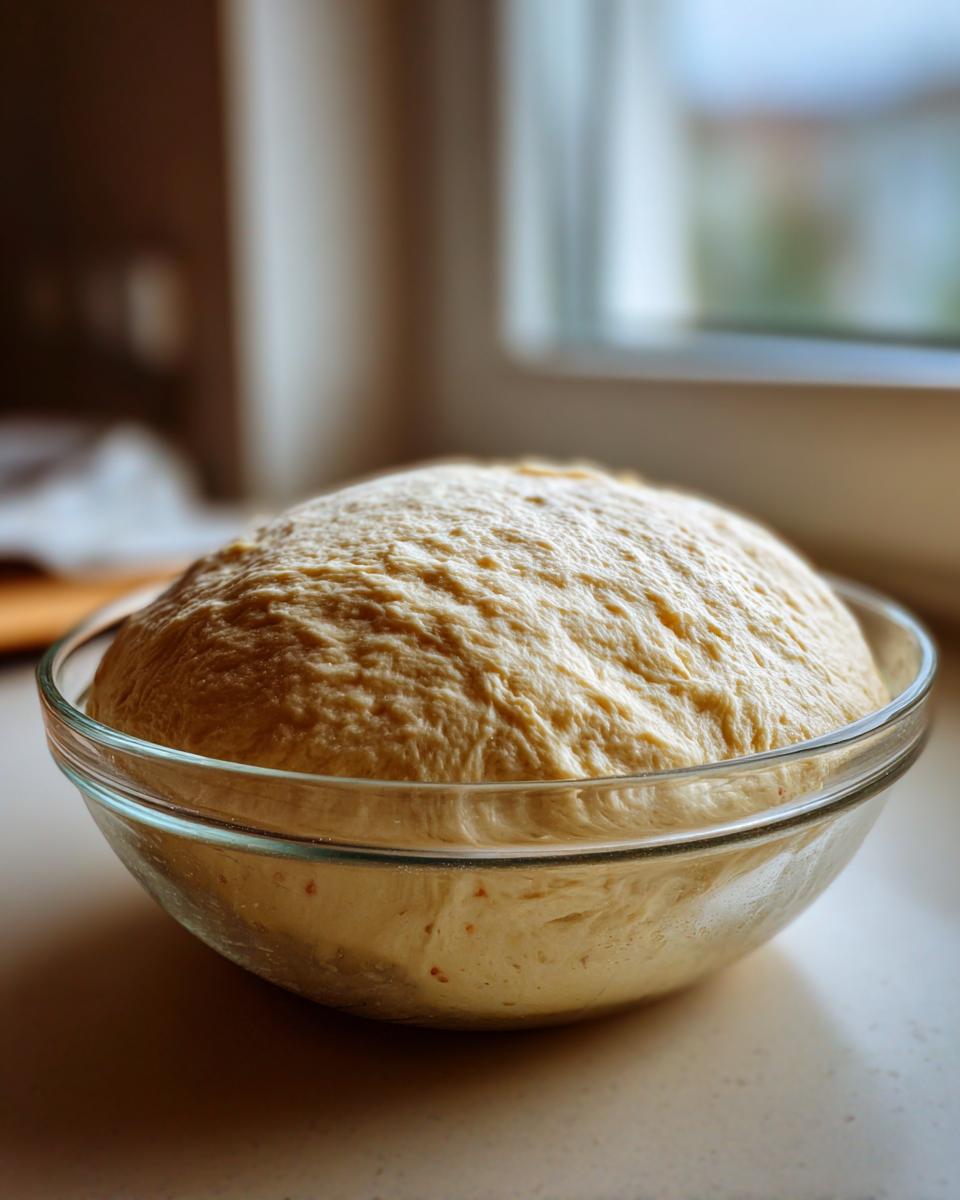
Cover that bowl tightly—plastic wrap works great, or a damp kitchen towel if you prefer the old-school method. Find a nice, warm spot in your kitchen, maybe near the oven if it was just on, and walk away! You need to let this dough rise for at least 1 to 1.5 hours. Seriously, don’t peek too much! You’re waiting for it to double in size. When it looks big and puffy, gently punch it down right in the center to get all that trapped air out. That’s it! You are ready to shape your base now.
Expert Tips for the Master Pizza Dough Recipe
Now that you have the foundation for this fantastic pizza dough recipe, I want to share a couple of my favorite secrets. These aren’t necessary for a great weeknight pizza, but if you want to step up your game toward that glorious Artisan Pizza Dough Tutorial perfection, these little tweaks make a huge difference in flavor complexity.
Remember, we believe in flavor harmony, and slow fermentation is where the real deep, earthy yeast flavors bloom to life. You’ve got a great base for your Homemade Pizza Dough; let’s make it taste even better!
Flavor Boost: Long Fermentation for Your Pizza Dough Recipe
If you happen to be planning ahead—like, maybe you aren’t making pizza until tomorrow or the day after—this is where you seal the deal on flavor. Once the dough has done that first rise (when it doubled in size in the warm spot), gently punch the air out, form it into a ball, and pop it into an oiled, covered container in the coldest part of your fridge.
That cold, slow rest is what develops tons of flavor. I’ve let dough hang out for 24 hours, and sometimes up to 72 hours! When you pull it out, don’t try to shape it right away, though. Let it sit on the counter, still covered, for about an hour. This lets the gluten relax and brings the yeast back to life so you can stretch it out without it fighting you.
Crust Texture Adjustments for Your Pizza Dough Recipe
The recipe I gave you uses all-purpose flour because it’s what most folks have, and it gives you that beautiful, soft, and Chewy Pizza Crust we talked about. But what if you’re craving that super crispy, almost brittle edge you get from professional ovens? That’s when you swap the flour.
For a crispier finish, try using bread flour instead of all-purpose flour when you measure out your dry ingredients. Bread flour has more protein, which lets the gluten network get tighter and stronger, leading to a crust that holds its shape and crisps up beautifully when baked hot. Just make sure you knead it a minute or so longer, as that extra protein needs a bit more encouragement.
Also, speaking of crispiness, if you happen to have a pizza stone or steel, heat it up in the oven for at least 45 minutes before you slide your pizza on! That intense, direct heat transfer is a game-changer for the bottom crust. You can find some great tips on heating up your stone for the best pizza night ideas.
Make Ahead Pizza Dough and Storage Guidelines
One of the best things about making this Homemade Pizza Dough is that you can totally be a hero and prep it ahead of time! Seriously, whipping this up when you have an extra 20 minutes during the day means you can go straight to pizza assembly when dinner time rolls around later in the week. It cuts down on the panic factor immensely.
We already touched on the cold ferment in the expert tips, but let’s get specific here on storage because nobody wants sad, sticky dough the next day. This method ensures your crust quality stays high, keeping that perfect chew intact.
For short-term storage, say you want pizza tomorrow night: After you punch down the dough following its initial rise, divide it into your intended portions, ball them up loosely, and tuck them into individual small, lightly oiled containers—make sure they have lids! Pop them straight into the fridge. They’ll keep beautifully for 2 to 3 days this way. The flavor gets better, too!
Now, if you’re thinking long term, you can definitely freeze this. Most people freeze the dough balls, not the whole batch. Roll them into smooth balls, coat them lightly in oil, and stick them inside heavy-duty zip-top bags. Squeeze out every bit of air you can. You’re good to go in the freezer for up to two months. If they are frozen solid, just transfer them to the fridge the night before you want to use them, and then let them warm up on the counter for about an hour before you start stretching, just like we did with the slower ferment, to keep things relaxed.
This flexibility makes this an amazing base for unexpected Pizza Night Ideas later on. Who doesn’t love surprise, high-quality pizza?
For more fantastic make-ahead recipes that save your sanity during busy weeks, you absolutely must peek at my guide for easy, moist banana bread—it freezes wonderfully, too!
Troubleshooting Common Pizza Dough Recipe Issues
Look, even with the best recipe—and I promise this pizza dough recipe is rock solid—sometimes the dough just doesn’t cooperate right away. Happens to the best of us! Don’t panic and definitely don’t throw it out. Usually, when things go wonky, it’s a simple fix related to temperature or handling. This is where knowing how to rescue your dough saves the day and keeps you building that Perfect Pizza Crust for Beginners.
Here are the two biggest headaches I hear about when people try to Make Pizza Dough at Home, and how we fix them right away!
Dough Won’t Rise (or Rises Super Slow)
If your dough sat there staring back at you for thirty minutes and hasn’t gotten even slightly puffier, the most likely culprit is your water temperature from Step 1. I mentioned focusing on that 105°F to 115°F range for a reason! If the water was too cold, your yeast is just chilling out, not working. You need to wake it up!
The fix is easy: Take your bowl—shaggy dough and all—and move it somewhere truly warm. The best spot is often inside an oven that has the light turned on but the heat is OFF. That little bit of warmth usually does the trick. If you’re in a freezing kitchen, try placing the bowl near a warm radiator or even on top of your running dishwasher for a little while. Give it a full extra hour past the recommended time if you suspect the cold.
My Dough Is Too Sticky and Won’t Form a Ball
If your dough feels like wet glue and it’s sticking to your hands, counter, and probably the ceiling, you added too much water, or maybe your flour was thirsty today—it happens! You need to introduce a little more structure without making it tough.
Resist the urge to dump in a whole cup of flour, or you’ll end up with a hard, dry crust! Instead, sprinkle just one tablespoon of all-purpose flour onto your working surface at a time. Knead it in completely before adding the next tablespoon. Keep adding flour, one tablespoon at a time, until the dough loses that tacky, gluey quality and starts behaving like smooth, elastic dough. You might only need three extra tablespoons, but go slow! It’s easier to add flour than to un-add it.
The Dough Shrinks Back When I Try to Stretch It
You’ve done the rise, you’ve punched it down, and now you’re wrestling with it in the pan. If your dough snaps back into a tight little ball every time you push it out, it’s stressed! The gluten strands have tightened up during resting, and they need to relax before you can stretch them thin for your Best Pizza Crust Recipe.
This takes patience, which is hard when you’re hungry! Just lightly oil the portion of dough you’re working with, gently form it into a rough ball again, cover it with the same towel, and let it rest undisturbed for 15 minutes. When you come back, those gluten strands will have loosened up significantly, and you should be able to gently press and stretch it into your final pizza shape without fighting gravity!
Frequently Asked Questions About Making Pizza Dough at Home
It’s totally normal to have questions when you start baking something new, especially when we are talking about the foundation for a great meal! I’ve gathered some of the most common things people ask when they decide to take on the challenge of making their own pizza dough. These tips should help you feel super confident the next time you decide to Make Pizza Dough at Home and aim for that Perfect Pizza Crust for Beginners.
Can I use this pizza dough recipe for Deep Dish Pizza Base Recipe?
That’s a fantastic question! Because this recipe focuses on a classic, chewy, relatively thin crust, it’s not naturally set up for a thick, buttery deep dish like that famous Chicago style. Deep dish bases usually require a slightly higher fat content or a different shaping method to hold up all those heavy toppings. You can certainly use this dough, but you’ll need to press it much thicker into your pan, and it won’t have that signature dense but tender crumb of a true deep dish. For the absolute best deep dish experience, you might want to look for a recipe tailored specifically for that style, but for a great, thick, pan-style pizza, this recipe works just fine!
How long does the yeast need to proof for this pizza dough recipe?
You are looking for that tell-tale foam, and that usually takes between 5 to 10 minutes, depending on how warm your kitchen is. If you see good foam bubbling right on top of the water—like a layer of tiny, happy bubbles—then your yeast is totally active and ready to go! If you wait the full 10 minutes and see zero activity, that’s when you should check your water temperature again. Don’t just guess; that activation step is everything for a good rise in your pizza dough recipe.
Is making pizza dough from scratch really faster than buying it?
That depends on how you count time! If you count active time, then yes, this Easy Pizza Dough From Scratch takes about 15 minutes of active work. But remember, most of the time is rising time, where you are doing literally nothing! If you are starting from zero, buying pre-made dough is technically faster for dinner *tonight*. However, if you start this dough in the early afternoon, you’ll have fresh, amazing crust ready by dinner with very little actual work involved. Plus, you get the unmatched flavor!
What flour is best if I want a crispier pizza base?
I already mentioned this in the expert tips, but it’s important enough to repeat! For maximum crispness and a bit more structure—especially if you are using high heat like a pizza stone—swap out the all-purpose flour for bread flour. It just has more protein, which strengthens the dough structure so it bakes up a bit crispier on the edges while staying tender inside. It’s a great way to customize your Homemade Pizza Dough.
If you want some great topping ideas to go perfectly with this dough, make sure you check out my recipe for homemade guacamole party dip—it makes an unexpectedly killer white pizza base!
Estimated Nutritional Data for This Pizza Dough Recipe
You’re probably wondering about the numbers when you eat something this delicious, right? It’s good to know what you’re working with, especially when whipping up double batches! I always stress that this data is an estimate—it’s the nature of home cooking when we’re dealing with variables like exact flour density and trimming fat off the side of the dough ball.
These figures are calculated based on the recipe yielding two equal dough balls, meaning the information below is for one serving size, which we’ve pegged as half of one dough ball, perfect for a medium pizza.
Here’s the breakdown for that generous slice of your Homemade Pizza Dough:
| Nutrient | Amount (per 1/2 dough ball) |
|---|---|
| Serving Size | 1/2 dough ball |
| Calories | 550 |
| Carbohydrates | 115g |
| Protein | 18g |
| Fat | 4g |
| Saturated Fat | 0.5g |
| Unsaturated Fat | 3.5g |
| Trans Fat | 0g |
| Sugar | 3g |
| Fiber | 5g |
| Cholesterol | 0mg |
| Sodium | 650mg |
So, there you have it! It’s robust, satisfying, and honestly, for a homemade bread base this good, those numbers are perfectly reasonable. You control the toppings, so you control the rest of the nutrition for your Pizza Night Ideas!
Share Your Homemade Pizza Night Ideas
Wow, you made it all the way to the end! That means you are officially stocked up with the skills and the recipe to make the absolute best pizza dough recipe at home. Now comes the best part—the toppings!
When you pull that gorgeous, golden, chewy crust out of the oven, I desperately want to know what you did next. Did you go for a classic pepperoni, or did you surprise the family with something unique? If you loved how easy this was and got that perfect, springy bread base, please take a moment to leave a quick rating right here on the page!
Hearing from you really helps me know which recipes I need to keep perfecting for Delish Symphony. And hey, if you snap a picture of your perfect pie—that bubbly edge, that beautiful stretch—tag me on social media! I love seeing your culinary symphonies come to life.
I’m currently trying to decide what to put on my leftover dough tonight—maybe a white pizza with chicken and caramelized onions? What’s the craziest (or best!) topping combination you’ve ever dared to try on your homemade crust? Let me know in the comments below!
For what it’s worth, if you’re looking for a dessert that is just as satisfying as making homemade bread, you have to try my recipe for classic chocolate chip cookies—they’re the perfect ending to any pizza night!
PrintThe Ultimate Easy, Chewy Homemade Pizza Dough Recipe (Perfect for Beginners)
Make delicious, chewy pizza crust from scratch with this simple, 6-ingredient recipe. It is fast enough for a weeknight meal and perfect for beginners.
- Prep Time: 15 min
- Cook Time: 15 min
- Total Time: 1 hour 45 min
- Yield: 2 medium pizzas 1x
- Category: Dinner
- Method: Mixing and Kneading
- Cuisine: American
- Diet: Vegetarian
Ingredients
- 1 1/2 cups warm water (105°F to 115°F)
- 2 1/4 teaspoons active dry yeast
- 1 teaspoon sugar
- 3 3/4 cups all-purpose flour, plus more for dusting
- 2 teaspoons salt
- 2 tablespoons olive oil, plus more for the bowl
Instructions
- Combine the warm water, yeast, and sugar in a large bowl. Let this mixture sit for 5 to 10 minutes until it becomes foamy. This shows the yeast is active.
- Add the flour, salt, and 2 tablespoons of olive oil to the yeast mixture.
- Mix with a wooden spoon or stand mixer until a shaggy dough forms.
- Turn the dough out onto a lightly floured surface. Knead the dough for 5 to 7 minutes until it becomes smooth and elastic. If using a stand mixer, use the dough hook for 5 minutes on medium-low speed.
- Lightly coat a large bowl with olive oil. Place the dough in the bowl and turn it over to coat the top with oil.
- Cover the bowl tightly with plastic wrap or a clean kitchen towel. Let the dough rise in a warm place for 1 to 1.5 hours, or until it has doubled in size.
- Punch the dough down gently to release the air. Divide the dough into two equal pieces for two medium pizzas, or use as one piece for a large pizza.
- Shape the dough into your desired pizza base and bake according to your favorite pizza recipe.
Notes
- For a deeper flavor, you can let the dough rise slowly in the refrigerator for 24 to 72 hours after the initial rise. Bring it to room temperature for 1 hour before shaping.
- This recipe yields enough dough for two 12-inch pizzas or one large sheet pan pizza.
- If you prefer a crispier crust, use bread flour instead of all-purpose flour.
Nutrition
- Serving Size: 1/2 dough ball
- Calories: 550
- Sugar: 3
- Sodium: 650
- Fat: 4
- Saturated Fat: 0.5
- Unsaturated Fat: 3.5
- Trans Fat: 0
- Carbohydrates: 115
- Fiber: 5
- Protein: 18
- Cholesterol: 0