

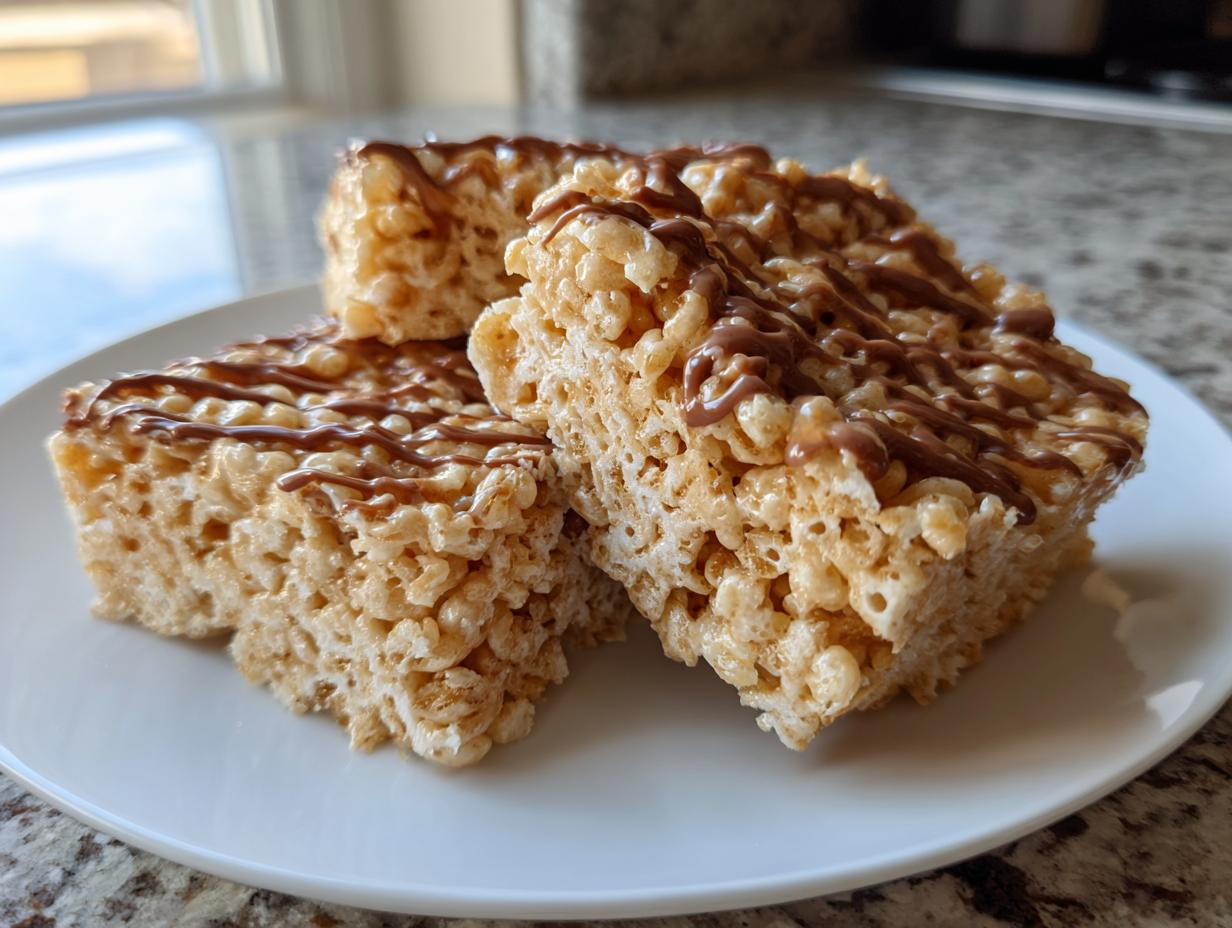
There’s just something about a no-bake treat that whisks me right back to childhood, isn’t there? We all love the classic cereal crunch and marshmallow magic, but what if I told you we could take that golden standard and make it instantly richer, nuttier, and infinitely more satisfying? That’s exactly what happens when we turn it into peanut butter rice krispie treats. When I first started Delish Symphony, I made a promise to myself that the recipes I share would cut through the noise and deliver pure, reliable joy. These bars? They are exactly that. You’ll have rich, gooey, chewy snacks ready in under 15 minutes flat. Forget complicated baking; this is comfort food designed for a busy life, and I guarantee this simple upgrade will make your kitchen feel a little more like home. If you’re looking for other quick fixes to start your day right, check out some of my favorite easy breakfast recipes to keep the quick momentum going!
- Why This is the Best Recipe for Peanut Butter Rice Krispie Treats
- Gathering Ingredients for Gooey Peanut Butter Rice Krispie Treats
- How To Make Peanut Butter Rice Krispies: Step-by-Step Instructions
- Tips for Success Making Peanut Butter Rice Krispie Treats
- Variations on Classic Peanut Butter Rice Krispie Treats
- Storage and Make-Ahead Tips for Peanut Butter Marshmallow Bars
- Frequently Asked Questions About Peanut Butter Rice Krispie Treats
- Serving Suggestions for Nostalgic No Bake Peanut Butter Bars
- Estimated Nutrition for Peanut Butter Rice Krispie Treats
- Share Your Favorite Peanut Butter Rice Krispie Treats Creations
Why This is the Best Recipe for Peanut Butter Rice Krispie Treats
Look, there are a million ways to make these bars, but most just leave you with something kind of hard that crumbles when you try to pick it up. No offense to those recipes, but that’s not what we want here! My goal when testing these peanut butter rice krispie treats was balancing that irresistible, satisfying chew with enough structure so they actually hold their shape. We want rich, gooey Rice Krispie snacks, not sugary dust all over the counter!
This specific ratio of butter to marshmallow to peanut butter is the secret handshake we need. It ensures we get that perfect melt that coats everything beautifully without making it overly sticky or crumbly later on. If you follow this down to the gram, you’ll unlock the magic needed for a sturdy Rice Krispie treats recipe that still melts in your mouth.
Achieving the Perfect Chewy Peanut Butter Squares Recipe
Texture is everything, right? The key to that ultimate, soft chewiness in these chewy peanut butter squares recipe has everything to do with how the three main binding agents interact. We use a generous amount of butter combined with the marshmallows, but the peanut butter acts as this wonderful stabilizer. It thickens the mixture just enough that when it cools, it stays soft and pliable.
If you skimp on either the butter or the PB, that marshmallow goes rogue and turns into taffy that just snaps. We want smooth adhesion! This balance means less floury mess and more pure, nostalgic deliciousness. If you are looking for other quick fixes, you can always check out my favorites for other simple snack recipes!
Gathering Ingredients for Gooey Peanut Butter Rice Krispie Treats
One of the greatest things about this recipe, especially fitting into our philosophy here at Delish Symphony, is that you probably have almost everything you need right now! We aren’t chasing down fancy, imported items here. These ingredients should be easily accessible at your favorite local grocery store. We aim for flavor harmony using simple pantry staples, which makes whipping up these wonderful peanut butter rice krispie treats incredibly easy when that craving hits!
- 6 cups puffed rice cereal
- 1 cup creamy peanut butter
- 1 cup (2 sticks) unsalted butter
- 1 (10 ounce) package marshmallows
- 1 teaspoon vanilla extract
- Optional: 1 cup semi-sweet chocolate chips for topping
Ingredient Notes and Substitutions for Peanut Butter Rice Krispie Treats
Let’s talk specifics because ingredient quality really matters in a recipe this simple. For the peanut butter, I highly, highly recommend creamy peanut butter. I know some of you love that natural, stir-it-yourself kind, but honestly, the oils in natural butters sometimes separate when heated, which can make your final bars a bit greasy or reduce the binding power. Creamy works best for that classic, dense hold.
Also, please use fresh marshmallows if you can! If your marshmallows have been sitting in the back of the pantry since last Halloween, they get harder and won’t melt down as smoothly. That leads straight to crumbly squares when you try to eat them. For the extras, that optional topping of semi-sweet chocolate chips is what turns these from a simple snack into something truly decadent. If you opt for it, it’s usually melted right on top after you press the bars into the pan!
How To Make Peanut Butter Rice Krispies: Step-by-Step Instructions
Okay, here is where the magic happens! We are officially entering 15-minute territory. Since these are no bake peanut butter cereal bars, the focus shifts entirely to heat management. It’s so easy to rush this part, but one false move and you can end up with crunchy treats instead of the soft ones we are aiming for. Even though these are quick recipes, we follow the process to the letter. If you need to keep track of your weeknight meals, grab my guide to weeknight dinner recipes while you wait for things to cool!
Melting Butter and Marshmallows for Peanut Butter Rice Krispie Treats
First things first: get your 9×13 pan ready! Seriously, grease it up well or line it with parchment paper, leaving some overhang so you can easily lift the whole thing out later. That overhang is your best friend when trying to get clean cuts!
Next, grab your biggest, widest saucepan—you need room to stir! Place that pan over medium-low heat. Add your butter and let it melt completely. Once it’s liquid, toss in the entire bag of marshmallows. Now, the key here is low and slow: medium-low heat only! Stir constantly. You need the marshmallows fully melted into a thick, gorgeous pool with the butter. If you see any hint of browning on the bottom of the pan or the marshmallows start looking a bit golden, yank that pan off the heat immediately. We aren’t making caramel here; brown bits equal a burnt taste, and we want pure nostalgia!
Incorporating Peanut Butter and Cereal for Chewy Peanut Butter Squares Recipe
Once those marshmallows are silky smooth, remove the pan from the burner completely. I can’t stress this enough: take it off the heat before adding the good stuff! Stir in your cold peanut butter and the vanilla extract until everything is totally homogenous. It turns into this incredible, thick, nutty lava. This binding agent is so crucial for our chewy peanut butter squares recipe.
Now, take your 6 cups of puffed rice cereal and dump it in. Using a rubber spatula, you need to gently fold everything together. I mean true gentle folding. You are coating the cereal, not smashing it! Overmixing at this stage crushes the cereal, which is what leads to those crumbly bars nobody wants in their simple peanut butter cereal recipe. Just keep folding until you don’t see any stark white streaks left.
Pressing and Topping Your Chocolate Peanut Butter Rice Krispies
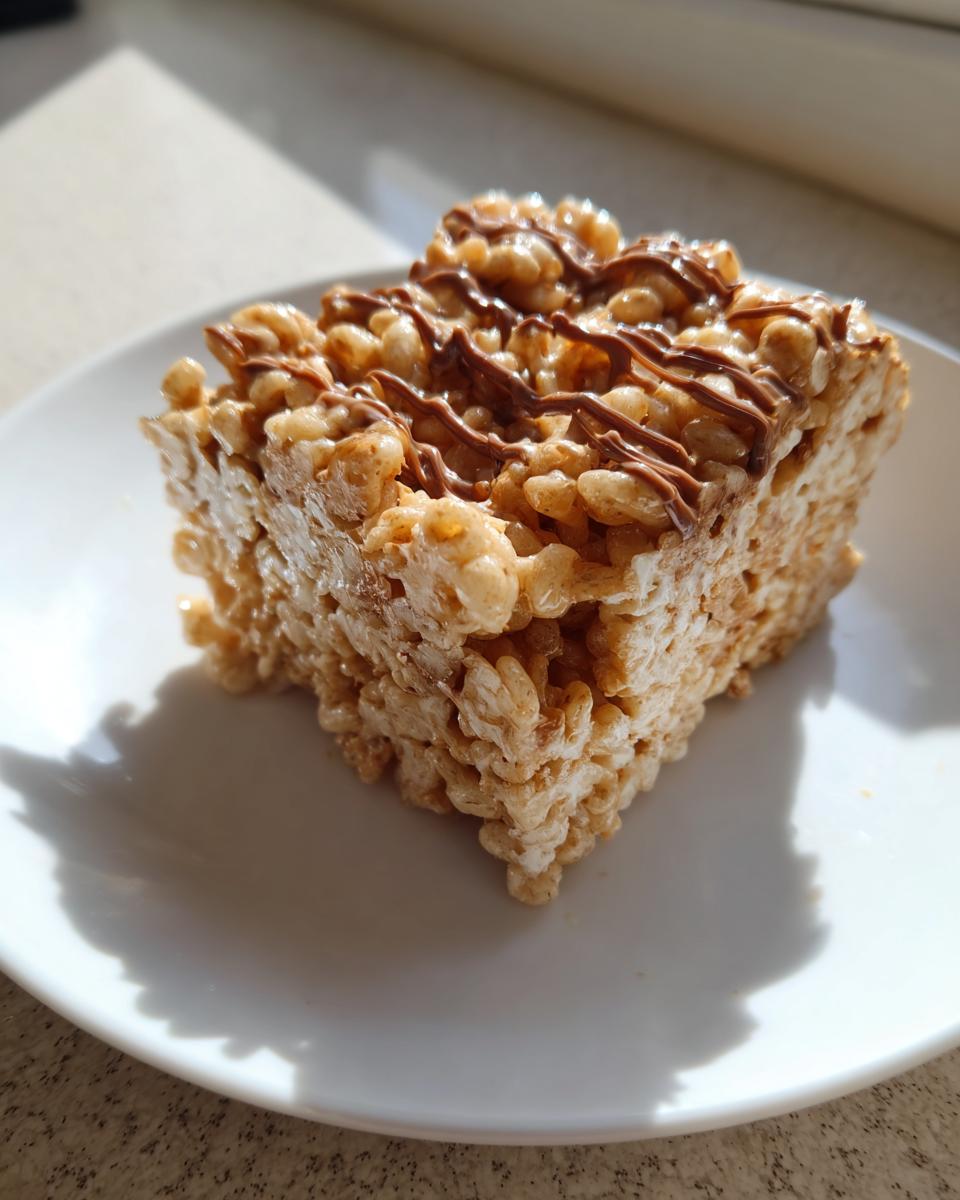
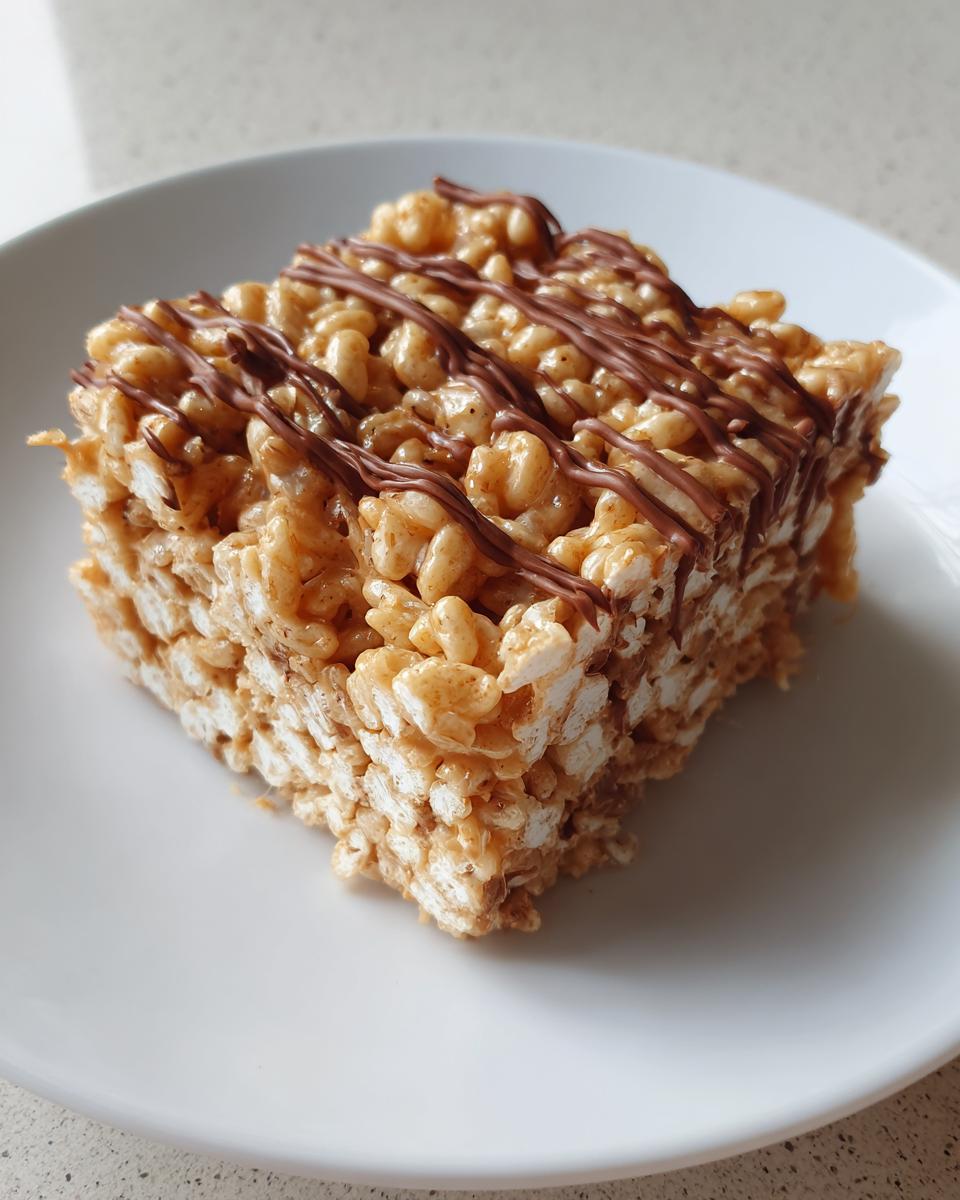
Transfer the whole gooey mess into your prepared pan. Now, for the biggest structural secret: when you press this down, do NOT use your hands or press hard! If you compact it tightly, you squeeze out all the lovely air bubbles, leading to rock-hard squares later. Instead, grab that spatula or a piece of wax paper lightly coated in cooking spray, and just lightly guide the mixture into an even layer across the bottom. Light, even pressure is key for sturdy, yet light, peanut butter rice krispie treats!
If you’re doing the optional chocolate topping, this is the time. Melt your chocolate chips in the microwave using 30-second bursts, stirring well in between each burst until it’s totally smooth. Then, drizzle it all over the top however you like—a messy, rustic swirl always looks best if you ask me. Let the whole pan cool on the counter until completely set, usually about an hour. Then, pull it out by the parchment paper overhang and cut into 12 generous pieces!
Tips for Success Making Peanut Butter Rice Krispie Treats
We’ve covered the basic steps for these incredibly easy No Bake Peanut Butter Cereal Bars, but let’s tackle longevity and cleanup, because messy counters ruin the post-treat high! My biggest tip, which sounds small but matters a lot, is making sure that peanut butter mixture completely coats every single piece of cereal. Any dry spots are weak links waiting to crumble later on.
Also, remember what I said about not pressing too hard? That’s crucial for keeping these Peanut Butter Rice Krispie Squares wonderfully chewy instead of turning into inedible blocks. If you want them to last more than a day (good luck!), keep them in an airtight container at room temperature. The only other major tip is using that parchment paper sling! It saves your sanity when it’s time to lift these peanut butter marshmallow bars out for cutting. You’ll notice these keep their amazing texture far longer when you aren’t overworking them in the pan. Check out some other delicious dessert recipes while we wait for these to set!
Variations on Classic Peanut Butter Rice Krispie Treats
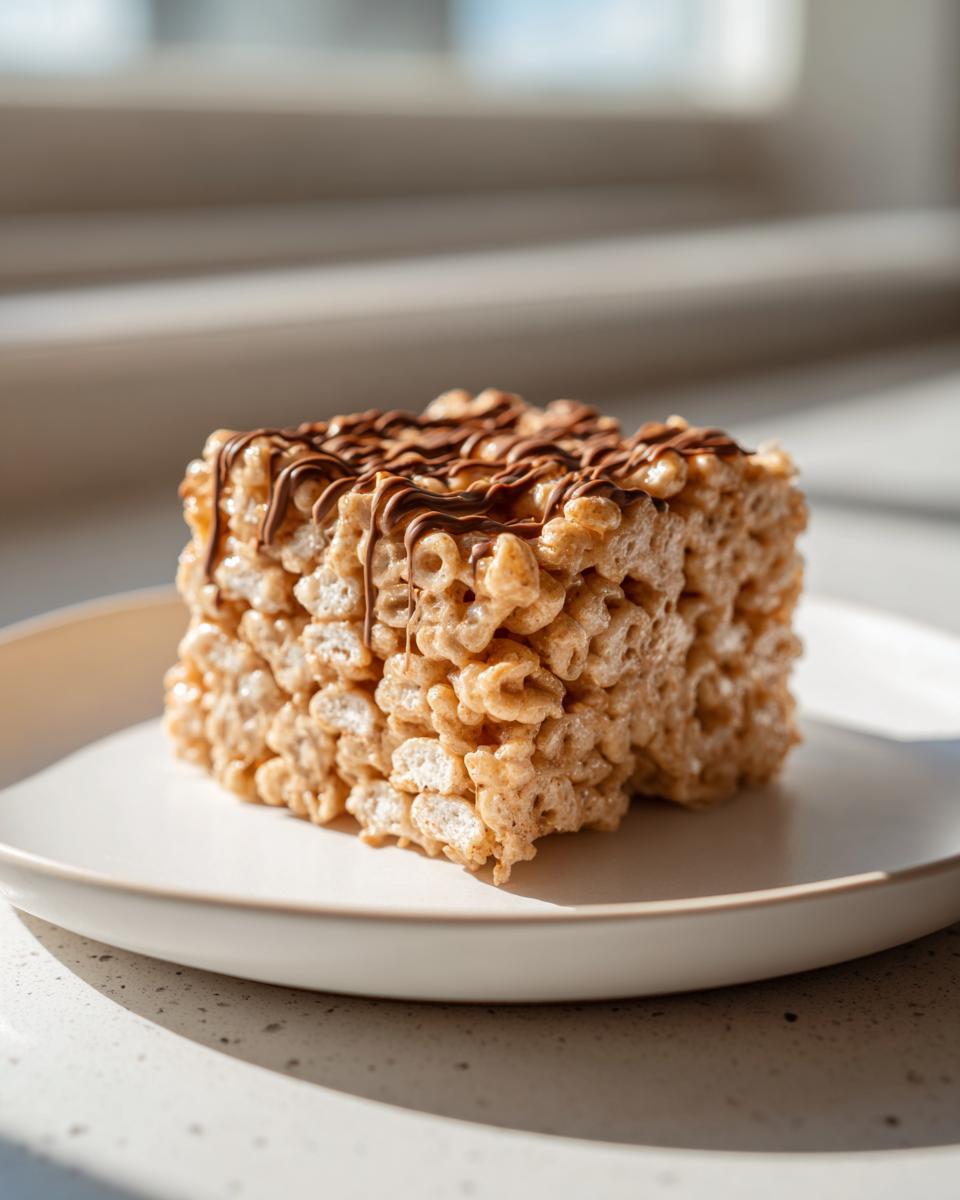
While the recipe in the instructions gives you, in my opinion, the absolutely perfect combination for classic peanut butter rice krispie treats, I know how much fun it is to mix things up a bit! Sometimes you just need that extra layer of decadence or a slightly different twist on your favorite snack. These little squares are so forgiving, which is why they are such a great example of a truly reliable, flexible recipe.
One of my favorite ways to boost the flavor of these easy peanut butter treats right in the mix is by adding extra texture components. Instead of just relying on the cereal, try folding in about half a cup of mini chocolate chips right along with the cereal! They won’t melt completely, but they soften up just enough to give you those little pockets of melted sweetness throughout.
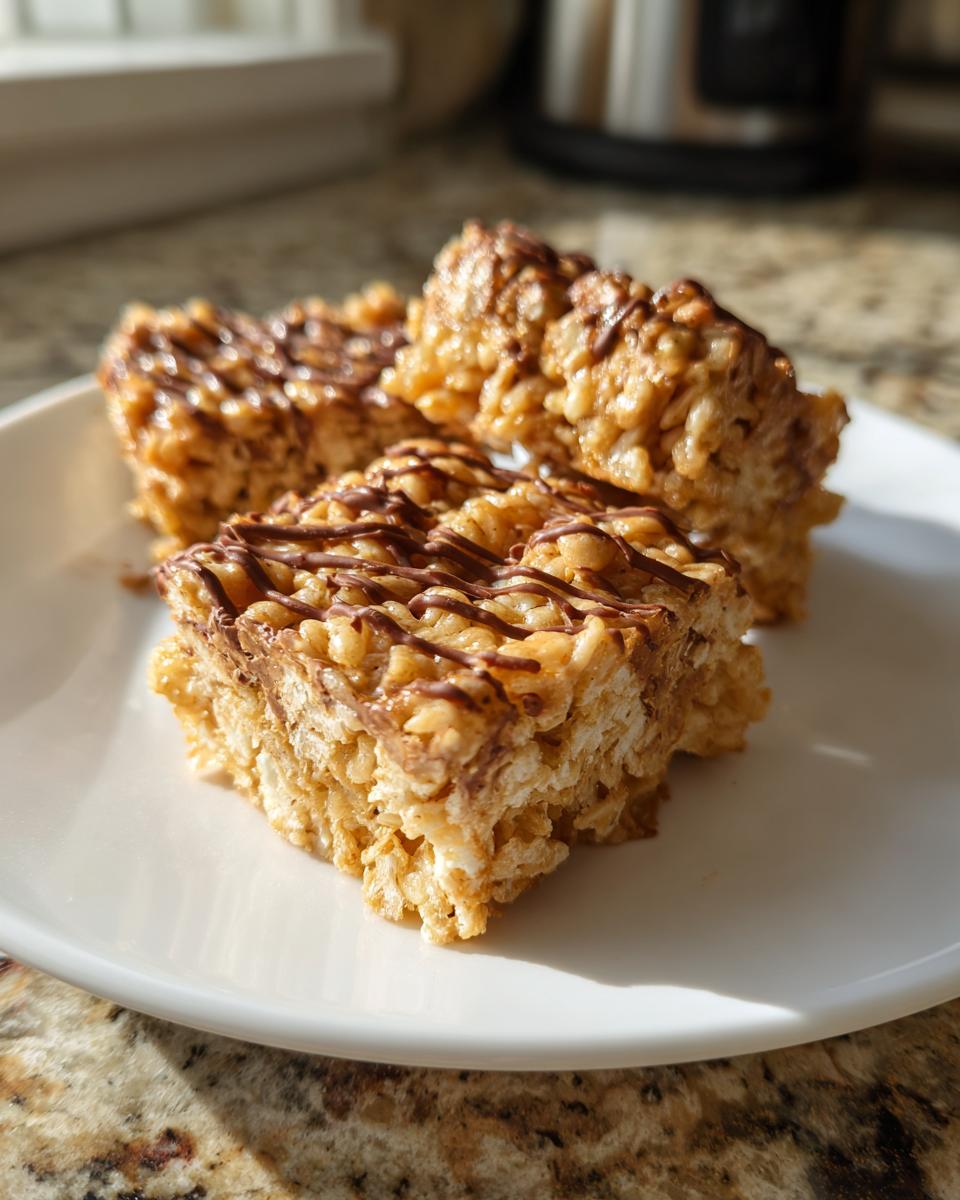
If you’ve looked around online, you might see references to things like Scotcharoos—those are absolutely divine and very similar! If you want to pivot toward that rich, slightly darker flavor profile, you can swap out the plain chocolate topping for a swirl of melted butterscotch chips mixed in with your semi-sweet chocolate chips. It adds a fantastic tang and richness that really compliments the nuttiness. You can find a similar idea for boosting flavor over in my guide on peanut butter cookies too, the principles are similar!
Now, what if you run out of creamy peanut butter but have crunchy? Go for it! It definitely changes the mouthfeel—you’ll get more of a crunch than that signature smooth chew of the no bake peanut butter cereal bars, but it’s perfectly acceptable in a pinch. Just remember that if you use a heavily oiled natural peanut butter, you might need to add an extra tablespoon of marshmallows to compensate for the reduced binding power.
For even more inspiration on quick, customized snacks, check out this great resource on how others have adapted their own 15 minute peanut butter dessert recipes!
Storage and Make-Ahead Tips for Peanut Butter Marshmallow Bars
Since these peanut butter rice krispie treats are so fast to make, you’d think you’d have to eat them all immediately, right? Wrong! This recipe is fantastic for making ahead of time, which is perfect when you are planning for a party or stocking up on easy snacks for the week. That’s why these count as such great Quick Rice Krispie Desserts—you prep them once, and you have snacking squared away for days!
The most important thing for keeping these Peanut Butter Marshmallow Bars from getting stale or oddly hard is keeping the air out. You absolutely must store them in an airtight container. I use glass containers mostly—my main tip here is to put a single sheet of parchment paper or wax paper on top of the bars before you put the lid on.
Why the paper on top? Because sometimes the chocolate topping gets a bit sticky, and you really don’t want the top layer sticking to the underside of the lid. If that happens, you’ll rip the top right off when you go to grab one!
If you store them this way, at cool room temperature—no need to refrigerate them, by the way, which can actually dry them out—they stay wonderfully fresh and gooey for about three to four days. If you’ve made a giant batch and need them to last longer, you can actually freeze them! Just cut them into squares first, stack them with parchment layers in between each bar, and tuck them into a freezer-safe zip-top bag. They freeze beautifully for up to a month. It’s amazing to pull one out on a random Tuesday and have a perfect, nostalgic treat ready to go!
Frequently Asked Questions About Peanut Butter Rice Krispie Treats
I know that even with the best instructions, little questions pop up when you’re trying something new, or when you’re trying to perfect an old favorite! I’ve gotten questions on everything from how to slice these neatly to whether you can skip the stovetop altogether. Here are some of the most common things folks ask me about making these peanut butter rice krispie treats. Hope this helps you get it right on the first try!
How do I prevent my peanut butter rice krispie treats from getting hard?
This is the struggle every baker of crispy squares faces! If they get too hard, it means one of two things happened: either you melted your marshmallows too long on the heat, causing them to set up past their prime, or you pressed the mixture into the pan way too firmly. You want to gently pat the mixture into place—just enough so it fills the corners. Don’t compact it like you’re setting concrete! Remember, we are aiming for those wonderfully gooey Rice Krispie snacks. For super clean cuts without crushing them, try chilling the whole pan in the fridge for about 30 minutes before slicing. It helps firm them up just enough to prevent squishing!
Can I use crunchy peanut butter in these easy peanut butter treats?
Yes, you absolutely can use crunchy peanut butter in these easy peanut butter treats if that’s what you have on hand or what you prefer! Just know that it changes the texture profile completely. The creamy version gives you that homogenous, smooth chewiness because the peanut butter binds the cereal almost invisibly. When you use crunchy, the texture becomes much more heterogeneous—you’ll have the smooth marshmallow mixed with those distinct, hard little peanut chunks.
It’s still delicious, mind you, but it won’t have the same signature smooth melt. Think of it this way: crunchy PB makes your bars crunchier overall, even if you are aiming for that soft, gooey center. If you decide to pivot your recipe strategy later, you can check out some great cutting tips over at Meals N Recipes that help with clean slices, whether you use creamy or crunchy for your no-crumbling peanut butter bars!
Serving Suggestions for Nostalgic No Bake Peanut Butter Bars
Once you pull these phenomenal Nostalgic No Bake Peanut Butter Bars out of the pan, you have to figure out the perfect way to serve them! Because these treats are so rich—we’ve got butter, marshmallows, and heavy peanut butter here—they go wonderfully with things that cut through that richness. They aren’t a delicate little cookie; they are a hearty, satisfying square!
My absolute favorite way to serve these, especially when I’ve made a batch for myself and I’m settling onto the couch for a cozy afternoon snack, is alongside a strong, slightly bitter beverage. They pair unbelievably well with a really good cup of hot, black coffee. The bitterness cleanses the palate after a bite of that sweet peanut butter fudge. If it’s a hot day, try pairing it with something equally bold, like my recipe for New Orleans Iced Coffee Creme Brulee—the cool spice really sings next to the nutty treat!
If you’re serving these at a party or kid’s event where coffee isn’t the right move, go the fruit route. A simple bowl of fresh strawberries or tart green apple slices offers a lovely, bright contrast. You get that perfect bite: sticky, sweet peanut butter, then a burst of fresh fruit acidity. It feels a little less heavy, even though these are delightfully rich squares.
And hey, if you’re preparing these for a cookie platter, make sure to cut them into slightly smaller portions than you think you need. Because they are so sturdy and satisfying, a smaller square goes a long way!
Estimated Nutrition for Peanut Butter Rice Krispie Treats
Now, I know we aren’t making these amazing peanut butter rice krispie treats because we are looking for rabbit food, but sometimes it helps to have a rough idea of what’s in that delicious square of happiness you just ate! Since we are making these right here in our own kitchens, the final numbers really depend on what brand of cereal or butter you use. I always say, cooking at home gives you total control, and that includes knowing your inputs!
I ran the numbers from the ingredients listed above through my usual calculation tool—this is just an estimate, of course, and it’s based on getting exactly 12 large squares from the batch—but it gives us a good baseline for these rich, wonderful snacks. You can always find more information comparing different snack nutrition profiles over at my post on high-protein waffles, just to see how these stack up compared to breakfast!
Here is what you can generally expect per serving (1 square):
- Serving Size: 1 square
- Calories: 250
- Sugar: 20g
- Fat: 12g
- Saturated Fat: 5g
- Carbohydrates: 35g
- Protein: 5g
- Cholesterol: 15mg
See? Delicious, satisfying, and totally worth it. Don’t sweat the numbers too much when you are enjoying one of these easy peanut butter treats; just make sure you savor every single chewy bite!
Share Your Favorite Peanut Butter Rice Krispie Treats Creations
That’s it friends! You are now armed with the secrets to making the absolute best, reliably gooey, super-rich peanut butter rice krispie treats. I put so much heart into making sure this recipe—from the gentle heating of the marshmallows to the light-touch pressing—delivers that nostalgic punch every single time without crumbling into a mess.
Now comes the part I love the most: seeing what you all create! Cooking is meant to be shared, and I truly want to know how these turned out for you. Did you add a swirl of chocolate? Did your family devour them faster than expected? I want to hear all the details!
Please take a moment to hop over and leave a star rating right below the recipe card. It helps other home cooks like you decide if this is the perfect 15 minute peanut butter dessert for their busy schedule. If you snap a picture of those beautiful, chewy squares, tag me on social media—seeing your creations honestly makes my day!
If you have any specific questions that popped up while you were melting those marshmallows or trying to decide on the correct level of press, don’t hesitate to reach out via the contact page. I read every message that comes through.
And if you’re looking for more inspiration on how other home chefs are customizing their peanut butter rice krispie treats, you can always check out what others are doing with similar no-bake goodness, like this great post on amazing variations over at Spaceships and Laser Beams!
PrintGooey Peanut Butter Rice Krispie Treats
Make these easy, no-bake peanut butter Rice Krispie treats for a chewy, nostalgic snack. This simple recipe results in rich, satisfying squares.
- Prep Time: 10 min
- Cook Time: 5 min
- Total Time: 15 min
- Yield: 12 large squares 1x
- Category: Dessert
- Method: No Bake
- Cuisine: American
- Diet: Vegetarian
Ingredients
- 6 cups puffed rice cereal
- 1 cup creamy peanut butter
- 1 cup (2 sticks) unsalted butter
- 1 (10 ounce) package marshmallows
- 1 teaspoon vanilla extract
- Optional: 1 cup semi-sweet chocolate chips for topping
Instructions
- Lightly grease a 9×13 inch baking pan or line it with parchment paper, leaving an overhang for easy removal.
- In a large saucepan over medium-low heat, melt the butter completely.
- Add the marshmallows to the melted butter. Stir constantly until the marshmallows are fully melted and smooth. Reduce the heat to low if the mixture starts to brown.
- Remove the saucepan from the heat. Stir in the creamy peanut butter and vanilla extract until fully combined and smooth.
- Add the puffed rice cereal to the marshmallow mixture. Use a rubber spatula to gently fold the cereal into the peanut butter mixture until it is evenly coated. Do not overmix.
- Transfer the mixture to the prepared baking pan. Lightly press the mixture evenly into the pan using the back of the spatula or a piece of wax paper. Do not press too firmly, as this can make the treats hard.
- If using the chocolate topping, melt the chocolate chips in a microwave-safe bowl in 30-second intervals, stirring until smooth. Drizzle or spread the melted chocolate over the top of the treats.
- Allow the treats to cool and set completely, about 1 hour at room temperature.
- Lift the treats out of the pan using the parchment paper overhang. Cut into squares.
Notes
- For the gooiest texture, use fresh marshmallows.
- If you want sturdy bars that do not crumble, press the mixture into the pan with light, even pressure.
- To make chocolate peanut butter rice krispies, you can swirl melted butterscotch chips into the chocolate topping.
Nutrition
- Serving Size: 1 square
- Calories: 250
- Sugar: 20
- Sodium: 150
- Fat: 12
- Saturated Fat: 5
- Unsaturated Fat: 7
- Trans Fat: 0
- Carbohydrates: 35
- Fiber: 1
- Protein: 5
- Cholesterol: 15