
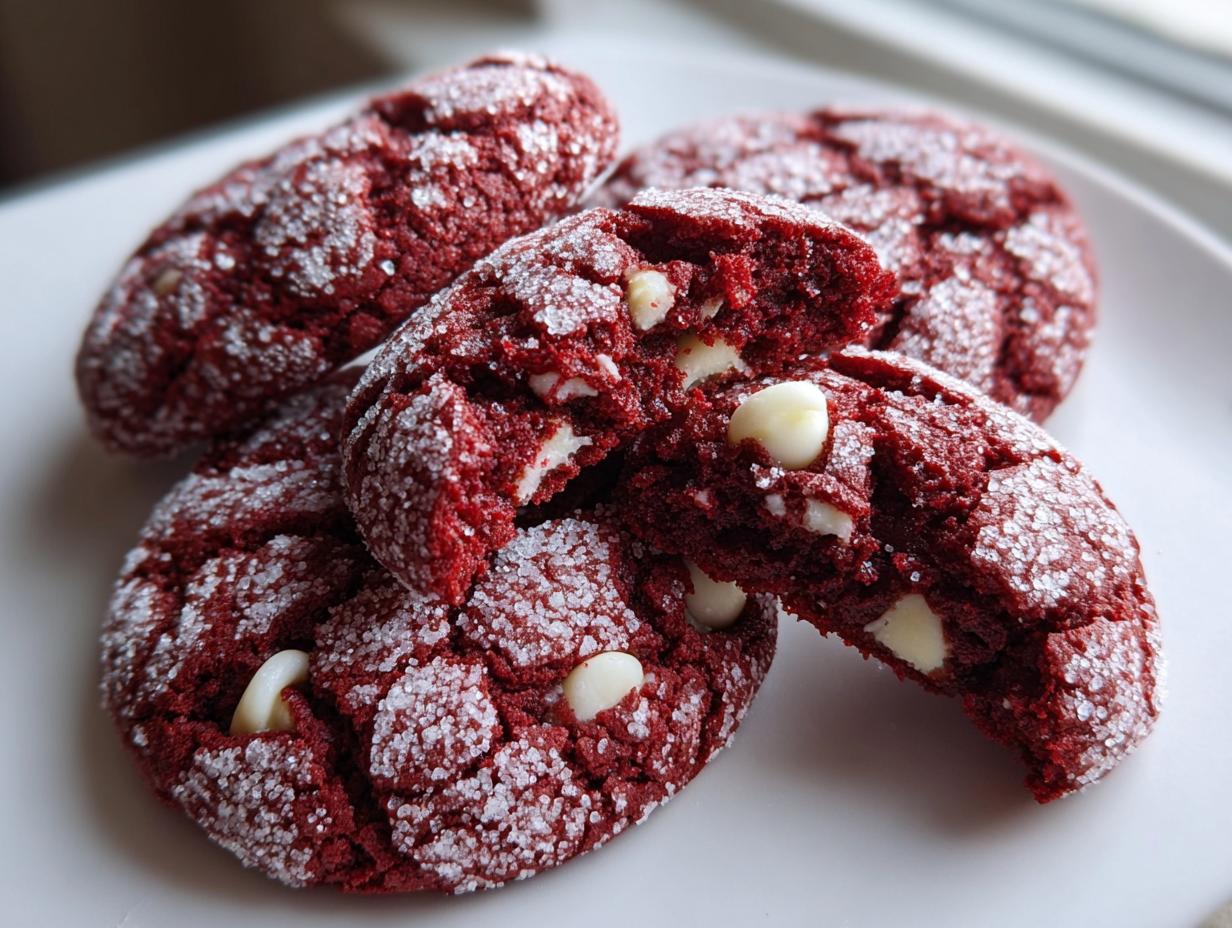
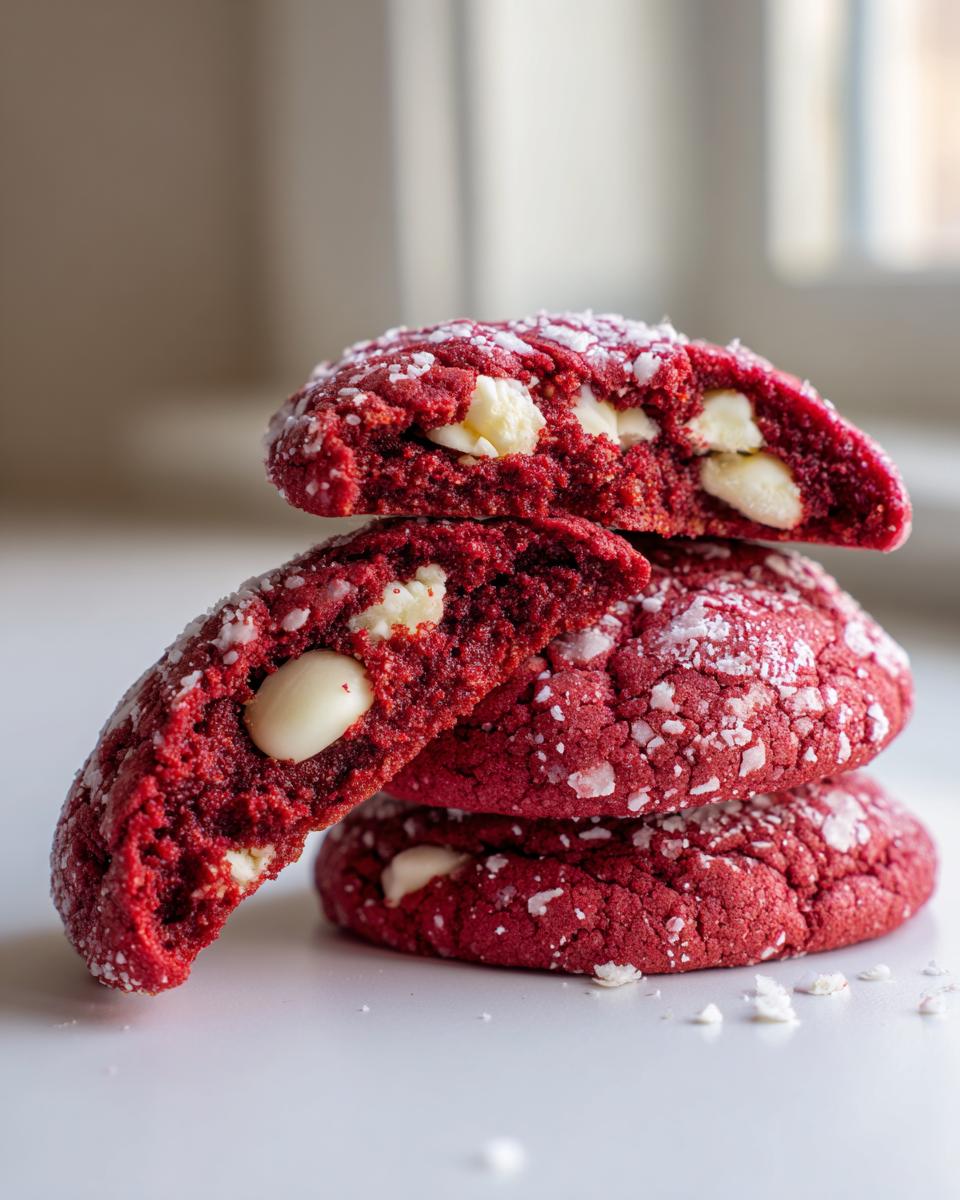
When the holidays roll around, or Valentine’s Day sweeps in, I always look to make something that just *pops* visually. Nothing fits that bill better than these gorgeous red velvet cookies. Forget those dry, crumbly versions you sometimes find; I’m showing you how to make Soft and Chewy Red Velvet Crinkle Cookies completely from scratch. This recipe focuses entirely on texture—that slight cocoa richness balanced by a sugary crunch on the outside.
I’m Michael Carter, and honestly, I developed this recipe because I wanted bakery-quality cookies without the fuss. I tested batch after batch right here in my home kitchen until I nailed that perfect chewiness. If you love baking for the sheer joy of bringing people together, you’re in the right place. Check out all my favorite delicious dessert recipes to round out your menu, but trust me, these cookies are the star.
- Why These Are the Best Red Velvet Cookies You Will Bake
- Ingredients for Soft and Chewy Red Velvet Crinkle Cookies
- How to Prepare Perfect Red Velvet Cookies From Scratch
- Tips for Achieving the Ultimate Soft Red Velvet Cookies
- Variations: Beyond Basic Red Velvet Cookies
- Storing Homemade Holiday Cookies
- Serving Suggestions for Festive Red Cookies
- Frequently Asked Questions About Red Velvet Cookies
- Nutritional Estimates for Red Velvet Cookies
- Share Your Homemade Red Velvet Cookies Creations
Why These Are the Best Red Velvet Cookies You Will Bake
I know, I know, everyone says their recipe is the best, but stick with me here. These Soft Red Velvet Cookies tick every box you could possibly want. They aren’t fussy, and they deliver exactly what the name promises, every single time.
- They cook up beautifully crinkled, giving that amazing visual contrast against the deep red.
- The texture is unbelievably Chewy Red Velvet Cookies magic—soft centers that melt in your mouth.
- We’re using simple ingredients that really let that mild cocoa flavor shine through, making them taste truly homemade, not artificial.
Ingredients for Soft and Chewy Red Velvet Crinkle Cookies
When we talk about making the absolute best red velvet cookies, it all starts right here on the counter with quality ingredients. Don’t try to swap things out too much, especially the coloring—that’s non-negotiable for the right look!
I like to lay everything out before I start mixing. It keeps things sailing smoothly, especially when we get to the quick baking stage. Here is exactly what you need for about two dozen of these beauties.
Components for the Red Velvet Cookie Dough
You’ll notice the vinegar and baking soda; they work together to give these cookies that slight, barely-there tang that balances the sweetness, just like in a classic red velvet cake. And for the color? We want it deep, not pale pink!
- 1 cup unsalted butter, sitting on the counter until it’s perfectly softened
- 1 1/2 cups granulated sugar, plus more for rolling later
- 2 large eggs, room temperature is always best
- 1 teaspoon vanilla extract
- 1 teaspoon white vinegar—don’t skip this little helper!
- 1/2 teaspoon baking soda
- 1/4 cup unsweetened cocoa powder for that traditional flavor
- 2 1/2 cups all-purpose flour
- 1 teaspoon salt
- 1 1/2 teaspoons red food coloring; I really mean it, use the gel kind if you can get it for that deep, rich hue
- 1 cup white chocolate chips, tossed in if you want my favorite version of these red velvet cookies!
Sugar for Rolling Red Velvet Cookies
This is key for the crinkle look you want! We need a dedicated final coating:
- Extra granulated sugar (about 1/2 cup needed) for rolling the dough balls in before they bake. This creates that gorgeous, sugary crackle when they spread in the oven.
How to Prepare Perfect Red Velvet Cookies From Scratch
It’s time to put the pedal down! Getting these red velvet cookies right is all about how you handle the mixing. Remember, we want to build air into this dough for that soft texture later. Make sure your oven is preheated to 350°F (175°C) before you even start scooping.
Mixing the Wet Ingredients for Rich Red Velvet Cookies
Grab your biggest bowl. We start by creaming that softened butter with the 1 1/2 cups of sugar. You want this to look pale yellow and really fluffy—this process incorporates the air we need so they aren’t dense hockey pucks later. Once that’s looking good, beat in your eggs one at a time, making sure they fully blend in before adding the next. Finally stir in the vanilla and that little secret weapon, the white vinegar.
Combining Dry Ingredients and Coloring the Dough
While the wet side is looking lovely, take a moment to whisk together your flour, cocoa powder, baking soda, and salt in a separate bowl. Now, slowly add those dry ingredients to the wet mixture, and here’s the rule: mix on low speed until it’s *just* combined. We are heading toward chewy red velvet cookies, so overmixing the flour is our enemy!
Now for the fun part! Add the red food coloring. Mix slowly until you see a beautiful, uniform red color everywhere. If you decided to add those white chocolate chips, fold those in gently with a spatula now. You can check out my tips for making classic chocolate chip cookies for more on folding!
Chilling, Rolling, and Baking Your Red Velvet Crinkle Cookies
The single most important thing for getting that beautiful crackle is chilling the dough—even 30 minutes helps them hold their shape longer before they spread. Scoop your dough into balls (about 1.5 tablespoons each) and roll them completely, making sure they are totally coated in that extra granulated sugar. Place them on parchment-lined sheets.
Bake for 10 to 12 minutes. Pull them out when the edges look set, but the centers still look slightly soft. I still stress this point: they need to look a *little* underdone when they come out. That slight softness guarantees you end up with those deeply chewy red velvet cookies once they cool down completely on the pan.
Tips for Achieving the Ultimate Soft Red Velvet Cookies
You’ve got the recipe, but baking these red velvet cookies consistently, batch after batch, that’s where the real home cook skills come in. If you’re aiming for that perfect, vibrant look and that soft, yielding chew, pay attention to these little details. They really elevate what is already an Easy Red Velvet Cookie Recipe.
The Secret to Deep Color in Red Velvet Cookies
That beautiful, deep red color doesn’t come from a bottle of water-based dye. If you use the standard liquid drops, you end up adding too much liquid, which messes up your beautiful dough balance, and the color comes out pale. Seriously, invest in a little jar of gel food coloring; it packs way more punch with just a drop or two. Remember, the small amount of cocoa powder we use will slightly mute the red, so you definitely need that gel intensity to make these festive red cookies truly pop.
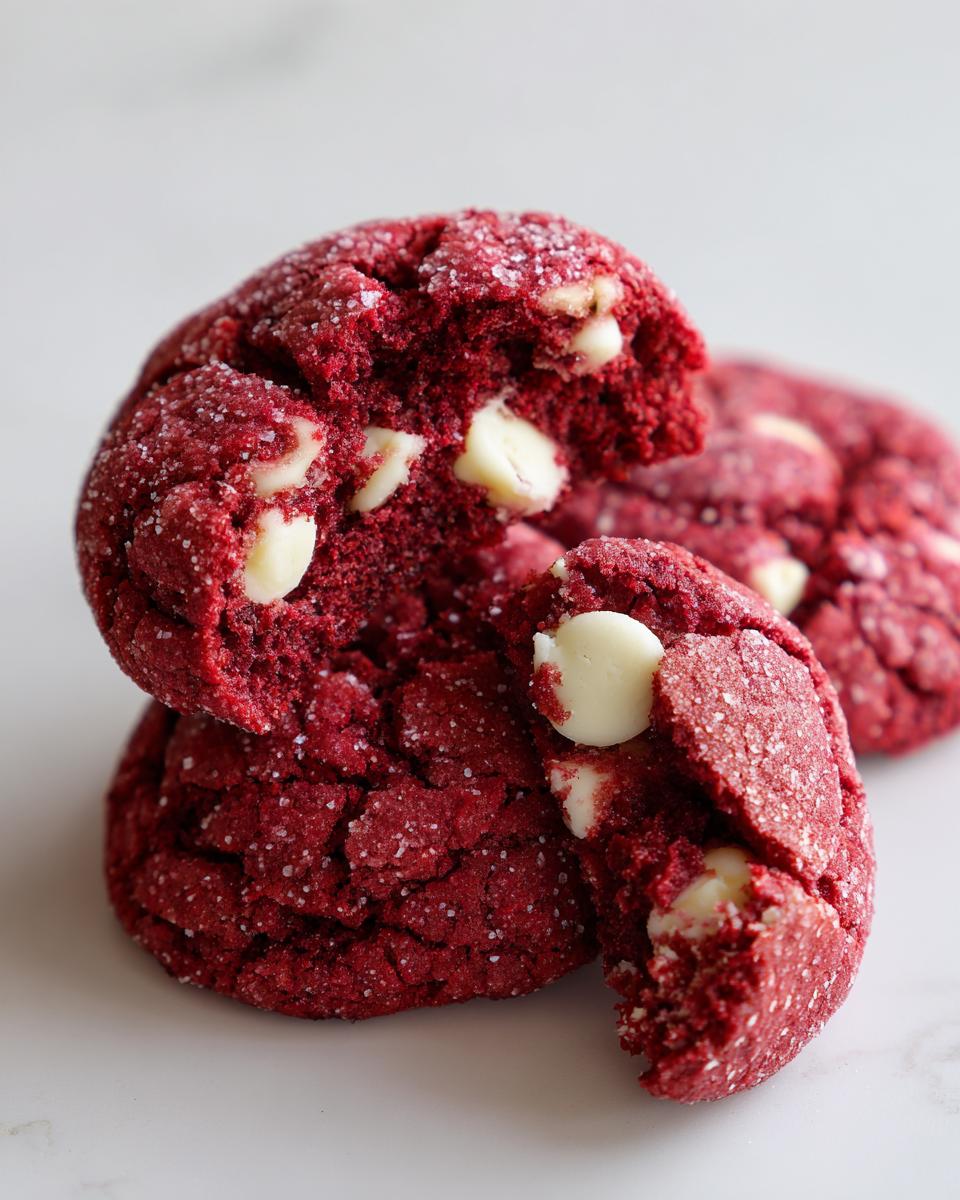
Ensuring Chewy Red Velvet Cookies Texture
Texture is everything! The primary rule here is hands off once the flour goes in—only mix until you see streaks disappear. Overmixing develops gluten, and suddenly your soft, dreamy cookie turns into something tough when you wanted those Chewy Red Velvet Cookies. Also, when they come out of the oven, don’t rush to move them! Let them set up on the hot baking sheet for a solid five minutes. That residual heat finishes baking the very center without drying out the outside.
If you’re looking for more baking wisdom centered on technique, check out my guide on easy moist banana bread—the same principles around gentle mixing apply there too! For alternative shaping inspiration, sometimes I look at techniques like pan-banging cookies, though for this crinkle style, chilling is your best friend.
Variations: Beyond Basic Red Velvet Cookies
So, while I’ve perfected this scratch version of red velvet cookies for that perfect soft and chewy center, I know you bakers out there love to tweak things! If you’re looking for something different, maybe something quicker, or maybe something that feels even more decadent, we can totally make that happen without wrecking the basic structure.
It’s fun to look at other ideas out there, too. For instance, if you want the speed of a boxed mix, I hear they turn out great, though they won’t have the exact same deep flavor as these from-scratch ones. You can always check out an easy cake mix version if you’re short on time!
Adding Cream Cheese Frosting to Red Velvet Cookies
If you absolutely need that classic cake pairing, turning these into Frosted Red Velvet Cookies is simple. Once these crinkle cookies cool completely—and I mean *completely*—you can top them with a thick layer of cream cheese frosting. It turns the rich cookie into a mini-dessert sandwich. I’ve got a great cream cheese frosting recipe that works wonderfully if you check out my post on cinnamon sugar cream cheese rolls; just leave out the cinnamon!
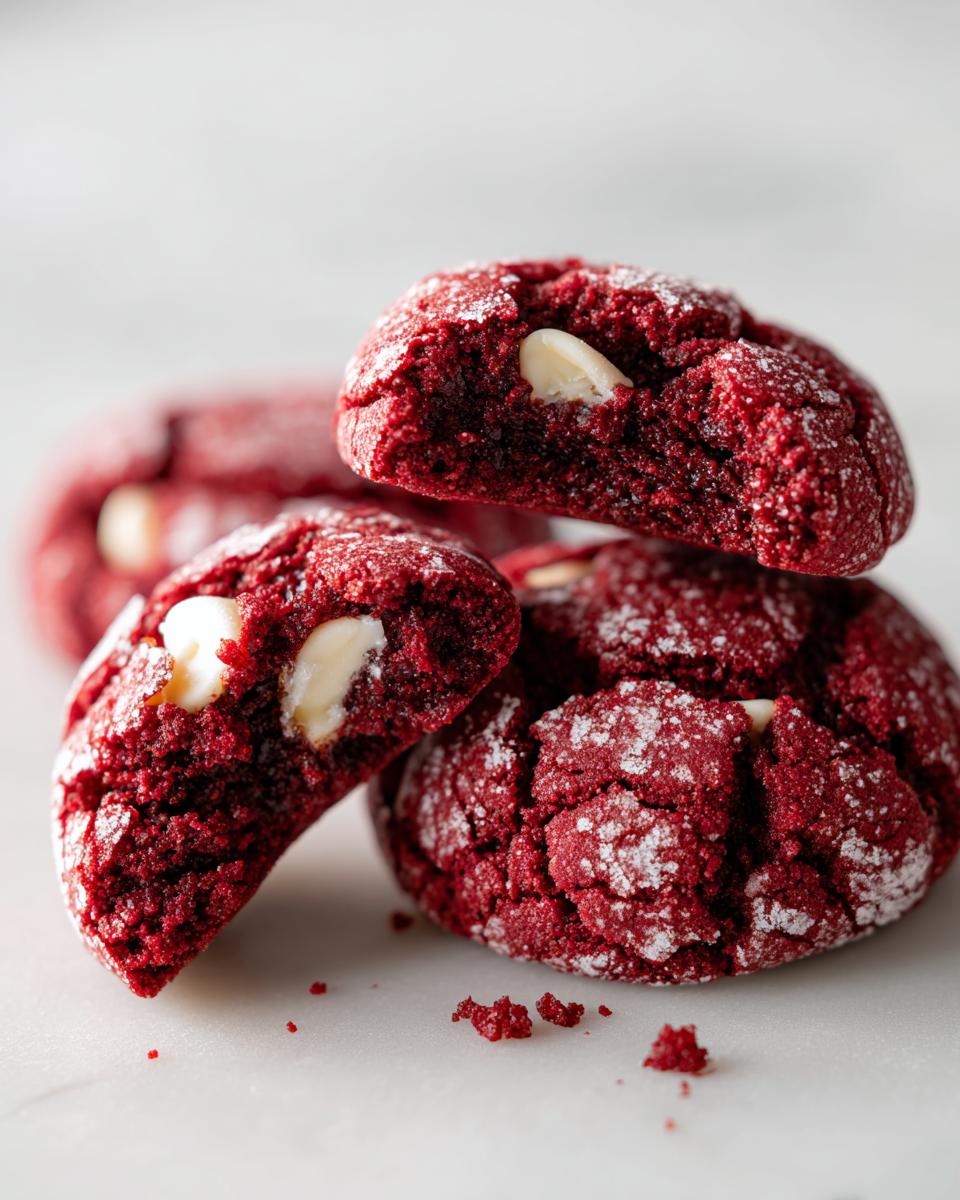
Incorporating White Chocolate Red Velvet Cookies
I told you I love those white chocolate chips in the main dough, and honestly, I think they belong here! They melt just enough while baking to create marvelous little pools of sweetness that contrast perfectly with that mild cocoa flavor. If you make a batch without them, you get a purer chocolatey bite, but trust me, adding them makes these White Chocolate Red Velvet Cookies extra special for holidays like Christmas or Valentine’s Day.
Storing Homemade Holiday Cookies
These aren’t the kind of cookies you want to leave sitting out uncovered! If you want your beautiful Homemade Holiday Cookies to stay soft and chewy, storage is everything. Once completely cool—make sure they are cool or the steam gets trapped—you need an airtight container.
I’ve found they stay absolutely perfect for about four days just sitting on the counter in that container. If you need them to last longer, you can actually freeze them for up to three months! Just separate the layers with parchment paper so they don’t stick together. It’s a lifesaver after a big baking marathon. Check out my tips for freezing baked goods over on my easy pumpkin bars recipe page; the method is the same!
Serving Suggestions for Festive Red Cookies
Now that you have these show-stopping Festive Red Cookies, how should you serve them? They look amazing piled high on a simple white platter for Christmas or Valentine’s Day gatherings. They are rich enough to be a dessert centerpiece all on their own.
But if you want the full symphony experience, pair them with something cool and creamy. A hot, dark beverage like coffee or rich hot cocoa works beautifully to balance the sweetness. Or, if you’re hosting a party, I highly recommend making a big batch of my Poison Apple Punch—the tartness cuts right through the richness!
If you’re looking for inspiration on pairing textures, check out how Paula handles her white chocolate variations; it’s always fun to see what other bakers are doing for presentation!
Frequently Asked Questions About Red Velvet Cookies
When you’re making something as iconic as the red velvet cookies, people always have questions! I’ve gathered the ones I hear most often from readers trying out this Easy Red Velvet Cookie Recipe for the first time. Let’s clear up any last-minute baking doubts so you get perfect results!
Can I substitute the red food coloring in these red velvet cookies?
Look, the red color is a huge part of the appeal, right? It’s what makes them festive red cookies! While you *could* try using beet juice for a natural alternative, you’ll end up watering down your dough, and the flavor profile will change entirely from that classic red velvet essence. For the best look, you really need that concentrated gel coloring I mentioned earlier.
How do I make these into Copycat Crumbl Red Velvet Cookies?
That’s a great question. These Red Velvet Crinkle Cookies are designed to be soft and chewy with a delicate crackle, which is different from those huge, super-thick bakery cookies. If you are aiming for that famous copycat experience, the key is to focus on the frosting. Bake these just slightly under the 12-minute mark, and dollop them generously with a really thick, tangy cream cheese frosting once they cool. That combination will get you much closer to that style!
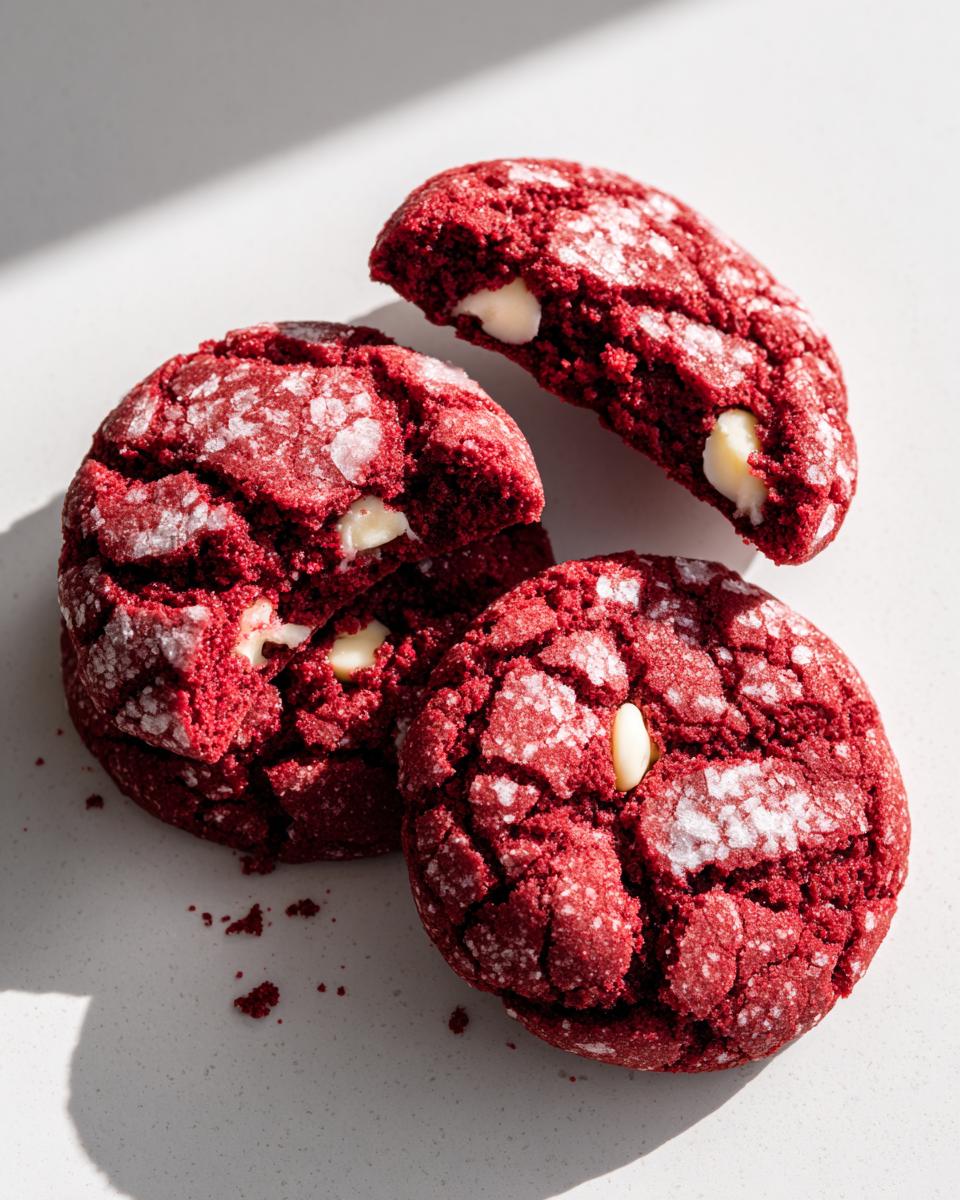
Why are my red velvet cookies not crinkling?
It’s frustrating when the crinkle doesn’t show up! Usually, one of two things is the culprit. First, did you make sure to chill that dough for at least 30 minutes? Chilled dough spreads slower, allowing the exterior sugar coating to set before the cookie puffs up, which creates those nice fissures. Second, ensure every single part of the dough ball was totally coated in sugar before it hit the pan. If you miss a spot, that area won’t crackle!
Nutritional Estimates for Red Velvet Cookies
Now, look, I’m a home cook, not a registered dietitian, so take these numbers as a general guide for what’s going into your body when you enjoy these amazing red velvet cookies. Since we are making these from scratch, the exact values can shift a bit depending on the brand of flour or butter you use, especially if you opt for those delicious white chocolate chips!
This information is based on the recipe yielding 24 cookies. If you end up making bigger scoops—and believe me, tempting as that is—the numbers per cookie will obviously change. This is where we see the value of making our own Homemade Holiday Cookies; we control exactly what goes in!
Here is the breakdown:
- Serving Size: 1 cookie
- Calories: 220
- Sugar: 20g (That’s the goodness from the sugar coating!)
- Fat: 11g (This is where the soft texture comes from!)
- Saturated Fat: 7g
- Trans Fat: 0g
- Carbohydrates: 30g
- Fiber: 1g
- Protein: 3g
- Cholesterol: 35mg
Enjoy them guilt-free! Baking these beautiful festive red cookies is about joy, not strict dieting. Just make sure you store them properly in an airtight container so they stay fresh for the next time you need a chewy treat!
Share Your Homemade Red Velvet Cookies Creations
Alright, the moment of truth! You’ve made the ultimate batch of red velvet cookies, right? You’ve got that perfect crackle, that soft, chewy interior, and that amazing deep red color shining on your plate.
I absolutely love seeing what you all create in your kitchens. Don’t keep all this deliciousness a secret! After you’ve had a moment to enjoy them (and I know you will!), please do two things for me.
First, if these cookies were a hit—and I bet they were—take a second to leave me a star rating right down below and drop a comment telling me how they turned out for you. Did you happen to add the white chocolate chips? Did you try them frosted? Your feedback helps other bakers feel confident trying this Easy Red Velvet Cookie Recipe next time.
Second, snap a quick picture! Tag me on social media so I can admire your handiwork. It genuinely means the world to me to see my recipes in action outside of my own kitchen. If you have any last-minute questions that popped up while baking, you can always reach out through my contact page. Happy baking, everyone!
PrintSoft and Chewy Red Velvet Crinkle Cookies
You can make soft and chewy red velvet cookies that look festive and taste rich. This recipe uses simple ingredients to create a cookie with a slight cocoa flavor and a beautiful crinkle finish, perfect for holidays or any day.
- Prep Time: 20 min
- Cook Time: 12 min
- Total Time: 32 min
- Yield: 24 cookies 1x
- Category: Dessert
- Method: Baking
- Cuisine: American
- Diet: Vegetarian
Ingredients
- 1 cup unsalted butter, softened
- 1 1/2 cups granulated sugar, plus extra for rolling
- 2 large eggs
- 1 teaspoon vanilla extract
- 1 teaspoon white vinegar
- 1/2 teaspoon baking soda
- 1/4 cup unsweetened cocoa powder
- 2 1/2 cups all-purpose flour
- 1 teaspoon salt
- 1 1/2 teaspoons red food coloring (gel works best)
- 1 cup white chocolate chips (optional inclusion)
Instructions
- In a large bowl, cream together the softened butter and 1 1/2 cups of granulated sugar until light and fluffy.
- Beat in the eggs one at a time, mixing well after each addition. Stir in the vanilla extract and white vinegar.
- In a separate bowl, whisk together the flour, cocoa powder, baking soda, and salt.
- Gradually add the dry ingredients to the wet ingredients, mixing on low speed until just combined.
- Add the red food coloring and mix until the dough reaches a uniform, deep red color. If using, fold in the white chocolate chips.
- Place about 1/2 cup of extra granulated sugar in a shallow dish.
- Scoop the dough into balls, about 1.5 tablespoons each. Roll each dough ball completely in the extra granulated sugar until fully coated.
- Place the sugared dough balls on baking sheets lined with parchment paper, leaving about 2 inches between them.
- Bake at 350°F (175°C) for 10 to 12 minutes. The edges should be set, but the centers should still look slightly soft for a chewy texture.
- Let the cookies cool on the baking sheet for 5 minutes before transferring them to a wire rack to cool completely. The crinkle effect will develop as they cool.
Notes
- For the best crinkle effect, chill the dough for at least 30 minutes before rolling in sugar and baking.
- If you want a more intense red color, use a high-quality gel food coloring instead of liquid drops.
- These cookies pair well with a simple cream cheese frosting if you prefer a frosted red velvet cookie variation.
Nutrition
- Serving Size: 1 cookie
- Calories: 220
- Sugar: 20
- Sodium: 150
- Fat: 11
- Saturated Fat: 7
- Unsaturated Fat: 4
- Trans Fat: 0
- Carbohydrates: 30
- Fiber: 1
- Protein: 3
- Cholesterol: 35