
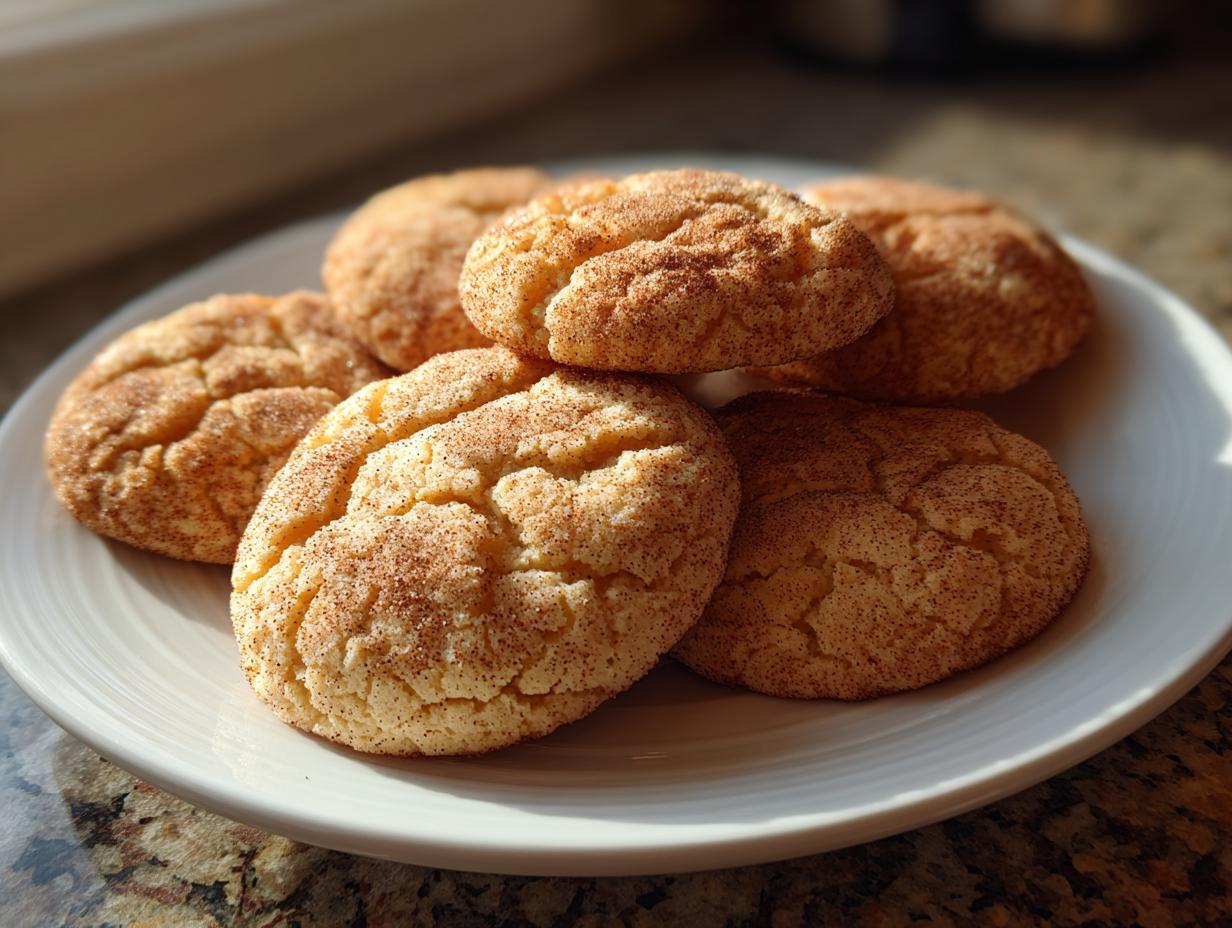
There’s just something about the snap of a perfectly sugary crust giving way to a wonderfully soft, almost pillowy center. It’s pure comfort, right? Here at Delish Symphony, we’ve spent countless hours testing recipes to crack the code on what makes a cookie truly memorable. Forget those flat, quick-spreading versions; this is my tried-and-true recipe for the absolute best snickerdoodle you will ever make—guaranteed soft and wonderfully chewy every single time. I’m Michael Carter, and my goal isn’t to give you complicated choreography for your kitchen. It’s about finding the accessible, harmonious flavors that make cooking joyful. My whole philosophy, which started in my own busy kitchen while balancing a demanding IT job, is making food that tastes gourmet but is actually surprisingly simple to execute from scratch. We’re stripping away the pressure here, so get ready to bake something sensational.
We believe in accessible ingredients and practical techniques that fit your real life. If you want to see where the heart of our kitchen inspiration comes from, you can always read more about our mission over at Delish Symphony.
- Why This is the Best Chewy Snickerdoodle Recipe
- Gathering Ingredients for Perfect Snickerdoodle Cookies
- How to Prepare Your Easy Snickerdoodle Cookies
- Tips for Making Thick and Fluffy Cookies
- Storage and Reheating Instructions for Homemade Snickerdoodles
- Frequently Asked Questions About Snickerdoodle Baking
- Estimated Nutritional Information for Classic Snickerdoodle
- Share Your Snickerdoodle Creations
Why This is the Best Chewy Snickerdoodle Recipe
What separates this recipe from the hundred others you see online? Honestly, it comes down to texture. Whenever I bake for friends, the first comment I always get is, “Wow, these are the soft snickerdoodles I’ve been looking for!” I’ve gone through batches where the cookies went paper-thin, and others that came out too cakey. After serious testing—and I mean serious testing—I found the exact ratio of fat and leavening to lock in that wonderfully chewy texture.
These aren’t just sweet cookies; they are truly buttery snickerdoodles, thanks to using full-fat butter, properly creamed of course. I test every batch, making micro-adjustments to the resting time and the oven temperature just to ensure you never end up with a sad, flat disc. We want substance, smiles, and a comforting chew that lasts.
The Secret to Soft and Fluffy Cookies
If you take only one thing away from this guide, please let it be this: Never skip the cream of tartar. I know, it sounds old-fashioned, maybe even unnecessary when you have baking soda right there. But cream of tartar is what chemically separates a genuine snickerdoodle from a fancy sugar cookie. It’s an acid, and when it reacts with the baking soda, it creates that classic, subtle tanginess you expect. More importantly, it inhibits the sugar from crystallizing too much, which keeps the cookies wonderfully soft and fluffy for days. If you try to skip it, you’re going to end up with hard, crumbly cookies. Trust me on this one; it’s the cornerstone of a truly great homemade snickerdoodle.
Gathering Ingredients for Perfect Snickerdoodle Cookies
When you’re aiming for that perfect, buttery texture that makes these cookies legendary, you can’t just grab anything off the shelf. Baking from scratch requires clarity on what you’re using, especially for these classic cookie recipes. I’ve listed everything you need below. Remember, using quality basics is the first step toward delicious dessert recipes.
- 1 cup unsalted butter, softened
- 1 1/2 cups granulated sugar
- 2 large eggs
- 2 teaspoons vanilla extract
- 2 3/4 cups all-purpose flour
- 2 teaspoons cream of tartar
- 1 teaspoon baking soda
- 1/2 teaspoon salt
- 1/4 cup granulated sugar (for coating)
- 2 tablespoons ground cinnamon (for coating)
Ingredient Notes and Substitutions for Your Snickerdoodle Dough
Before you start mixing, let’s talk about temperature and ratios because they matter a whole lot for your snickerdoodle dough. First up, your butter needs to be genuinely softened—not melted, but soft enough that when you press it, your finger leaves a nice dent. I usually pull mine out a good two hours before I plan to bake.
The eggs should also be at room temperature. Cold eggs can shock the creamed butter mixture and cause it to curdle slightly, which ruins the beautiful air pockets we worked so hard to create earlier. This is key for getting those thick and fluffy cookies!
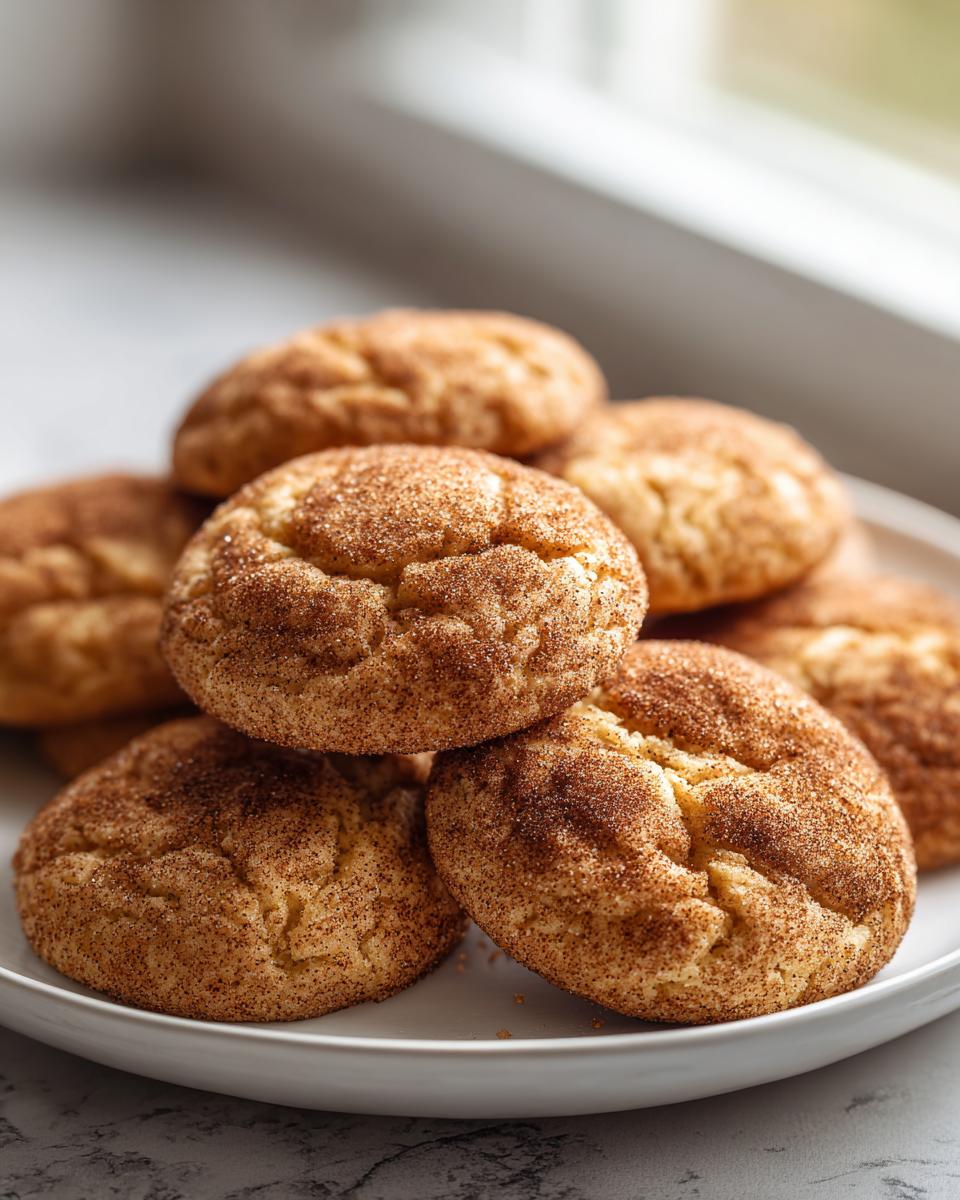
Now about that coating—the ratio of sugar to cinnamon is very important for a truly appealing cinnamon sugar coating. We’re using a 2-to-1 ratio of sugar to spice here (1/4 cup sugar to 2 tablespoons cinnamon). If you want a stronger spice note, you can bump that cinnamon up slightly, but don’t go much higher or it starts tasting bitter. Think of this blend as the delicious crunchy hug your cookie needs!
How to Prepare Your Easy Snickerdoodle Cookies
Alright, now that our ingredients are prepped and ready to go, let’s get to the fun part: turning that gorgeous batter into classic snickerdoodle perfection. This is where the magic happens, and trust me, the warm, buttery scent that starts filling your office or living room is your first reward! Before we even touch the dough, make sure your oven is preheated to 375 degrees F. Putting cookies into a cold or too-cool oven is the fastest way to make them spread out into thin, sad puddles, and we absolutely cannot have that on our watch.
Mixing the Dough: Achieving the Right Consistency
This step is where we build air and set up that wonderful texture. Grab your big mixing bowl and beat that softened butter and the main portion of sugar (the 1 1/2 cups) together until it looks genuinely light and fluffy—I mean, visibly paler yellow. Next, slowly beat in your eggs one at a time. Don’t rush this; give each egg a minute to fully incorporate before adding the next one, followed by that vanilla extract.
In a separate bowl, whisk your dry components: the flour, baking soda, salt, and that crucial cream of tartar. Now, we add the dry mix to the wet mix in stages. This is super important for preventing dry pockets and keeping everything smooth. Mix on the lowest speed, or even by hand if you prefer, just until you see everything come together—I mean *just* combined. I cannot stress this enough: Do not overmix! Once you see the last flour streak disappear, stop. Overmixing develops too much gluten, and that is the express lane to hard cookies, completely defeating our goal for a soft snickerdoodle.
Coating and Baking Your Snickerdoodles
While the dough is resting (if you chose to chill it for extra thickness—and I hope you did!), get your coating ready in a shallow dish. Mix that remaining 1/4 cup of sugar with the 2 tablespoons of cinnamon. It should smell intensely spicy and sweet!
Grab a rounded tablespoon of dough, roll it quickly between your palms into a nice, tight ball, and then—and this is critical—roll that ball *liberally* in the cinnamon-sugar mixture until it is completely coated. I mean, no part of the tan dough should show through the coating. Place these perfectly coated balls about 2 inches apart on your parchment-lined baking sheets.
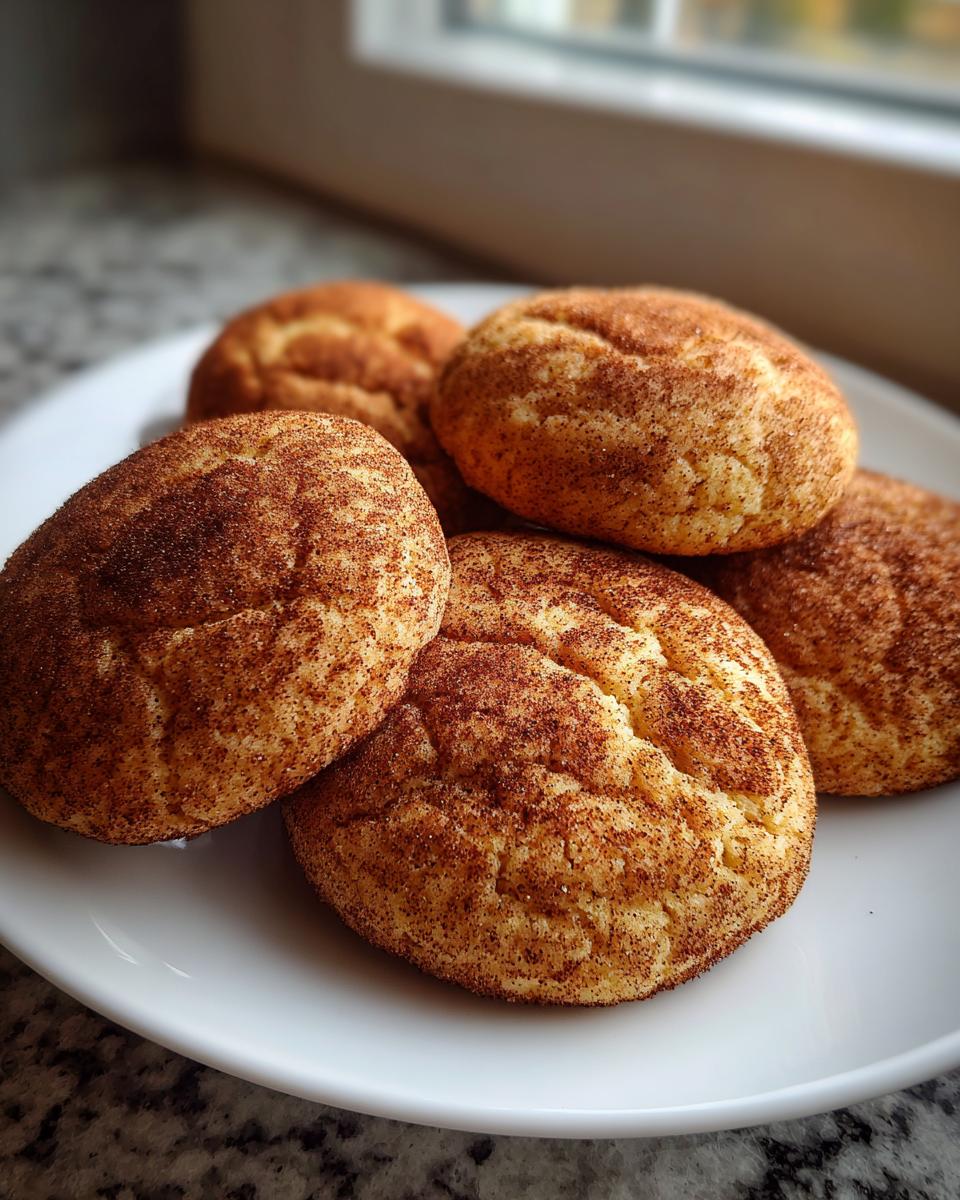
Bake them for about 8 to 10 minutes at 375°F. Watch carefully! You are looking for specific visual cues: the edges should look set, maybe just starting to turn a very light gold, but the center absolutely needs to look slightly underdone—puffy and soft. If they look totally crispy in the middle, they will be rock hard when they cool. Once you pull them out, resist the urge to touch them! Let them sit right there on that hot pan for a full 5 minutes. This slight residual baking stops them from collapsing, but the cooling on the metal finishes setting the texture just right before you transfer them to a wire rack. Perfection!
Tips for Making Thick and Fluffy Cookies
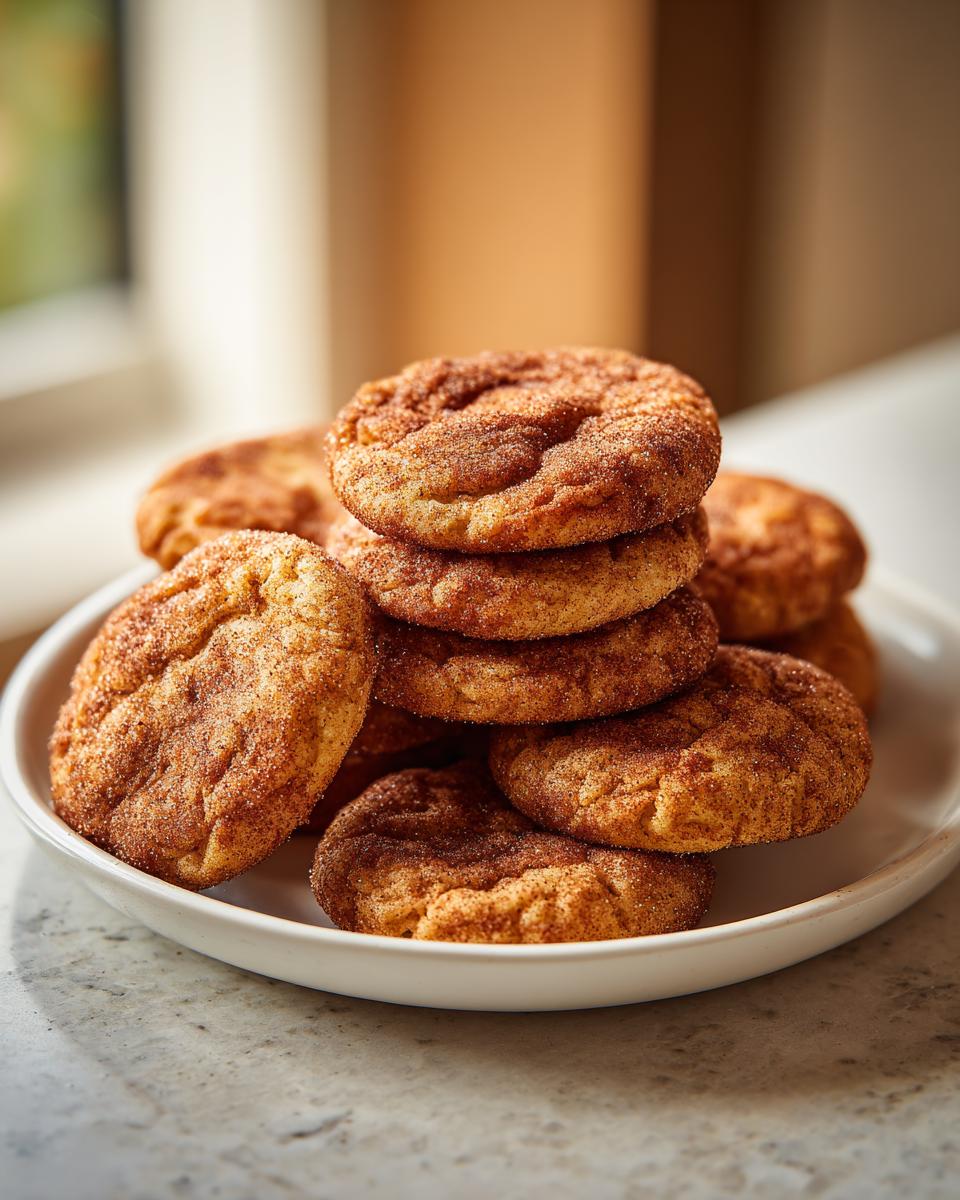
We’ve established the core recipe gives amazing results, but if you want to elevate your cookies from great to absolutely legendary—thick, pillowy, and almost cartoonishly fluffy—you need to pay attention to timing and temperature. This is where a little patience pays off huge dividends in texture, even if they aren’t technically baked yet!
The very best advice I can give you for achieving that irresistible thickness, especially nice for the holidays, is chilling the dough. The recipe notes mention chilling for 30 minutes, and honestly, I almost always go for an hour. Why? When the fat (butter) is cold, the cookie dough ball spreads much slower in the oven. Slower spreading means the ingredients have time to set up before they melt flat.
I remember one frantic Christmas Eve when I tried to skip the chill entirely because I was running so late. Big mistake! I ended up with beautiful flavor, but the cookies spread into large, thin wafers that looked more like pancakes than proper cookies. They were still tasty, of course—you can’t ruin butter and cinnamon, really—but they didn’t have that satisfying, thick chew I always aim for. It was a lesson learned: cold dough equals thick cookie.
Another thing that really impacts fluffiness is the size of your dough balls. Make sure you’re using a consistent scoop, maybe a measuring spoon or a small cookie scoop. When all your cookies start and finish baking around the same time, you don’t end up with some that are burnt on the bottom while you wait for the gigantic ones to finish. Consistency across the board is just good sense in the kitchen. These baking strategies are why I feel so comfortable sharing these recipes; they are based on real-world trial and error right here in my own kitchen.
Storage and Reheating Instructions for Homemade Snickerdoodles
Everyone knows the joy of having a fresh batch of these sweet, cinnamon-dusted cookies left over, but that joy fades fast if they turn brittle overnight! The key to keeping these beauties tasting like they just came out of the oven is simple: protection from air. We want to lock in all that wonderful chewiness we worked so hard to achieve.
Once the cookies have cooled completely on the wire racks—and I mean completely, or you’ll end up with steam condensation and soggy bottoms—it’s time to put them away. Store your cookies in a single layer or separated by parchment paper in a genuinely airtight container. If you stack them directly on top of each other while they are still warm, the cinnamon coating will soften and stick together instantly, making for a less-than-ideal experience the next day.
I find that these cookies stay beautifully soft and chewy at cool room temperature for about three to four days, given the proper airtight seal. If you’ve made a massive batch—and let’s be honest, who hasn’t?—you can absolutely freeze them. Lay the cooled cookies on a baking sheet and pop them in the freezer until they are solid. Then, transfer those frozen treats into a heavy-duty freezer bag or container. They’ll hold up perfectly for about two months, ready whenever a craving hits!
Now, what about that one lonely cookie left on day five that’s lost just a bit of its spring? Don’t throw it out! We can revive most of that soft texture with a quick heat blast. Pop the slightly firm cookie onto a microwave-safe plate and heat it for just 8 to 12 seconds. Seriously, don’t walk away! That short burst of heat softens the butter back up just enough to make it melt-in-your-mouth tender again. You can enjoy that taste experience again thanks to sensible storage and a little kitchen trickery. If you’re interested in other pantry staples made easy, check out my guide on making homemade granola recipe for fantastic breakfasts!
Frequently Asked Questions About Snickerdoodle Baking
It’s completely normal to have a few burning questions when you’re setting out to bake a true classic like this. We all want that perfect outcome, especially when aiming for those deeply satisfying, buttery snickerdoodles. I’ve gathered up the most common things readers ask me about making these cookies from scratch.
Can I really skip the cream of tartar in this recipe?
Oh, I wish I could tell you yes, but for a real, authentic snickerdoodle experience, you absolutely need it. Cream of tartar is the reason these cookies have that signature slight tang that cuts through the sweetness. Without it, you’re basically making a standard sugar cookie dusted heavily with cinnamon. That acid component is essential for texture, too, as it helps keep the final product soft. If you absolutely cannot find it, you can try this quick fix for some batches: mix 1 teaspoon of white vinegar or lemon juice with 1/2 teaspoon of baking soda right before adding it to your dry mix. It mimics the acidity, but trust me, the texture isn’t quite the same as the real deal!
Why did my cookies spread out so much? They aren’t thick and fluffy!
That is the most common sadness when baking cookies, isn’t it? Usually, there are two main culprits when we’re talking about cinnamon sugar cookies spreading too thin. First, check your oven temperature. If the oven isn’t hot enough (below that 375°F mark), the butter melts before the structure has a chance to set, and *poof*, they flatten. Use an oven thermometer if you suspect your home unit runs cool!
The second reason, which I covered when we talked about texture, is dough warmth. If you skip chilling the dough or if your kitchen is just naturally warm, that butter is too soft when it hits the heat. For the absolute best snickerdoodles that stay plump, wrap that dough and tuck it in the fridge for at least 30 minutes. It makes all the difference!
Can I adapt this recipe for snickerdoodle cookie bars?
Absolutely! I love making these as bars sometimes when I need a quick dessert for a potluck. For snickerdoodle cookie bars, you’ll want to use a 9×13 inch pan. Line it really well with parchment paper, leaving an overhang for easy lifting later. You can use the exact same dough recipe! Just press the dough evenly into the prepared pan rather than rolling balls.
Since the dough is now spread in a thicker, continuous sheet, you need to bump up the baking time considerably. Start checking around 20 minutes, but they might need up to 25 minutes. You’re looking for the edges to be golden brown and the center to look just barely set. Be careful not to overbake, or you lose that essential chewiness! For more inspiration on easy baking, feel free to check out my tips on simple snack recipes.
Can these be made ahead of time, or do I need to bake them right away?
These are a fantastic candidate for prep work! You can mix and chill the dough for up to three days ahead of time. Keep it tightly wrapped in plastic wrap in the refrigerator. Having that cold dough ready to go means you can decide last minute you want easy snickerdoodle cookies!
If you have leftover dough after baking your first batch, definitely store the rest in the fridge. When you’re ready for a fresh batch, just let the dough sit on the counter for about 15 minutes to soften slightly before rolling and coating. If you want to see a really fun variation on this style of cookie, check out the interesting take they have over at Crazy for Crust!
Estimated Nutritional Information for Classic Snickerdoodle
Here at Delish Symphony, transparency is just as important as taste. While the flavor harmony in these cookies comes from tested ingredients, the exact nutritional breakdown will always vary slightly based on the specific brands of butter, flour, or sugar you bring into your kitchen. Think of this information as a solid starting estimate for one cookie, based on the standard recipe components.
If you are tracking macros or counting calories—which is perfectly fine as long as you enjoy the process—here is what you can generally expect per single, generously sized, classic snickerdoodle:
- Calories: Approximately 150
- Fat: Around 7g (with about 4g being saturated fat)
- Carbohydrates: Roughly 21g
- Protein: About 2g
We’re keeping the focus on bringing you the best flavor profile possible for your weeknight treats or holiday baking. We use simple ingredients you can pronounce, and that’s something I always feel good about. Knowing what’s in your food, even a delicious treat, just adds another layer of confidence to your home cooking journey. Since there’s no tricky stuff needed here, you can rest assured you are serving up honest, delicious American baking.
Share Your Snickerdoodle Creations
Well, that officially wraps up the secrets to baking what I truly believe are the absolute best, softest, chewiest snickerdoodles out there. Now the symphony is left in your hands! I always get such a thrill when I hear that one of my tested recipes has made it onto your family’s rotation, especially when it involves classic treats like these.
I genuinely want to know how yours turned out. Did you get that perfect crackly cinnamon-sugar coating? Was the center as wonderfully tender as you hoped? Don’t be shy! Head down to the comments below and give this recipe a star rating—let everyone else know what you thought! If you managed to snap a picture of your perfectly puffed cookies, please tag us or feel free to reach out via the contact page. Sharing your successes, photos, and any little tweaks you made helps build this wonderful community of home cooks.
Thank you for baking with me today. Go enjoy one of these buttery, tangy treats with a cold glass of milk. Happy baking!
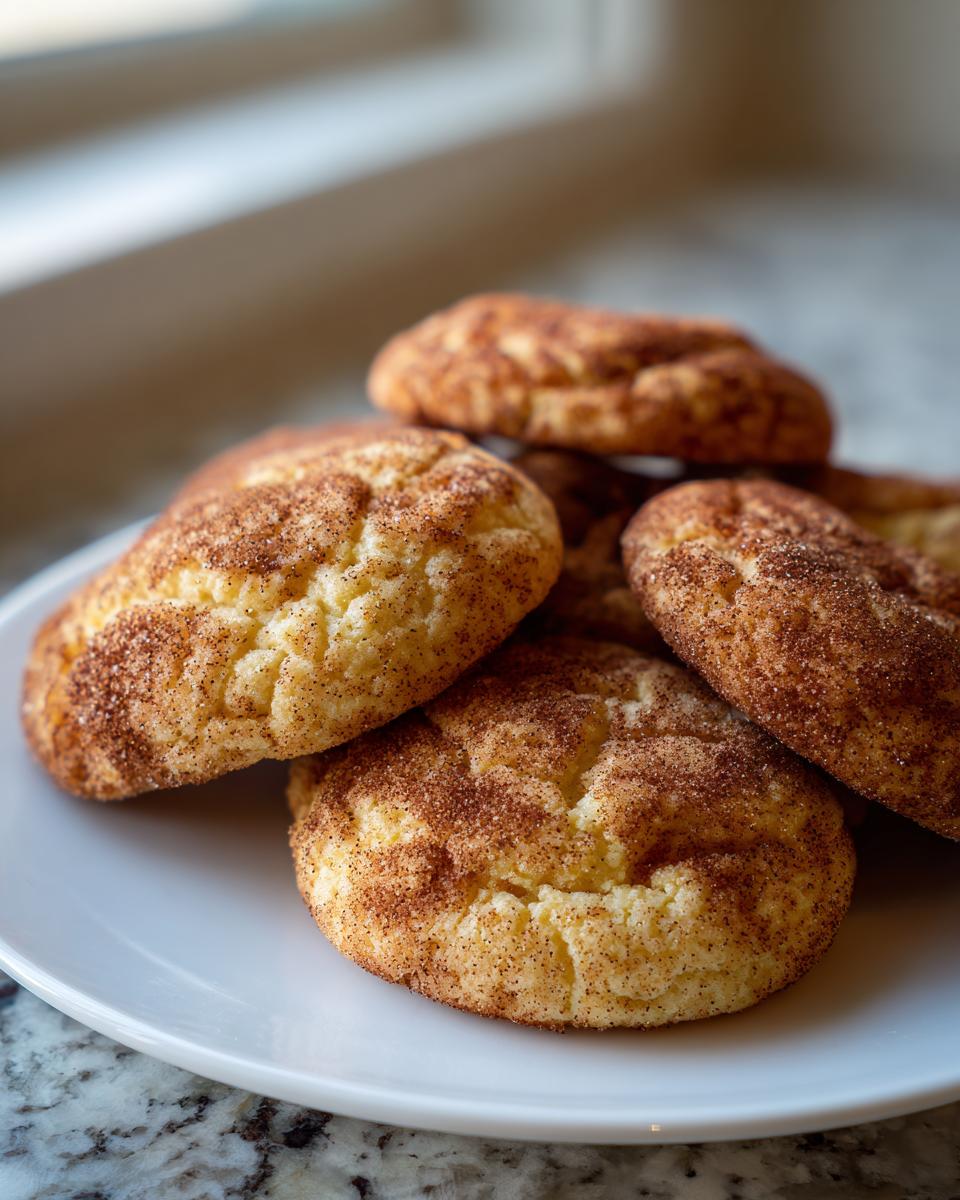
PrintClassic Soft and Chewy Snickerdoodles

Make the best buttery snickerdoodles with this easy recipe. You get soft, chewy cookies every time, coated in a perfect cinnamon sugar blend.
- Prep Time: 15 min
- Cook Time: 10 min
- Total Time: 25 min
- Yield: 3 dozen cookies 1x
- Category: Dessert
- Method: Baking
- Cuisine: American
- Diet: Vegetarian
Ingredients
- 1 cup unsalted butter, softened
- 1 1/2 cups granulated sugar
- 2 large eggs
- 2 teaspoons vanilla extract
- 2 3/4 cups all-purpose flour
- 2 teaspoons cream of tartar
- 1 teaspoon baking soda
- 1/2 teaspoon salt
- 1/4 cup granulated sugar (for coating)
- 2 tablespoons ground cinnamon (for coating)
Instructions
- Preheat your oven to 375 degrees F. Line baking sheets with parchment paper.
- In a large bowl, cream together the softened butter and 1 1/2 cups of sugar until the mixture is light and fluffy.
- Beat in the eggs one at a time, then mix in the vanilla extract.
- In a separate bowl, whisk together the flour, cream of tartar, baking soda, and salt.
- Gradually add the dry ingredients to the wet ingredients, mixing on low speed until just combined. Do not overmix.
- In a small, shallow bowl, mix the remaining 1/4 cup of sugar and the ground cinnamon for the coating.
- Scoop rounded tablespoons of dough and roll them into balls. Roll each dough ball thoroughly in the cinnamon-sugar mixture until fully coated.
- Place the coated dough balls about 2 inches apart on the prepared baking sheets.
- Bake for 8 to 10 minutes. The edges should be set, but the centers should still look slightly soft.
- Let the cookies cool on the baking sheets for 5 minutes before moving them to a wire rack to cool completely.
Notes
- For the thickest, fluffiest cookies, chill the dough for 30 minutes before rolling and baking.
- Cream of tartar is essential; it gives the snickerdoodle its signature slight tang and soft texture.
- You can substitute brown butter for a richer, buttery flavor in your dough base.
Nutrition
- Serving Size: 1 cookie
- Calories: 150
- Sugar: 14g
- Sodium: 85mg
- Fat: 7g
- Saturated Fat: 4g
- Unsaturated Fat: 3g
- Trans Fat: 0g
- Carbohydrates: 21g
- Fiber: 0g
- Protein: 2g
- Cholesterol: 25mg