
If you’ve ever opened up a beautifully decorated cookie box from a professional bakery and wondered how they get that flawless, smooth finish that doesn’t crack or smear when you touch it, I have the answer for you today. It all comes down to your topping! We’re diving into the absolute best sugar cookie icing that hardens completely. This simple glaze is what separates the hobby baker from the cookie artist.
When I left my tech job to start Delish Symphony, reliability in the kitchen was my top priority. You need recipes that just work, especially when you’re making treats for a party or a gift. This particular recipe for glossy cookie icing dries rock solid, yet it’s so easy to make with pantry staples—no fancy meringue powder needed! Trust me, once you use this topping, you won’t go back to anything else for your cutout cookies. You can read a little more about my kitchen philosophy over at the About Us page if you’re curious!
- Why This Sugar Cookie Icing That Hardens is Your New Go-To
- Ingredients for Your Glossy Cookie Icing
- How to Prepare Sugar Cookie Icing That Hardens
- Tips for Success with Your Sugar Cookie Icing That Hardens
- Ingredient Notes and Substitutions for This Icing That Hardens for Cookies
- Serving Suggestions for Your Perfect Sugar Cookie Topping
- Frequently Asked Questions About Sugar Cookie Icing That Hardens
- Storage and Keeping Your Stackable Sugar Cookies Fresh
- Estimated Nutritional Information for This Perfect Sugar Cookie Topping
- Share Your Creations Using Our Sugar Cookie Icing That Hardens
Why This Sugar Cookie Icing That Hardens is Your New Go-To
When you’re decorating cutout cookies, you need an icing that cooperates. That’s the joy of this recipe! It’s designed to give you that beautiful, smooth icing look that you usually only see at professional bake sales, but without any fuss or fancy ingredients.
Here’s why I keep coming back to this specific blend:
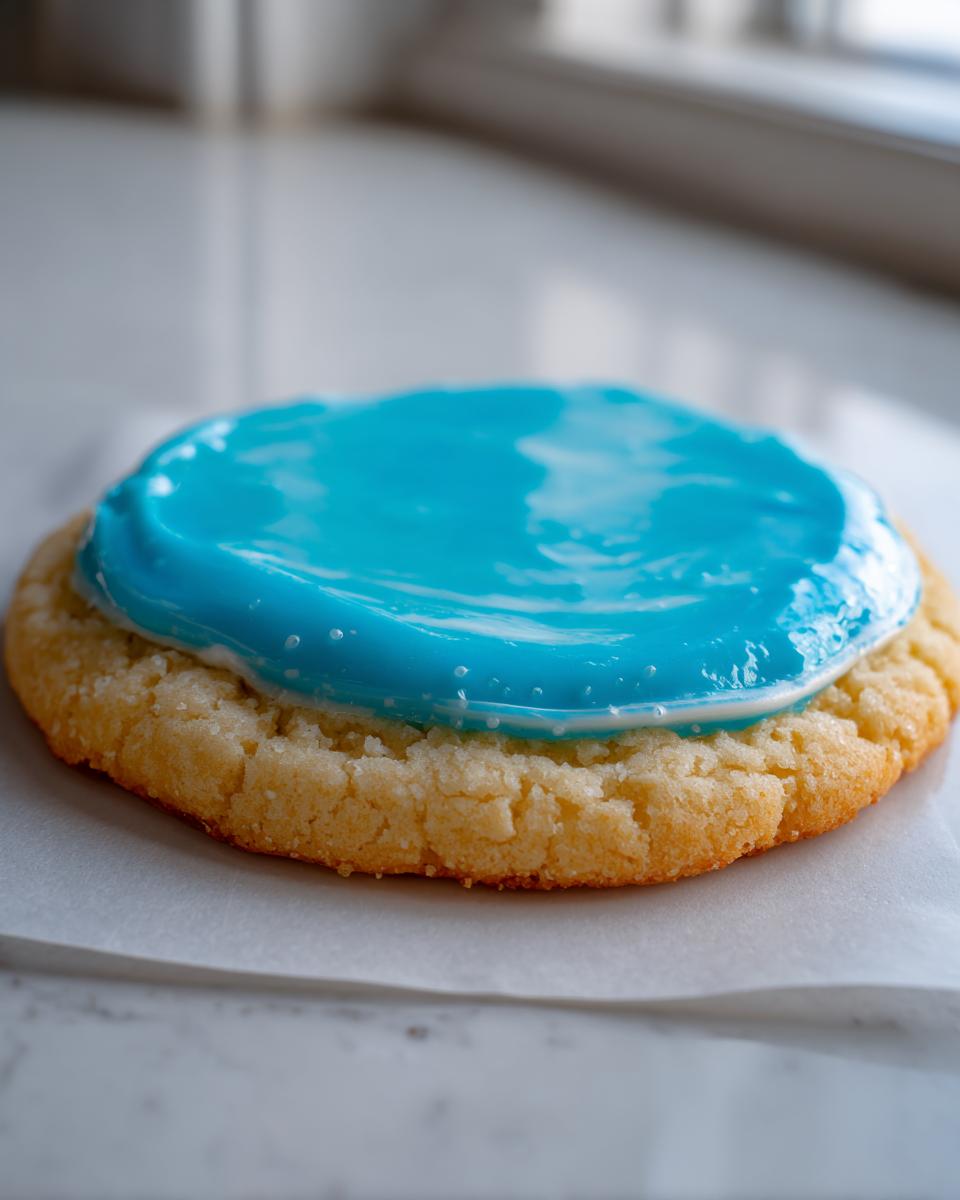
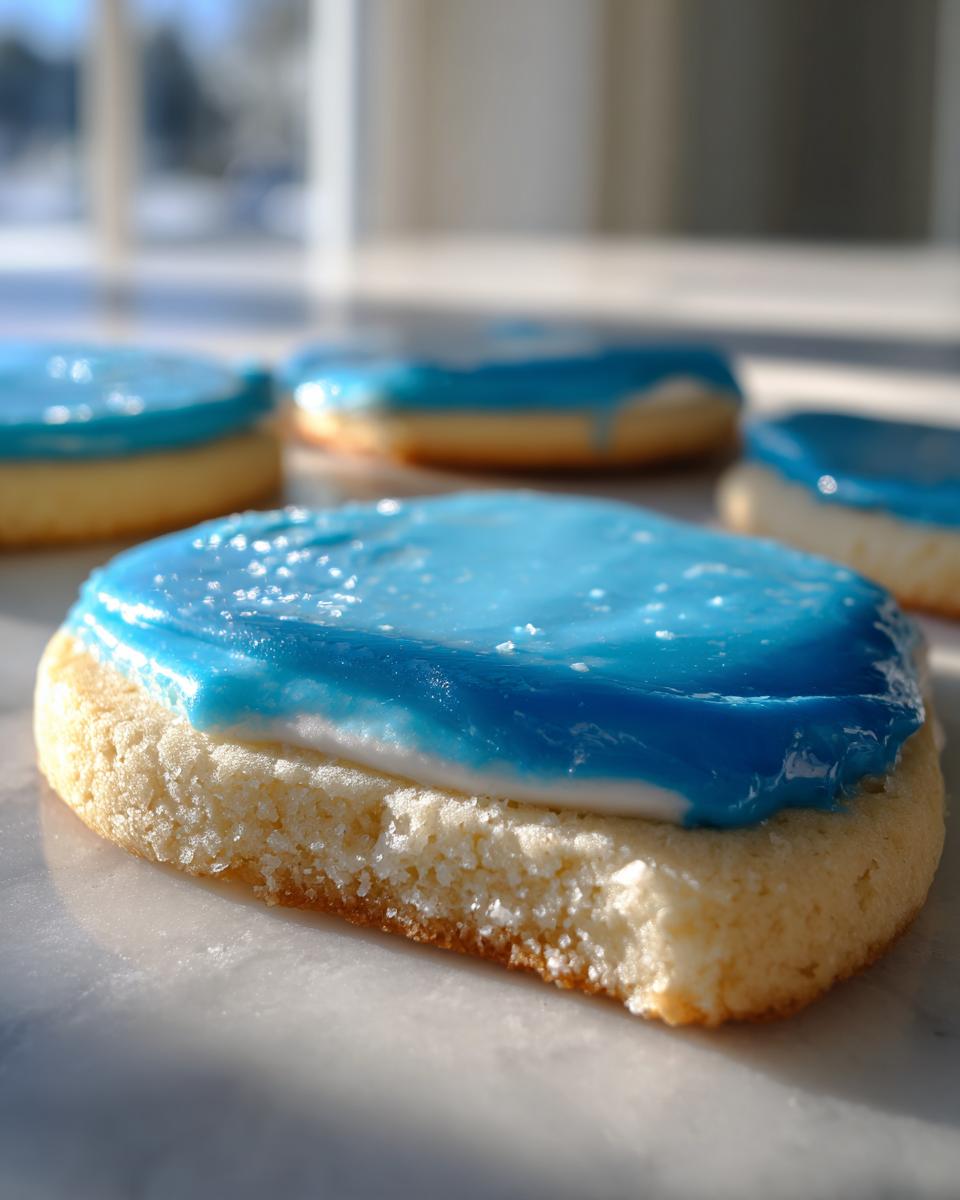
- It results in that coveted, glossy cookie icing finish.
- It’s remarkably durable, which is huge for holidays!
- It dries flat, making your stackable sugar cookies easy to store and gift.
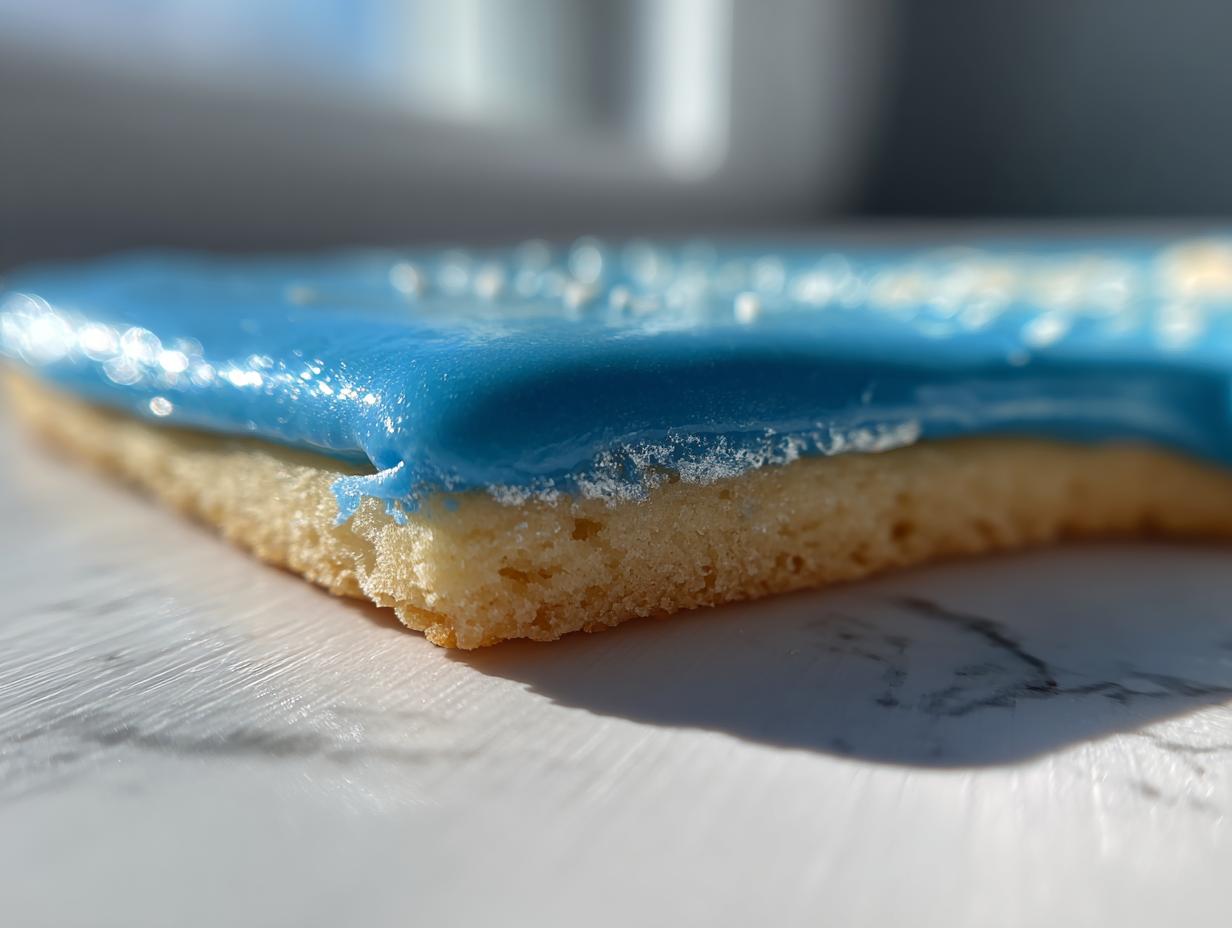
Achieving That Perfect, Durable Finish
The secret to making sure your cookie topping hardens like a charming little edible shield lies right in the mixing process—specifically, the sugar concentration paired with the corn syrup. That little bit of syrup acts as our setting agent. It pulls everything together so that when it dries, you get a firm surface that won’t chip off if someone bumps into your cookie platter. It’s pure magic for holiday cookie decorating!
Ingredients for Your Glossy Cookie Icing
For achieving that **glossy cookie icing** that sets up so perfectly, you only need a few simple things from your pantry. I’m listing exactly what works best, and I mean it—unambiguous ingredients are key here! The most important player, besides the confectioners sugar, is the light corn syrup. That little bit of syrup is what gives us that durable, non-smearing finish we are after.
- 2 cups confectioners sugar, and make absolutely sure you sift it!
- 3 tablespoons milk (whole milk works best, but 2% is totally fine).
- 1 tablespoon light corn syrup – this locks in the gloss!
- 1 teaspoon vanilla extract
- Gel food coloring, if you plan on coloring any batches.
How to Prepare Sugar Cookie Icing That Hardens
Now for the fun part—mixing up the perfect batch of icing that hardens for cookies! Don’t worry, this is dead simple, but technique matters. First off, grab your very finest mesh sieve. You absolutely must sift that confectioners sugar; lumps are the enemy of a smooth, bakery style cookie icing, and we want zero grit.
Whisk your sifted sugar together with that crucial ingredient, the light corn syrup, in a medium bowl. Then, add the vanilla and start incorporating the milk, but be cautious! We only want to use about 2 tablespoons of the milk at first. Mix this on low speed, or really go at it with a sturdy whisk. Soon you’ll see it smooth out.
Step three is where you find the perfect flooding consistency. If it looks like thick paint that runs slowly off the whisk—that’s the sweet spot! If it’s too stiff, add that last tablespoon of milk, just a teaspoon at a time. Once you’ve got your base, you can divide it up for coloring. Then, it’s time to spread it onto those cooled cutouts. Be patient; they need several hours sitting out on the counter to fully dry hard.
If you’re looking for other ways to top a sugar cookie, check out my recipe for the Fruit Pizza Sugar Cookie—it uses a different kind of topping, but it’s just as delightful in its own way!
Mastering the Consistency for Decorating Cutout Cookies
The trickiest part of using confectioners sugar icing recipe like this is getting the thickness right. The instructions above aim for a beautiful ‘flooding’ consistency—perfect for covering the whole cookie surface smoothly. But what if you want to draw thin lines or outline the edges first?
For outlining, you need a slightly thicker goop. Think less like syrup and more like thick yogurt. To achieve this, simply use less milk overall, or add a tiny extra tablespoon of sifted sugar back in. If you’ve gone too thin during the flood stage, don’t panic! You can always thicken an overly runny batch by slowly whisking in more sifted sugar, a teaspoon at a time, until it pulls back nicely. Getting that consistency right means your decorated cutout cookies will dry crisp and hold their shape beautifully.
Tips for Success with Your Sugar Cookie Icing That Hardens
Okay, you’ve mixed it up, and you’re ready to decorate. Here are a few quick pointers I learned the hard way over the years, which help guarantee that super hard, glossy finish. First, stop using liquid food coloring right now! Liquid colors add extra water that slows down the hardening process, and honestly, they water down the flavor a bit. Always use gel food coloring if you want true, vibrant colors and quick drying. Remember that tip applies even if you’re making my favorite easy moist banana bread—gels are just better for moisture control!
The other big thing is the weather. If you’re trying to get these cookies ready for a big event on a super humid, rainy day, they are going to take forever to dry hard. Do your best to use an air-conditioned room for setting, or just plan ahead. Once your durable cookie frosting is totally set—I mean rock hard—store those beauties stacked up in an airtight container at room temperature. They stay perfect for days!
Ingredient Notes and Substitutions for This Icing That Hardens for Cookies
I know sometimes we are missing one thing, and we panic, right? Don’t worry too much! If you’re out of corn syrup, you can try skipping it, but I have to warn you: your **sugar cookie icing that hardens** won’t get that same high-gloss snap. It will still set up, but maybe not as firmly.
For the milk, if you need a swap, plain water works in a pinch, but it results in a slightly duller finish. Any unsweetened alternative milk—like almond or soy—is generally fine too. If you want some extra flavor complexity in your confectioners sugar icing recipe, a splash of lemon juice instead of vanilla is fun, too! I found someone who made a gluten-free version that’s worth checking out over here if that interests you!
Serving Suggestions for Your Perfect Sugar Cookie Topping
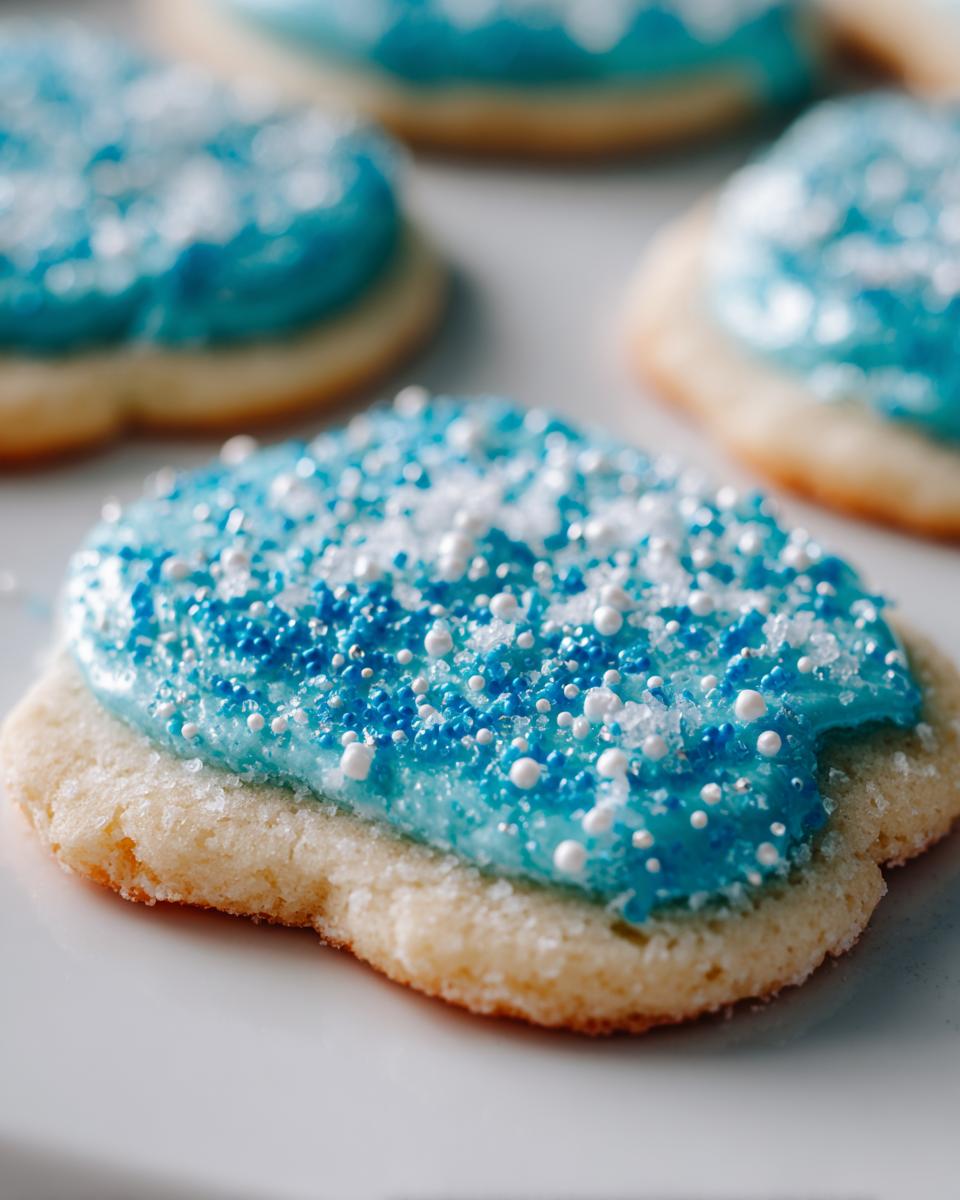
Because this glaze dries so hard, it’s my absolute favorite for **holiday cookie decorating tips** and gifting! When you’re packaging cookies to travel or stack them in tins for neighbors, you need this durable finish. This icing works best on sturdy sugar cookies—think clean circles, stars, or gingerbread men—not delicate, thin shapes that might snap.
Once everything is set and hard, you can layer them up high. I love using simple white icing with sprinkles for a classic look that always gets compliments. For more ideas on making your holiday trays shine, check out my thoughts on holiday cookie decorating tips!
Frequently Asked Questions About Sugar Cookie Icing That Hardens
You’ve got great questions, and covering the little hiccups is always important when we’re aiming for that professional look. This section is all about troubleshooting so you get the best glossy cookie icing possible every single time you bake. We want **stackable sugar cookies**, and these final checks will ensure you get that hard shell of perfection.
If you’re looking for general weeknight help alongside your decorating projects, you can always check out my weeknight dinner recipes!
How long does it take for this icing that hardens for cookies to dry completely?
This is the big one! It really depends on your kitchen air. In a dry room, it can feel firm in about two to three hours. But honestly, for that truly rock-hard, durable frosting finish, you should plan on letting them sit for six to eight hours, or even overnight. Humidity is the enemy here, so watch the weather!
Can I use this as a smooth icing recipe for piping details?
Absolutely! The recipe I laid out above is for ‘flooding’—thin enough to smoothly cover the cookie surface. If you want to do outlining or the fine detail work that makes your *cutout cookie icing* pop, you just need to make a much thicker batch. Use a few teaspoons fewer milk overall. It should be stiff enough that when you lift the whisk, the ribbon of icing stands up for a few seconds before melting back in.
Storage and Keeping Your Stackable Sugar Cookies Fresh
The real payoff for our hard work comes when we store these masterpieces! Since we went through all the trouble to create that hard, durable shell, we want to protect it. Once that **sugar cookie icing that hardens** is completely dry to the touch—give it that gentle poke test—it’s good to go.
Store your decorated cookies in a single layer if you can, but if space is tight, stack them gently. The key is using an airtight container at room temperature, never the fridge! They stay perfectly sweet and crisp for about a week, making them ideal for making ahead for parties.
Estimated Nutritional Information for This Perfect Sugar Cookie Topping
Look, when we’re dealing with sugar and corn syrup, we know this isn’t exactly health food, right? But knowing the basics helps! I ran the numbers on the base recipe here just so you have a good idea of what you’re working with. Remember, this is just the icing itself, not the cookie underneath. Treats are meant to be enjoyed!
Here is the estimate per tablespoon of icing:
- Calories: 55
- Sugar: 14g
- Carbohydrates: 14g
- Protein/Fat/Cholesterol: Trace amounts (essentially 0)
This is just an estimate, of course, based on the ingredients we used to get that amazing, hard finish. If you’re looking for other wonderful ways to cap off a meal, you should browse through some of my favorite delicious dessert recipes!
Share Your Creations Using Our Sugar Cookie Icing That Hardens
Once your cookies are baked and beautifully decorated with this hard icing, I really want to see them! Did you get that perfect gloss? Tell me in the comments below how your batch turned out. Rating the recipe helps other home cooks trust this method too. If you took photos, please share them! I love seeing your kitchen symphonies come together. If you ever need to get in touch with me directly, you can always reach me through the Contact page!
PrintBakery-Style Sugar Cookie Icing That Hardens

Make smooth, glossy sugar cookie icing that hardens completely. This simple recipe is perfect for decorating cutout cookies you plan to stack or gift.
- Prep Time: 10 min
- Cook Time: 0 min
- Total Time: 10 min
- Yield: Coats about 2 dozen medium cookies 1x
- Category: Dessert
- Method: No-Bake Decorating
- Cuisine: American
- Diet: Vegetarian
Ingredients
- 2 cups confectioners sugar, sifted
- 3 tablespoons milk (whole or 2%)
- 1 tablespoon light corn syrup
- 1 teaspoon vanilla extract
- Gel food coloring (optional)
Instructions
- In a medium bowl, whisk together the sifted confectioners sugar and the corn syrup until combined.
- Add the vanilla extract and 2 tablespoons of the milk. Mix with a whisk or electric mixer on low speed until the mixture is smooth.
- Check the consistency. If the icing is too thick to pour or spread easily, add the remaining 1 tablespoon of milk, one teaspoon at a time, until you reach a smooth, thick but flowing consistency. This is the flooding consistency.
- If you want colored icing, separate the white icing into smaller bowls. Add one drop of gel food coloring to each bowl and stir until the color is uniform.
- Use a small offset spatula or the back of a spoon to spread the icing evenly over your cooled sugar cookies. For outlining, you may need a slightly thicker batch (use less milk).
- Allow the decorated cookies to sit at room temperature until the icing is completely dry and hard to the touch. This usually takes several hours, depending on humidity.
Notes
- For the hardest, glossiest finish, use light corn syrup; it acts as a setting agent.
- If you need to flood large areas quickly, thin the icing slightly more, but remember that thinner icing takes longer to dry hard.
- Use gel food coloring instead of liquid coloring to avoid adding extra moisture, which can slow the hardening process.
- Store decorated cookies in an airtight container once the icing is fully set.
Nutrition
- Serving Size: 1 tablespoon icing
- Calories: 55
- Sugar: 14
- Sodium: 1
- Fat: 0
- Saturated Fat: 0
- Unsaturated Fat: 0
- Trans Fat: 0
- Carbohydrates: 14
- Fiber: 0
- Protein: 0
- Cholesterol: 0