
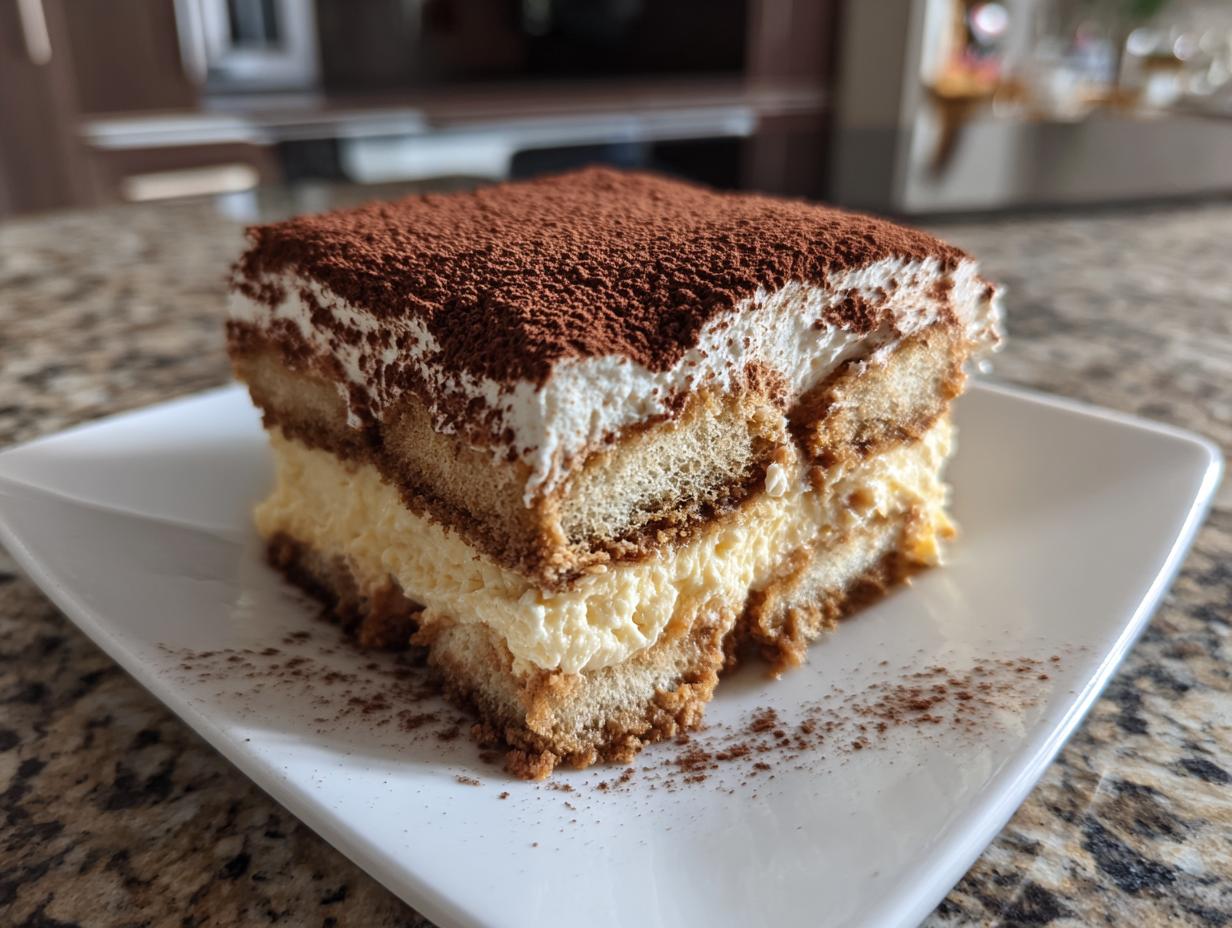
There’s something truly magical about Italian desserts, isn’t there? That perfect blend of luxurious texture and bold, comforting flavor—it just sings. If you’ve been searching for that show-stopping dessert that doesn’t require turning on the oven, then trust me, you’ve found your winner. This tiramisu recipe is exactly what I call ‘flavorful harmony.’ It’s my ultimate, easy, no-bake classic Tiramisu. When I step away from the logic of the IT world, finding the simple elegance in something like this mascarpone masterpiece is my main goal. We’re stripping away the fuss and giving you that authentic, creamy result every single time you make it. You’re going to love how impressive this turns out with such minimal hands-on work! If you want more impressive sweets like this, check out my collection of delicious dessert recipes.
- Why This Easy Tiramisu Recipe Delivers Flavorful Harmony
- Ingredients for the Ultimate Easy Tiramisu Recipe
- Simple Tiramisu Instructions: Assembling Your Mascarpone Cream Dessert
- Tips for Success with Your Coffee Soaked Ladyfingers
- Making This an Elegant Dessert for Parties
- Storing and Reheating Your Make Ahead Dessert
- Frequently Asked Questions About This Tiramisu Recipe
- Estimated Nutritional Data for This Espresso Dessert
- Share Your Experience Making This Tiramisu Recipe
Why This Easy Tiramisu Recipe Delivers Flavorful Harmony
I developed this tiramisu recipe because I needed something that looked elegant on a party platter but didn’t stress me out after a long workday. This is the perfect no bake dessert because it lets you focus on the filling and assembly, not the oven temperature. It’s truly a quick and creamy tiramisu dream.
Key Benefits of Our Simple Tiramisu Instructions
- We skip the raw eggs! This recipe uses whipped cream for stability, giving you peace of mind for a make ahead dessert.
- Active prep time is shockingly short—like, seriously fast.
- The final flavor is rich and deeply layered, just like the traditional versions you find in Italy.
Ingredients for the Ultimate Easy Tiramisu Recipe
Let’s see what we need for this tiramisu recipe. Remember, simplicity doesn’t mean skimping on quality here; these few items need to shine! We’re keeping the ingredient list short so you can focus on perfect assembly.
- 1 1/2 cups strong brewed espresso, cooled
- 1/4 cup coffee liqueur (optional—we’ll talk about that!)
- 1 1/2 cups heavy whipping cream
- 8 ounces mascarpone cheese, softened
- 1/2 cup granulated sugar
- 1 teaspoon vanilla extract
- 1 (7 ounce) package ladyfingers (about 30-36 cookies)
- Unsweetened cocoa powder, for dusting
Ingredient Notes and Substitutions for Your Tiramisu Recipe
A few small details really make this tiramisu recipe sing. First, that espresso has to be strong—I mean, really dark and robust coffee flavor is what we are chasing here. For your mascarpone cheese, make sure it’s truly softened, or you’ll end up with lumps in that beautiful cream!
If you want to skip the coffee liqueur for an alcohol-free version, which is totally fine, just double the espresso amount, or use a tablespoon of dark rum if you’re feeling adventurous. That small amount packs a huge punch of flavor!
Simple Tiramisu Instructions: Assembling Your Mascarpone Cream Dessert
Okay, now that we have our components ready—strong espresso chillin’ and our mascarpone mixture waiting—it’s assembly time! This is where you see the beauty of this Mascarpone Cream Dessert come together. First, make sure your espresso bowl is shallow. You want a quick dip, not a soak! Work fast when dipping the ladyfingers, just a quick swish on each side. If they get too soggy, your layers will weep soup later, and nobody wants that.
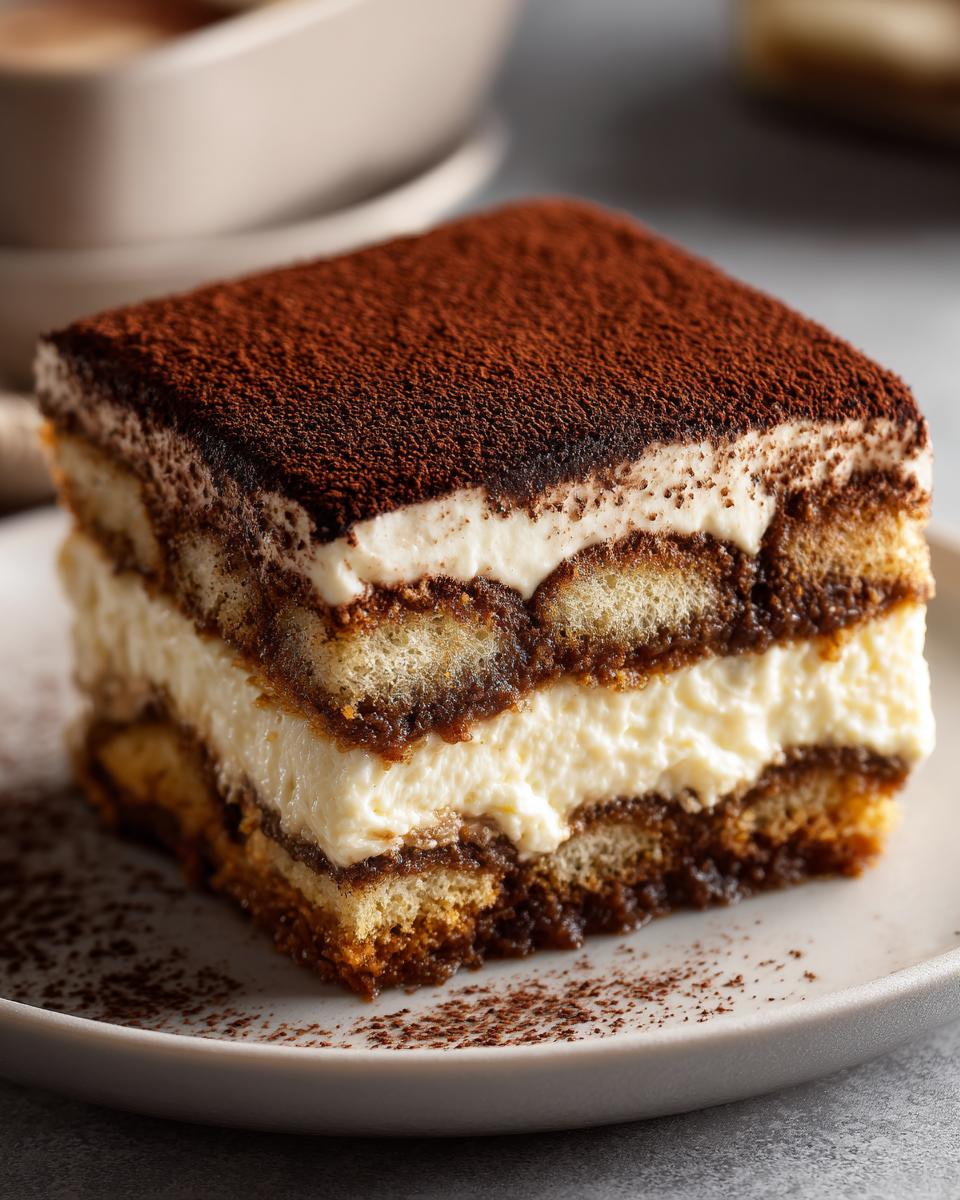
Lay down that first layer of gently dipped ladyfingers in your 8×8 dish. Then, gently spread half of that luscious, fluffy cream right over the top. We repeat: dip the remaining fingers and arrange them neatly. Finally, use that last bit of cream to create that perfect, smooth top layer. If you want to see someone else assemble this beautifully, check out this classic take here. Don’t forget, if you need some quick energy food for the morning after all this baking, I have some great easy breakfast recipes!
The Critical Chilling Time for the Best Tiramisu Recipe
This is hands down the most important part of the entire tiramisu recipe. You simply cannot rush this step. I know you’ll be tempted to cut into it after an hour, but you must resist! You need a minimum of six hours for the traditional Tiramisu layers to meld together properly. Honestly, if you can manage it, let it chill overnight. That resting period allows the moisture from the cream to fully soften the ladyfingers without turning them to mush, dissolving that sugar, and letting that rich espresso flavor really permeate everything.
Tips for Success with Your Coffee Soaked Ladyfingers
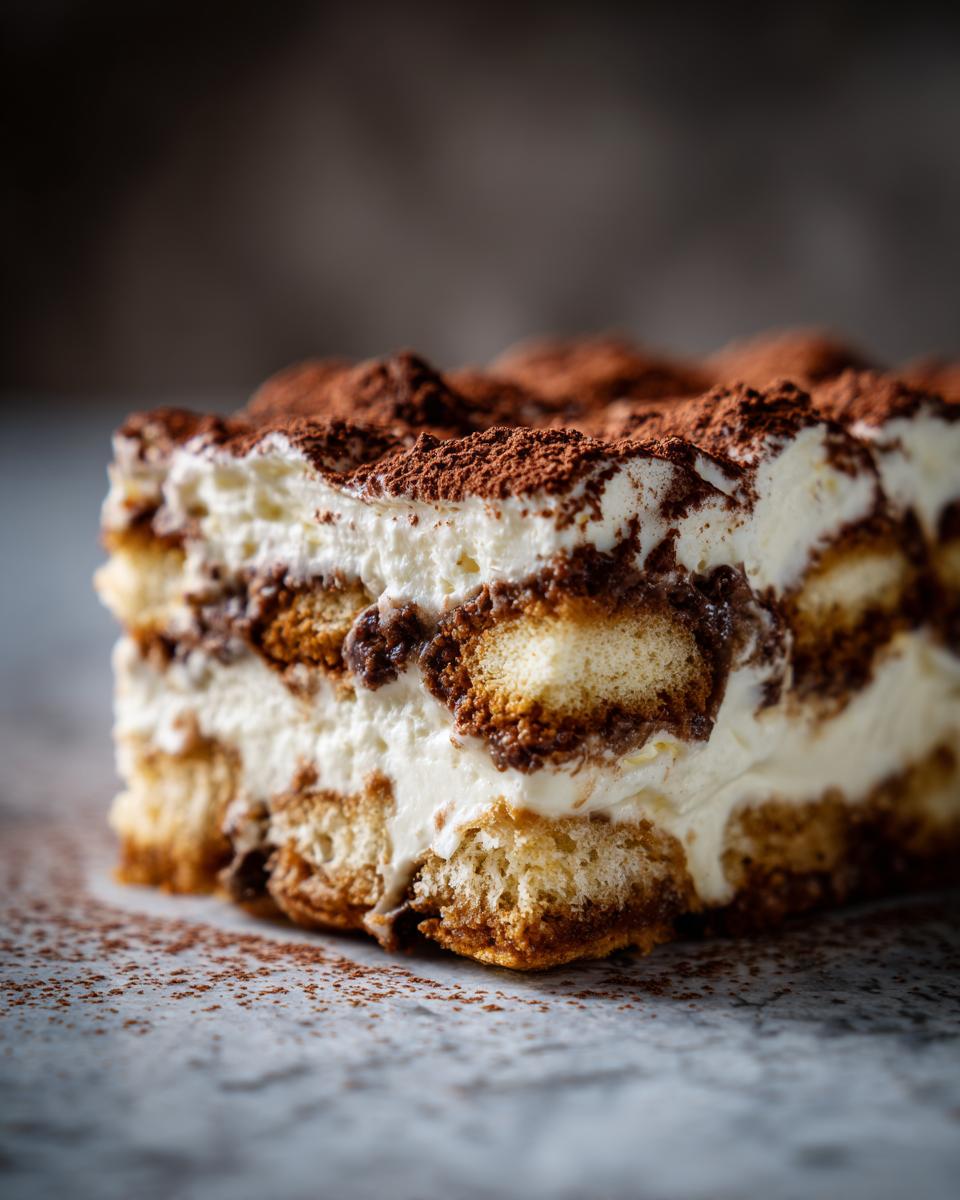
Listen, the difference between glorious Tiramisu and a soupy mess is all in the dunking! That’s the secret to perfect coffee soaked ladyfingers. When you dip them into that strong espresso mixture, remember: quick is key. I’m talking about a one-second dip, maybe two max, on each side. If you linger even a moment too long, they turn mushy while chilling, and that ruins the structure we worked so hard to build.
Another small thing that makes a massive difference is the final dusting. Don’t dust the cocoa powder on until the absolute last minute. If you dust it right after assembling, the moisture from the cream will soak it up, turning that beautiful dark cocoa into a sad, muddy brown by the time you serve it. A final pass with a fine-mesh sieve right before you bring it to the table? Perfection. It’s those tiny steps that make a big impact on the final look of this dish. For more delicious and reliable weeknight cooking ideas, take a peek at my collection of weeknight dinner recipes. And if you want another simple make-ahead idea, check out this version over here!
Making This an Elegant Dessert for Parties
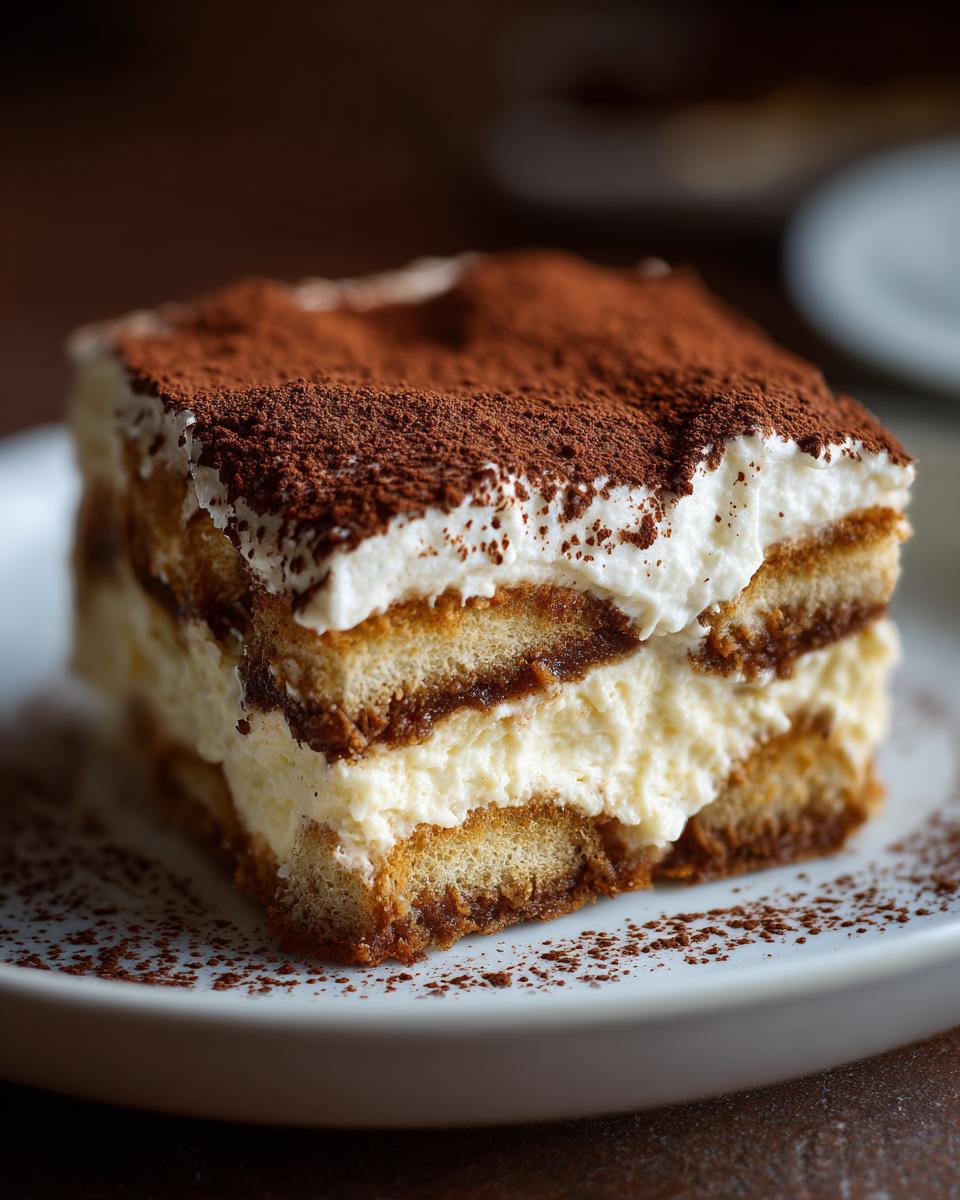
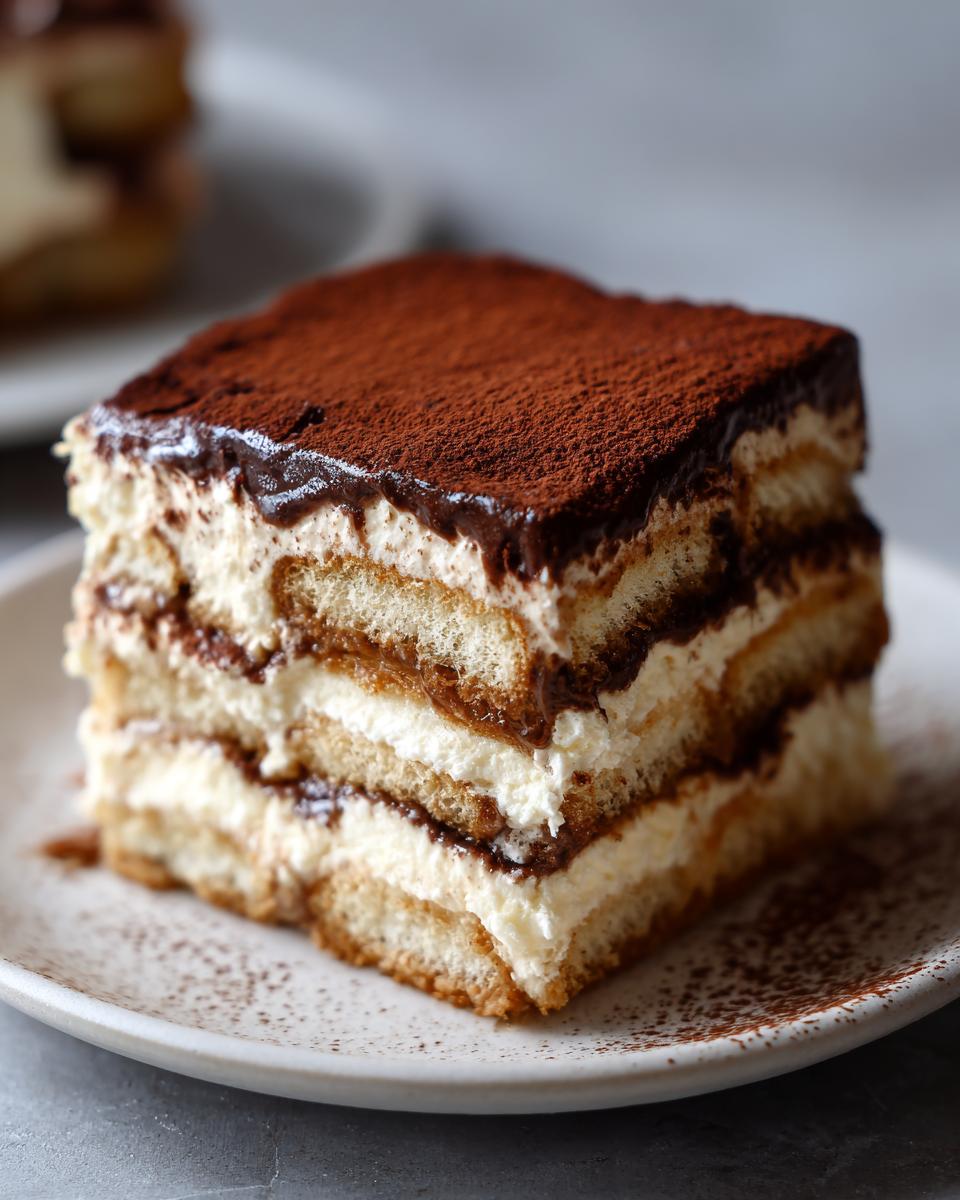
When you’re serving this as an elegant dessert idea, presentation truly matters! Since this tiramisu recipe is no-bake, you can play with your serving dishes easily. I personally love using a clear glass dish because seeing those defined, creamy layers of white and coffee-soaked brown is just stunning. It makes everyone gasp! You don’t need a fancy serving platter, just a clean presentation.
Regarding that final cocoa dusting, remember what I said before: only dust it right before you serve it. Use a good, fine-mesh sieve to get an even, light blanket across the top. For more easy entertaining food that impresses without much effort, have a look at my simple snack recipes. And for more inspiration on achieving that classic look, see how they finish theirs here.
Storing and Reheating Your Make Ahead Dessert
One of the best things about this beauty? It earns its title as a true make ahead dessert! Since there’s no baking involved, we’re just managing moisture and flavor development. You need to keep this tightly covered, I mean really sealed up tight with plastic wrap, in the refrigerator. This prevents any stray smells from the fridge—like leftover onions or pickles, heaven forbid—from creeping into your delicate mascarpone cream.
It happily sits in the fridge for about three to four days. Honestly, the flavor gets *better* on day two and three! The espresso has more time to fully permeate the ladyfingers and the richness of the cream mellows out perfectly. So yes, feel free to make this for your big weekend party on Thursday night!
Now, about reheating—we don’t reheat Tiramisu, right? It’s a chilled dessert! The only thing you need to worry about is bringing it out of the fridge about 20 to 30 minutes before you plan to serve it. This takes the chill off just enough so the mascarpone sets up to be perfectly creamy and luxurious, not stiff and cold. If you accidentally left it out for an hour, don’t panic; it’s usually fantastic, but try not to let it sit out past two hours at room temperature, especially if your kitchen is warm.
Frequently Asked Questions About This Tiramisu Recipe
I get so many great questions about this easy dessert, which is wonderful! It just shows you all want this tiramisu recipe to turn out perfectly. Here are the main things people ask me about making a foolproof, creamy result.
- How long does this dessert last in the fridge? Because it’s so stable, it stays delicious for about 3 to 4 days, but honestly, day two is peak flavor time for us!
- Can I use different cookies instead of ladyfingers? You certainly can, but you risk changing the texture completely. If you absolutely must, use thin, plain shortbread cookies, but remember you’ll need to adjust dipping time significantly.
- What happens if my mascarpone isn’t softened enough? Oh, that’s the worst feeling! If it’s too cold, it won’t blend with the sugar and vanilla properly, and you’ll end up with grainy spots instead of that smooth layer. Make sure to let it sit out!
Can I make this Classic Italian Tiramisu without Espresso?
That’s an interesting question about the Classic Italian Tiramisu! While espresso gives you that pure, deeply concentrated coffee flavor that cuts through the richness of the mascarpone, you absolutely can substitute it if you need to. I’d recommend brewing a very strong batch of dark roast coffee—use a little less water than you normally would for a standard cup. Think potent, almost syrupy coffee. That will help keep the intense coffee taste that makes this dessert what it is. You can always sneak a little extra vanilla extract into the coffee liquid, too, for a nice aroma.
If you’re looking for something fun to serve alongside this rich treat, maybe try my cranberry orange punch! If you want to see how another great source handles substitutions, have a look at their advice here.
Estimated Nutritional Data for This Espresso Dessert
When you’re making something this decadent, I know you want to have a general idea of what’s going into the layers. Keep in mind that these numbers are estimates based on the ingredients listed in the recipe card, and they can certainly vary based on the exact brand of mascarpone or the amount of cocoa dusting you add!
We aim for a balanced approach even in dessert, focusing on quality ingredients. Here is the breakdown per serving for about 8 servings in this espresso dessert:
- Serving Size: 1 serving
- Calories: 380
- Sugar: 25g (Yep, it’s dessert!)
- Sodium: 95mg
- Fat: 24g
- Saturated Fat: 15g
- Unsaturated Fat: 9g
- Trans Fat: 0.5g
- Carbohydrates: 32g
- Fiber: 1g
- Protein: 7g
- Cholesterol: 110mg
Please take these figures as a guideline. If you’re really counting things closely, weigh your final dish before you slice it and recalculate based on exact product labels. But for my purposes, knowing this beautiful, creamy treat clocks in around 380 calories for a good slice is perfect for a special occasion indulgence!
Share Your Experience Making This Tiramisu Recipe
Now it’s your turn to bring harmony to your kitchen! I truly hope you enjoyed making this incredibly easy tiramisu recipe. If you did, please take a second to leave it a 5-star rating below and tell me about your experience in the comments. Did the ladyfingers soak up the espresso just right?
I absolutely love seeing your creations, so snap a picture and share it! If you’re looking for more ways to connect or have a burning question, don’t hesitate to reach out via my contact page. And if you’re curious how others made this, you can see a few takes over here!
PrintUltimate Easy, No-Bake Classic Tiramisu Recipe
Make this authentic Italian Tiramisu recipe easily at home. This no-bake dessert features creamy mascarpone, coffee-soaked ladyfingers, and rich cocoa, perfect for parties or make-ahead preparation.
- Prep Time: 25 min
- Cook Time: 0 min
- Total Time: 25 min
- Yield: 8 servings 1x
- Category: Dessert
- Method: No-Bake
- Cuisine: Italian
- Diet: Vegetarian
Ingredients
- 1 1/2 cups strong brewed espresso, cooled
- 1/4 cup coffee liqueur (optional)
- 1 1/2 cups heavy whipping cream
- 8 ounces mascarpone cheese, softened
- 1/2 cup granulated sugar
- 1 teaspoon vanilla extract
- 1 (7 ounce) package ladyfingers (about 30–36 cookies)
- Unsweetened cocoa powder, for dusting
Instructions
- Prepare the espresso mixture: In a shallow bowl, combine the cooled espresso and coffee liqueur, if using. Set aside.
- Make the mascarpone cream: In a large bowl, beat the heavy whipping cream with an electric mixer until stiff peaks form. Set aside.
- In a separate bowl, beat the softened mascarpone cheese, granulated sugar, and vanilla extract until smooth and creamy. Do not overmix.
- Gently fold the whipped cream into the mascarpone mixture until just combined. You want the cream to remain light.
- Assemble the Tiramisu: Quickly dip each ladyfinger into the espresso mixture, ensuring it is coated but not soggy. Work quickly.
- Arrange a single layer of dipped ladyfingers in the bottom of an 8×8 inch baking dish.
- Spread half of the mascarpone cream evenly over the ladyfinger layer.
- Repeat the process: Dip the remaining ladyfingers and arrange them over the cream layer.
- Spread the remaining mascarpone cream over the second layer of ladyfingers.
- Cover the dish tightly with plastic wrap and chill in the refrigerator for at least 6 hours, or preferably overnight, to allow the flavors to blend and the dessert to set.
- Before serving, dust the top generously with unsweetened cocoa powder using a fine-mesh sieve. Slice and serve this elegant dessert.
Notes
- For the best flavor, use high-quality, freshly brewed espresso.
- If you skip the coffee liqueur, add 1 teaspoon of dark rum or substitute with more espresso for a stronger coffee flavor.
- Chilling time is crucial; this allows the ladyfingers to soften properly and the cream to firm up.
- Dust with cocoa powder just before serving to prevent the powder from absorbing moisture and becoming dark.
Nutrition
- Serving Size: 1 serving
- Calories: 380
- Sugar: 25
- Sodium: 95
- Fat: 24
- Saturated Fat: 15
- Unsaturated Fat: 9
- Trans Fat: 0.5
- Carbohydrates: 32
- Fiber: 1
- Protein: 7
- Cholesterol: 110