
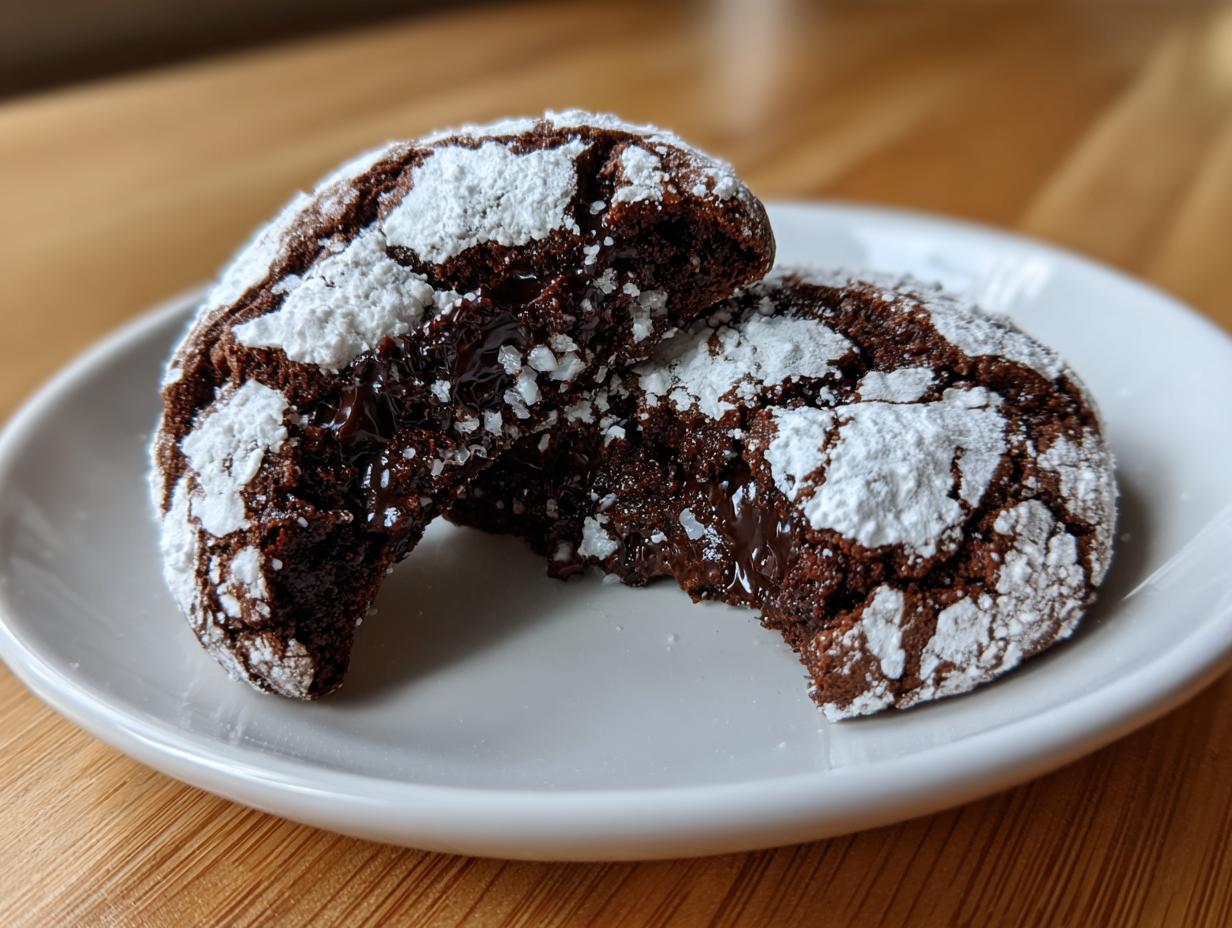
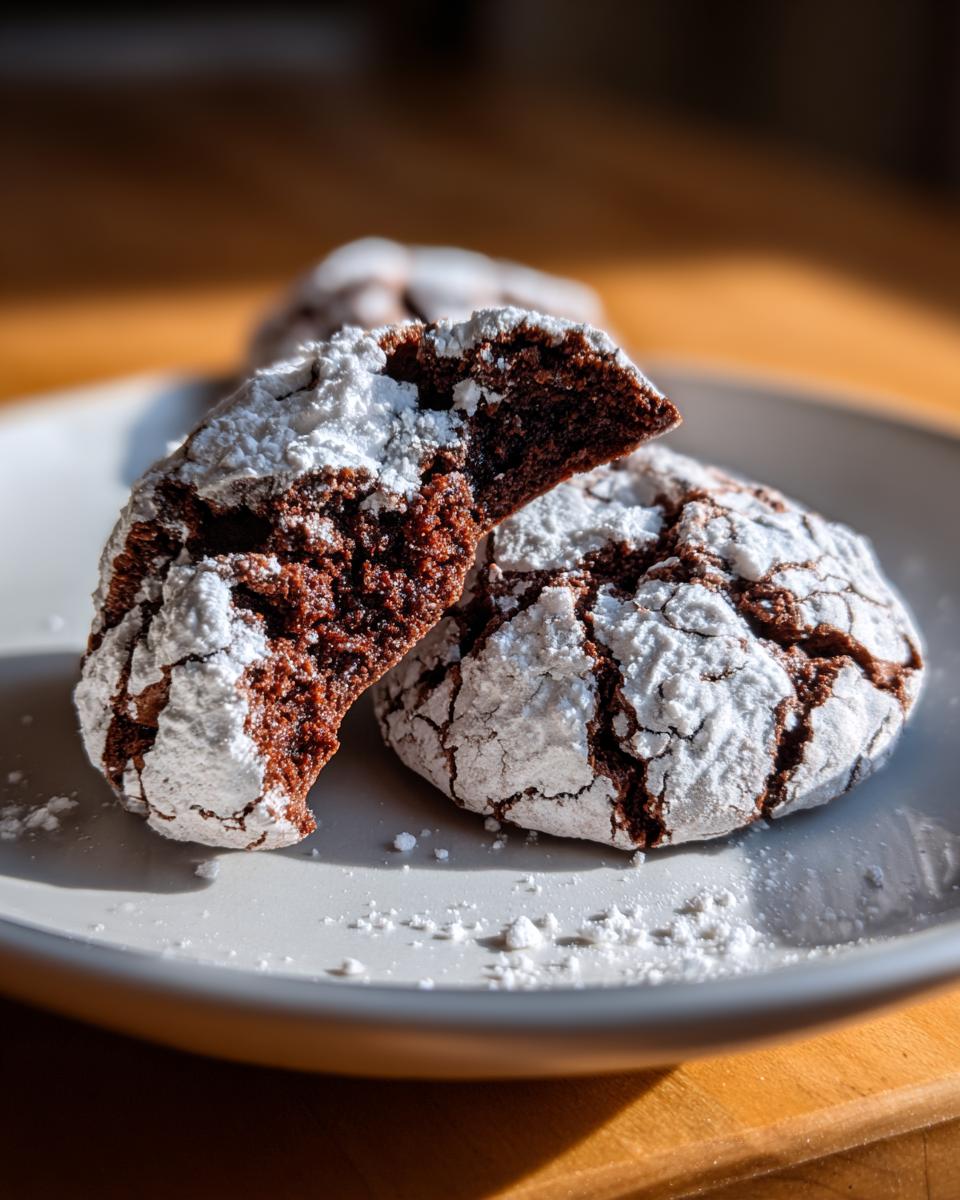
Listen, if you’re like me, the holidays aren’t truly here until you pull something gorgeous and deeply chocolatey out of the oven. We’re not talking about a cake that crumbles apart; we are talking about the ultimate crinkle cookies. I am obsessed with recipes that deliver the rich, dense flavor of a perfect brownie wrapped up in one spectacular, snowy bite. That’s exactly what you get here—soft, fudgy chocolate cookies with that unmistakable powdered sugar crackle top.
Since I left the world of logical coding for the joy of the kitchen, my goal has been simple: perfection without the pressure. I test every batch here until it’s foolproof. Trust me, this recipe for these homemade crinkle desserts is exactly what you need for your next party or winter baking session. If you love cozy treats, you should definitely check out my recipe for easy pumpkin bars, too! I promise, these are the best chocolate crinkle cookies you’ll ever make!
- Why These are the Best Chocolate Crinkle Cookies You Will Make
- Ingredients for Perfect Chocolate Crinkle Cookies
- Essential Equipment for Making Your Crinkle Cookies
- How to Prepare Soft and Fudgy Crinkle Cookies Step-by-Step
- Tips for Success with Homemade Crinkle Desserts
- Variations on Classic Holiday Treats: Beyond Chocolate Crinkle Cookies
- Storage and Reheating Instructions for Chewy Powdered Sugar Cookies
- Frequently Asked Questions About Crinkle Cookies
- Estimated Nutritional Data for Your Crinkle Cookies
Why These are the Best Chocolate Crinkle Cookies You Will Make
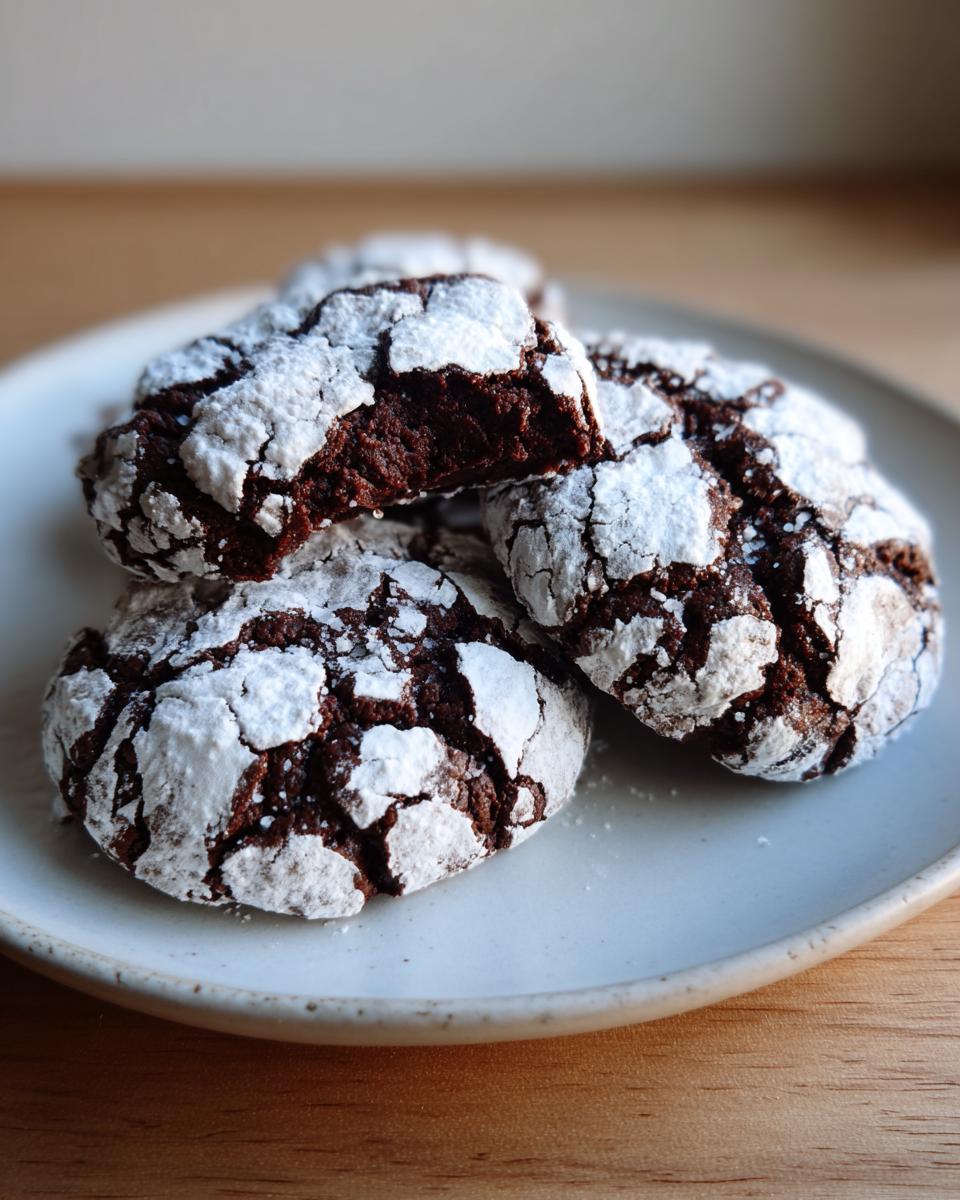
I know everyone claims theirs are the ‘best,’ but these crinkle cookies stick around on baking sheets longer than any other dessert in my house. Why? Because they nail the texture trifecta we all want. We aren’t making dry chocolate wafers here; we want pure decadence!
- They truly taste like a rich, fudgy brownie like cookie.
- The crackle coating is thick and snowy, not thin and sad.
- They stay incredibly soft and chewy even a day later!
Achieving the Perfect Fudgy Crinkle Cookie Recipe Texture
The secret to that amazing brownie texture? It’s all about fat and cocoa. We use a good amount of softened butter combined with just the right measure of unsweetened cocoa powder early in the process. This heavy chocolate base ensures the interior stays dense and almost gooey, even after baking slightly less than you think you should. If you cook them until they look totally done, oops! You’ve lost the fudgy center!
Simple Winter Baking Ideas: Easy Holiday Cookie Recipes
Don’t let the pretty look scare you off; these make fantastic easy holiday cookie recipes. Seriously, they come together fast. This is why they are always a hit at every Christmas cookie exchange favorite. Prep is quick, and rolling them in the sugars is actually the most fun part. You get that beautiful, beautiful coating with minimal effort. I promise, your friends will think you spent all day on them!
Ingredients for Perfect Chocolate Crinkle Cookies
Okay, let’s get down to what you need. For these crinkle cookies to hit that ideal brownie level, we can’t skimp on the chocolate. I always stress using the best unsweetened cocoa powder your budget allows. If the cocoa is high quality, the final cookie flavor just sings! Remember, this recipe is designed to be used with ingredients you likely already have in your pantry, sticking to our philosophy of approachable ingredients.
Here is the list. Measure everything out before you even turn the mixer on—it makes the whole process flow so much better. If you want a recipe that flies off the plate, grab these items:
- 1 cup unsalted butter, softened (make sure it’s soft but not melted!)
- 1 3/4 cups granulated sugar, divided (we use 1 cup in the dough and 3/4 cup for the first roll)
- 2 large eggs
- 1 teaspoon vanilla extract
- 3/4 cup unsweetened cocoa powder (This is the star, folks—don’t use sweetened!)
- 1 3/4 cups all-purpose flour
- 1 teaspoon baking powder
- 1/2 teaspoon salt
- 1/2 cup powdered sugar, for the final coating (the snowy part!)
Once you have everything ready, your next stop is organizing your equipment. Having exactly what you need makes preparing easy, moist banana bread—oh wait, I mean these cookies—a breeze!
Essential Equipment for Making Your Crinkle Cookies
You don’t need a commercial kitchen to make these amazing crinkle cookies, but having the right tools makes the difference between a messy afternoon and a perfectly choreographed baking session. Remember, we focus on practical techniques here! You want efficiency.
You’ll need a few basics for getting that dough just right and ensuring a clean rollout:
- A good sturdy set of mixing bowls—one large one for mixing the dough, and two shallow dishes for the sugar coating process.
- An electric mixer (handheld or stand mixer) for properly creaming the butter and sugar. If you’re going old school, be prepared to work those arms!
- Parchment paper! This is non-negotiable for easy cleanup and preventing sticking, especially since these are such soft cookies. You can grab a roll of this easily at your local grocery store.
- A 1-inch cookie scoop. This is my secret weapon for making sure every single one of these chewy powdered sugar cookies is exactly the same size. Uniformity means they all bake evenly, which is key for that fudgy center.
- A wire cooling rack. You have to let them cool properly so the cracks set in!
Having these items ready means you can move directly into the mixing phase once you’ve pulled your butter out. Speaking of easy prep, if you’re looking for another simple side that comes together quickly, you should look at my recipe for crispy garlic skillet potatoes. Efficiency in the kitchen is everything!
How to Prepare Soft and Fudgy Crinkle Cookies Step-by-Step
Alright, here is where the magic happens! We move from ingredient prep to actual dough creation. Remember what I always say: patience during mixing leads to that perfect, brownie-like center in your crinkle cookies. Start by getting your oven happy—that means preheating to 350°F (175°C) and making sure those baking sheets are lined with parchment paper. This recipe moves fast once you start combining things, so have those sugars ready to go!
We are aiming for about 24 gorgeous holiday treats here. Follow this order exactly, and you’ll be amazed at how simple this becomes. If you’ve ever struggled making perfect churros, you know that sometimes the steps matter more than the ingredients!
Mixing the Dough for Your Crinkle Cookies
First things first: get that softened butter and 1 cup of that granulated sugar into your big mixing bowl. You have to beat this until it gets genuinely light and fluffy—this whips air into your base! Once that looks good, toss in the eggs one at a time, making sure each one is blended before adding the next splash of vanilla. In another bowl, quickly whisk your flour, cocoa powder, baking powder, and salt together. Now, add the dry stuff to the wet stuff slowly. The absolute key here is mixing *only* until you see the last bit of flour disappear. If you overmix chocolate dough, you develop gluten, and suddenly you’ve got tough cookies instead of soft ones!
The Double-Sugar Roll Technique for Perfect Crinkle Cookies
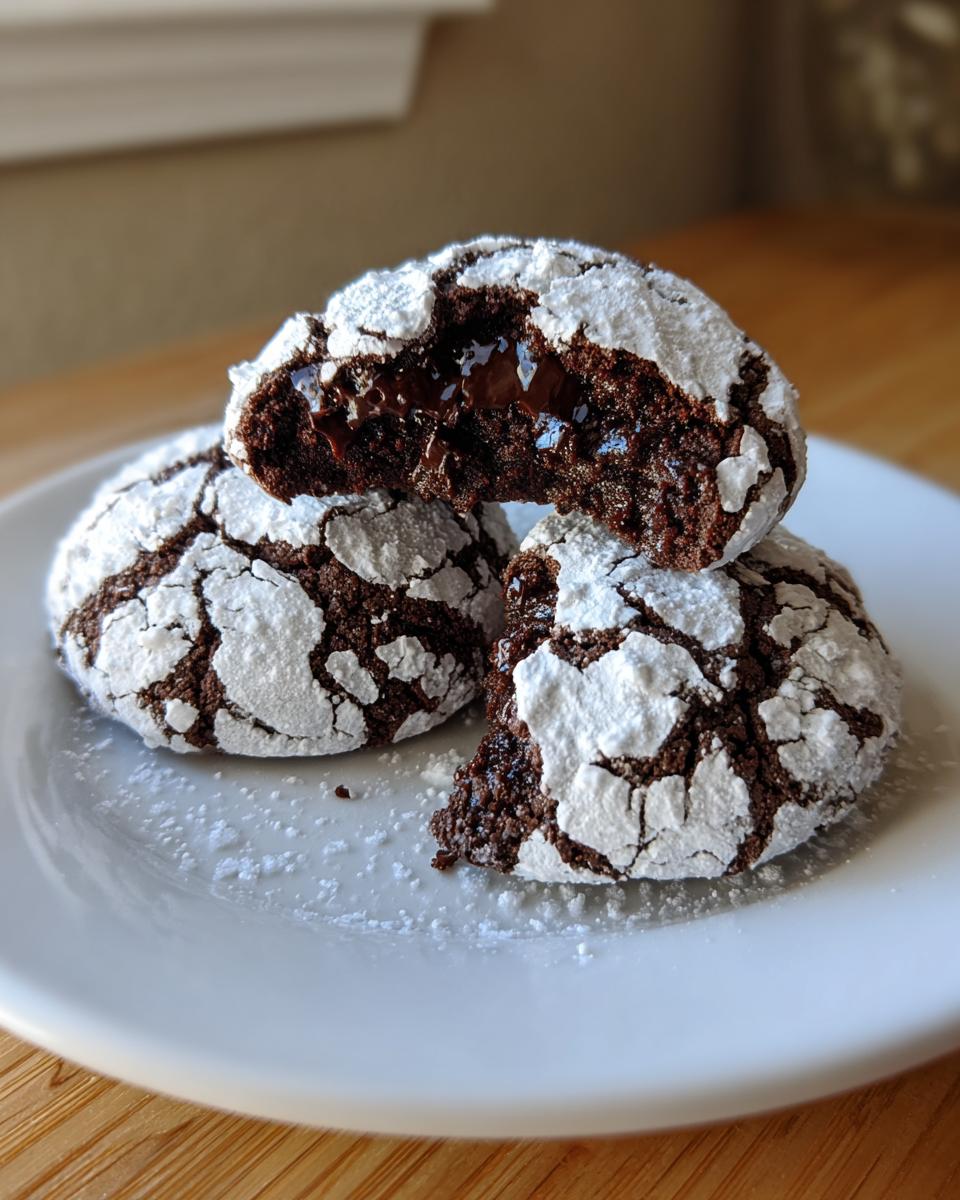
This part is crucial for getting that show-stopping appearance! Pour the remaining 3/4 cup of granulated sugar into one shallow dish, and your half cup of powdered sugar goes into another. We take our 1-inch dough balls and roll them first in the plain granulated sugar. This step is important because it helps stop the powdered sugar from immediately turning into a wet mess. Then, take that sugar-dusted ball and completely, thoroughly coat it in the powdered sugar. Seriously, pack that powdered sugar on! The thicker the blanket, the more dramatic and beautiful your cracks will be as they bake. Don’t be shy!
Baking and Cooling: Forming the Crackled Sugar Cookies
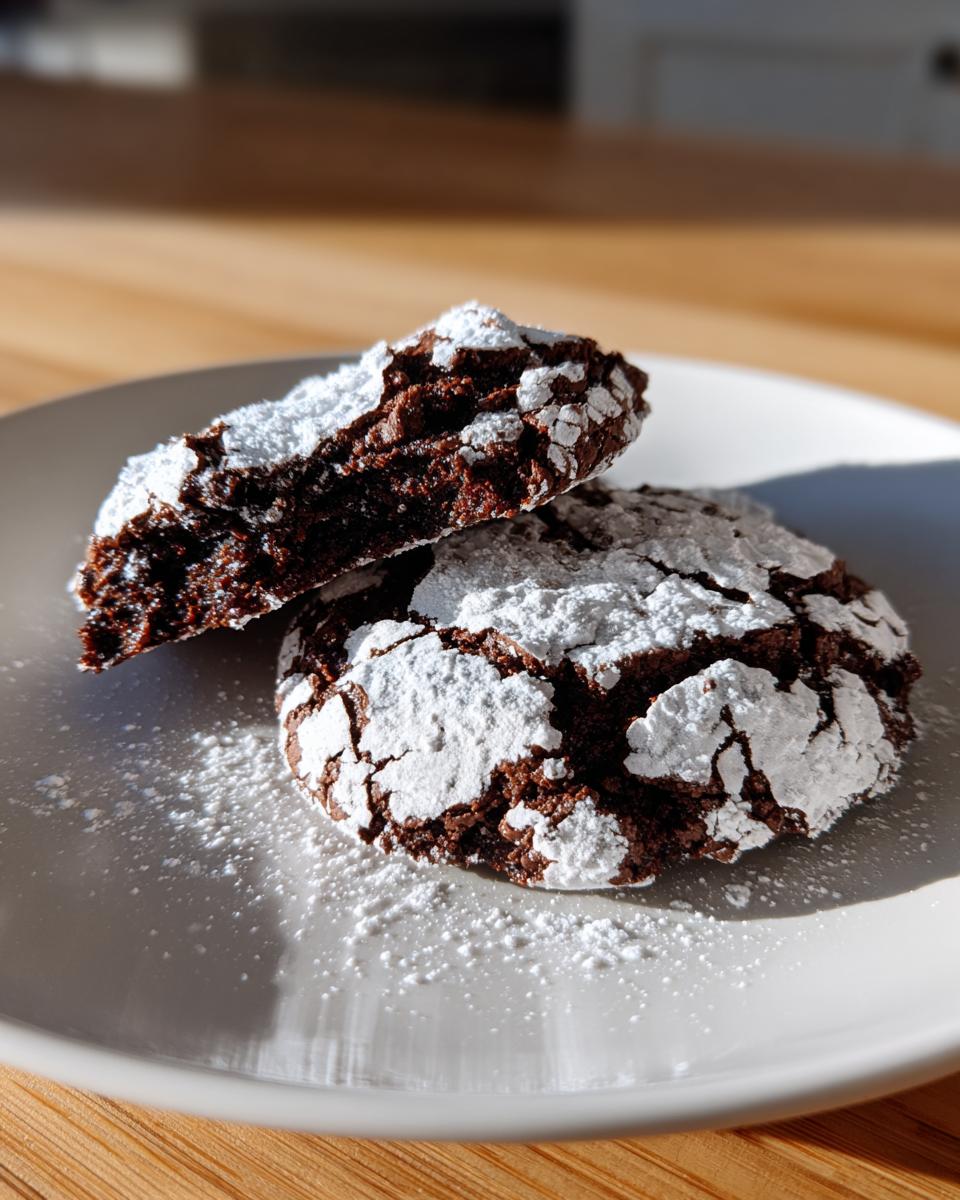
Spread those beautiful, snowy orbs out on your parchment-lined sheets, giving them at least two inches of space because they *will* spread. Bake them for just 10 to 12 minutes. Here’s the insider tip: they should look slightly puffy and maybe even a little underdone right in the center when you pull them out. If they look fully baked, they’re already heading toward chewy instead of fudgy! Leave them sitting right there on that hot baking sheet for a full 5 minutes. This resting period is non-negotiable, it lets the center firm up enough so that when you move them to the wire rack, those gorgeous cracks fully set into place. Perfection!
Tips for Success with Homemade Crinkle Desserts
Even though this is a straightforward recipe for crinkle cookies, sometimes the environment (hello, humid summer or overly warm kitchen!) tries to fight us. Don’t panic if things feel sticky or if your beautiful sugar coating seems like it’s melting away. A few little adjustments will save the day and keep these tasting like the best homemade crinkle desserts!
We want that fudgy texture, not a melted mess, right? A quick adjustment can save your batch and guarantee they set up perfectly for your next sweet food moment.
Ingredient Notes and Substitutions for Crinkle Cookies
Did you notice the note about chilling? If your kitchen is feeling particularly warm—and believe me, I’ve struggled with that in July when I just *needed* a chocolate fix—pop the dough balls in the fridge for about 30 minutes after you roll them in the powdered sugar. This won’t affect the final texture too much, but it keeps the dough firm so the cookies hold their shape better when they hit the hot oven. Also, let’s talk cocoa again! Since these are so intensely chocolatey, using a high-quality, dark, unsweetened cocoa powder really ups the flavor profile. It’s the difference between a good cookie and one that tastes just like those fantastic brownies you love.
If you’re looking for something tangy that uses up some pantry staples, you should try my recipe for creamy garlic aioli—not sweet, I know, but great for using stuff up!
Variations on Classic Holiday Treats: Beyond Chocolate Crinkle Cookies
While nothing beats the intense, fudgy flavor of our classic chocolate crinkle cookies, I know sometimes you want to mix things up, especially when you’re planning a massive spread for a holiday cookie exchange! It’s fun to see how you can take that same beautiful crackled look and apply it to different flavor profiles. We stick to the foolproof technique—the double-roll sugar coating and the quick bake—but swap out the chocolate base.
For example, you definitely see variations popping up for gluten free crinkle cookies or sometimes even bright, fun colors. Since our main goal here is mastering the technique, I encourage you to perfect this chocolate version first. Once you nail the crackle timing, trying the others becomes so much less stressful. If you’re looking for another amazing, flavor-packed treat featuring fruit, remember my easy apple crumble recipe is always ready when you need something comforting.
Making Red Velvet Crinkle Cookies
The red velvet crinkle cookies are seriously beautiful, looking like little holiday ornaments sitting on the platter. The technique is nearly identical to what we just did! The main difference, of course, is swapping out that rich cocoa powder for a mixture that includes red food coloring or using a red velvet cake mix as a base if you want to use a shortcut. If you use a cake mix base, you might find these are slightly softer—almost cake-like rather than brownie-like—but the signature snowy crackle stays the same.
If I were developing that specific variation, I’d focus heavily on keeping the dough chilled so the color doesn’t bleed out during the quick bake time. But honestly, try this chocolate version first! It’s the reigning champ of classic holiday treats for a reason!
Storage and Reheating Instructions for Chewy Powdered Sugar Cookies
One of the absolute best things about these crinkle cookies is that they taste even better the next day, which is rare for a freshly baked cookie! But we need to store them properly if we want to maintain that perfect fudgy center and that beautiful, snowy powdered sugar coating. If you’re doing prep work for a party or a big Christmas cookie exchange favorite haul, knowing how to store them is half the battle.
You want to treat them gently. Don’t stack too many on top of each other, or you’ll smudge that gorgeous crackle effect. Since these are such soft, chewy powdered sugar cookies, moisture management is key.
Here’s my best advice for keeping them fresh:
- Airtight is Essential: Store your cooled cookies in a truly airtight container. I mean, seal it tight! This locks in the moisture that keeps the interior soft.
- Do Not Refrigerate: Never put these in the fridge! The cold air pulls moisture out too fast and changes the texture, turning your lovely soft cookie into something dense and slightly stiff.
- Room Temperature Rule: Keep the container at cool room temperature, away from heat sources. They should stay perfectly fresh this way for about four to five days. Honestly, they rarely last that long in my house!
- Make-Ahead Magic: If you’re planning ahead, you can absolutely make some of your prep work simple. You can bake the cookies fully, let them cool completely, and then freeze them in a single layer with parchment between each cookie before sealing them in a freezer bag. They last for about a month frozen, and when you take them out, just let them thaw on the counter inside the bag for an hour. It keeps the sugar coating looking pristine!
If you’re planning a big spread and need something else that handles sitting out well, you might want to check out my recipe for homemade guacamole party dip—though it rarely lasts as long as the cookies!
Frequently Asked Questions About Crinkle Cookies
I get so many messages asking for clarification on these little guys, especially right before the holidays when everyone is scrambling to finish their Christmas cookie exchange favorites platters. It’s totally normal to have questions! We want these soft desserts to be perfect!
Here are the things I get asked most often about making the ultimate brownie like cookie. Hopefully, this helps you nail them on your very first try!
Why did my chocolate crinkle cookies not crackle?
Oh, this is the saddest moment! You’ve done all the work, they come out of the oven looking flat, and there are no pretty white fissures. Usually, this happens for one of two reasons. First, you didn’t roll them thickly enough in that final powdered sugar coat! You need a really thick, heavy layer of sugar for the dough to push against when it bakes. Second, and this is common, you baked them too long. If they dry out in the oven, they stop expanding, and the tops stay smooth instead of cracking open. Pull them when the center still looks a little soft!
Can I freeze the dough for these crinkle cookies?
Yes, you absolutely can! This is a great way to get ahead when you have a lot of baking on your plate. My best tip for freezing the dough is to roll them into balls first, place them on a parchment-lined tray, and freeze them solid like that. Once they are rock hard, you can transfer them to a freezer bag. The trick is: don’t roll them in the powdered sugar until you are ready to bake them. Roll them in the double sugar coating right before they go into the oven. This keeps the sugar looking fresh! If you need some great ideas for quick meals while you’re batch-baking, check out my list of weeknight dinner recipes.
If you want some foolproof tips that other bakers swear by when making these beauties, check out the great advice on the best chocolate crinkle cookies recipe online. It’s always good to have a few trusted sources!
Estimated Nutritional Data for Your Crinkle Cookies
Nobody bakes these crinkle cookies because they are diet food, right? They are meant to be decadent, fudgy, and absolutely worth every bite! But I believe in transparency, which is why I always try to hash out what’s going into the numbers for my trusted readers here at the Symphony. This whole philosophy is about approachable ingredients, and that includes being real about the fuel they provide!
The following information is based on how I make this recipe using standard branded ingredients—so yours might vary slightly based on specific brands or substitutions you make. Think of this as a smart starting point for your healthy-ish indulgence tracker. If you’re looking for other satisfying but lighter ways to treat yourself, I have a whole list of quick dessert recipes for parties that might suit you!
Here is the breakdown for one perfect, chewy chocolate cookie rolling out of the oven:
| Nutrient | Amount |
|---|---|
| Serving Size | 1 cookie |
| Calories | 180 |
| Sugar | 18g |
| Fat | 9g |
| Saturated Fat | 5g |
| Carbohydrates | 24g |
| Sodium | 85mg |
| Protein | 2g |
Remember, these are just estimates! Enjoy that rich, brownie like cookie guilt-free, because homemade tastes better than anything store-bought!
PrintSoft and Fudgy Chocolate Crinkle Cookies
Make rich, brownie-like chocolate crinkle cookies with a perfect powdered sugar crackle top. This easy recipe delivers soft, chewy holiday favorites.
- Prep Time: 20 min
- Cook Time: 12 min
- Total Time: 32 min
- Yield: 24 cookies 1x
- Category: Dessert
- Method: Baking
- Cuisine: American
- Diet: Vegetarian
Ingredients
- 1 cup unsalted butter, softened
- 1 3/4 cups granulated sugar, divided
- 2 large eggs
- 1 teaspoon vanilla extract
- 3/4 cup unsweetened cocoa powder
- 1 3/4 cups all-purpose flour
- 1 teaspoon baking powder
- 1/2 teaspoon salt
- 1/2 cup powdered sugar, for rolling
Instructions
- Preheat your oven to 350°F (175°C). Line baking sheets with parchment paper.
- In a large bowl, beat the softened butter and 1 cup of the granulated sugar until light and fluffy.
- Beat in the eggs one at a time, then add the vanilla extract.
- In a separate bowl, whisk together the cocoa powder, flour, baking powder, and salt.
- Gradually add the dry ingredients to the wet ingredients, mixing until just combined into a thick dough.
- Place the remaining 3/4 cup of granulated sugar and the powdered sugar into two separate shallow dishes.
- Roll the dough into 1-inch balls. Roll each ball first in the granulated sugar, then thoroughly coat it in the powdered sugar.
- Place the coated dough balls onto the prepared baking sheets, spacing them about 2 inches apart.
- Bake for 10 to 12 minutes. The cookies will look slightly underdone in the center.
- Let the cookies cool on the baking sheet for 5 minutes before transferring them to a wire rack to cool completely. The cracks will fully form as they cool.
Notes
- For the best crackle effect, ensure the powdered sugar coating is thick before baking.
- Chill the dough for 30 minutes if your kitchen is warm; this helps the cookies hold their shape.
- These cookies taste best the day after baking when the center has fully set into a fudgy texture.
Nutrition
- Serving Size: 1 cookie
- Calories: 180
- Sugar: 18
- Sodium: 85
- Fat: 9
- Saturated Fat: 5
- Unsaturated Fat: 4
- Trans Fat: 0
- Carbohydrates: 24
- Fiber: 1
- Protein: 2
- Cholesterol: 30