
You know, sometimes you look at those gourmet menus or those perfectly styled food photos and think, “How do they *do* that?” It feels like there’s a secret ingredient, right? Well, secret or not, one of my absolute go-to ways to make *any* meal feel a little more special is with a killer sauce. And when you’re talking about sauces that pack a punch without a ton of fuss, it’s hard to beat a fantastic garlic aioli. Seriously, this creamy, dreamy concoction takes things from “meh” to “wow!” in seconds. Like Mike Carter talks about in his story on Delish Symphony, we believe simple ingredients, when used with a little know-how, can create pure magic in the kitchen. This recipe is totally foolproof, uses stuff you probably already have in your pantry, and by the time you’re done, you’ll wonder how you ever lived without homemade garlic aioli!
- Why You'll Love This Easy Garlic Aioli Recipe
- Ingredients for Your Homemade Garlic Aioli
- How to Make Garlic Aioli from Scratch
- Tips for the Best Garlic Aioli
- Serving Suggestions for Your Creamy Garlic Sauce
- Storing Your Homemade Garlic Aioli
- Frequently Asked Questions About Garlic Aioli
- Nutritional Information for Garlic Aioli
Why You’ll Love This Easy Garlic Aioli Recipe
Honestly, why wouldn’t you want this in your life? This homemade garlic aioli is a total game-changer. Here’s the scoop:
- It’s lightning fast: We’re talking 10 minutes, people! Perfect for when you need a quick flavor boost.
- Super simple: No fancy chef skills needed here. Just a bowl, a whisk, and a few minutes.
- So versatile: This isn’t just a one-trick pony. It’s a flavor enhancing sauce that works on practically everything.
- Gourmet taste, zero fuss: Elevate your sandwiches, fries, veggies, or seafood to restaurant quality right at home. It’s your secret weapon for deliciousness!
Ingredients for Your Homemade Garlic Aioli
Alright, let’s talk about what you’ll need for this magic potion. The beauty of this easy aioli recipe is it uses pretty standard pantry staples. For the best flavor and texture, definitely grab the freshest ingredients you can find!
- 1 large egg yolk (freshness matters here!)
- 1 teaspoon Dijon mustard (for a little zing)
- 1 tablespoon fresh lemon juice (adds brightness!)
- 1 clove garlic, minced (or more if you’re a garlic fiend like me!)
- 1/2 cup neutral oil. Think canola, grapeseed, or even vegetable oil – something without a strong flavor.
- 1/4 cup extra virgin olive oil (this gives it that lovely subtle richness)
- Salt to taste (kosher salt is my fave)
- Black pepper to taste (freshly ground is always best!)
Using good quality oils and fresh garlic makes all the difference, trust me on this one!
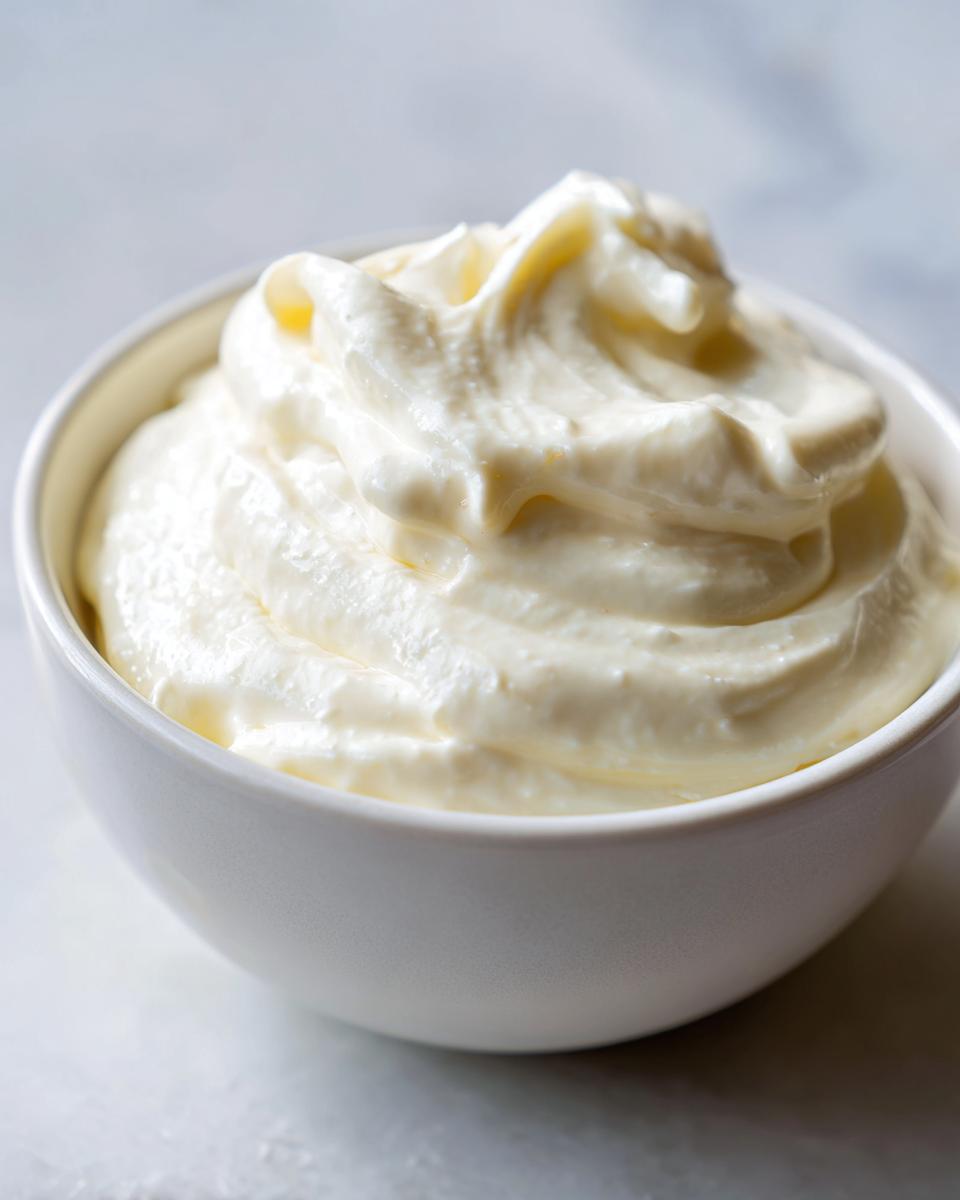
How to Make Garlic Aioli from Scratch
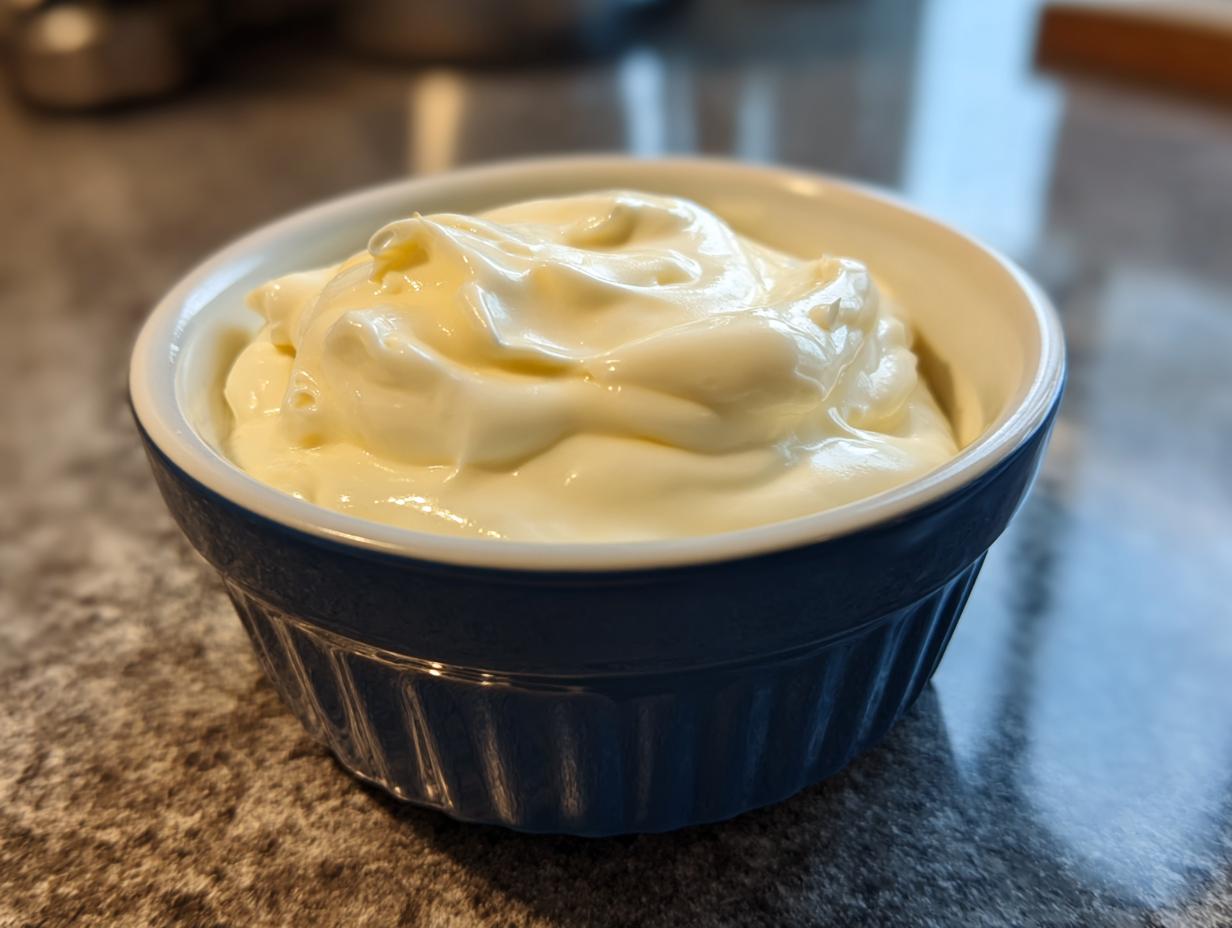
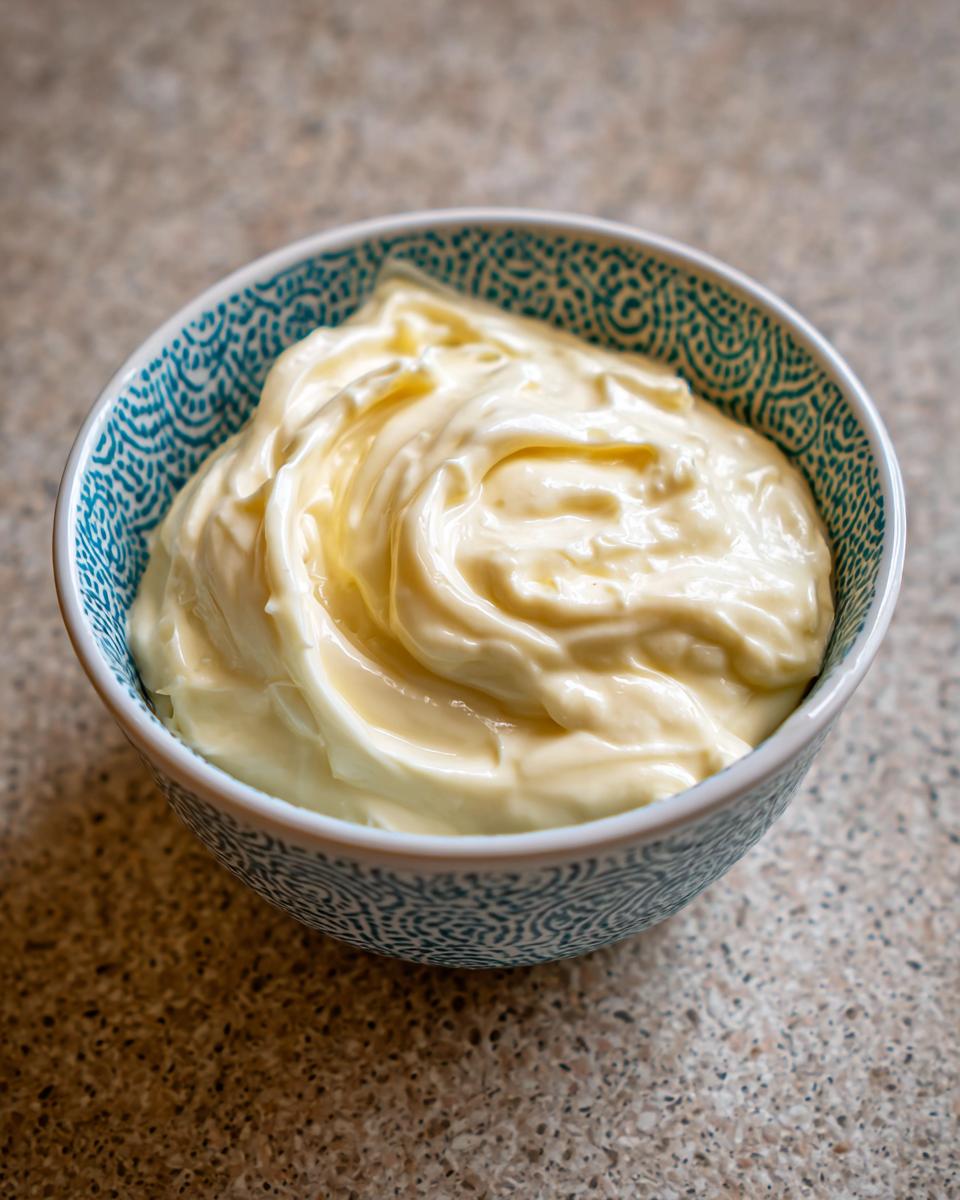
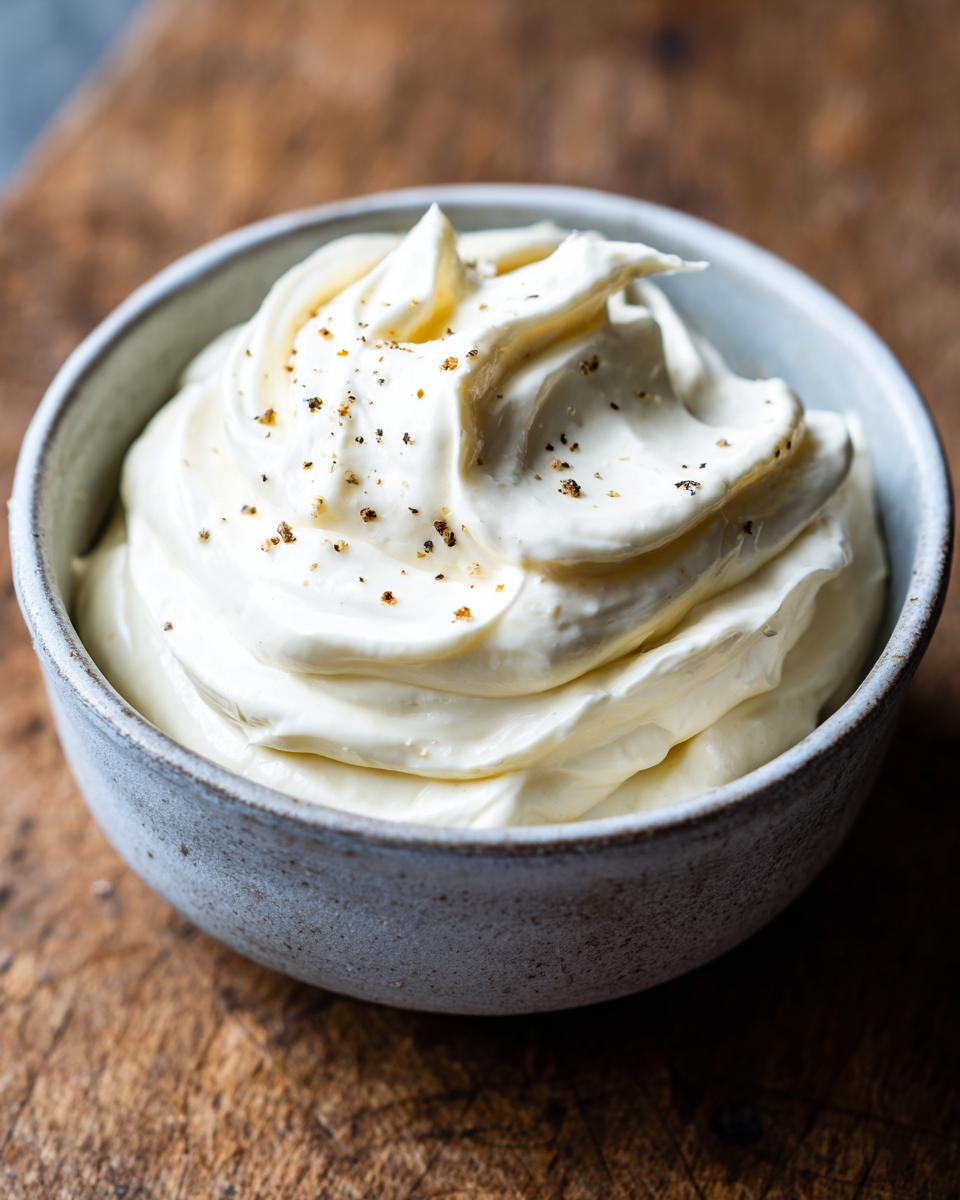
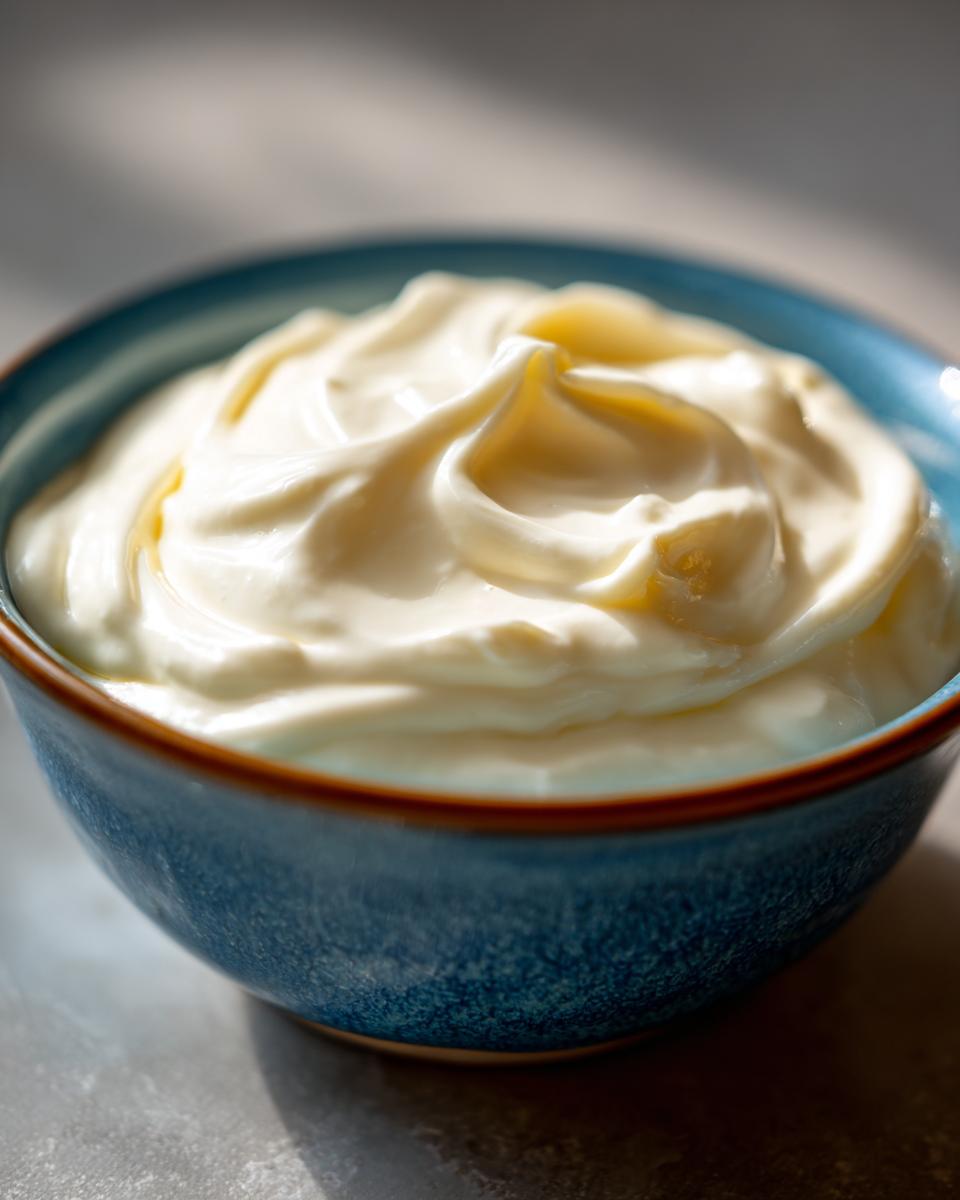
Alright, ready to whip up some magic? Making this garlic aioli from scratch is honestly way easier than you think, and the taste is miles beyond anything bottled. We’re going to build this creamy dream step-by-step. First things first, grab a medium-sized bowl. Into it, whisk together your egg yolk, that little bit of Dijon mustard, the fresh lemon juice, and your minced garlic. Give it a good whisk until it’s all happily combined. Now, here comes the important part: slowly, and I mean SLOWLY, start drizzling in your neutral oil while whisking like crazy. Keep that whisk moving constantly! You’ll see the mixture start to thicken up, turning pale and creamy. This is your emulsion forming, the heart of a good aioli. Once that’s looking good, gradually whisk in the extra virgin olive oil. Keep going until it’s all incorporated and you have a beautifully smooth, luxurious garlic aioli. Season it up with salt and pepper to your liking. For an extra silky texture, you can totally pop it into a food processor for another minute, but honestly, a good whisking does the trick!
Achieving the Perfect Emulsion for Garlic Aioli
That creamy texture in your garlic aioli? It all comes down to a perfect emulsion. The key here is that slow, steady drizzle of oil while whisking like your life depends on it! It’s what helps bind the oil and the liquids together. If, by some chance, yours looks a little broken or oily, don’t panic! Just start with a fresh egg yolk in a clean bowl and slowly whisk in your broken mixture, a tiny bit at a time. It usually comes right back together!
Tips for the Best Garlic Aioli
You want the absolute best garlic aioli every single time? It’s all about a few little tricks and paying attention to the details. For starters, always, always use fresh garlic. If you’re feeling fancy, or just want a deeper, sweeter flavor that’s less harsh, try roasting a whole head of garlic first until it’s soft and caramelized. Just squeeze out the cloves and mash them into a paste – it’s a total game-changer for your homemade garlic aioli! And don’t skimp on the quality of your oils; using both a neutral oil and a good extra virgin olive oil is key for that perfect balance of flavor and richness. This really is the easiest aioli recipe, and it makes you feel like you’re whipping up gourmet goodness right in your own kitchen when you use fresh ingredients and good technique. It’s so much better than store-bought garlic mayonnaise, trust me!
Garlic Aioli Variations and Add-ins
Okay, so the basic creamy garlic sauce is amazing, but what if you want to jazz it up? That’s where the fun really begins! You can totally play with this easy aioli recipe to make it your own. Stir in some finely chopped fresh parsley or chives for a pop of color and freshness – it’s gorgeous! A tiny pinch of smoked paprika can give it a lovely warm, smoky note. Feeling brave? A pinch of cayenne pepper or a dash of your favorite hot sauce makes a spicy aioli that’s incredible on burgers or as a dip. These little tweaks turn your simple sauce into truly custom, versatile condiment recipes!
Serving Suggestions for Your Creamy Garlic Sauce
So, you’ve made this gorgeous, creamy garlic sauce – now what? Trust me, this isn’t just for slathering on a lonely sandwich (though it’s AMAZING for that!). Think of it as your new best friend in the kitchen. It’s perfect as a sandwich spread recipe, turning a basic ham and cheese melt into something truly special. Drizzle it over roasted vegetables like broccoli or asparagus for a burst of Mediterranean flavor. It’s absolutely divine with grilled chicken, fish tacos, or even as a dip for crispy french fries or sweet potato wedges. Honestly, anywhere you want a little bit of garlicy, creamy goodness, this is your guy!
Storing Your Homemade Garlic Aioli
You’ve made this delicious garlic aioli, so you want to keep it tasting its best! Pop any leftovers into an airtight container – a little glass jar works great. Keep it chilled in the fridge, and it should stay lovely for about 5 days. It’s definitely best enjoyed fresh, but 5 days gives you plenty of time to work through it!
Frequently Asked Questions About Garlic Aioli
Got questions about whipping up your own garlic aioli? I’ve got answers! It’s all about making this creamy sauce accessible and foolproof.
Can I make garlic aioli without raw eggs?
Totally! If you’re worried about raw eggs, you can totally make a killer garlic aioli using mayonnaise as a base. Just grab about a cup of good quality mayo, stir in your minced garlic, lemon juice, and seasonings, and you’ve got a super quick version that’s just as tasty! It’s a great shortcut for an easy aioli recipe.
How do I fix broken garlic aioli?
Oh no, the dreaded broken aioli! Don’t toss it! The fix is usually pretty simple. Grab a fresh egg yolk in a clean bowl, and then *very slowly*, a teaspoon at a time, whisk in your broken mixture. It’s like coaxing it back together. Keep whisking until it emulsifies into a smooth, creamy garlic sauce again. If that doesn’t work, you can sometimes salvage it by whisking in a bit more oil, just super slowly.
Can I use roasted garlic instead of raw?
Absolutely! Roasting your garlic first makes for a wonderfully sweet and mellow flavor in your homemade garlic aioli. Just cut the top off a head of garlic, drizzle with a little olive oil, wrap it in foil, and roast at around 400°F (200°C) until it’s soft and golden – usually about 30-40 minutes. Squeeze out the tender cloves and mash them into a paste before adding them to your aioli base. It’s a fantastic way to create a gourmet sauce!
How long does homemade garlic aioli last?
Since this recipe uses a raw egg yolk, it’s best enjoyed within about 3-5 days when stored in a truly airtight container in the refrigerator. It’s much fresher than anything you buy in a jar, so plan to use it up relatively quickly! That’s why making smaller batches is often a good idea.
Nutritional Information for Garlic Aioli
Just a heads-up, the nutritional values for this garlic aioli are estimates and can tweak a little based on the exact ingredients you use. But for a standard serving of about 2 tablespoons, you’re looking at roughly:
- Calories: Around 200
- Fat: About 22g (mostly from the lovely oils!)
- Saturated Fat: Roughly 3g
- Unsaturated Fat: Around 19g
- Cholesterol: About 30mg
- Sodium: Around 150mg
- Carbohydrates: Just about 1g
- Protein: Around 1g
- Sugar: 0g
- Fiber: 0g
It’s a rich, flavorful sauce, so a little goes a long way!
PrintEasy Homemade Garlic Aioli

A simple recipe for creamy, flavorful garlic aioli that enhances sandwiches, vegetables, and seafood.
- Prep Time: 10 min
- Cook Time: 0 min
- Total Time: 10 min
- Yield: 1 cup 1x
- Category: Condiments
- Method: No Cook
- Cuisine: Mediterranean
- Diet: Vegetarian
Ingredients
- 1 large egg yolk
- 1 teaspoon Dijon mustard
- 1 tablespoon fresh lemon juice
- 1 clove garlic, minced
- 1/2 cup neutral oil (like canola or grapeseed)
- 1/4 cup extra virgin olive oil
- Salt to taste
- Black pepper to taste
Instructions
- In a medium bowl, whisk together the egg yolk, Dijon mustard, lemon juice, and minced garlic.
- Slowly drizzle in the neutral oil while whisking constantly until the mixture emulsifies and thickens.
- Gradually whisk in the extra virgin olive oil until fully incorporated and the aioli is smooth and creamy.
- Season with salt and black pepper to your preference.
- For a smoother consistency, you can transfer the aioli to a food processor and blend for an additional minute.
Notes
- For a stronger garlic flavor, you can roast the garlic before mincing and adding it to the aioli.
- Add fresh herbs like parsley or chives for extra flavor and color.
- Store aioli in an airtight container in the refrigerator for up to 5 days.
Nutrition
- Serving Size: 2 tablespoons
- Calories: 200
- Sugar: 0g
- Sodium: 150mg
- Fat: 22g
- Saturated Fat: 3g
- Unsaturated Fat: 19g
- Trans Fat: 0g
- Carbohydrates: 1g
- Fiber: 0g
- Protein: 1g
- Cholesterol: 30mg