
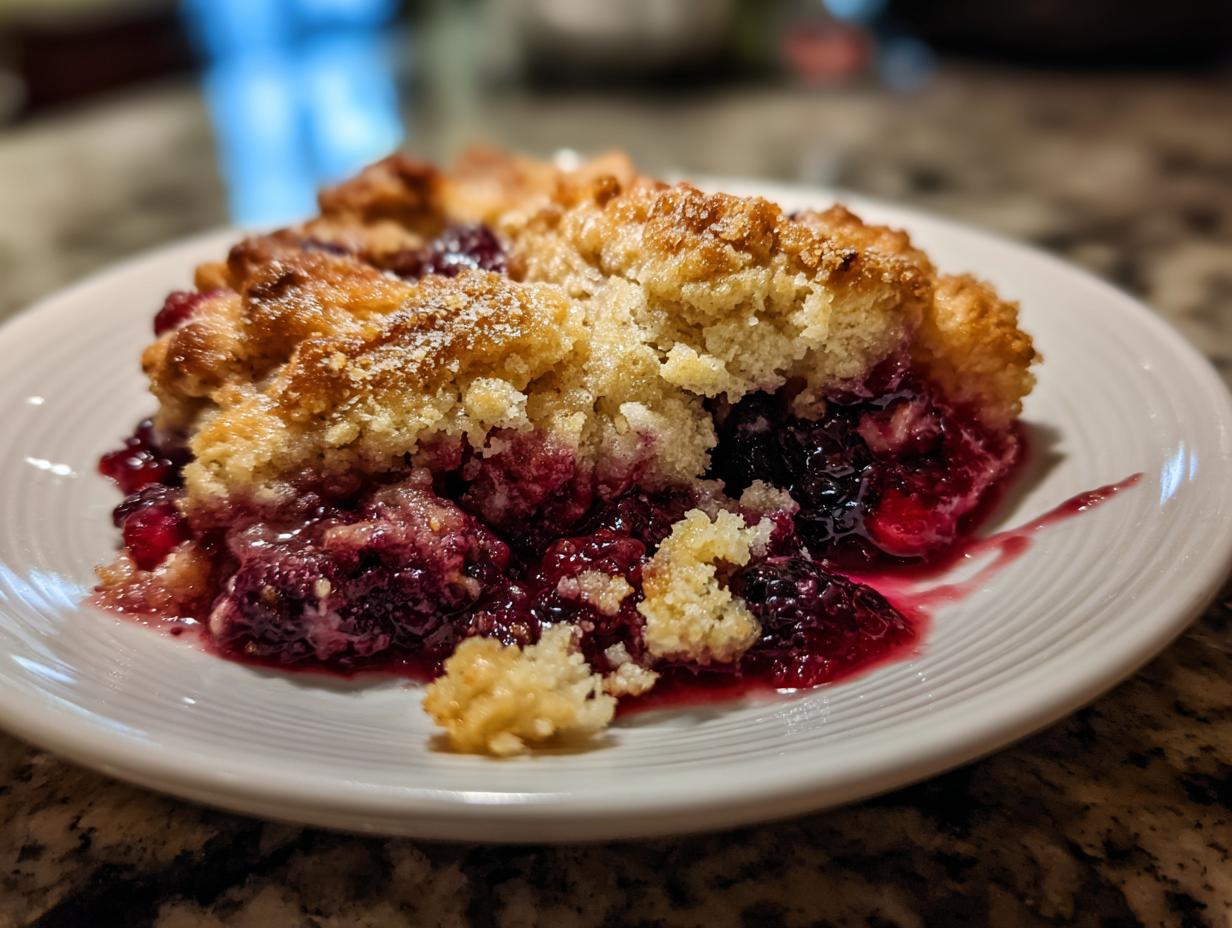
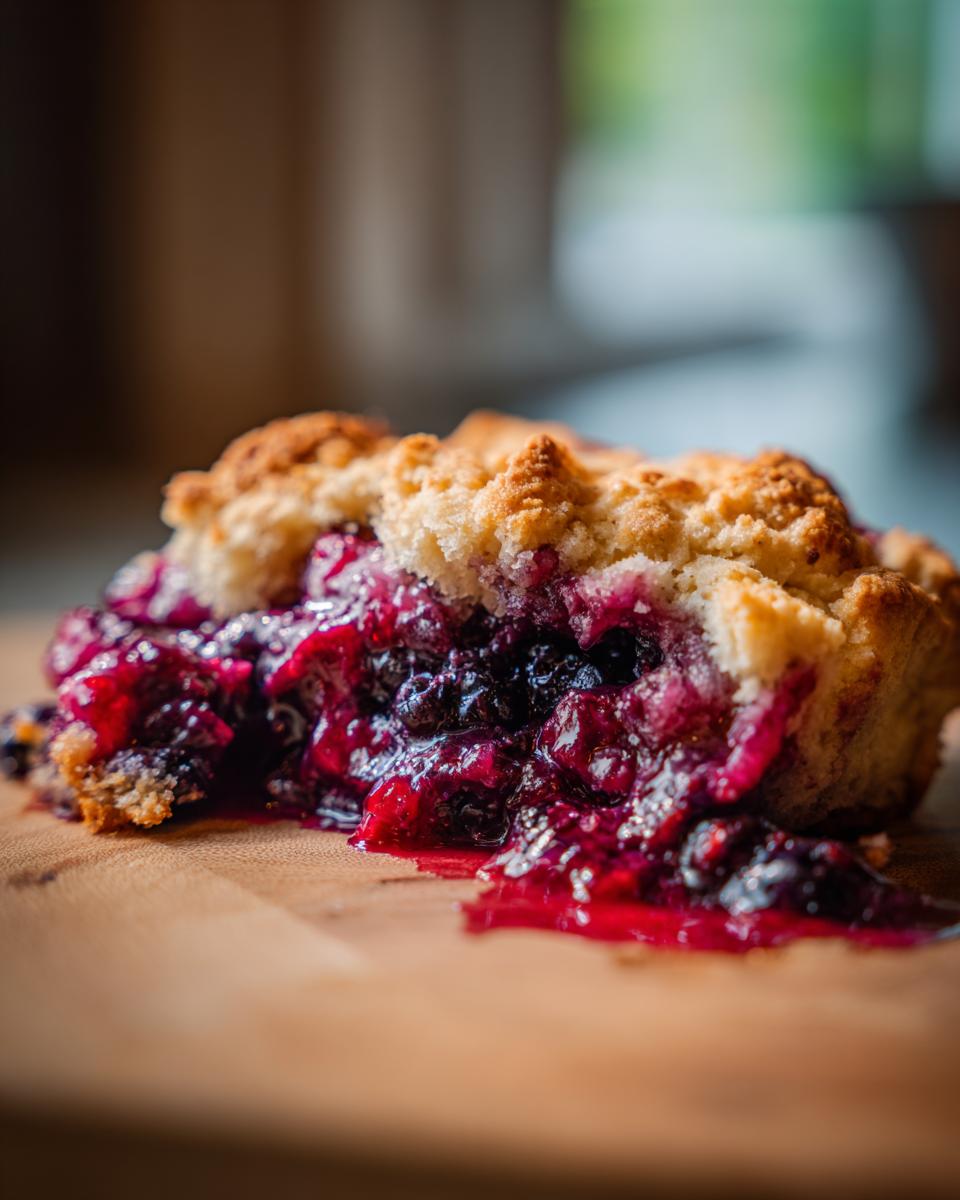
There is just something incredibly comforting about pulling a beautiful, bubbling fruit dessert out of the oven, isn’t there? It smells like sunshine and patience all mixed together. If you’re chasing that perfect slice of homemade goodness without spending half your afternoon fussing over pastry, you’ve come to the right place. I’m Michael Carter, and my goal here at Delish Symphony is to make sure your cooking sounds harmonious, not stressful. Forget finicky crusts; this is hands-down the best easy mixed berry cobbler recipe you’ll find. It’s sturdy enough for summer gatherings because it handles both fresh and frozen berries like a champ, and it’s crowned with the most tender, just-right buttermilk biscuit topping. Trust me, this is simple, foolproof flavor designed for your busy kitchen.
- Why This Easy Mixed Berry Cobbler Recipe is a Must-Make
- Gathering Ingredients for Your Mixed Berry Cobbler
- Step-by-Step Instructions for the Best Mixed Berry Cobbler
- Tips for Success with Your Homemade Mixed Berry Cobbler
- Variations on the Classic Mixed Berry Cobbler
- Serving Suggestions for a Warm Berry Dessert
- Storing Leftovers of Your Mixed Berry Cobbler
- Frequently Asked Questions About This Berry Cobbler Recipe
- Estimated Nutritional Data for Mixed Berry Cobbler
- Share Your Flavorful Creations
Why This Easy Mixed Berry Cobbler Recipe is a Must-Make
I know you have a million things vying for your time, so I engineered this mixed berry cobbler to deliver maximum flavor payoff with minimum fuss. It’s right up there with the best easy dessert recipes we share here, hitting that sweet spot of rustic charm and incredible taste.
- It’s seriously fast—you’re looking at a quick and easy baked fruit that’s ready in under an hour total time.
- It’s versatile! Whether you have fresh berries from the farmer’s market or frozen ones hiding in the back of your freezer, this recipe just works.
- That topping isn’t a soggy crust or a complicated layer; it’s a fluffy, golden buttermilk biscuit topping that bakes up perfect every time.
If you’re looking for more impressive, yet simple final courses, check out all our favorite delicious dessert recipes.
Gathering Ingredients for Your Mixed Berry Cobbler
Okay, assembly time! Before we start mixing like crazy, let’s get everything measured out. This is where the magic starts, right here on the counter. Keeping your ingredients separated makes the whole process so much smoother. You can’t rush the prep, but you can organize it perfectly so everything flows beautifully when we start putting this mixed berry cobbler together.
For the Jammy Berry Filling
This is where the intense, fruity base comes from. Remember, whether you use fresh or frozen berries, they work—no thawing needed for the frozen ones! Cornstarch is our little secret here to make sure the filling gets wonderfully thick and jammy, not watery.
- 4 cups mixed berries (blueberries, raspberries, blackberries—whatever you have!)
- 1/2 cup granulated sugar (taste your berries first; you might need less!)
- 2 tablespoons cornstarch
- 1 tablespoon lemon juice
- 1 teaspoon vanilla extract
For the Buttermilk Biscuit Topping
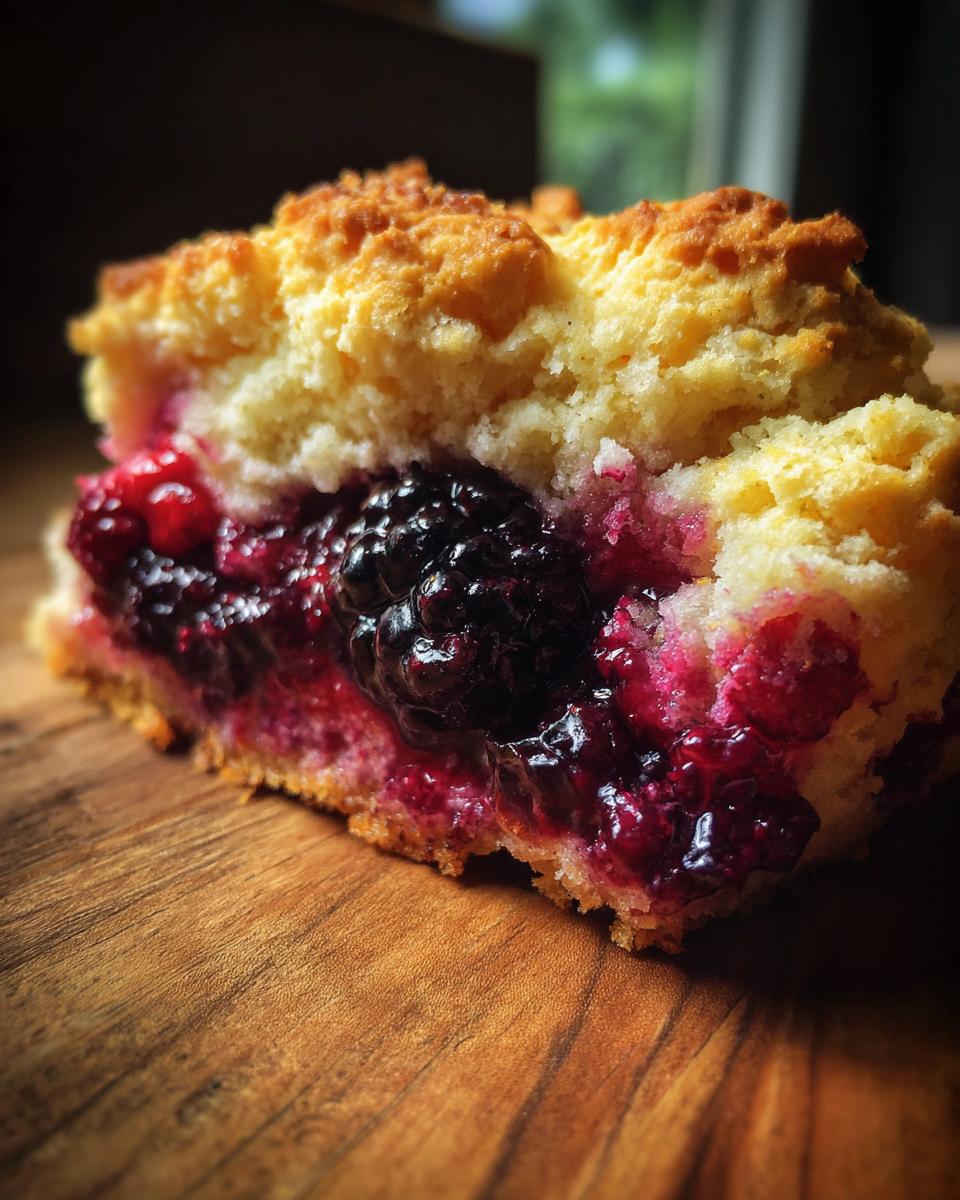
This is what sets our recipe apart from a simple crumble. This tender, slightly tangy buttermilk biscuit topping bakes up beautifully golden brown when it hits the heat. Make sure that butter is truly cold—it makes all the difference in the topping texture!
- 1 1/2 cups all-purpose flour
- 2 teaspoons baking powder
- 1/2 teaspoon salt
- 1/4 cup granulated sugar
- 1/2 cup (1 stick) cold unsalted butter, cut into small pieces
- 3/4 cup buttermilk
- 1 tablespoon coarse sugar, for sprinkling (optional, but oh so pretty!)
Step-by-Step Instructions for the Best Mixed Berry Cobbler
Alright, we have our ingredients ready and waiting. This is the fun part where things stop being individual items and start becoming that amazing mixed berry cobbler you’ve been craving! Don’t rush this process; follow the order, and you absolutely cannot mess this up. We’re aiming for that deep, jammy filling and perfectly baked biscuit on top. If that sounds like too much work, trust me, it’s just a few simple actions. If you’re looking for something quick to whip up while that sets, check out some of my easy breakfast recipes for later!
Preparing the Oven and Baking Dish
First things first: we need heat! Preheat your oven exactly to 375°F (190°C). While that’s warming up—and don’t eyeball this, get the temperature right!—lightly grease whatever dish you are using. I usually reach for a 9-inch pie dish or a standard 8×8 inch square pan. A quick spray with non-stick or a rub of butter works perfectly here.
Mixing the Berry Filling for Your Mixed Berry Cobbler
In one big bowl, we combine the fruit with the thickener. Gently toss your 4 cups of mixed berries with the 1/2 cup of sugar, the cornstarch, lemon juice, and vanilla. You want the berries coated well. The cornstarch is super important—it absorbs all those lovely juices released while baking so your final dessert is thick, not soupy!
Creating the Tender Buttermilk Biscuit Topping
Grab your second bowl for the dry stuff: flour, baking powder, the remaining 1/4 cup sugar, and salt. Whisk it up. Now, take that cold, cubed butter and use your fingertips or a pastry blender to work it in. You want it to look like coarse crumbs, maybe some pieces the size of peas. This is key for a tender biscuit! Then, add the buttermilk and stir just until it *barely* comes together. Seriously, stop mixing when you still see a few dry streaks—overmixing is the enemy of a good biscuit!
Assembling and Baking the Classic Berry Cobbler
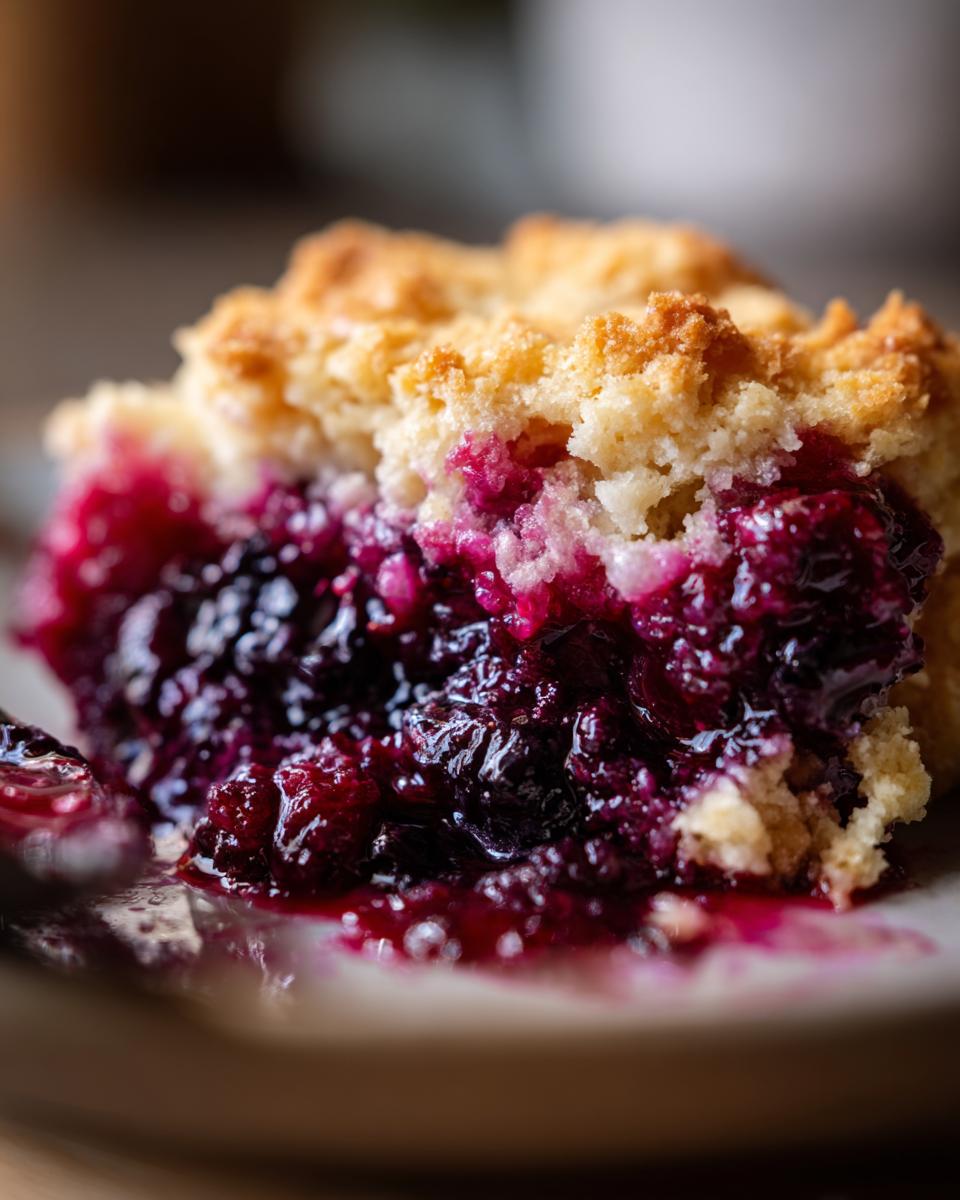
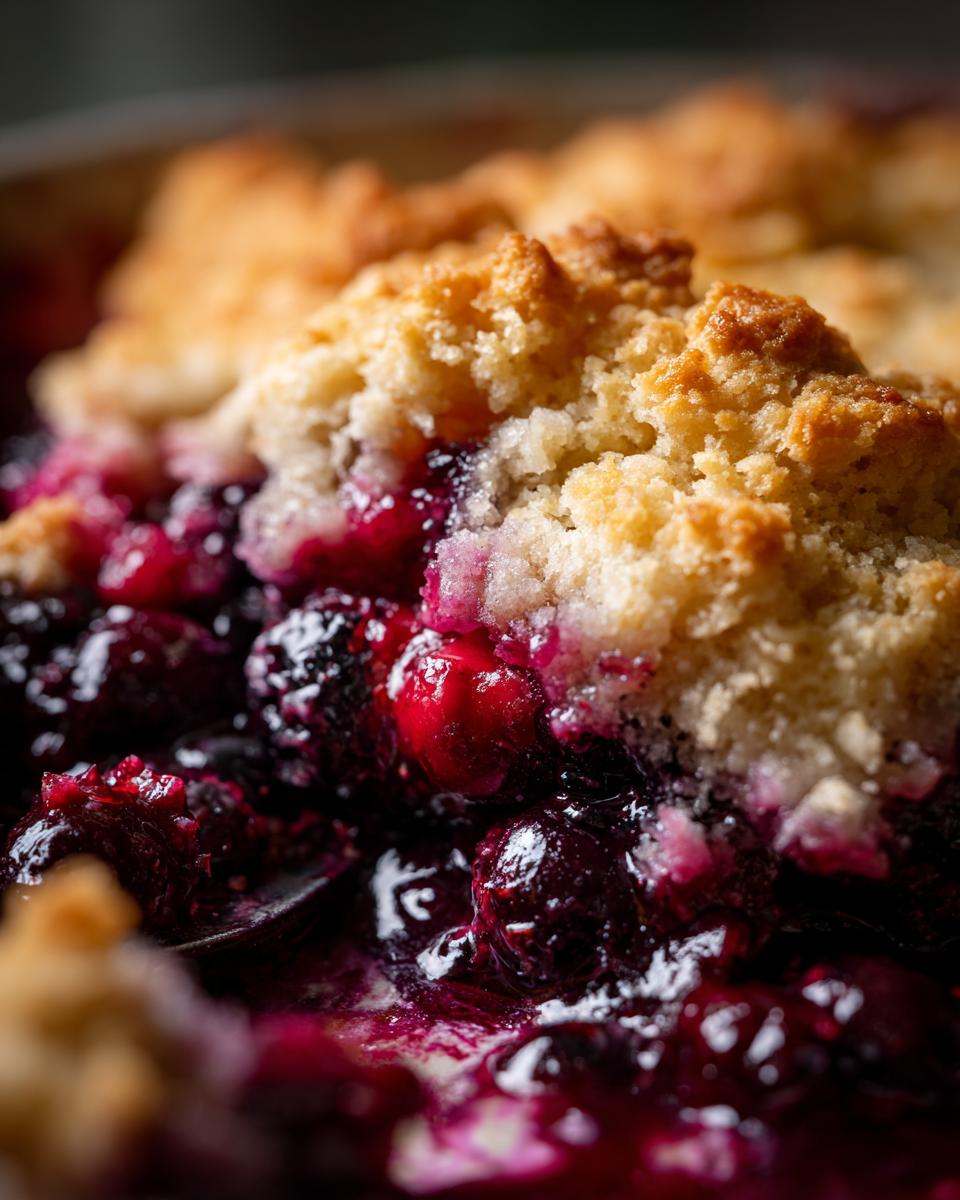
Now we put it together! Pour that beautiful berry filling into your prepared dish. Then, take spoons of that biscuit dough and drop them right over the fruit. Please leave little gaps between the biscuits; we want to see that luscious filling bubble through! Sprinkle on that coarse sugar if you’re using it for sparkle or crunch. Bake this classic berry cobbler for 35 to 45 minutes. You know it’s done when the topping is gorgeously golden brown and you see the filling boiling happily underneath the biscuits.
Tips for Success with Your Homemade Mixed Berry Cobbler
Making a from scratch cobbler recipe like this should feel rewarding, not like a puzzle. Since I’ve tested this multiple times, I want to share a couple of crucial little insights that guarantee success, especially if you’re using berries from different sources. Getting these small details right is what separates a decent cobbler from the *best* one you’ve ever made!
Handling Frozen Berries in Your Mixed Berry Cobbler
If you’re using those fantastic frozen berries—and hey, use what you have!—please, please, please do not thaw them first. Seriously, leave them frozen solid. When you dump them straight from the bag into the bowl, they’ll release their moisture slowly as the cobbler bakes. Because of that extra liquid, just plan on adding about 5 to 10 extra minutes onto your baking time. Keep an eye on that glorious bubbling!
Achieving a Perfect Buttermilk Biscuit Topping
Remember how we talked about not overmixing the dough? That’s your golden ticket to homemade goodness here. The secret for a tender topping is temperature control. Make sure that stick of butter is ice cold and cut into actual small cubes before you start cutting it into the flour mixture. When you mix the buttermilk in, stir only until the dough *just* holds itself together. A tough biscuit topping ruins the whole cozy vibe, and cold ingredients keep that texture flaky!
If you want to maximize flavor without a lot of extra effort, you might want to check out some of my ideas over on weeknight dinner recipes for easy pairings.
Variations on the Classic Mixed Berry Cobbler
While I absolutely adore the classic look and feel of that tender buttermilk biscuit on top, I always encourage folks to get a little creative! This mixed berry cobbler base is so versatile; it’s basically begging you to jazz it up a bit. Think of it as a blank canvas for summer fruit desserts.
If you want something with a little more cozy texture, ditch the biscuit for a minute and try swapping it out for a fantastic cinnamon oat topping dessert. Just mix 1/2 cup of rolled oats with 1/4 cup of brown sugar and a drizzle more melted butter before sprinkling it over the berries. Or, maybe you’re feeling spicy? Adding a tiny pinch of cardamom or a quarter teaspoon of allspice right into the berry filling really wakes up the flavor profile.
It’s these small tweaks that make a recipe truly yours. When you’re looking for more light, easy baking ideas that still pack a punch, swing by my collection of simple snack recipes!
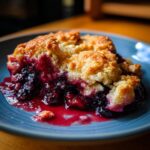
Serving Suggestions for a Warm Berry Dessert
This warm berry dessert screams for something cool and creamy right alongside it. Honestly, eating this mixed berry cobbler straight from the oven without vanilla ice cream? That feels like a missed opportunity, in my book! The contrast between that hot, bubbling fruit and the melting, chilly vanilla is absolute perfection. If you’re feeling fancy, a big dollop of freshly whipped cream works beautifully too, adding a light, airy texture against the tender biscuit topping.
For something a little bolder, try a drizzle of salted caramel sauce—it plays so nicely with the tanginess of the berries. If you need an idea for using up that extra dairy, maybe check out my favorite easy moist banana bread recipe; swapping the ice cream for a slice of that warmed up is decadent!
Storing Leftovers of Your Mixed Berry Cobbler
It’s rare that we have leftovers of this delicious mixed berry cobbler, but when we do, you want to make sure you keep that topping nice and crisp! This isn’t a cake that needs to be kept airtight right away, especially if you ate it warm.
For short amounts of time—say, if you plan on eating the rest tomorrow—you can just cover the dish loosely with foil or plastic wrap once it has cooled down completely to room temperature. Keep it out on the counter; it should be just fine for a full day since the fruit filling is stabilized by the cornstarch we added.
If you need to store it longer, pop that loosely covered dish into the refrigerator. It will keep well for up to three or maybe even four days. The biscuit topping will soften a bit, but don’t worry, we can fix that!
Reheating to Bring Back the Bubble
When you are ready for round two, please skip the microwave if you can! Microwaving the cobbler works fine for warming the fruit, but it turns that lovely biscuit topping into something soft and chewy, and we want texture here!
The best way to reheat leftovers? Pop a serving (or the whole dish, if you’re feeling ambitious) back into a toaster oven or a regular oven set around 325°F (160°C). Give it about 10 to 15 minutes. This gentle heat warms everything through and dries the topping just enough so you get a little bit of that lovely, crisp crust back. Serve it warm again with a fresh scoop of vanilla ice cream—trust me on this one!
Frequently Asked Questions About This Berry Cobbler Recipe
I know when people follow recipes, they inevitably have little questions pop up while mixing. That’s totally normal! My main goal is to make sure you feel totally confident when tackling any of these summer fruit desserts. Here are a few things I hear a lot when folks are whipping up their first batch of this delicious mixed berry cobbler.
Can I use only one type of berry instead of a mix?
You absolutely can! If your market only has amazing fresh strawberries, go for it. But if you are making a triple berry dessert, you get that incredible depth of sweet, tart, and tangy flavor when you combine types. The varied structure of blueberries versus raspberries makes the filling feel richer, even if you keep the cornstarch exactly the same. So, yes, single-berry is fine, but mixed is usually better!
What is the best way to serve this mixed berry cobbler?
As I mentioned, warm is the ticket! The second it stops bubbling furiously, let it rest for 15 minutes—that little wait ensures the filling sets up. Then, load it up with vanilla ice cream. If you want to get slightly fancy without doing much extra work, try drizzling a ribbon of salted caramel sauce over the top before adding the ice cream. It is honestly divine and takes this easy dessert recipe over the top.
How do I prevent the bottom crust from getting soggy?
This is the classic cobbler conundrum, right? You want that juicy bottom, but not a soupy one! Make sure you are vigorously whisking the cornstarch into the sugar *before* you toss it with the berries; you want that thickener totally distributed. Also, make sure your oven is fully up to temperature (375°F) before that cobbler goes in. A hot start helps the filling thicken up quickly! A well-preheated oven makes any simple fruit bake much more successful.
If you’re done with baking and need a totally different kind of refresher, I have some great frozen drink recipes you can check out over at my frozen lemonade guide.
Estimated Nutritional Data for Mixed Berry Cobbler
Now, I always tell people that when we’re talking about a truly from scratch cobbler recipe that involves butter, flour, and sugar, we aren’t exactly counting calories here! This is comfort food, pure and simple. But, because I believe in giving you all the information so you can make smart choices in your own kitchen—that’s the Delish Symphony way—I’ve worked up the estimates for one slice.
Please remember, this data is based strictly on the ingredients listed above and standard calculation formulas. If you go heavy on the sugar or use extra butter in the biscuit topping, the numbers will shift, obviously! But for a reference point for this rustic berry dessert, take a look below per serving (this recipe yields 6 generous slices):
- Calories: Approximately 350
- Total Fat: Around 15 grams (including 9 grams of saturated fat—that’s that lovely butter doing its job!)
- Carbohydrates: Roughly 52 grams
- Sugar: About 35 grams (remember most of this is fruit sugar plus the added sugar for sweetness!)
- Protein: About 5 grams
- Fiber: Around 4 grams
It’s important to know what you’re enjoying! Knowing the details helps you balance things out, maybe pairing a big slice of this mixed berry cobbler with a lighter meal earlier in the day. Enjoy it, because it’s worth every single calorie!
Share Your Flavorful Creations
Whew! We made it through the baking process together, and now it’s the best part: enjoying the fruits (literally!) of our labor. I truly hope pulling that bubbly, golden mixed berry cobbler out of the oven gave you that little burst of kitchen pride I always feel.
If this recipe brought a little harmony to your dessert course, please stop by and leave a quick rating! A solid five stars tells me I nailed the balance, and the details you leave in the comments about using fresh versus frozen berries or testing out a topping variation are gold to me. That feedback really helps me keep crafting these simple recipes that fit into real life.
Remember, Delish Symphony isn’t just about a list of ingredients; it’s about composing a flavorful life where every meal feels intentional and delicious. If you took the time to make this beautiful, rustic dessert, you’re already finding your rhythm! If you want to know more about the heart behind the recipes and why I left the tech world to cook, feel free to learn all about me and our philosophy over on the About page. Happy baking, and I can’t wait to hear how much you loved this easy cobbler!
PrintThe Best Easy Mixed Berry Cobbler with Buttermilk Biscuit Topping
You can make this classic mixed berry cobbler using fresh or frozen berries. It features a sweet, jammy filling and a tender, golden buttermilk biscuit topping for a truly homemade dessert.
- Prep Time: 15 min
- Cook Time: 40 min
- Total Time: 55 min
- Yield: 6 servings 1x
- Category: Dessert
- Method: Baking
- Cuisine: American
- Diet: Vegetarian
Ingredients
- 4 cups mixed berries (fresh or frozen, such as blueberries, raspberries, blackberries)
- 1/2 cup granulated sugar (adjust based on berry sweetness)
- 2 tablespoons cornstarch
- 1 tablespoon lemon juice
- 1 teaspoon vanilla extract
- 1 1/2 cups all-purpose flour
- 2 teaspoons baking powder
- 1/2 teaspoon salt
- 1/4 cup granulated sugar
- 1/2 cup (1 stick) cold unsalted butter, cut into small pieces
- 3/4 cup buttermilk
- 1 tablespoon coarse sugar, for sprinkling (optional)
Instructions
- Preheat your oven to 375°F (190°C). Lightly grease a 9-inch pie dish or an 8×8 inch baking dish.
- Prepare the berry filling: In a large bowl, gently toss the mixed berries with 1/2 cup sugar, cornstarch, lemon juice, and vanilla extract until the berries are coated. Pour the berry mixture into your prepared baking dish.
- Prepare the buttermilk biscuit topping: In a separate medium bowl, whisk together the flour, baking powder, 1/4 cup sugar, and salt.
- Cut in the cold butter using a pastry blender or your fingertips until the mixture resembles coarse crumbs.
- Pour in the buttermilk and stir just until the dough comes together. Do not overmix.
- Drop spoonfuls of the biscuit dough evenly over the berry filling. You do not need to cover the entire surface; leave some gaps for the filling to bubble up.
- Sprinkle the tops of the biscuits with coarse sugar, if using.
- Bake for 35 to 45 minutes, or until the topping is golden brown and the berry filling is thick and bubbly.
- Let the cobbler cool on a wire rack for at least 15 minutes before serving. Serve warm with vanilla ice cream.
Notes
- If you use frozen berries, do not thaw them first. You may need to add 5-10 minutes to the baking time.
- For a richer topping flavor, substitute 1/4 cup of the flour with finely ground oats for a cinnamon oat topping variation.
- This recipe works well with any combination of three or more berries, making it a great way to use seasonal fruit.
Nutrition
- Serving Size: 1 serving
- Calories: 350
- Sugar: 35
- Sodium: 250
- Fat: 15
- Saturated Fat: 9
- Unsaturated Fat: 6
- Trans Fat: 0
- Carbohydrates: 52
- Fiber: 4
- Protein: 5
- Cholesterol: 35