
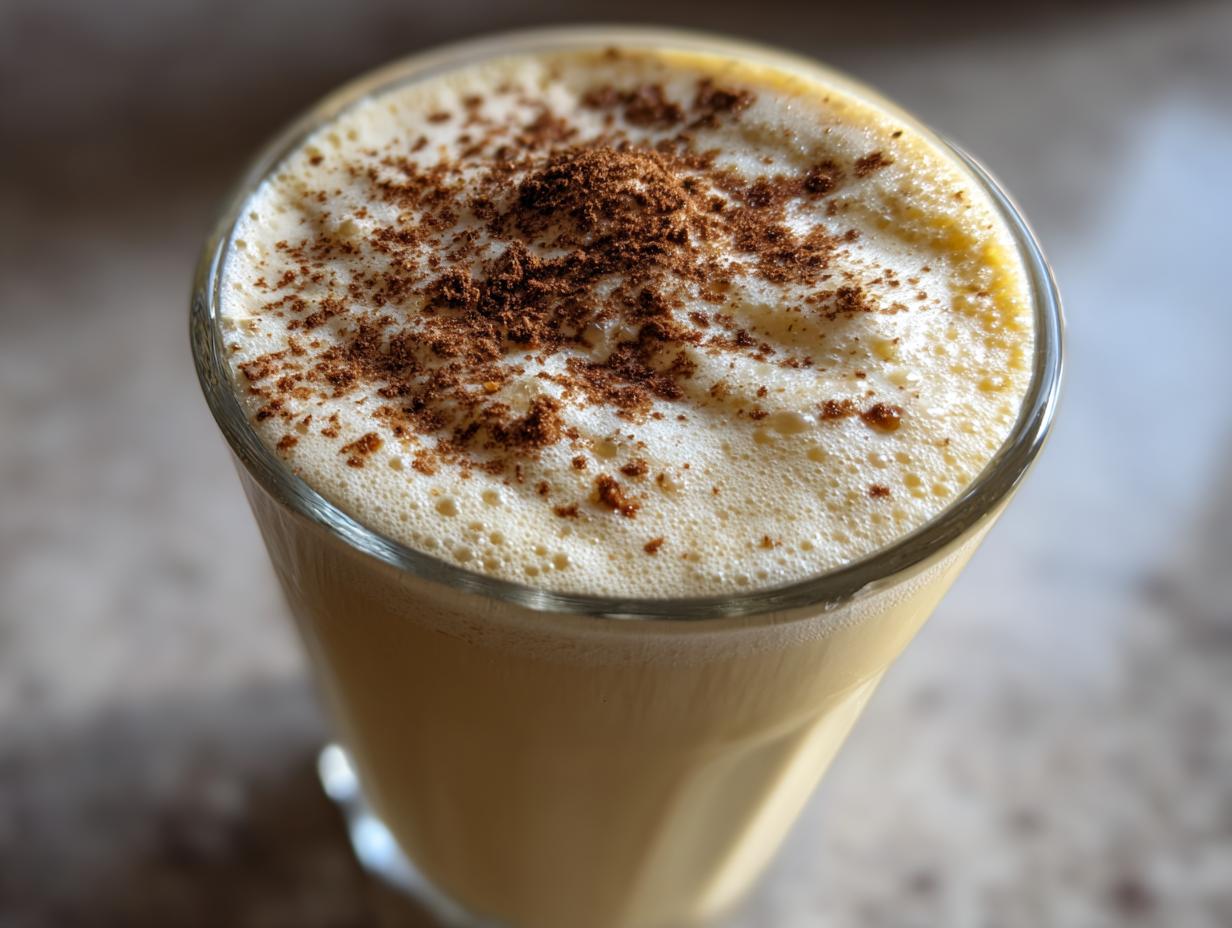
There’s just something magical that happens when the air turns cold, right? Suddenly, we need comforting flavors by the mugful, and for me, nothing screams winter cheer like a glass of truly stellar eggnog. Forget those thin, slightly artificial cartons at the supermarket; we are aiming for the real deal here. I’m Michael, and after years spent trying to nail that perfect, rich holiday flavor in my own kitchen, I can tell you this homemade eggnog recipe is foolproof. It’s velvety, it’s deep in flavor, and frankly, it’s what the holidays taste like. We’re using tempered egg yolks here to ensure we get that luxurious body every time you make it from scratch. You can read a bit more about my philosophy over at my About Page!
- Why This Homemade Eggnog Recipe is Your Best Holiday Drink
- Gathering Ingredients for Classic Homemade Eggnog
- How to Make Homemade Eggnog: Step-by-Step Instructions
- Tips for the Best Old Fashioned Eggnog Experience
- Serving Suggestions for Your Rich Holiday Drink
- Storage and Make-Ahead Tips for Homemade Eggnog
- Frequently Asked Questions About Homemade Eggnog
- Nutritional Estimates for This Rich Holiday Drink
- Share Your Winter Cheer Beverage Experience
Why This Homemade Eggnog Recipe is Your Best Holiday Drink
Look, I respect convenience, but we are talking about holiday cheer here, and you deserve the absolute best. This recipe delivers a rich holiday drink that store-bought versions just can’t touch. The secret sauce, so to speak, is making sure every single component contributes to that perfect mouthfeel. If you are looking for the secret to creamy eggnog from scratch, it all comes down to technique, not complicated ingredients.
Achieving Velvety Texture in Your Homemade Eggnog
The texture is everything, isn’t it? We aren’t aiming for thin milk punch; we want that luxurious smoothness. That’s where gently cooking the yolks comes in—we call it tempering. By heating the custard just right, we safely create a naturally thick base. You must let it chill for hours, though. Don’t rush this! That cold rest time solidifies the cream and really firms up that signature velvety eggnog consistency you’re after.
Flexibility: Spiked Eggnog Recipe or Nonalcoholic Eggnog
One of the best parts about mastering this homemade eggnog is the total control you get. If you’re hosting a family gathering that includes kids or folks who don’t drink, you can easily pull some off before adding the spirits and have a perfect nonalcoholic eggnog. For the adults, it’s a perfect canvas for your favorite spirits. It transforms into a serious spiked eggnog recipe instantly. You can find some of my tips on efficiency in the kitchen, though not specifically for drinks, over here on my weeknight dinner page!
Gathering Ingredients for Classic Homemade Eggnog
Okay, let’s talk about what you need to bring this incredible drink to life. Remember, for a truly rich holiday drink, the quality of the core ingredients matters a lot. When I test these recipes, I use exact measurements because we’re relying on that careful balance for that perfect, thick result. Don’t just eyeball this part—measure precisely!
You will need six large egg yolks, which is the backbone of our richness. Then we mix in three-quarters of a cup of granulated sugar along with a quarter cup of maple syrup for that subtle depth of sweetness. We add a tiny pinch of salt to wake everything up. For our liquids, grab one cup of whole milk and, crucially, two full cups of heavy cream—this is where that velvety texture really comes from. Finally, one teaspoon of vanilla extract and one teaspoon of ground nutmeg, plus extra for that beautiful dusting on top.
And for the spiked option, you’ll need your spirit of choice—about one cup of bourbon, good rum, or brandy if you plan on making this boozy. If you’re sticking with milk or non-alcoholic versions, just skip that last bit; it’s easy! You can check out my favorite quick breakfast solutions right here if you need some ideas for the morning after at this link.
Ingredient Notes and Substitutions for Rich Holiday Drink
Since we are making the best homemade eggnog, let’s discuss those little details. The recipe calls for maple syrup, which I absolutely love because of the subtle caramel flavor it brings to the custard. But maybe you don’t have any! Feel free to swap that out for an equal amount of packed brown sugar—it will give you an even deeper flavor profile, which is fantastic for an old fashioned eggnog feel. Also, if you happen to like your drink a little thinner on the chill, my notes say you can reduce the heavy cream by about half a cup without ruining the structural integrity too much. This drink is all about customizing that richness for your own palate!
How to Make Homemade Eggnog: Step-by-Step Instructions
Alright, this is the part where we go from ingredients to magic. If you are wondering exactly how to make eggnog that tastes like it came from a roaring fireplace, listen closely to these first few steps. While it’s easy, it requires thoughtful attention, especially around the stovetop. Don’t worry, I’ve made this a million times, so I know exactly where things can go wrong!
Tempering the Eggs for Creamy Eggnog From Scratch
We start by whisking the six egg yolks with the sugar until they go pale—you want them light and fluffy before anything else goes in. Then we add the maple syrup and salt. The crucial move is slowly whisking in the whole milk. Now, put this mixture into a saucepan over medium-low heat. This entire cooking phase relies on you staying right there and stirring constantly with a wooden spoon. We absolutely cannot let this boil, or you’ll end up with sweet scrambled eggs! We are looking for 170 degrees F, or just enough so the mixture coats the back of your spoon beautifully. Once it hits that mark, yank it off the heat instantly. That controlled heat application is what keeps those yolks safe and contributes massively to that creamy eggnog from scratch texture.
The Final Chill for Perfect Homemade Eggnog
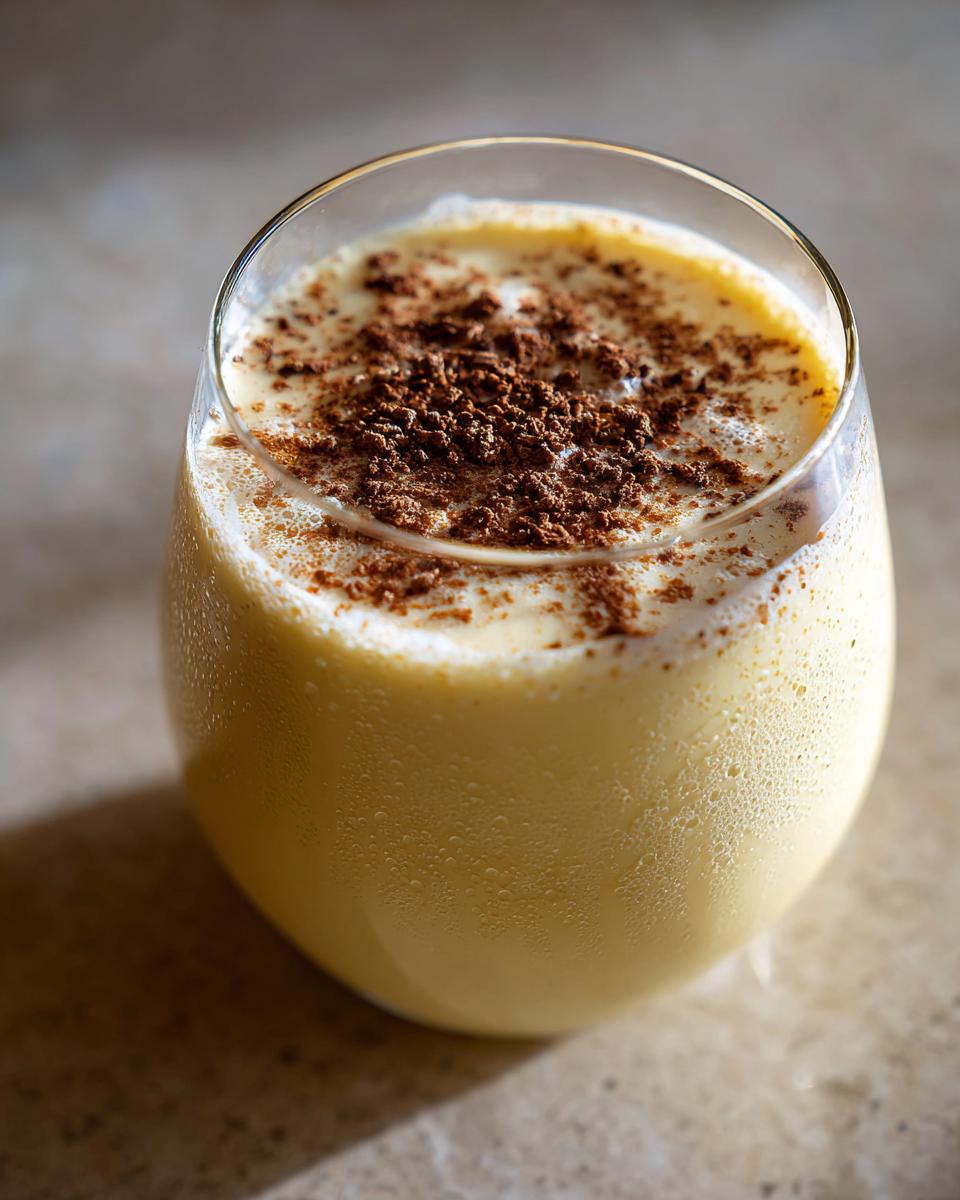
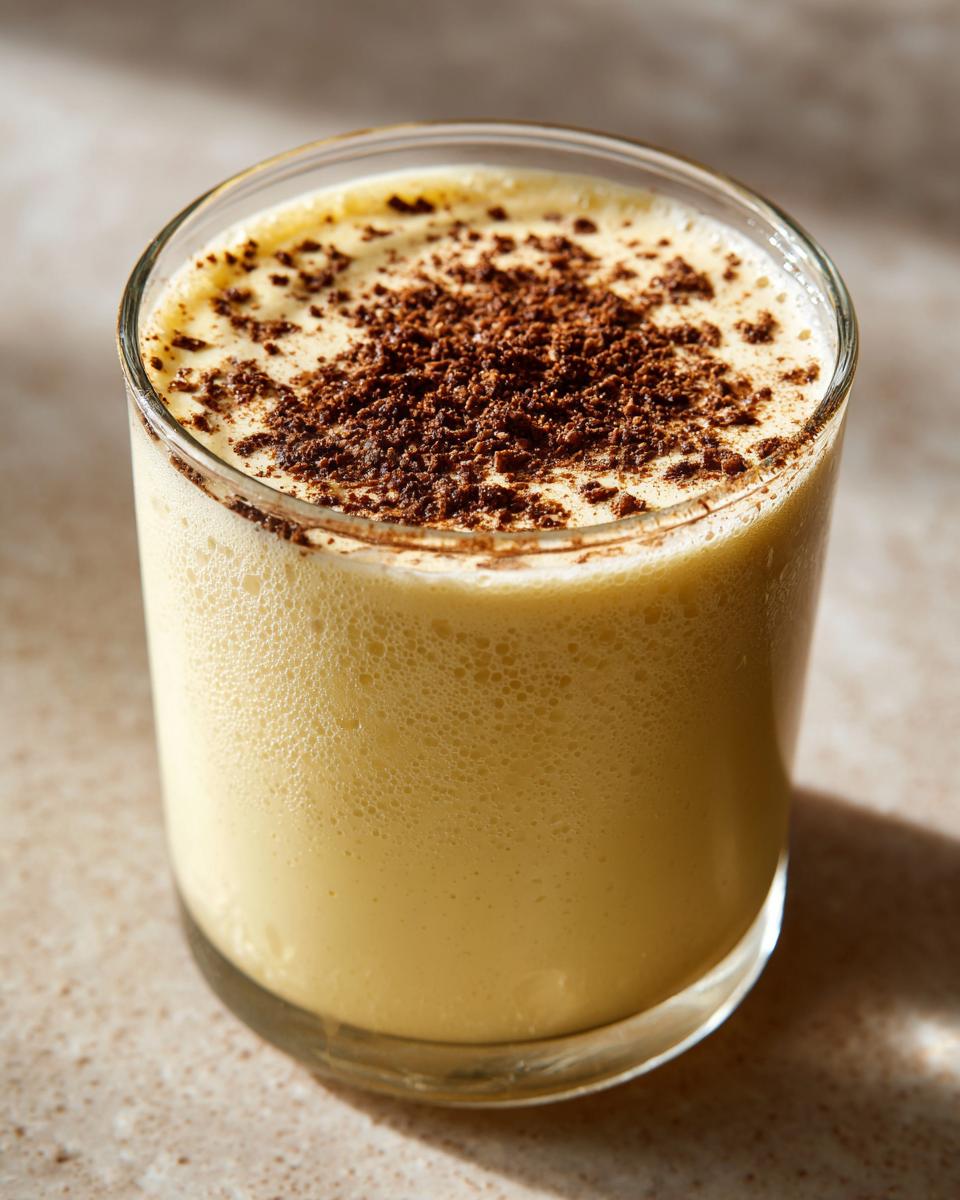
After you’ve strained that custard—which gets rid of any tiny bits that might have stubbornly cooked—it’s time to smooth it out with the heavy cream, vanilla, and nutmeg. If you’re spiking it, add your bourbon or rum right now before it gets cold. Then comes the hardest part: waiting! You must chill this mixture for a minimum of 4 hours, but honestly, overnight is the real key to perfect homemade eggnog. When you finally serve it the next day, give it a good whisk one last time before pouring it out. Don’t forget that final fresh grating of nutmeg right over the top; that’s the finisher that seals the deal!
If you’re looking for something savory to balance out all that richness later, check out my recipe for homemade granola—it’s great on yogurt!
Tips for the Best Old Fashioned Eggnog Experience
Making this feel truly old fashioned eggnog isn’t just about the recipe; it’s about the details you add once the mixing is done. Trust me on this one: buy whole nutmeg and grate it fresh right before serving. The bottled stuff has lost most of its punch! That sharp, warm scent floating up from the glass is half the enjoyment of this rich holiday drink.
Also, think about your chilling vessel. While the initial mix happens in a saucepan, move the eggnog to a pretty glass pitcher or a sealed glass container for that long overnight chill. Glass just seems to keep the flavors cleaner than plastic sometimes, which is important when you are looking for that deep, authentic taste. If you want to pair this incredible beverage with a classic dessert, my recipe for classic apple crisp is always my favorite cool-weather pairing!
Serving Suggestions for Your Rich Holiday Drink
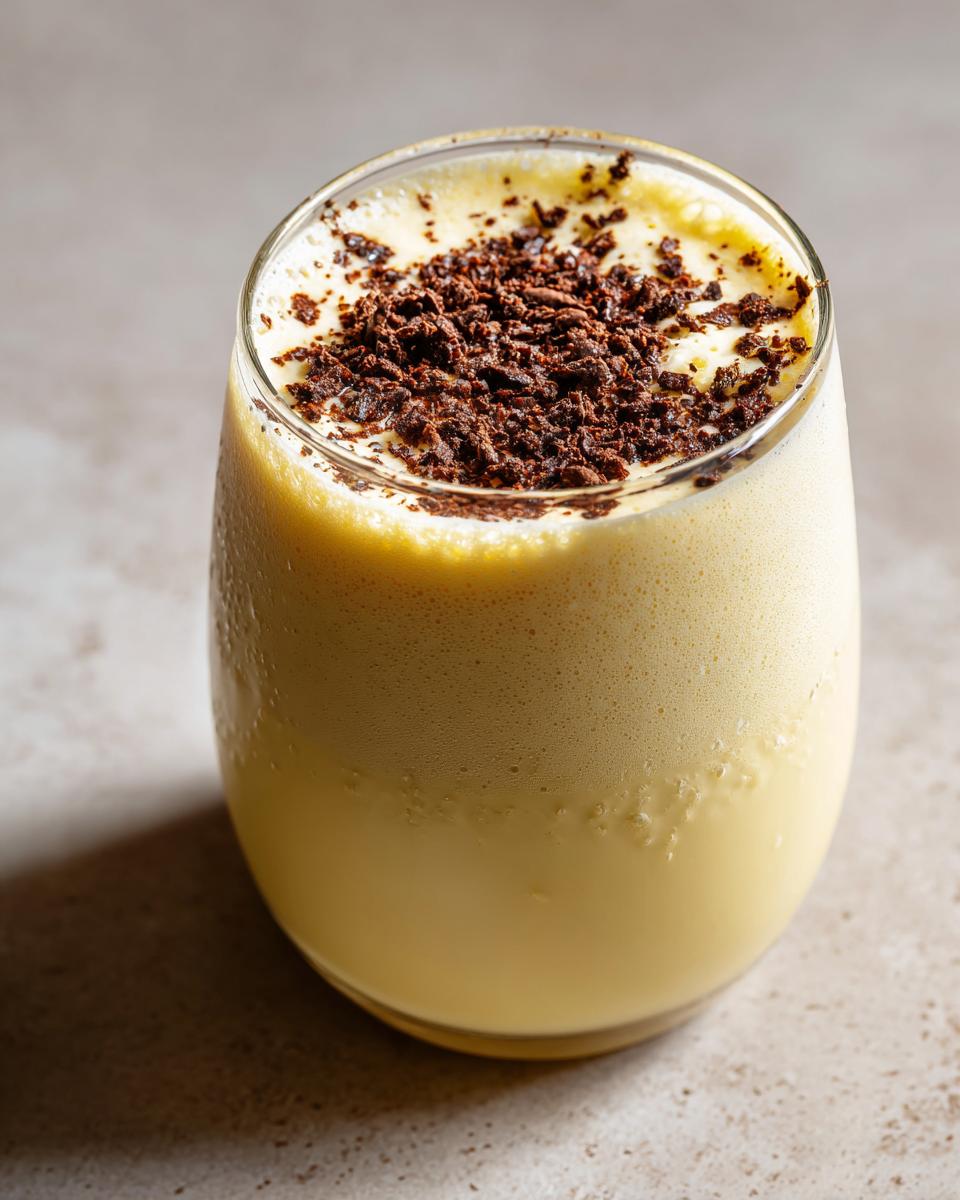
This homemade eggnog is seriously decadent, so you don’t want to serve it alongside something too heavy that fights its creamy profile. Since we spent all that time making it perfectly rich holiday drink material, we need partners that let it shine! Always serve this well-chilled—I mean ice-cold—it really sharpens the spices and cuts through the richness of the cream and yolks. When I serve it up, I put the glasses out first so they get a little frosty!
When it comes to what goes with it, think simple, classic holiday flavors that won’t compete. A shortbread cookie is perfect for dipping—nothing too complex, just buttery goodness. Or, if you’re looking for something slightly spiced, a plain gingerbread cookie works wonders. If you need some spectacular pairing ideas for after you finish that pitcher, you can look at all my favorite sweet treats over in my desserts section!
Making a Spiked Eggnog Recipe Bar
If you are doing a festive party, setting up a little station where people can tailor their own drink is always a huge hit, turning it into a true spiked eggnog recipe bar. It just feels so welcoming, doesn’t it? Have your lovely, chilled homemade eggnog ready to go in a big punch bowl.
For spirits, you really can’t go wrong sticking with the classics mentioned in the recipe. Good bourbon adds a wonderful oaky vanilla layer that complements the nutmeg beautifully. Dark rum—the kind labeled ‘spiced’ is fantastic—gives it a tropical, deeper molasses note which is just marvelous. Don’t hesitate to offer brandy or cognac either; they bring a smoother, almost fruity warmth to the whole profile. Just set out small bowls of the spirits with tiny ladles so guests can add just a splash or two to their glass!
Storage and Make-Ahead Tips for Homemade Eggnog
One of the biggest things I love about this homemade eggnog—besides the incredible flavor, of course—is that it’s truly a make-ahead champion. This isn’t one of those drinks that gets worse the next day; in fact, I think it actually gets *better*! Because we tempered and cooked those egg yolks, we don’t have to worry about food safety like those raw-egg recipes floating around, which gives me a real sense of peace when planning holiday menus.
Once your eggnog is completely chilled—and I mean really cold, ideally after sitting overnight—you need to keep it sealed tight in the refrigerator. We’re using whole milk and heavy cream, so keeping it below 40 degrees F is essential for those planning ahead of time. Properly stored this way, the eggnog will easily last me a solid week. I know, a week! It gives you plenty of time to nurse those leftovers after the big day, which is always a win.
Now, about reheating? Honestly, don’t. This drink is built for sipping icy cold. If you feel like it has gotten just slightly too thick after a few days hiding in the back of the fridge, you can gently whisk in just a splash of cold milk to loosen it up. Don’t heat it up, though; it will ruin that beautiful, rich texture we worked so hard to achieve. Think of this as the perfect make-ahead meal prep for your party—get it done days ahead, and forget about it until it’s time to pour! For my favorite freezer-friendly options, check out my guide to easy moist banana bread; sometimes you just need cold dessert alternatives!
Frequently Asked Questions About Homemade Eggnog
It’s normal to have questions when you venture into making something as iconic as eggnog from scratch. I’ve answered the big ones here so you can feel totally confident serving up this incredible drink. We aren’t cutting corners on quality or safety, so you can focus on enjoying the holidays!
Can I make this classic eggnog recipe without cooking the eggs?
Look, I know the temptation is there, especially since some older recipes call for raw egg yolks. However, for safety reasons—and because I want your homemade eggnog to be perfect—I strongly advise against skipping the gentle heating and tempering process. That short time on the stovetop, bringing the mixture to 170 degrees F, cooks the yolks just enough to eliminate those risks but not enough to scramble them. This technique is what gives our classic eggnog recipe that incredibly smooth, rich body we are aiming for. To me, safety and texture go hand-in-hand here; don’t risk it!
What is the best alcohol to use in homemade eggnog?
This is where you personalize your serving! Since this is such a rich base, it handles bold spirits really beautifully. I always recommend having a couple of options ready in case you’re hosting. Good quality bourbon adds a wonderful spice and oak note that really works well with the nutmeg. Dark rum, especially a spiced variety, brings depth and that classic holiday warmth we love. And don’t forget brandy or cognac; they tend to create a smoother, almost mellow finish. Honestly, the better the spirit you use in your homemade eggnog, the better the final flavor will be, so use something you would actually sip on its own.
How long does homemade eggnog last?
Because this recipe uses the cooked custard method for the yolks, we get great longevity! Once it’s thoroughly chilled—and remember, overnight chilling is non-negotiable for the best results—you can store your sealed container in the refrigerator for up to seven days. That’s right, a full week of deliciousness! This is why it’s such a fantastic make-ahead option for your party planning. If you’re looking for some snacks to enjoy alongside your leftovers later in the week, you can grab some simple ideas over in my snacks category!
Nutritional Estimates for This Rich Holiday Drink
I know some of you are keeping track of what goes into your mug, and I totally get that—we are dealing with cream and egg yolks here, so it’s certainly decadent! I’ve run the estimates using the ingredients I use in my own kitchen here at Delish Symphony. Please remember these figures are just guides; the actual values in your batch of homemade eggnog will change slightly depending on the brands of heavy cream or the specific spirit you use if you choose to make it spiked.
Based on the recipe as written without added alcohol, here is what you can generally expect per one-cup serving size:
- Calories: 450
- Sugar: 35g
- Sodium: 110mg
- Fat: 30g
- Saturated Fat: 18g
- Unsaturated Fat: 12g
- Trans Fat: 1g
- Carbohydrates: 38g
- Fiber: 0g
- Protein: 9g
- Cholesterol: 250mg
It’s definitely a treat to be enjoyed during the holiday season! For more insight into how I approach ingredient sourcing and recipes designed for real life, feel free to check out my About Page. Enjoy every spoonful of that rich holiday drink!
Share Your Winter Cheer Beverage Experience
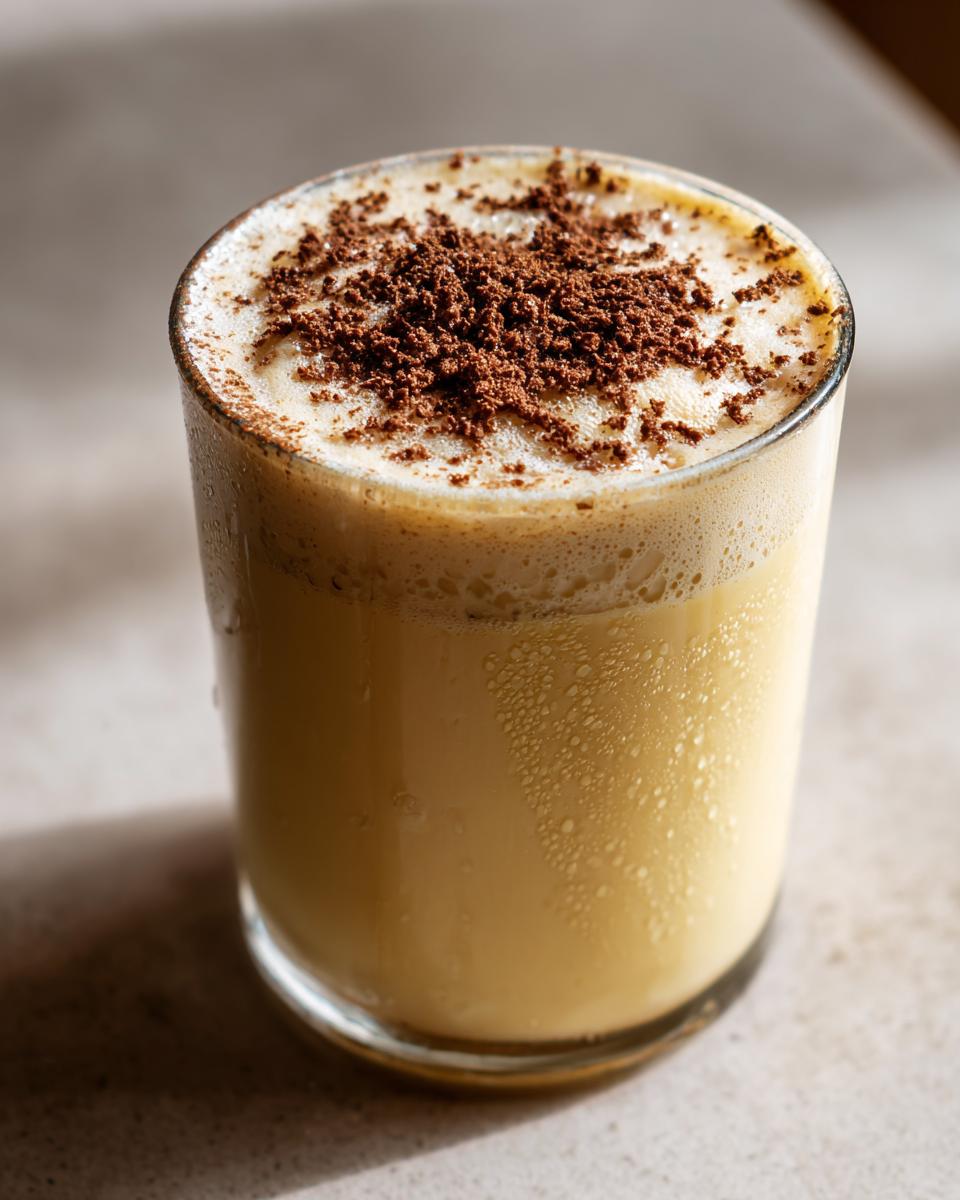
So, that’s my tried-and-true method for getting that ultimate, rich, comforting glass of homemade eggnog. I really hope you give this recipe a go this season! It’s one of those drinks that just feels like a warm hug when you take that first sip straight from the fridge. I want to know how yours turns out!
Did you stick to the maple syrup, or did you try the brown sugar swap? Are you keeping it virgin, or did you go for a heavy splash of bourbon? Drop a comment below and let me know your favorite part about making this winter cheer beverage from scratch. I read every single one, and I love seeing when one of my kitchen anthems becomes a favorite at your holiday table!
If you have any troubleshooting questions as you go, or just want to say hello, you can always reach out to me directly through my contact page. Happy sipping, everyone!
PrintThe Ultimate Creamy Homemade Eggnog: Classic, Rich Holiday Drink
Make rich, creamy homemade eggnog from scratch. This classic recipe yields a velvety holiday drink that tastes better than store-bought versions, with options to spike it with rum, bourbon, or keep it non-alcoholic.
- Prep Time: 15 min
- Cook Time: 10 min
- Total Time: 4 hr 25 min
- Yield: 6 servings 1x
- Category: Dessert Drink
- Method: Stovetop Cooking
- Cuisine: American
- Diet: Vegetarian
Ingredients
- 6 large egg yolks
- 3/4 cup granulated sugar
- 1/4 cup maple syrup
- 1/4 teaspoon salt
- 1 cup whole milk
- 2 cups heavy cream
- 1 teaspoon vanilla extract
- 1 teaspoon ground nutmeg, plus extra for garnish
- Optional: 1 cup bourbon, rum, or brandy
Instructions
- In a medium saucepan, whisk the egg yolks and sugar together until pale yellow.
- Whisk in the maple syrup and salt until combined.
- Slowly whisk in the whole milk until the mixture is smooth.
- Heat the mixture over medium-low heat, stirring constantly with a wooden spoon or heatproof spatula. Do not let it boil.
- Continue heating until the mixture thickens enough to coat the back of the spoon (reaching about 170 degrees F). This tempering step cooks the eggs safely.
- Remove the saucepan from the heat immediately.
- Strain the custard mixture through a fine-mesh sieve into a large bowl to remove any cooked egg bits.
- Stir in the heavy cream, vanilla extract, and ground nutmeg.
- If making the alcoholic version, stir in your choice of spirit now.
- Cover the bowl and chill the eggnog in the refrigerator for at least 4 hours, or preferably overnight, until it is very cold and thick.
- Before serving, whisk the eggnog well and pour into glasses. Garnish each serving with a fresh grating of nutmeg.
Notes
- For a non-alcoholic version, simply omit the spirits in Step 6.
- If you prefer a thinner consistency, reduce the heavy cream by half a cup.
- You can substitute the maple syrup with an equal amount of packed brown sugar for a deeper flavor.
Nutrition
- Serving Size: 1 cup
- Calories: 450
- Sugar: 35
- Sodium: 110
- Fat: 30
- Saturated Fat: 18
- Unsaturated Fat: 12
- Trans Fat: 1
- Carbohydrates: 38
- Fiber: 0
- Protein: 9
- Cholesterol: 250