
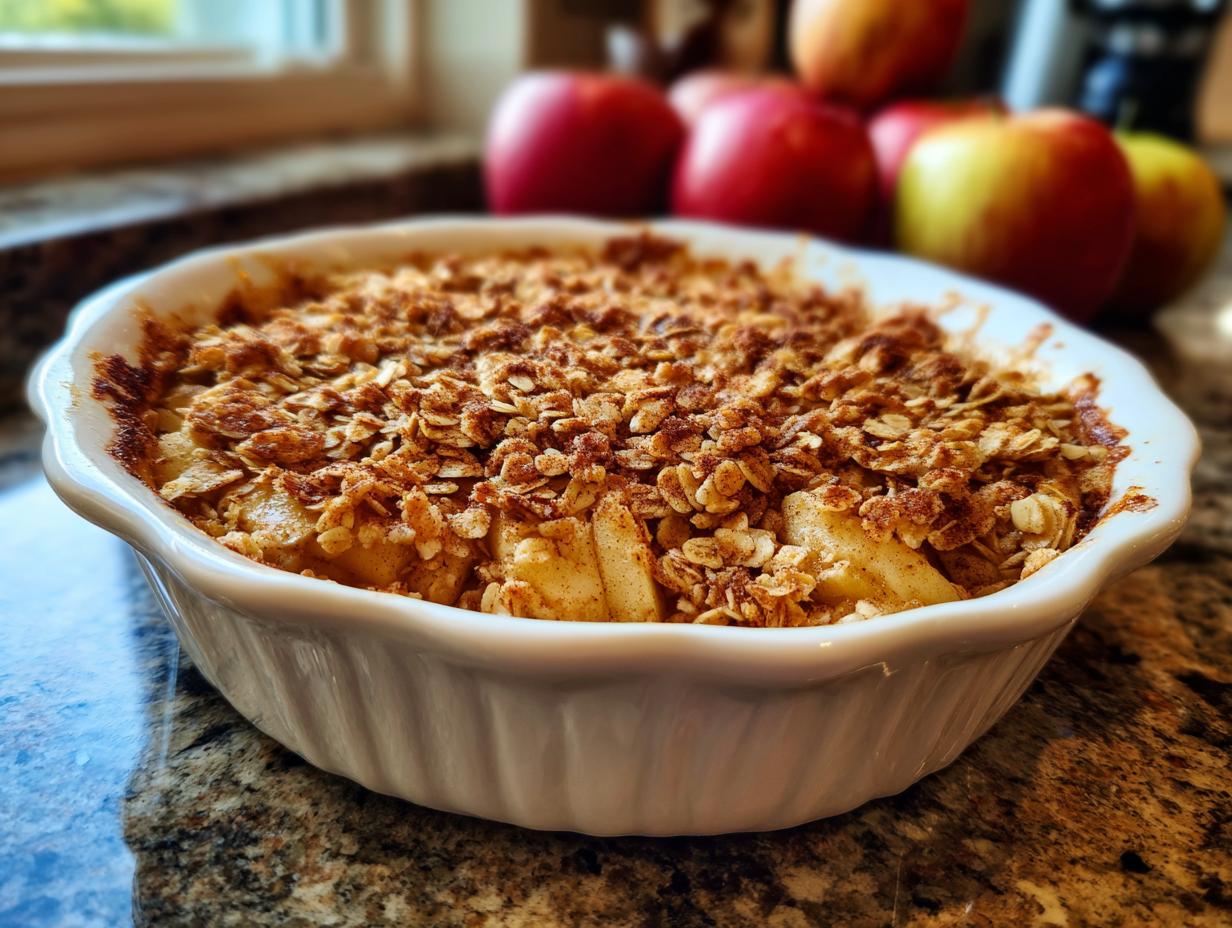
There’s just something about the smell of apples baking with cinnamon that instantly feels like home, isn’t there? It’s like a warm hug on a chilly day. Years ago, when I was just starting out in my own kitchen, I was looking for a dessert that was both incredibly comforting and ridiculously easy – something I could throw together after a long day without stressing. That’s when I landed on this classic apple crisp. Trust me, it’s pure magic: tender, sweet apples bubbling under a buttery, slightly crunchy topping. It’s become my go-to, no-fuss dessert for family dinners and casual get-togethers alike because it’s just *that* good. Making this classic apple crisp always brings back such happy memories, and I know you’ll love it too!
- Why You'll Love This Classic Apple Crisp
- Ingredients for the Perfect Classic Apple Crisp
- Equipment Needed for Your Classic Apple Crisp
- Step-by-Step Guide to Making Classic Apple Crisp
- Tips for the Best Classic Apple Crisp
- Ingredient Notes and Substitutions
- Serving Suggestions for Your Apple Crisp
- Make-Ahead and Storage Instructions
- Nutritional Information
- Share Your Classic Apple Crisp Creations!
Why You’ll Love This Classic Apple Crisp
Honestly, why wouldn’t you love this apple crisp? It’s one of those recipes that just *works* every single time. You’ll adore how unbelievably easy it is to whip up – seriously, you can have it prepped in about 15 minutes flat! Plus, the flavor is just heavenly: sweet, tender apples with that perfect buttery, cinnamon-spiced topping. It’s versatile enough for a weeknight treat or a showstopper dessert for guests. It’s pure comfort in a dish!
Ingredients for the Perfect Classic Apple Crisp
To make this delightful classic apple crisp, you’ll need just a few simple things you probably already have in your pantry. For the apples, grab about 6 medium ones – think Honeycrisp or Granny Smith, they hold up beautifully! Make sure they’re peeled, cored, and sliced up nice and even. You’ll also need just a tablespoon of lemon juice to keep those apples looking fresh. For that amazing crumbly topping, we’re using half a cup of all-purpose flour, half a cup of rolled oats (the old-fashioned kind work best here!), and a half cup of packed brown sugar for that lovely caramel sweetness. Don’t forget a good pinch of cinnamon and nutmeg – about a quarter teaspoon each. And the secret to that perfect texture? Half a cup of cold, unsalted butter, cut into little cubes. That’s it! Simple, right?
Equipment Needed for Your Classic Apple Crisp
You don’t need a whole fancy setup for this classic apple crisp! Just grab a large mixing bowl for tossing the apples and dry ingredients, and then a separate medium bowl for making that yummy topping. An 8×8 inch baking dish is perfect for the job. Oh, and having a pastry blender or even just your fingertips handy for cutting in the butter is key. Easy peasy!
Step-by-Step Guide to Making Classic Apple Crisp
Alright, let’s get this delicious classic apple crisp into the oven! It really comes together super fast. First things first, go ahead and preheat your oven to 375°F (190°C). This is super important so everything bakes evenly. While that’s warming up, let’s get those apples ready. If you were making homemade applesauce, you’d be starting with similar prep, but for this crisp, we’re keeping them sliced! Check out how we make our own applesauce for another delicious apple idea.
Preparing the Apples
Grab your big bowl and toss those sliced apples with the lemon juice. Don’t skip this! The lemon juice is like a little secret weapon that keeps them from turning brown and adds just a little zing. Just a quick gentle stir so every slice gets coated.
Creating the Crisp Topping
In your separate medium bowl, mix together the flour, rolled oats, brown sugar, cinnamon, and nutmeg. Give it a good whisk so all those lovely spices are evenly distributed. Now for the fun part: cutting in the cold butter. You can totally use a pastry blender if you have one, but honestly, your clean fingertips work like a charm! Just rub the butter into the dry ingredients until it all looks like coarse crumbs – think little pebbles. You don’t want it to be a paste, just nicely crumbly!
Assembling and Baking Your Apple Crisp
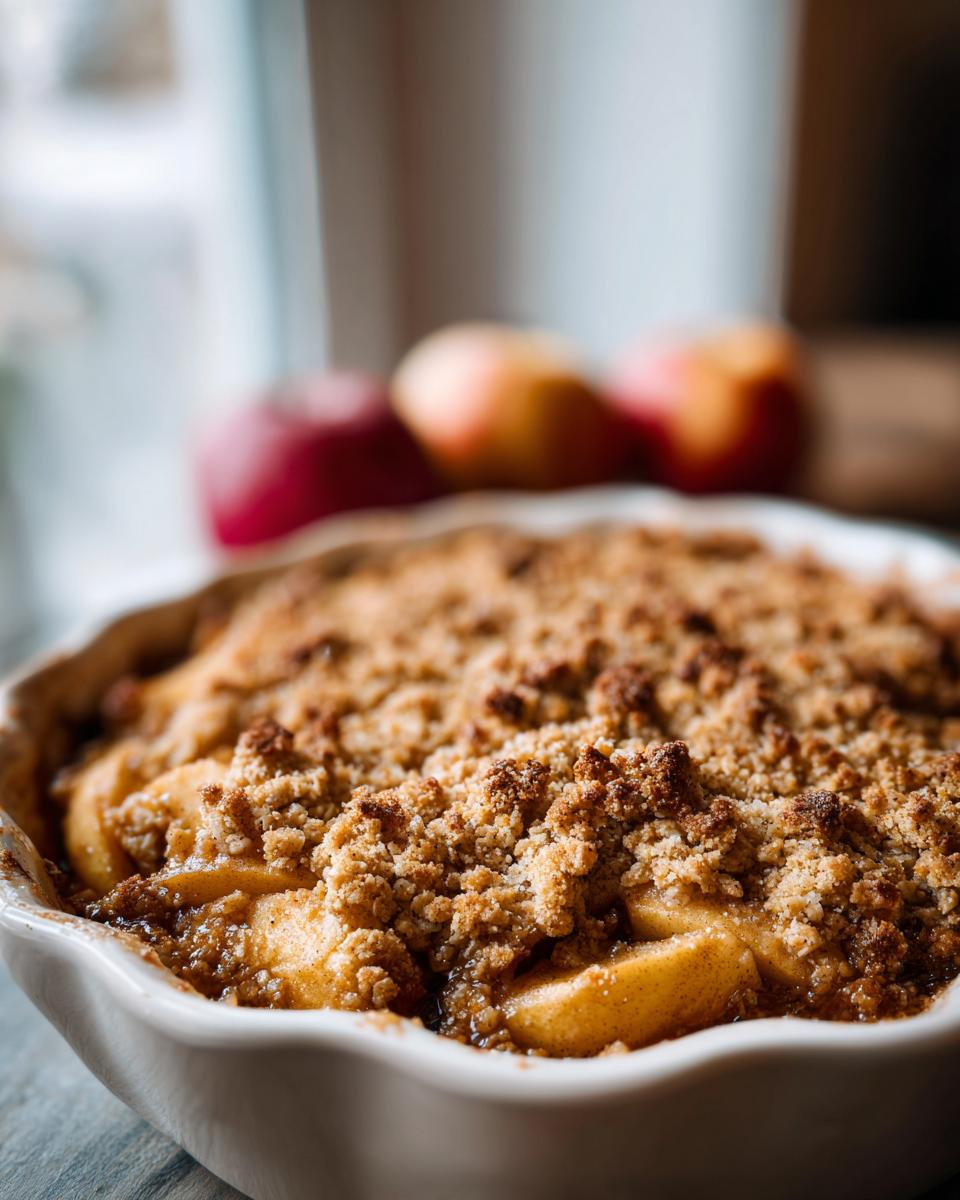
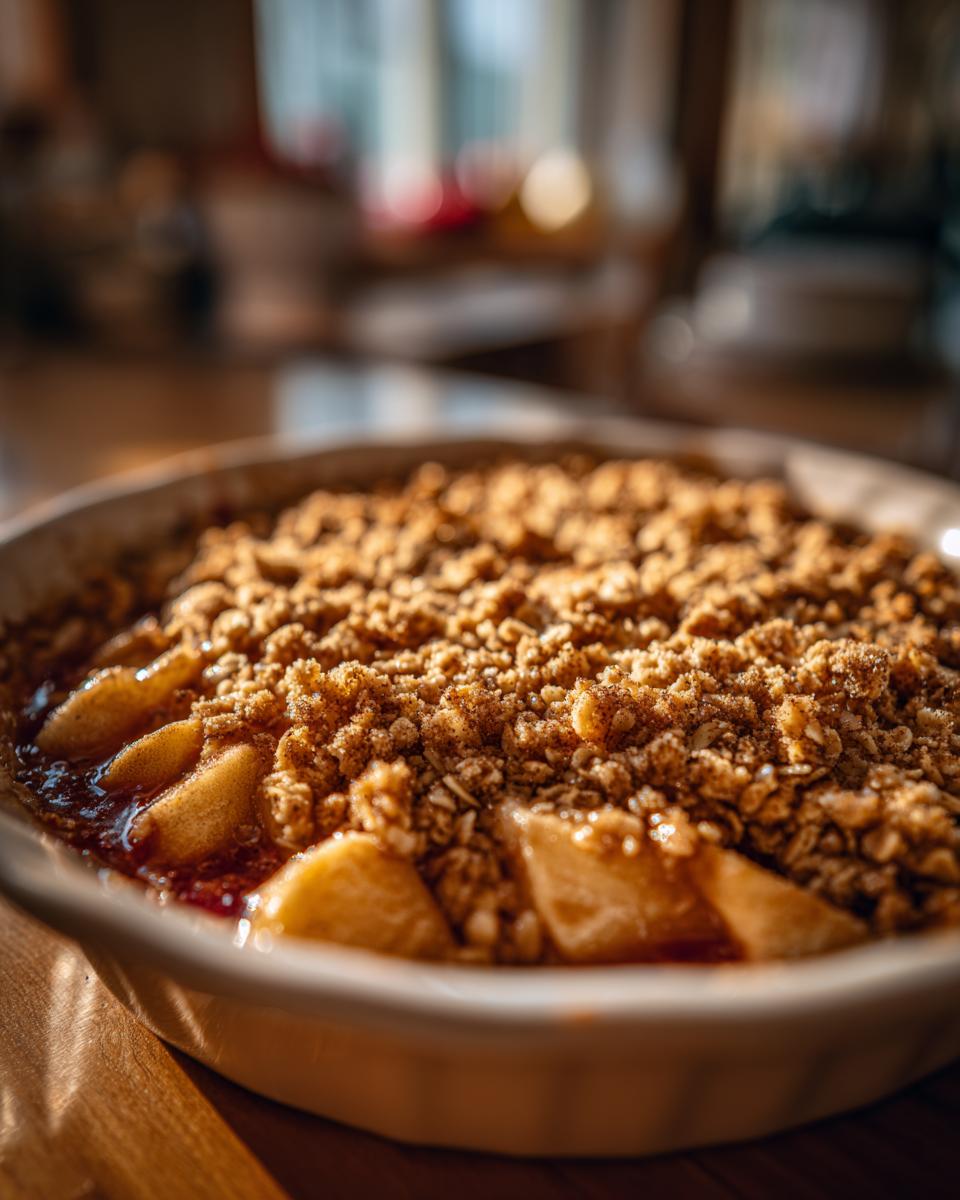
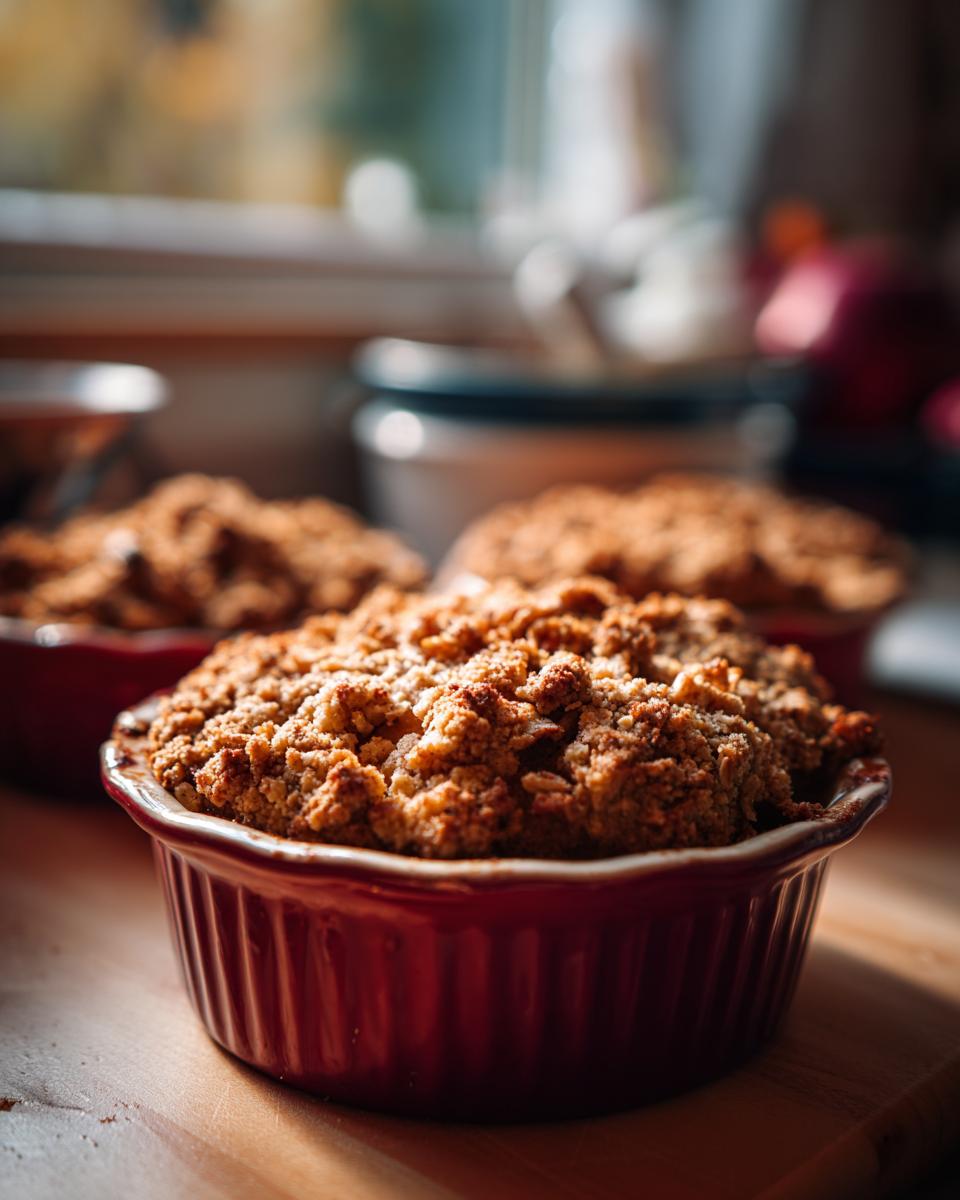
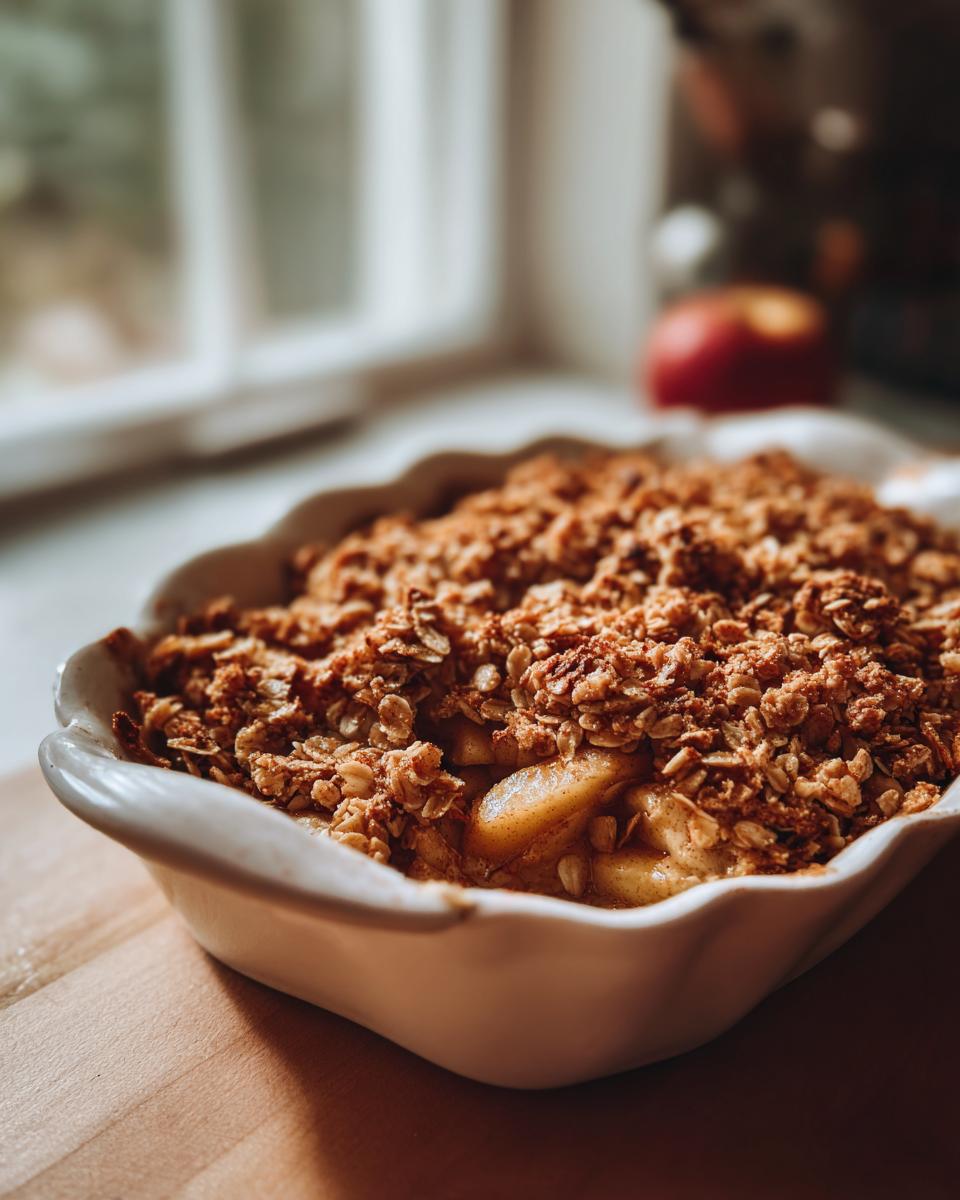
Now, spread those lemon-kissed apples evenly into your 8×8 inch baking dish. They should fill it out nicely. Sprinkle that glorious crumb topping all over the top, making sure it’s pretty evenly distributed. Pop the dish into your preheated oven. Bake it for about 30 to 40 minutes. You’ll know it’s ready when that topping is a beautiful golden brown and you can see the apple filling underneath bubbling up all gooey and delicious. It smells amazing at this point, so trust your nose!
Tips for the Best Classic Apple Crisp
Okay, listen up, because I’ve made this classic apple crisp a hundred times, and I’ve got a few tricks up my sleeve to make it absolutely perfect every single time! First, for the apples, try to use a mix of sweet and tart ones. My favorites are Honeycrisp for sweetness and Granny Smith for that beautiful tartness. If your apples feel a little… well, *too* wet, you can lightly drain them after tossing with lemon to avoid a soggy bottom. And for the topping? Don’t overwork the butter; you want those lovely little crumbly bits, not a smooth paste. Check out my easy apple crumble for another great variation, or even my sour cherry crisp for a change of pace!
Ingredient Notes and Substitutions
When it comes to making this classic apple crisp, the apples you choose really do make a difference! I love using a mix – something super sweet like Honeycrisp or Fuji, paired with a tart apple like Granny Smith. This balance gives you the best flavor. If you can’t find those, Gala or McIntosh also work beautifully. For the topping, if you happen to have almond flour or oat flour, they can be fun substitutions for all-purpose flour if you’re looking for something a little different, though traditional is hard to beat! And if you’re feeling adventurous, have you ever tried an apple pie dump cake? It uses similar flavors but in a totally unique way!
Serving Suggestions for Your Apple Crisp
This classic apple crisp is absolutely delightful on its own, but oh boy, can it get even better! My absolute favorite way to serve it is warm, straight from the oven, with a big scoop of creamy vanilla ice cream melting into the topping and apples. Heavenly! A dollop of homemade whipped cream is also totally divine. If you’re feeling fancy, a drizzle of caramel sauce or even some toasted chopped nuts sprinkled on top would be amazing. It’s also a fantastic pairing if you’ve made something fun like churros for a dessert spread!
Make-Ahead and Storage Instructions
This classic apple crisp is pretty forgiving, which is great for busy folks! You can totally prep the whole thing – apples in the dish and topping ready to go – and cover it tightly with plastic wrap. Just pop it in the fridge for up to a day before you want to bake it. When you’re ready, just pop it straight into the preheated oven and add a few extra minutes to the baking time. Leftovers? Store them in an airtight container in the fridge for about 3-4 days. To reheat, just pop a serving in the oven or microwave until warm and lovely again.
Nutritional Information
Just a heads-up, the nutritional info for this classic apple crisp is an estimate, okay? It can totally change depending on the exact apples and butter you use. But generally, one serving is around 350 calories, with about 18g of fat (11g of that being saturated) and 45g of carbs. It’s a pretty satisfying dessert without being too heavy! If you’re looking for something with more protein, you might want to check out our recipe for high-protein waffles!
Share Your Classic Apple Crisp Creations!
I absolutely LOVE hearing from you! When you make this classic apple crisp, please leave a comment below and maybe even give it a star rating – it really helps me know you’re loving it! If you snap some pictures, tag me on social media; I’d be thrilled to see how your crisp turned out. You can also reach out through my contact page if you have any questions!
PrintClassic Apple Crisp
A simple and comforting apple crisp, perfect for any occasion.
- Prep Time: 15 min
- Cook Time: 40 min
- Total Time: 55 min
- Yield: 6 servings 1x
- Category: Dessert
- Method: Baking
- Cuisine: American
- Diet: Vegetarian
Ingredients
- 6 medium apples, peeled, cored, and sliced
- 1 tablespoon lemon juice
- 1/2 cup all-purpose flour
- 1/2 cup rolled oats
- 1/2 cup packed brown sugar
- 1/4 teaspoon ground cinnamon
- 1/4 teaspoon ground nutmeg
- 1/2 cup (1 stick) cold unsalted butter, cut into cubes
Instructions
- Preheat your oven to 375°F (190°C).
- In a large bowl, toss the sliced apples with lemon juice.
- In a separate medium bowl, combine the flour, rolled oats, brown sugar, cinnamon, and nutmeg.
- Cut in the cold butter using a pastry blender or your fingertips until the mixture resembles coarse crumbs.
- Spread the apple mixture evenly in an 8×8 inch baking dish.
- Sprinkle the crumb topping evenly over the apples.
- Bake for 30-40 minutes, or until the topping is golden brown and the apples are tender.
- Let cool slightly before serving.
Notes
- Serve warm with vanilla ice cream or whipped cream.
- You can add 1/4 cup chopped pecans or walnuts to the crumb topping for extra crunch.
- For a gluten-free version, use a gluten-free flour blend and certified gluten-free oats.
Nutrition
- Serving Size: 1 serving
- Calories: 350
- Sugar: 30g
- Sodium: 10mg
- Fat: 18g
- Saturated Fat: 11g
- Unsaturated Fat: 7g
- Trans Fat: 0g
- Carbohydrates: 45g
- Fiber: 4g
- Protein: 3g
- Cholesterol: 45mg