
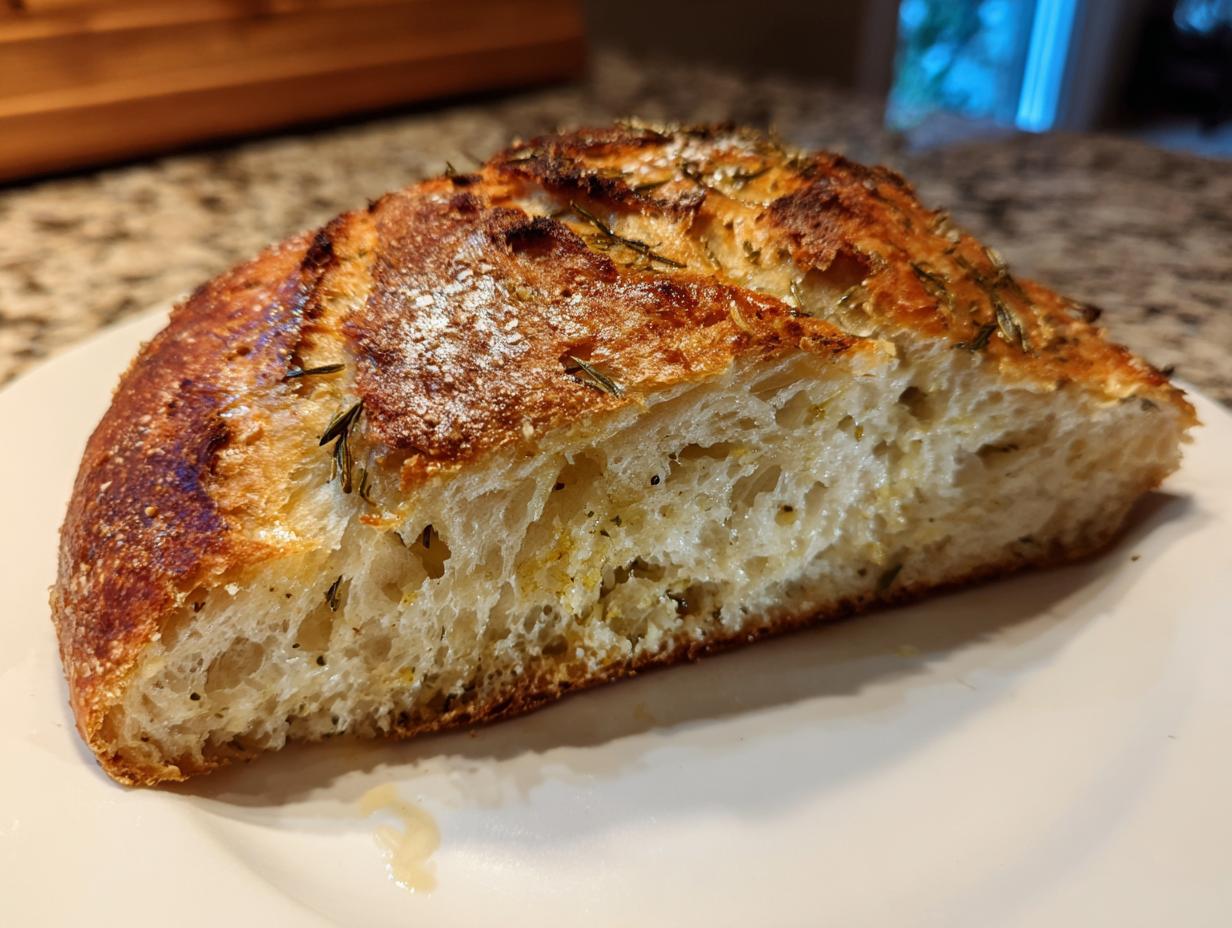
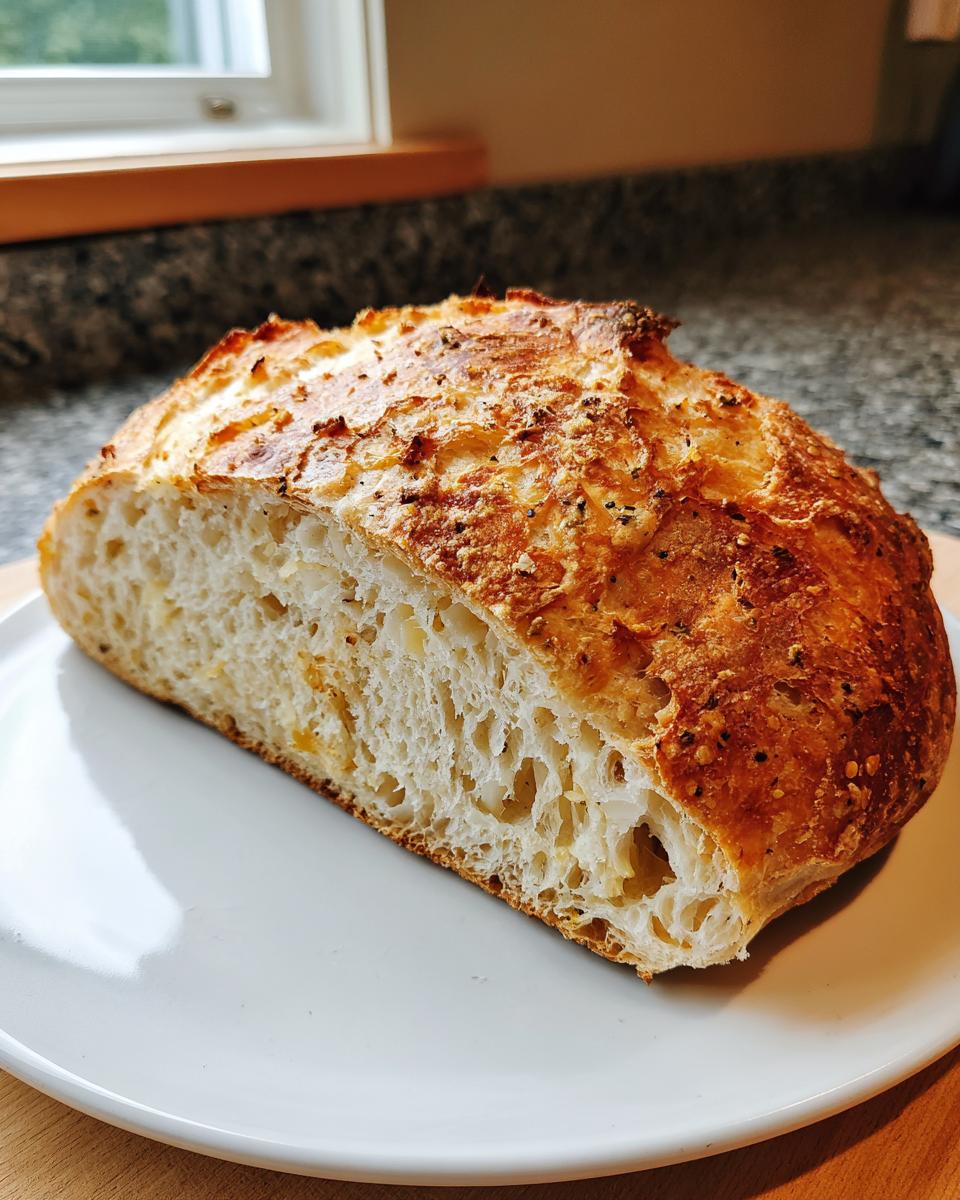
There is simply nothing—and I mean *nothing*—that beats the sound of slicing into a loaf of freshly baked homemade bread. That loud, satisfying crackle coming off that deep golden crust? It’s sensory perfection! I know what you’re thinking: making artisan bread from scratch sounds like a whole weekend project involving serious upper body strength. But I’m here to tell you that as a dedicated home cook, my greatest joy is taking something that seems intimidating and making it ridiculously simple. This Easy No-Knead Artisan Bread with Garlic Herb Swirl proves that you can have bakery-quality results with almost zero effort. Seriously, you just mix, wait, and bake!
- Meet the Baker: Why You Can Trust This Homemade bread Recipe
- Why This Easy No-Knead artisan bread Recipe Works So Well
- Gathering Your Ingredients for this Flavorful bread
- Step-by-Step Instructions for Perfect No-Knead bread Baking
- Tips for Success When Making Artisan bread
- Storing Your Homemade bread for Freshness
- Frequently Asked Questions About No-Knead bread
- Estimated Nutritional Information for This bread
- Share Your Homemade bread Creations
Meet the Baker: Why You Can Trust This Homemade bread Recipe
I’m Michael Carter, and I’m the home cook behind Delish Symphony. Look, I’m not a fancy chef who went to culinary school; I’m just someone who fell in love with the kitchen after years spent staring at computer code. For me, cooking is where the logic stops and the real flavor begins!
My philosophy is all about making simple, flavorful meals accessible for your busy life. When it comes to bread, I spent ages trying to master those complex artisan techniques. I didn’t want to put in the hard labor of kneading, but I still wanted that jaw-dropping, crusty loaf. That’s how this no-knead recipe got developed in my own oven. Trust me when I say this method is foolproof for anybody looking for seriously delicious homemade bread.
Why This Easy No-Knead artisan bread Recipe Works So Well
When I first started experimenting with this style of baking, I was amazed at how much flavor you could pack into a simple dough without ever having to touch it more than once. It’s honestly the definition of easy bread baking. You trade time for effort, and the payoff is huge. If you’re looking for the best way to make authentic loaves, then learning the no knead bread technique is a game-changer.
This method turns simple pantry staples into something spectacular. Check out my other guide on whole wheat bread for more examples of how time makes flavor!
The Magic of Long, Slow Fermentation for Flavor
That long, 12 to 18-hour rest isn’t just about the dough expanding—that’s where the real flavor lives! This slow fermentation allows the yeast to work its magic, breaking down starches and developing those delicious, complex, slightly tangy notes that you typically only get in fancy bakery bread. It builds structure naturally, so you definitely don’t need to knead a thing.
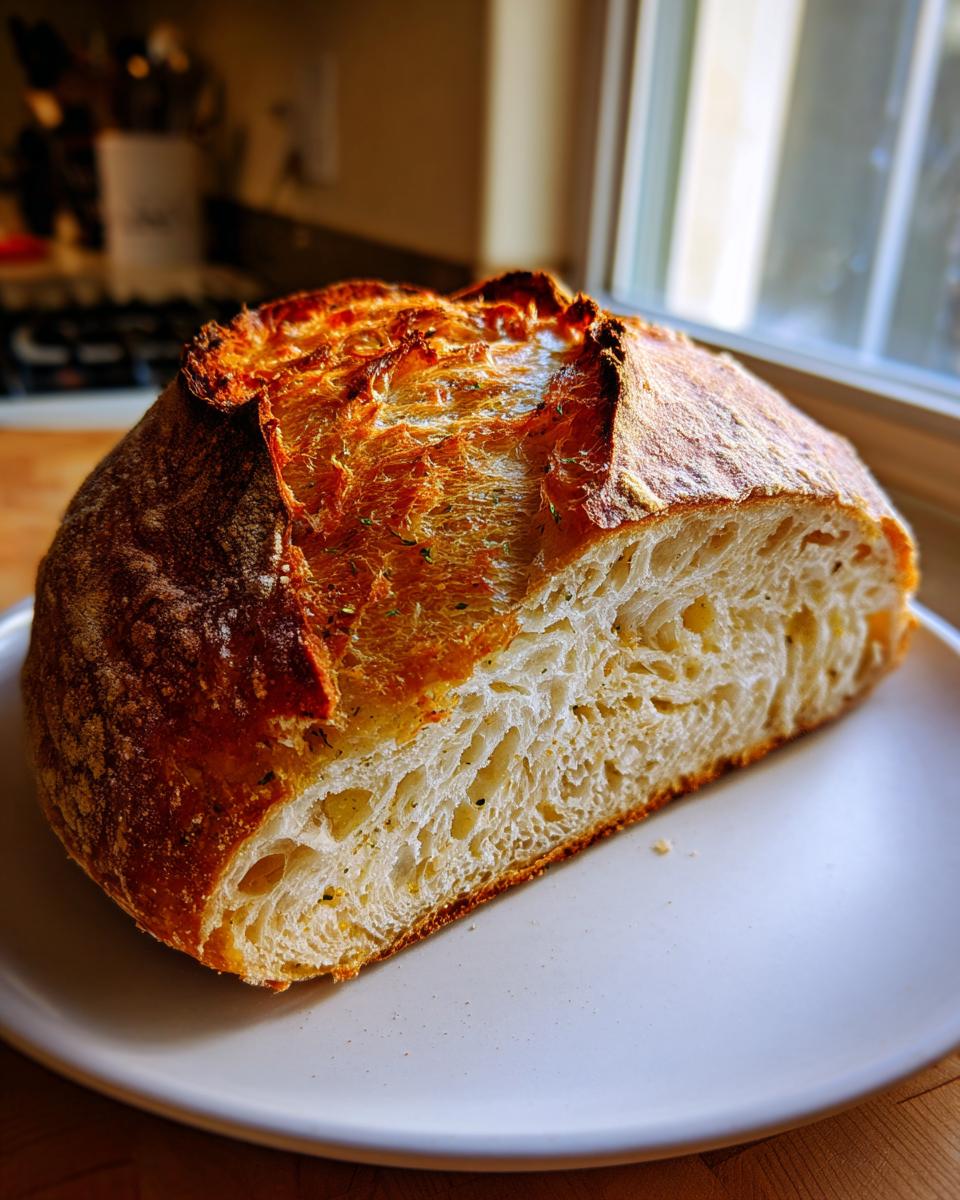
Achieving the Perfect Crusty bread Loaf in a Dutch Oven
The secret weapon here is the Dutch oven. When you preheat that heavy pot until it’s screaming hot and trap the dough inside with the lid on, it creates a miniature steam-injected oven. That steam is absolutely critical because it keeps the surface of your dough moist long enough for it to expand fully before the crust sets up. That’s how we get that signature crackly, crusty bread loaf texture that everyone loves!
Gathering Your Ingredients for this Flavorful bread
Alright, gathering your tools is always the first step to musical success in the kitchen! For this bread recipe, the list is wonderfully short for the main dough. Remember, the beauty of no-knead baking lies in the simplicity of the components—it’s the time that does the heavy lifting. If you decide to skip the swirl today for a basic rustic loaf, you can just ignore the second section. But wow, that garlic butter makes this loaf sing!
If you’re interested in other recipes where cheese and garlic team up, you have to try my cheesy pull-apart cheese bread sometime.
For the Main bread Dough
- 3 cups all-purpose flour or bread flour
- 1 1/2 teaspoons salt
- 1/4 teaspoon instant yeast
- 1 1/2 cups cool water
For the Garlic Herb Swirl Filling
This is the layer that really elevates your crusty loaf into something special. If you’re feeling lazy, just make the dough and skip this part!
- 1/4 cup (1/2 stick) unsalted butter, melted
- 2 cloves garlic, minced
- 1 teaspoon dried Italian herbs
- 1/4 cup grated Parmesan cheese
Step-by-Step Instructions for Perfect No-Knead bread Baking
Okay, here’s where we bring this beautiful bread together! Don’t let the long resting time scare you; your actual hands-on time for this recipe is minimal, which is why I swear by it for busy weeks. This method is fantastic for yeast bread recipes for beginners because there’s hardly any room to mess up. Just follow the timings, and you’ll have your own beautiful, crusty loaf!
If you’re making a big dinner soon, you should definitely try my garlic parmesan chicken pasta—it’s just begging for a slice of this artisanal loaf!
Mixing the Dough and Long Fermentation
First things first: get your flour, salt, and yeast into a big bowl and give them a whisk. Then, pour in the cool water. You just want to mix this until all the flour is incorporated. I use a heavy wooden spoon for this bit because whatever you do, don’t overmix! We are aiming for a shaggy, messy mess. Cover that bowl tightly—I mean *tightly*—with plastic wrap, find a warm spot, and let it chill out for a long time: 12 to 18 hours. It sounds crazy, but this rest period develops the flavor in this specific style of bread.
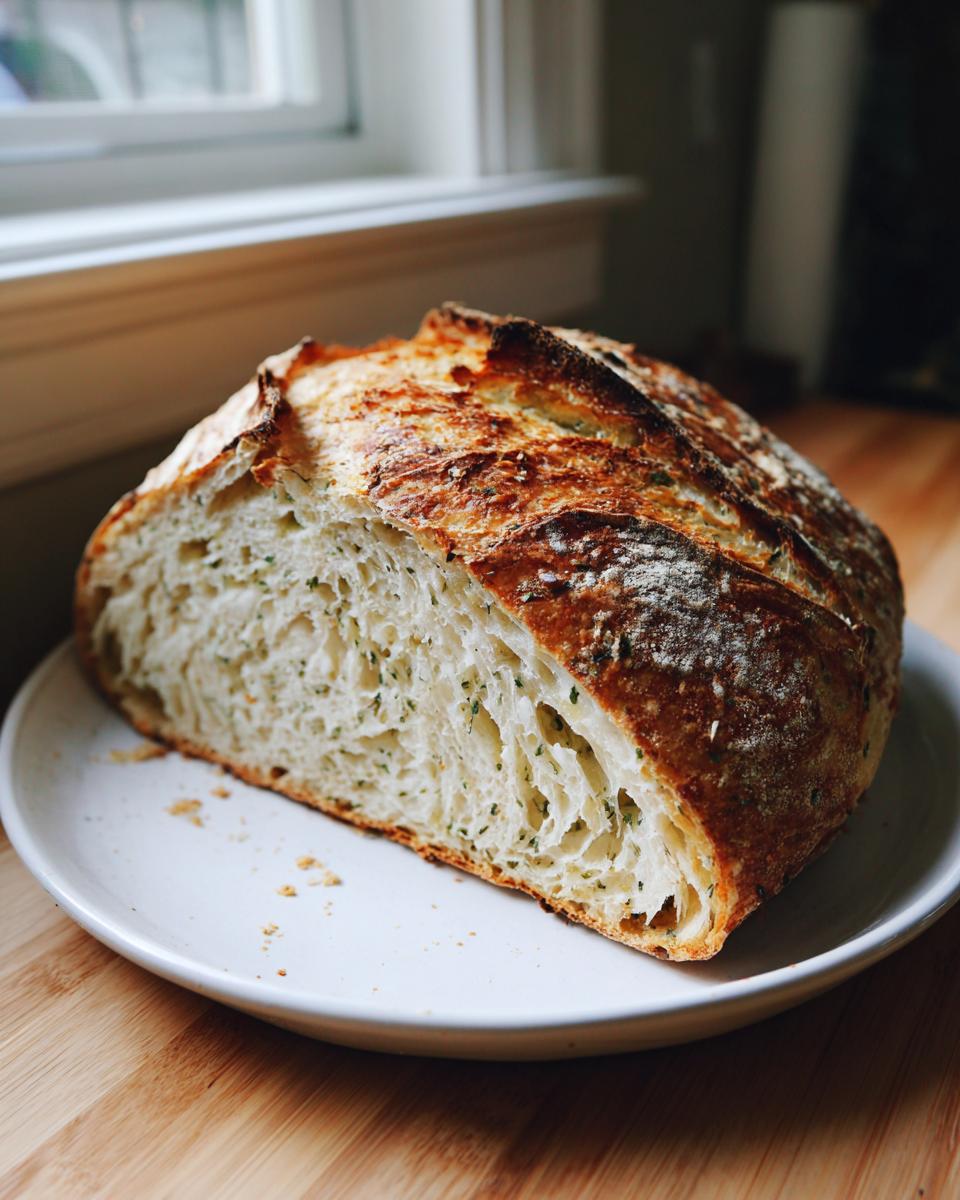
Preparing the Savory Swirl and Shaping the bread
Once your dough has doubled and looks all bubbly, it’s time for flavor! While it’s finishing its rise, mix up your melted butter, minced garlic, herbs, and Parmesan. Turn your dough out gently onto a lightly floured surface—no punching the air out! Gently stretch that dough into a rough rectangle. Now, brush that gorgeous garlic butter mixture right over the top, leaving a small border on one side. Roll it up like a jelly roll and pinch that seam closed as tight as you can. Tuck the ends underneath so you have a nice little oval loaf of flavored bread.
The Final Proof and Dutch Oven Preheating
Place your shaped loaf onto a piece of parchment paper—this paper is your best friend when lifting it later! Cover it loosely and let it proof for just 30 minutes. While that’s happening, go crank your oven up to 450 degrees Fahrenheit, and pop that Dutch oven (lid on!) inside so it gets smoking hot. This preheating is key for that beautiful crust texture you see in artisan bread photos.
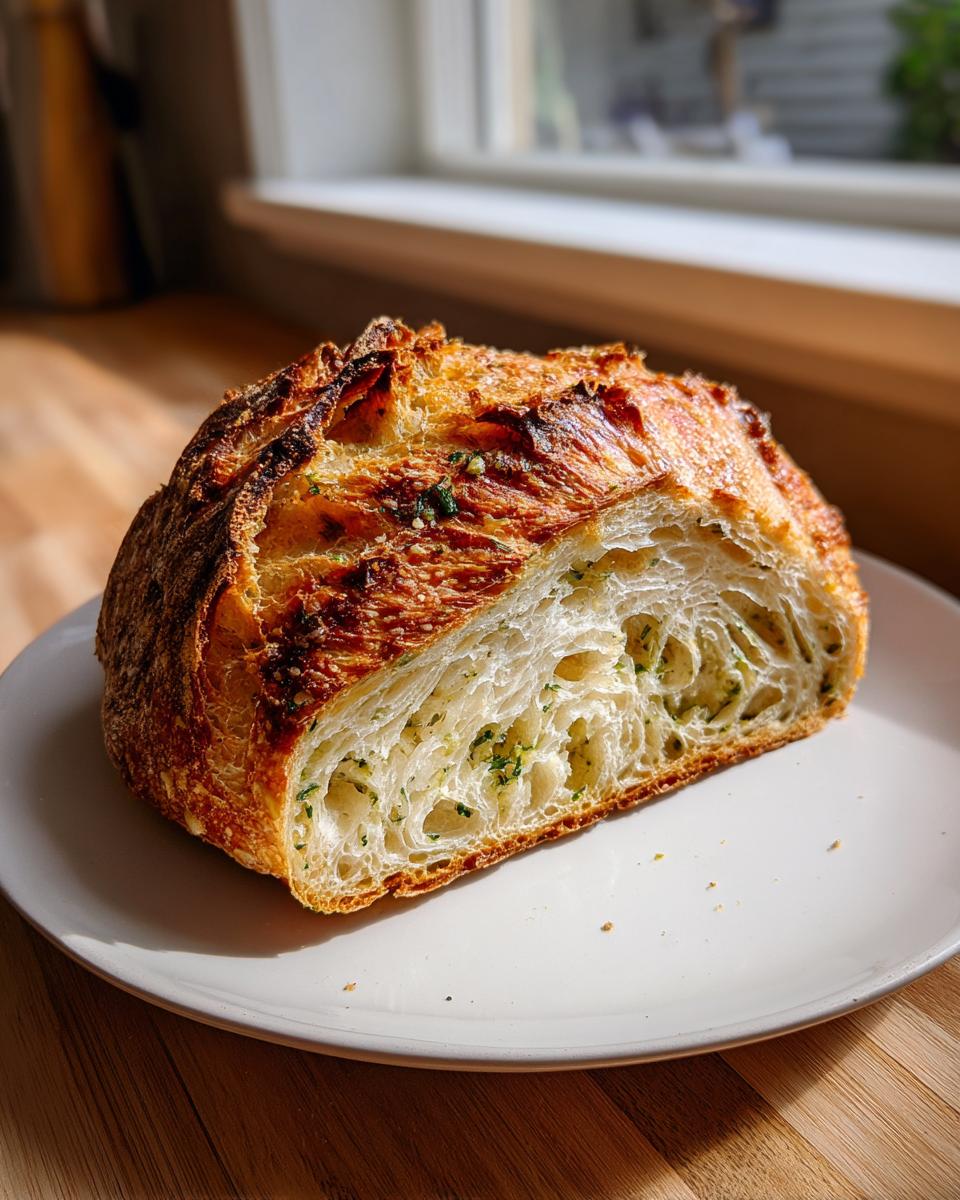
Baking Your Crusty loaf of bread
When the time is up, carefully pull out that piping hot Dutch oven. Using the parchment paper as handles, gently lower your dough right into the hot pot. Put the lid on tight and bake it for 30 minutes. After that half hour, yank the lid off! Let it bake uncovered for another 15 to 20 minutes until that crust is a deep, deep golden brown—don’t be scared of the color. When it’s done, pull that beautiful crusty loaf of bread out and let it cool completely on a wire rack. Seriously, cutting it early makes it gummy, so be patient!
Tips for Success When Making Artisan bread
Even though this is a “no-knead” recipe, there are a few little chef secrets that will take your bread from great to absolutely incredible. These aren’t complicated moves, just little finishing touches that make all the difference between a chewy loaf and a bakery masterpiece that sings. Remember, we’re aiming for harmony in texture here!
If you’re looking for the perfect thing to serve alongside this amazing loaf, check out my tips on easy homemade salad dressing recipes!
Creating Steam for an Extra Crunchy bread Exterior
If you want that real, loud, shattering crust, we need more steam! This is based on one of the side notes I included in the recipe. Right before you place the covered Dutch oven into the hot oven, take another metal baking pan—one that can handle high heat—and put it on the rack below the bread. When you slide your dough in, carefully pour about a cup of hot water into that bottom pan and quickly shut the oven door. That burst of steam makes your bread exterior so crackly and crisp. It’s the best trick for achieving that authentic artisan crust.
Making a Plain bread Loaf Variation
Sometimes you just want a classic, subtly flavored loaf, and that’s totally okay! If the garlic herb swirl seems like too much work one day, just ignore those ingredients entirely. Simply bake the plain dough as directed in steps 10 through 12. You still get that amazing crust and the beautiful open crumb structure because the yeast and the Dutch oven are doing all the work. It makes a wonderful, simple bread for toast or dipping into soups.
Storing Your Homemade bread for Freshness
You did it! You baked a loaf of glorious, crusty homemade bread. Now we have to talk about keeping that perfection around for more than one meal—which, honestly, is the hardest part of this whole process.
The biggest tragedy is letting that gorgeous crust get soft and chewy when it doesn’t have to. The key to longevity here is moisture management. You want to keep the environment stable inside the wrapper, but you definitely don’t want to keep it in the fridge. Refrigeration is the enemy of good crust!
For the first day, just leave the bread on the counter completely uncovered. I know, I know, it seems scary, but letting that steam escape naturally keeps the hardened crust intact. After that first day, once the crust starts to yield a bit, wrap the whole loaf tightly in plastic wrap or stick it into an airtight Ziploc bag. That traps the interior moisture and keeps the crumb soft for another day or two.
If you’ve had your bread wrapped for a couple of days and the crust is just sad, don’t worry! You can bring it back. Pop that loaf (wrapped or unwrapped, your choice) into a 350-degree oven for about 8 to 10 minutes. It’s like setting the crust clock backwards. The interior will heat up nicely, and you’ll hear that lovely crackle again. It’s honestly the best way to resurrect leftovers!
Frequently Asked Questions About No-Knead bread
I get so many great questions about this recipe after people try it for the first time. That’s the wonderful thing about sharing homemade bread recipes—you learn right alongside the readers! If you’re still nervous about jumping into the long rest time, or maybe you’re missing an ingredient, let’s clear up a few common spots of confusion right here. For more general tips on getting started with all your baking, I put together a quick guide on baking bread essentials that might help!
Can I use active dry yeast instead of instant yeast for this bread?
That’s a great question that comes up a lot! Yes, you absolutely can substitute active dry yeast for the instant yeast, but you can’t just dump it in dry. Since active dry yeast needs liquid to wake up, you have to bloom it first. Take about half a cup of your recipe’s required cool water, warm it up slightly (it should feel just warm, not hot—like bathwater), stir in the active dry yeast and a tiny pinch of sugar, and let it sit for about 5 to 10 minutes until it gets foamy. If it doesn’t foam, your yeast is likely dead, so start over! Once it’s bubbly, treat it just like the instant yeast and mix it in with your other ingredients. Just remember that because you’ve given the yeast an early head start, you might be able to get away with a slightly shorter overall fermentation time, but I still recommend sticking near the 12-hour mark for flavor!
What is the best flour for this artisan bread?
For this style of bread, you have a couple of great options, which is why I listed both! If you want the *absolute* best crust and chew—that truly rustic, artisan texture—go for high-protein Bread Flour. It has more gluten, which gives you that fantastic structure when you’re not doing any kneading work. However, if you only have All-Purpose Flour in your pantry, don’t sweat it! You’ll still get a beautiful loaf, maybe just slightly softer inside and a little less aggressive on the crust development. If you want a great comparison on different flours, check out this other recipe for a slightly different take on homemade bread.
How long can I let the dough rise if I need more time?
This is where the no-knead method truly shines for weekend bread baking projects! While 12 to 18 hours is ideal on the counter, if your kitchen is too warm or you just got home late, you can put that covered bowl right into the refrigerator after mixing the water in. The cold temperature dramatically slows down the yeast activity, essentially pausing the process. You can easily let that dough rest in the fridge for up to three days! When you get ready to bake, just take it out of the fridge and let it sit on the counter for about an hour or two to take the chill off before you stretch and shape it. That long, cold rest builds incredible depth of flavor in your final loaf.
Estimated Nutritional Information for This bread
I always get asked about the numbers, and getting an exact reading for homemade bread is tricky because it really depends on the flour you use, if you used butter or a spread substitute, and exactly how thick you sliced that beautiful finished loaf! But because I want you to have the best idea of what you’re working with, I went ahead and calculated the averages based on the specific ingredient list above.
Remember, this table is an approximation, reflecting one serving size of one slice from the final loaf. If you cut thicker slices or load up on the garlic butter swirl, those numbers will shift a bit! Enjoy eating this incredible homemade bread guilt-free!
- Serving Size: 1 slice
- Calories: 220
- Fat: 7g (Saturated Fat: 4g)
- Cholesterol: 15mg
- Sodium: 350mg
- Carbohydrates: 36g (Fiber: 1g, Sugar: 1g)
- Protein: 6g
Share Your Homemade bread Creations
Well, my friends, that’s the final chord in our artisan symphony! I truly hope you found as much joy pulling this gorgeous, crusty loaf out of your Dutch oven as I do every time I make it. The smell alone is worth the 18-hour wait, right?
But baking is a conversation, not a monologue! I absolutely live to see how my recipes turn out in *your* kitchens. Did you keep it classic, or did you go wild with the garlic herb swirl? Did you manage to get that deeply crackly crust everyone dreams about?
Please, scroll back up and leave me a rating and a comment. Let me know what you thought! Hearing your feedback—especially about the texture of the crumb or how you used the loaf (are you dipping it in soup or making massive sandwiches?)—helps me make sure my recipes are truly serving us home cooks.
And if you snap a photo of that beautiful, rustic bread loaf, please tag me on social media! I love seeing your successes. If you’re looking for something sweet to bake *after* all that glorious bread, you have to check out my recipe for easy 5-ingredient almond joy cookies. Until next time, keep making wonderful music in your kitchen!
PrintEasy No-Knead Artisan Bread with Garlic Herb Swirl
Bake a crusty, flavorful artisan loaf with minimal effort using this simple no-knead technique, enhanced with a savory garlic and herb swirl.
- Prep Time: 15 min
- Cook Time: 50 min
- Total Time: 13 hours 5 min
- Yield: 1 loaf 1x
- Category: Bread
- Method: Baking
- Cuisine: American
- Diet: Vegetarian
Ingredients
- 3 cups all-purpose flour or bread flour
- 1 1/2 teaspoons salt
- 1/4 teaspoon instant yeast
- 1 1/2 cups cool water
- 1/4 cup (1/2 stick) unsalted butter, melted
- 2 cloves garlic, minced
- 1 teaspoon dried Italian herbs
- 1/4 cup grated Parmesan cheese
Instructions
- In a large bowl, whisk together the flour, salt, and yeast.
- Pour in the cool water and mix with a wooden spoon until just combined into a shaggy dough. Do not overmix.
- Cover the bowl tightly with plastic wrap and let it rest at room temperature for 12 to 18 hours. The dough will become bubbly and increase in volume.
- While the dough finishes rising, prepare the swirl filling: In a small bowl, combine the melted butter, minced garlic, Italian herbs, and Parmesan cheese. Set aside.
- Lightly flour a work surface. Gently scrape the dough out of the bowl. Do not punch it down.
- Stretch the dough into a rough rectangle, about 10 by 15 inches.
- Brush the entire surface of the dough evenly with the garlic herb butter mixture, leaving a small one-inch border along one long edge.
- Starting from the long edge opposite the border, roll the dough up tightly into a log. Pinch the seam closed.
- Tuck the ends under the loaf to seal.
- Place a sheet of parchment paper on your counter. Carefully transfer the dough onto the parchment paper.
- Cover the loaf loosely with plastic wrap or a clean kitchen towel and let it rest for 30 minutes. This is the final proof.
- About 20 minutes before the final proof ends, place a Dutch oven (with the lid on) into your oven and preheat to 450 degrees Fahrenheit.
- Carefully remove the hot Dutch oven from the oven. Using the parchment paper as a sling, gently lower the dough into the hot pot.
- Cover the Dutch oven with the lid and return it to the oven. Bake for 30 minutes.
- Remove the lid and continue baking for another 15 to 20 minutes, or until the crust is deep golden brown.
- Carefully remove the bread from the Dutch oven and let it cool completely on a wire rack before slicing.
Notes
- For a crispier crust, you can place a metal baking pan on the bottom rack during preheating and carefully pour 1 cup of hot water into it right after placing the bread in the oven to create steam.
- If you prefer a simpler loaf, omit the butter, garlic, herbs, and cheese, and bake the plain dough following steps 10 through 12.
- This recipe uses cool water and a long, slow fermentation for maximum flavor development without kneading.
Nutrition
- Serving Size: 1 slice
- Calories: 220
- Sugar: 1
- Sodium: 350
- Fat: 7
- Saturated Fat: 4
- Unsaturated Fat: 3
- Trans Fat: 0
- Carbohydrates: 36
- Fiber: 1
- Protein: 6
- Cholesterol: 15