

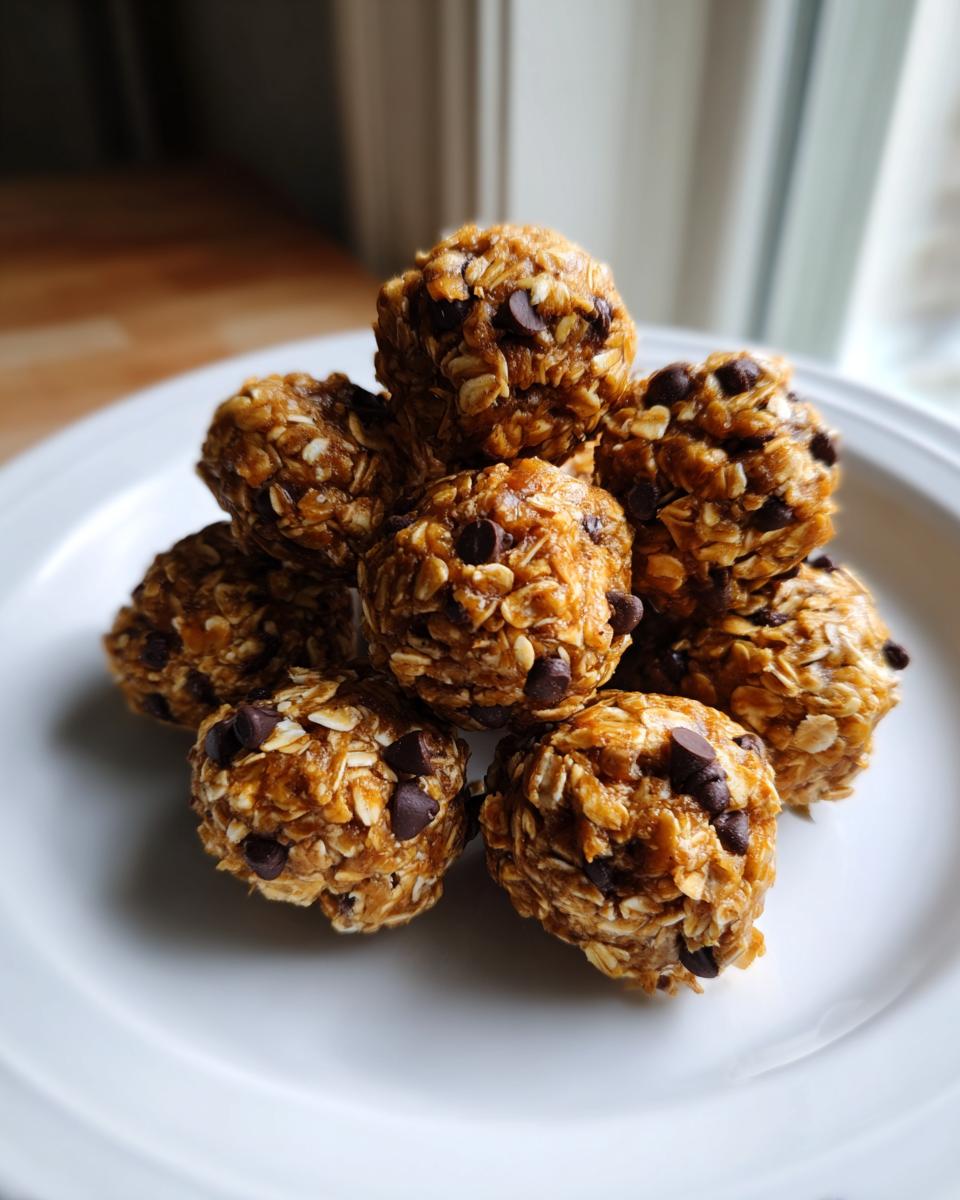
You know those days where you’re running out the door, your stomach is grumbling, and you just need something that fuels you without weighing you down? Life gets hectic fast, right? That’s why I developed what has become my absolute go-to when I need instant energy: the Easy No-Bake Peanut Butter Oatmeal Protein Ball Recipe. This isn’t some complicated health fad; this is pure, practical nutrition born right out of my kitchen for busy people like us. As Michael Carter, I promise you that these bites pack a serious punch of flavor and lasting energy using ingredients you likely have stocked right now. If you’re looking for that perfect simple snack recipe, stop scrolling, because you just found it!
- Why These Easy No-Bake Protein Balls Are Your New Favorite Snack
- Ingredients for Perfect Peanut Butter Oatmeal Protein Balls
- Step-by-Step Guide to Making No Bake Protein Balls
- Ingredient Notes and Customizing Your Protein Balls
- Storage and Make Ahead Snacks for Your Protein Balls
- Troubleshooting Common Issues with Protein Balls
- Estimated Nutrition for These High Protein Treats
- Frequently Asked Questions About Making Protein Balls
- Share Your Favorite Protein Balls Variations
Why These Easy No-Bake Protein Balls Are Your New Favorite Snack
Look, I get it. When you need food fast, the drive-through looks tempting. But these protein balls are the answer to that craving because they’re ready before you can even decide on takeout! They fit right into that busy life we all lead. I designed them to be the epitome of convenience.
- They are fantastic Quick Protein Snacks that don’t require turning on the oven. Seriously, no heat involved!
- They are absolutely perfect for Meal Prep Power Balls. You mix a batch on Sunday and you have fuel for the entire week ahead.
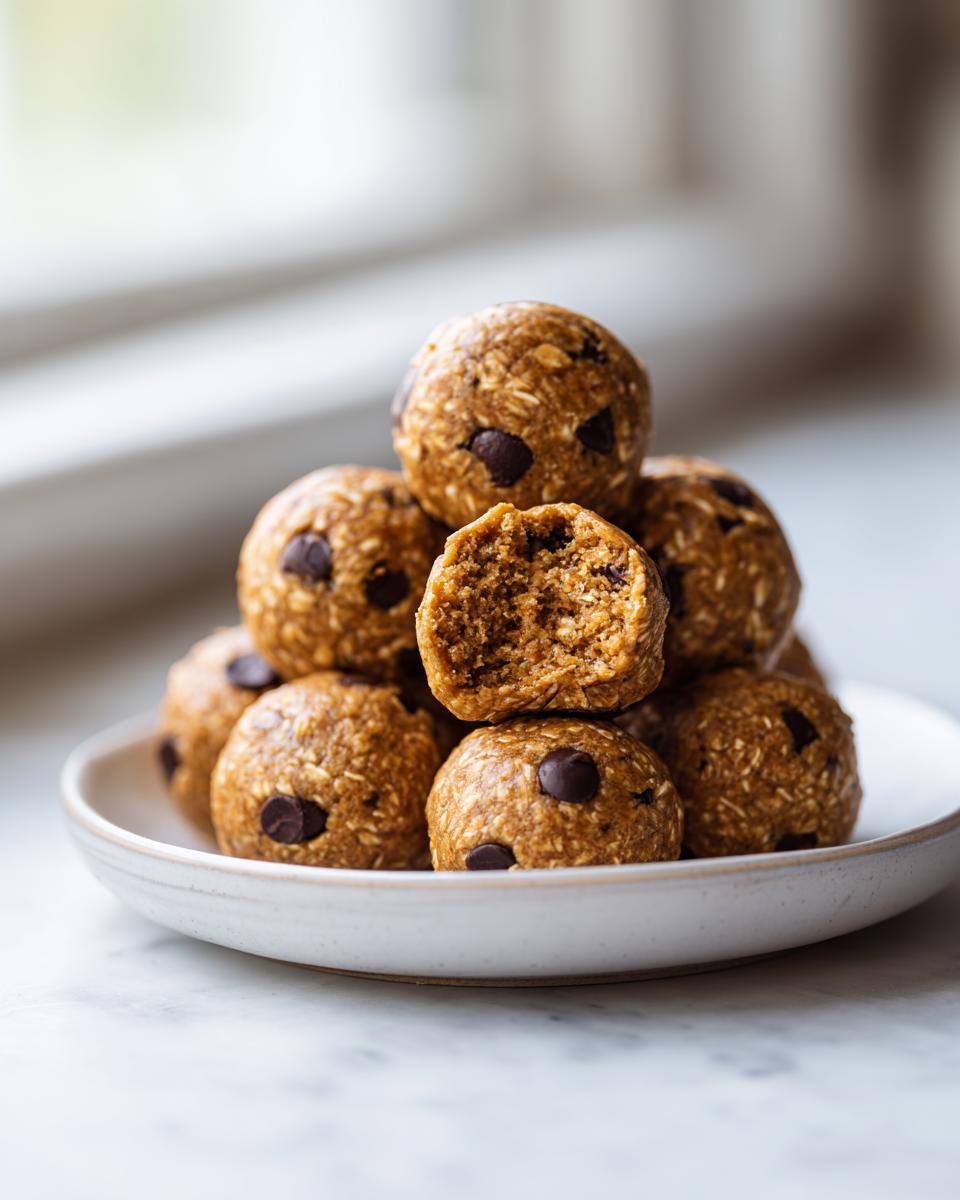
- They have that satisfyingly chewy texture that makes them feel like a treat but without any guilt afterward.
Ready in 10 Minutes: The Ultimate 10 Minute Snacks
Forget lengthy recovery times or slow baking schedules. The Prep Time on these is just 10 minutes, tops. That means by the time your coffee finishes brewing, you can have about sixteen delicious energy bites ready for the fridge. It’s efficiency at its best!
Perfect Fuel for Post Workout Fuel Snacks
If you’re hitting the gym or finishing a long run, you need fuel that gets absorbed quickly. Since these little nuggets are packed with quality protein powder and oats, they replenish your energy stores fast. They are truly superior Post Workout Fuel Snacks that taste way better than a chalky shake.
Check out some of my favorite healthy lunch ideas while you’re planning your next batch of these bites!
Ingredients for Perfect Peanut Butter Oatmeal Protein Balls
Getting the ratios right is key when mixing up these protein balls, even though it feels more like stirring than actual cooking. These measurements are what I fine-tuned to make sure the dough holds together perfectly without needing any flour or eggs. You want that sweet spot where everything binds but remains delightfully chewable. For the full breakdown of quantities, check out the official recipe card, but here are the heavy hitters you’ll need for the base mix:
- 1 cup rolled oats (the standard kind works great!)
- 1/2 cup protein powder (vanilla or unflavored is my preference)
- 1/2 cup peanut butter (or whatever nut butter calls to you!)
- 1/3 cup honey or maple syrup for binding and sweetness
- 1/4 cup ground flaxseed or chia seeds (those aren’t optional, trust me!)
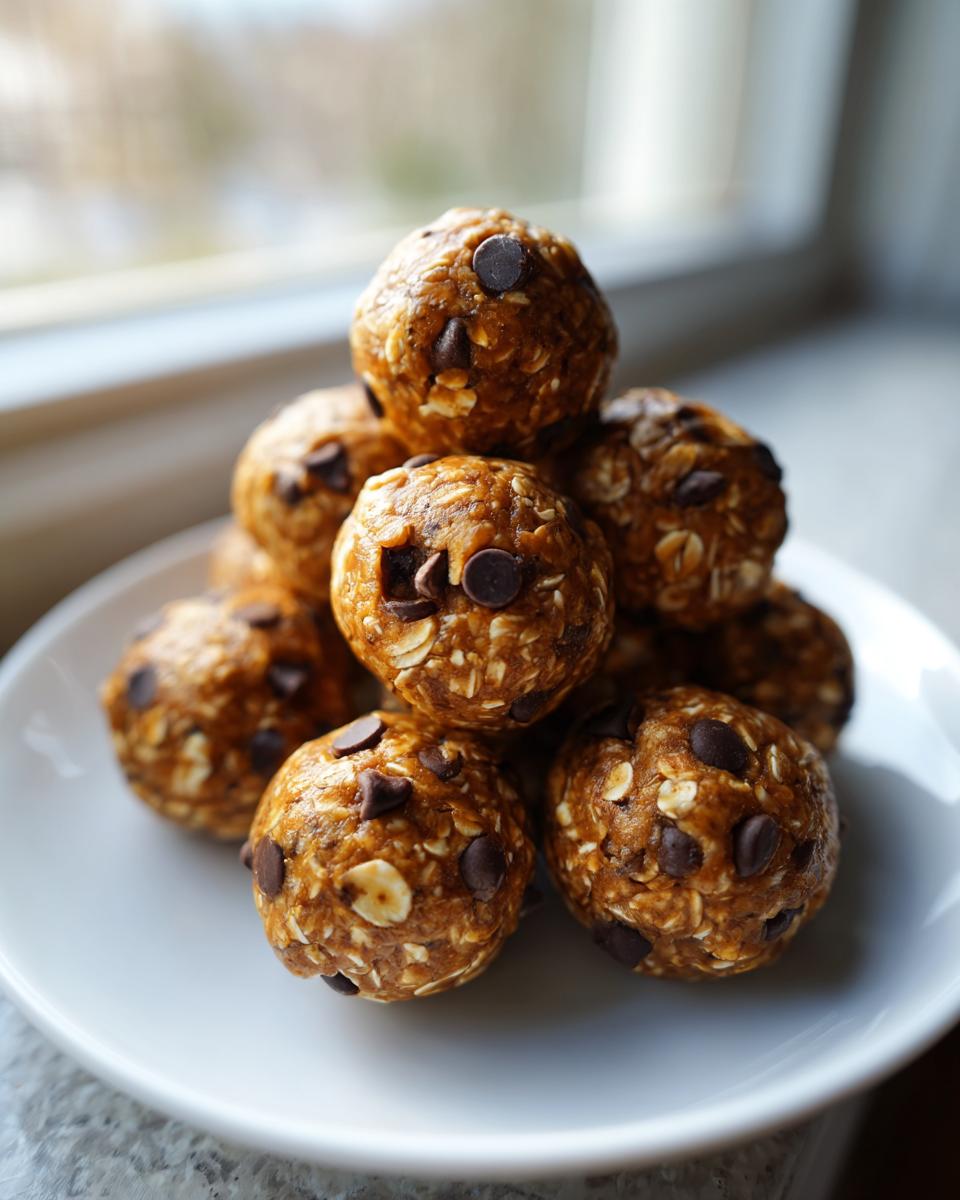
- 1/4 cup mini chocolate chips (if you can resist eating them straight from the bag)
- 1 teaspoon vanilla extract
Making your own homemade granola bars or these energy bites saves money and gives you control over the ingredients.
Step-by-Step Guide to Making No Bake Protein Balls
Okay, this is where the magic happens, and I need you to pay close attention because this is the simplest part! Remember, we aren’t fussing around with ovens or timers that need constant watching. We are making these protein balls assembly-style, just like building with LEGOs. You’ll just need a big bowl and probably a stand mixer if you’re feeling lazy, but honestly, my hands work just fine for this mixing job. Follow these steps exactly and you’ll have a perfect batch ready for the fridge in minutes.
First, toss everything right into that mixing bowl listed above: the oats, the powder, the peanut butter, the flax, the honey—the whole gang goes in. Use a really sturdy spoon or, better yet, just get your hands in there until it looks uniformly mixed. Then comes the crucial step where we test the dough. If you’ve got a good dough that holds together when you squeeze it, you’re golden. If it seems grumpy and cracks apart, keep reading!
If you need more guidance on keeping your weeknight meals simple and delicious, check out my favorites for weeknight dinner recipes. Now, back to those energy bites!
Mixing and Achieving the Right Dough Consistency for Protein Balls
Step number three is where most people mess up their protein balls—they stop stirring too soon or add way too much liquid at once. You need a sticky dough, but not one that sticks violently to your fingers. If your mixture is too dry and crumbly, don’t panic! I always add liquid slowly, maybe a teaspoon of water or milk at a time, until it just starts cooperating. Conversely, if you have a greasy mess, gently fold in a tablespoon of extra oats or protein powder until it firms up enough to roll. This tuning process is what makes your protein balls perfect.
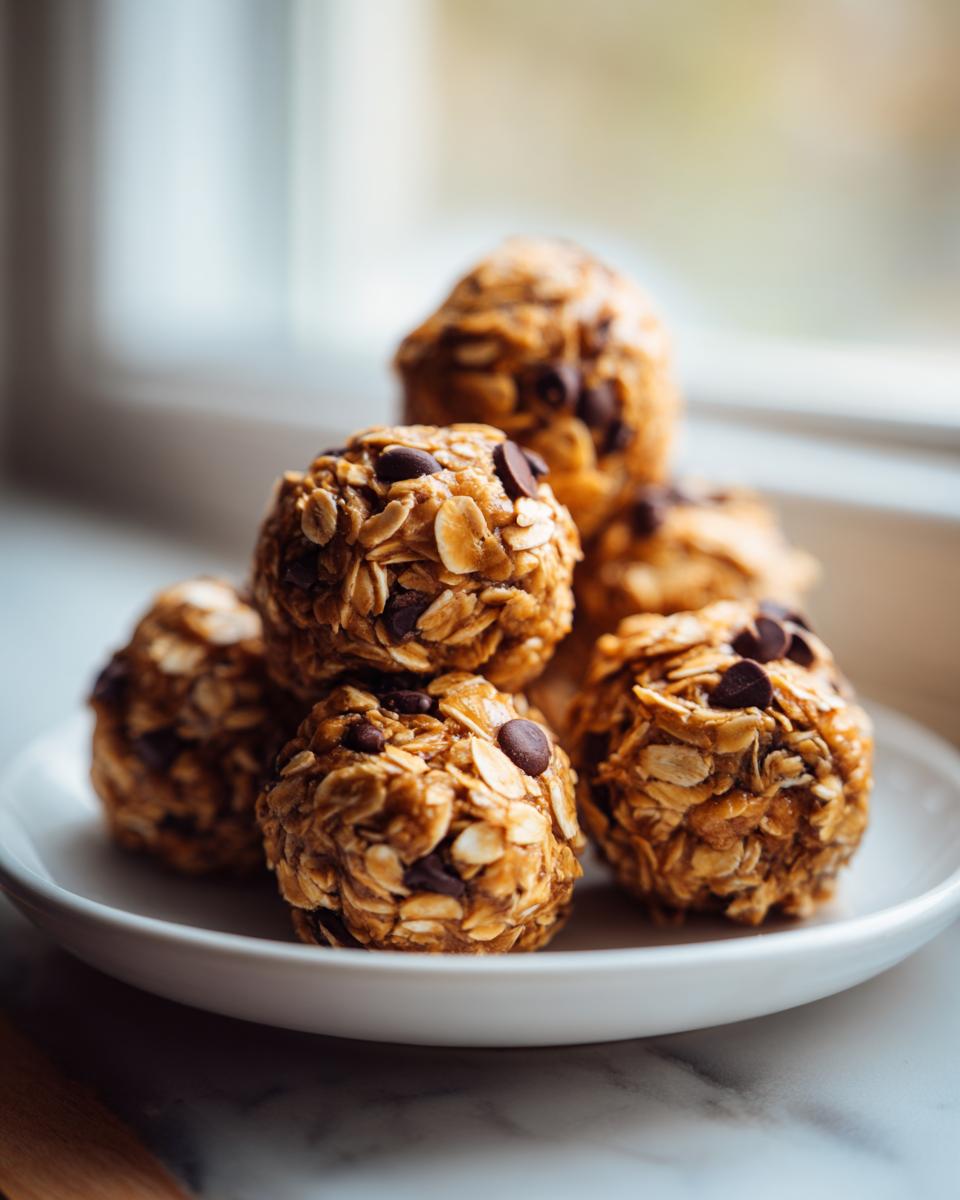
Rolling and Chilling Your Homemade Protein Balls
Once that dough is behaving, it’s time to roll. I aim for uniform little spheres, maybe about one inch wide—think slightly bigger than a large marble. Try to keep them consistent so they all firm up at the same rate in the fridge. Line a tray or plate with parchment paper, place your finished bites down according to the recipe, and slide them into the refrigerator. Don’t skip the chilling! They need at least 30 minutes in the cold to set up properly so they aren’t just gooey blobs when you try to grab one later.
Ingredient Notes and Customizing Your Protein Balls
One of the best things about making these protein balls yourself is you get total control! My notes on the recipe card say you can easily swap out ingredients, which is fantastic for variety. If you need protein balls that are certified gluten-free, just make sure you grab certified gluten-free rolled oats. That’s an easy fix! I usually stick to peanut butter because I love that classic flavor, but feel free to venture out.
Also, think about your powder! Whey protein tends to absorb a little differently than plant-based powders. If you try a plant powder, your dough might feel stiffer, so you might need an extra splash of milk or small drizzle of honey to get that perfect sticky batch. This attention to detail is what separates a ‘meh’ bite from a perfect, chewy bite.
Don’t forget to check out my guide on easy homemade salad dressing recipes for more ways to simplify your cooking!
Nut Butter Snack Recipes Swaps
Swapping the binder is super simple and opens up a whole world of Nut Butter Snack Recipes goodness. If someone in your house has a peanut allergy, or you’re just tired of peanut butter, cashew butter is divine here. Almond butter works wonderfully too, giving a slightly earthier taste. For anyone avoiding nuts entirely, sunflower seed butter is an excellent replacement that keeps that rich, creamy texture essential for rolling these energy bites properly.
Storage and Make Ahead Snacks for Your Protein Balls
The sheer convenience of these protein balls shines brightest when you realize they are the ultimate Make Ahead Snacks champion. Why make them every day when you can whip up a massive batch, right? I always double the recipe because they disappear shockingly fast once the family finds them in the fridge. You want to store your finished protein balls in an airtight container.
In the refrigerator, they stay perfectly fresh and delightfully chewy for about a week, maybe a bit longer if you aren’t constantly opening the container. But here’s the real secret sauce for long-term planning: freezing them! Pop them into a heavy-duty freezer bag or container, keep them separated with parchment paper so they don’t all fuse into one giant energy brick, and they are good for up to three months. Just pull out what you need the night before, and boom—instant, perfect snack ready for your next busy morning!
If you love preparing things in advance, you have to try my guide on overnight oats, which is another amazing time-saver!
Troubleshooting Common Issues with Protein Balls
Even though these protein balls are incredibly forgiving, sometimes the dough just doesn’t cooperate right away. Don’t fret! This happens to me too, especially depending on the humidity or how dry my specific protein powder was that day. The key to success with these no-bake snacks is learning how to adjust your mixture on the fly. It’s less about following exact measurements at that point and more about feeling the texture in your hands.
The most common issue I run into is the mixture being too dry and crumbly. This usually happens if your nut butter was really stiff straight out of the jar, or if your protein powder just soaked up more moisture than expected. If you try to squeeze a handful and it just crumbles apart like sand, you need liquid, plain and simple. Slowly, I mean *slowly*, add a teaspoon of water or milk and mix it in completely before adding more. Stop as soon as that dough feels just sticky enough to cleanly come together when pressed.
On the flip side—and this is rarer, but trust me, it happens—your dough might be too wet and greasy. Maybe your peanut butter was runnier than usual. If you end up with something that feels more like batter than dough and it just sticks everywhere, the fix is adding more dry bulk. Grab another tablespoon of your oats or protein powder and gently fold it in until the mixture firms up enough that you can roll those beautiful, sturdy protein balls without them falling apart in your hand.
Estimated Nutrition for These High Protein Treats
Now, I know some of you serious meal-preppers like me want to keep a running tally of what you’re putting into your body, especially when grabbing quick protein snacks throughout the week. It’s smart to know your fuel source!
I want to stress right up front that these numbers are estimates. How much protein powder you use, or the exact type of honey you use, can change things slightly. But based on the standard measurements in the recipe above, here is a look at the numbers behind one single, energy-packed bite. It’s pretty clean, if you ask me!
If you need more ideas for fueling busy mornings that don’t involve rolling dough, be sure to check out my roundup of easy breakfast recipes. These are great options for those mornings you just can’t get to the container of protein balls in the fridge!
- Serving Size: 1 ball
- Estimated Calories: 120
- Protein Power: 8g! That’s why we call them high-protein treats!
- Total Fat: 6g (mostly healthy fats from the peanut butter)
- Carbohydrates: 12g
See? A perfect balance for sustained energy. You get enough carbs to fuel a workout but enough protein to actually make it count. That’s the flavor harmony I talk about at Delish Symphony—everything working together beautifully.
Frequently Asked Questions About Making Protein Balls
Whenever I share these protein balls, people always have a few questions about flexibility and keeping them around for the week. That’s natural! You want to make sure your recipe fits your lifestyle, whether you’re sticking strictly to a plan or just need some super easy treats lying around.
Can I make these protein balls without protein powder?
You absolutely can, if you’re looking more for a general energy bite than a dedicated high-protein recovery bite. If you skip the powder, you have to make up that bulk and binding power somewhere else. I recommend significantly increasing your rolled oats and ground flaxseed—maybe adding another quarter cup of each. Just be prepared; they won’t be the same satisfyingly dense high protein treats you read about earlier, but they’ll still be delicious!
Are these considered Clean Eating Snack Ideas?
I definitely classify these as fantastic Clean Eating Snack Ideas, provided you’re mindful about your sweetener choice. If you use whole grain rolled oats and stick to natural binders like honey or maple syrup instead of refined white sugar, then yes, you’re keeping things clean. They’re miles ahead of any processed bar you find at the checkout lane because you control every single ingredient in these protein balls.
What is the best way to store these No Bake Snack Recipes?
As one of the easiest No Bake Snack Recipes out there, storage is a breeze, which is why they are perfect for meal prep! The best way to keep your finished protein balls fresh is in an airtight container. For day-to-day snacking, the refrigerator works perfectly and keeps them firm for about a week. If you make a huge batch like I usually do, put extras in the freezer! They hold up beautifully for months.
If you’re experimenting with recipes throughout the week, don’t forget to bookmark my recipe for easy creamy dill dip—sometimes savory is just what you need too!
Share Your Favorite Protein Balls Variations
Alright, now that you have the perfect, foolproof base for your go-to protein balls, I want to hear what you put in yours! That’s the true fun of home cooking—making it completely your own. Did you add a little nutmeg for warmth? Maybe a pinch of cinnamon? I know some folks love throwing in dried cranberries or using cocoa powder to turn them into a serious chocolate fix. Don’t be shy about deviating from the base recipe!
Drop your favorite mix-ins or swaps in the comments below. I’m always looking for new ways to compose a flavorful life, and I bet your twist on these energy bites will inspire someone else! Reach out through the contact page if you have any other questions about mixing up your batch of quick protein snacks.
PrintEasy No-Bake Peanut Butter Oatmeal Protein Balls

Make these simple, no-bake protein balls in minutes for a quick, healthy snack or post-workout fuel. They use pantry staples and are perfect for meal prep.
- Prep Time: 10 min
- Cook Time: 0 min
- Total Time: 10 min
- Yield: 16 servings 1x
- Category: Snack
- Method: No-Bake
- Cuisine: American
- Diet: Vegetarian
Ingredients
- 1 cup rolled oats
- 1/2 cup protein powder (vanilla or unflavored)
- 1/2 cup peanut butter (or almond butter)
- 1/3 cup honey or maple syrup
- 1/4 cup ground flaxseed or chia seeds
- 1/4 cup mini chocolate chips (optional)
- 1 teaspoon vanilla extract
Instructions
- Place all ingredients into a medium mixing bowl.
- Mix the ingredients thoroughly with a sturdy spoon or clean hands until a uniform, sticky dough forms.
- If the mixture seems too dry, add one teaspoon of water or milk at a time until it holds together. If too wet, add a tablespoon more oats or protein powder.
- Roll the mixture into small, uniform balls, about 1 inch in diameter.
- Place the finished protein balls on a baking sheet lined with parchment paper.
- Refrigerate for at least 30 minutes to firm up before serving.
- Store the finished protein balls in an airtight container in the refrigerator.
Notes
- For a gluten-free option, use certified gluten-free rolled oats.
- You can substitute peanut butter with almond butter, cashew butter, or sunflower seed butter for variety.
- These energy bites freeze well for up to three months; place them in a freezer-safe bag or container.
- Add 1 tablespoon of cocoa powder for a chocolate flavor variation.
Nutrition
- Serving Size: 1 ball
- Calories: 120
- Sugar: 6g
- Sodium: 45mg
- Fat: 6g
- Saturated Fat: 1g
- Unsaturated Fat: 5g
- Trans Fat: 0g
- Carbohydrates: 12g
- Fiber: 2g
- Protein: 8g
- Cholesterol: 0mg