
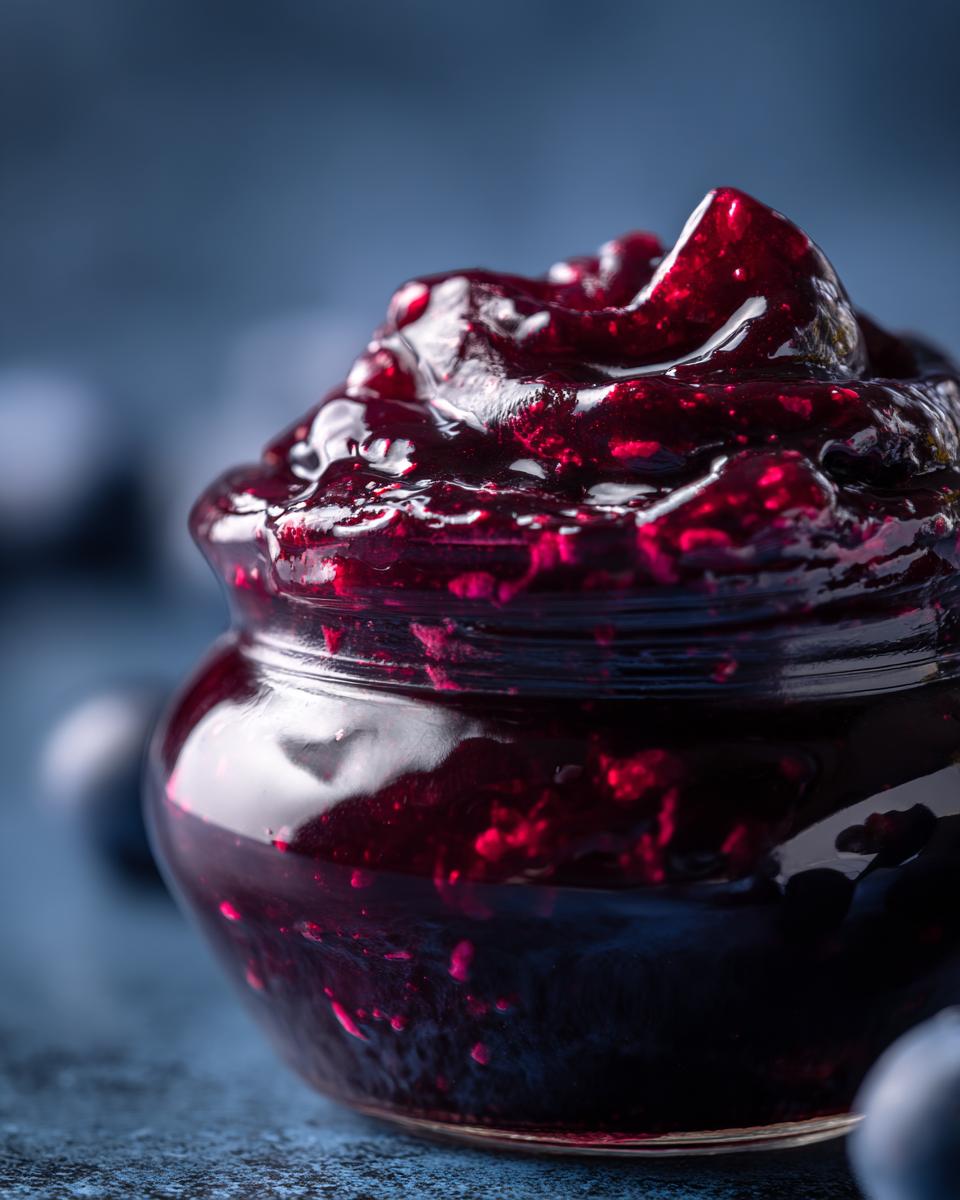
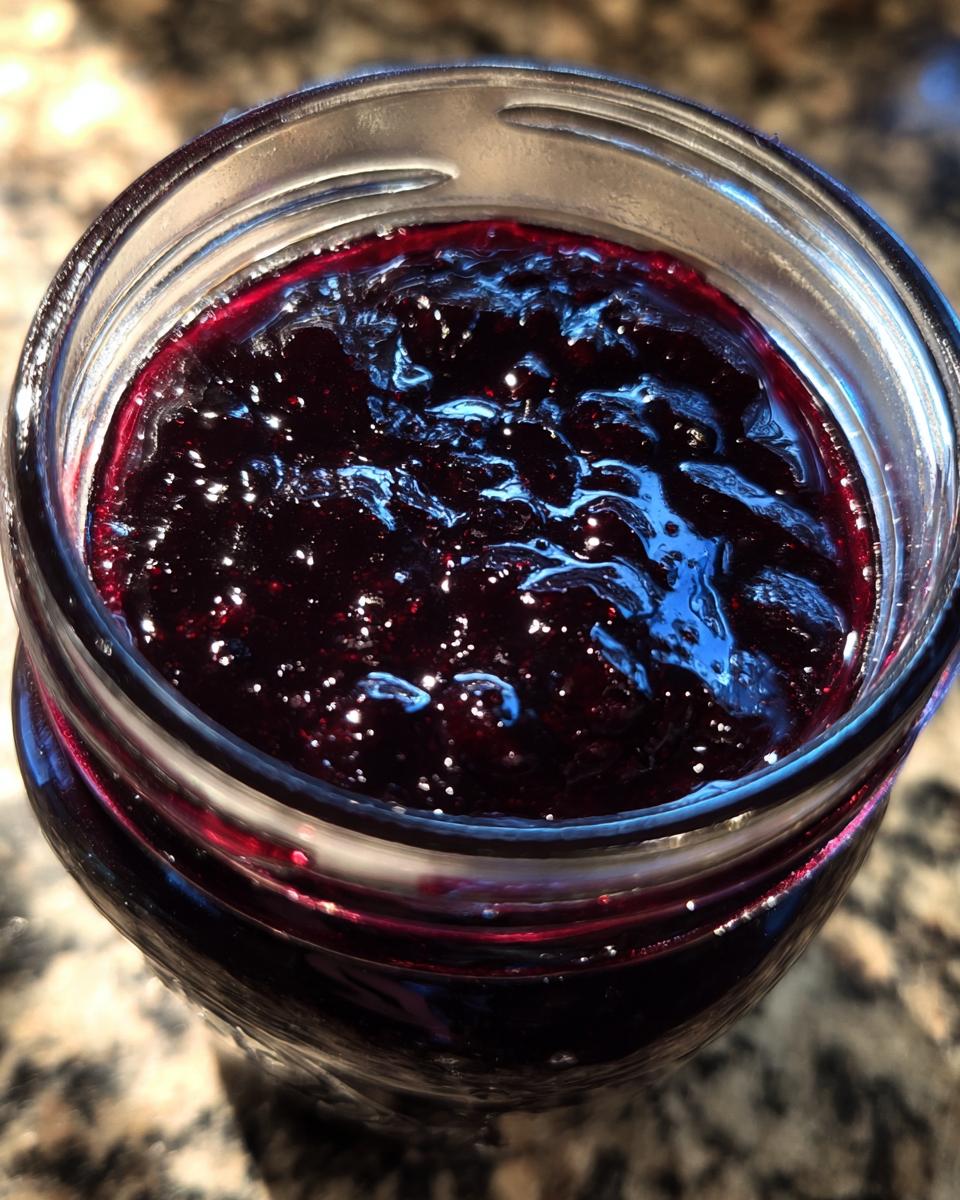
There’s just something incredibly satisfying about opening a jar of homemade blueberry jam, isn’t there? It transports you right back to the warm kitchen, the sweet scent filling the air. Here at Delish Symphony, we love the process of preserving, and this simple, small-batch blueberry jam recipe is an absolute winner – whether you’re a canning newbie or a seasoned pro. It’s wonderfully low in sugar, which means the true, deep flavor of the blueberries really shines through. I remember making my first few batches in my own kitchen, nervously watching it bubble, and feeling such a thrill when those jars sealed perfectly. Trust me, this jam is pure joy in a jar!
- Why You'll Love This Blueberry Jam Recipe
- Ingredients for Small Batch Berry Jam
- How to Make Perfect Blueberry Jam Without Pectin
- Water Bath Canning Your Blueberry Jam
- Tips for Low Sugar Blueberry Preserves Success
- Storage and Reheating Instructions
- Frequently Asked Questions About Blueberry Jam
- Estimated Nutritional Information
- Share Your Blueberry Jam Creations!
Why You’ll Love This Blueberry Jam Recipe
You’re going to adore this recipe, trust me! Here’s why:
- It’s Super Easy: Seriously, whipping up this small batch of blueberry jam is a breeze, even if you’ve never canned before.
- Loads of Flavor: Because it’s low sugar, the incredible taste of fresh blueberries truly sings. It’s just pure fruitiness!
- Perfect for Canning: This recipe is made with water bath canning in mind, so you can preserve that summer goodness for months.
- So Versatile: It’s not just for toast – think yogurt parfaits, topping pancakes, or even a little swirl on cheesecake.
Ingredients for Small Batch Berry Jam
Alright, let’s get down to business with what you’ll need for this amazing blueberry jam. The beauty of this recipe is its simplicity, so you probably have most of it already! I always try to find the plumpest, most flavorful blueberries I can – whether they’re from the farmer’s market or my own freezer, good quality fruit makes all the difference. Sometimes, I grab an extra pint just to snack on while I’m cooking!
- 4 cups fresh or frozen blueberries (If using frozen, no need to thaw!)
- 2 cups granulated sugar (This amount keeps it lower sugar, but still sweet enough to be jam!)
- 1/4 cup fresh lemon juice (This is key for brightness and helps with setting)
- 1 teaspoon grated lemon zest (Optional, but oh-so-good for an extra little zing!)
- 1/2 teaspoon vanilla extract (Optional, adds a lovely warmth and depth)
How to Make Perfect Blueberry Jam Without Pectin
Alright, now for the fun part – turning those beautiful blueberries into luscious jam! Making this no pectin blueberry jam is really straightforward, but it does take a little patience. Don’t rush it! I found that the key is to just let it do its thing and stir often. It’s like coaxing the flavor out. My kitchen usually smells absolutely divine during this stage, a real testament to the power of simple ingredients working together.
Combining Ingredients for Blueberry Jam
First things first, grab a big, heavy-bottomed pot. Seriously, a good sturdy pot makes all the difference here! Toss in your blueberries, sugar, and that lovely fresh lemon juice. If you’re feeling fancy and want to add that lemon zest for an extra pop, now’s the time. Give it all a good stir, then let it sit for about 10 minutes. You’ll see the sugar starting to get a little syrupy as it mingles with the fruit juice.
Cooking and Thickening Your Blueberry Jam
Now, crank that heat up to medium-high and bring the whole mixture to a rolling boil, stirring pretty much constantly. Once it’s bubbling away happily, dial the heat back down to medium. Keep stirring, and keep cooking! This is where the magic happens and the jam starts to thicken up. It usually takes me about 20 to 30 minutes. As it cooks, you might see some foamy stuff rise to the top; just skim that off with a spoon and toss it. Skimming helps make your jam look clear and pretty.
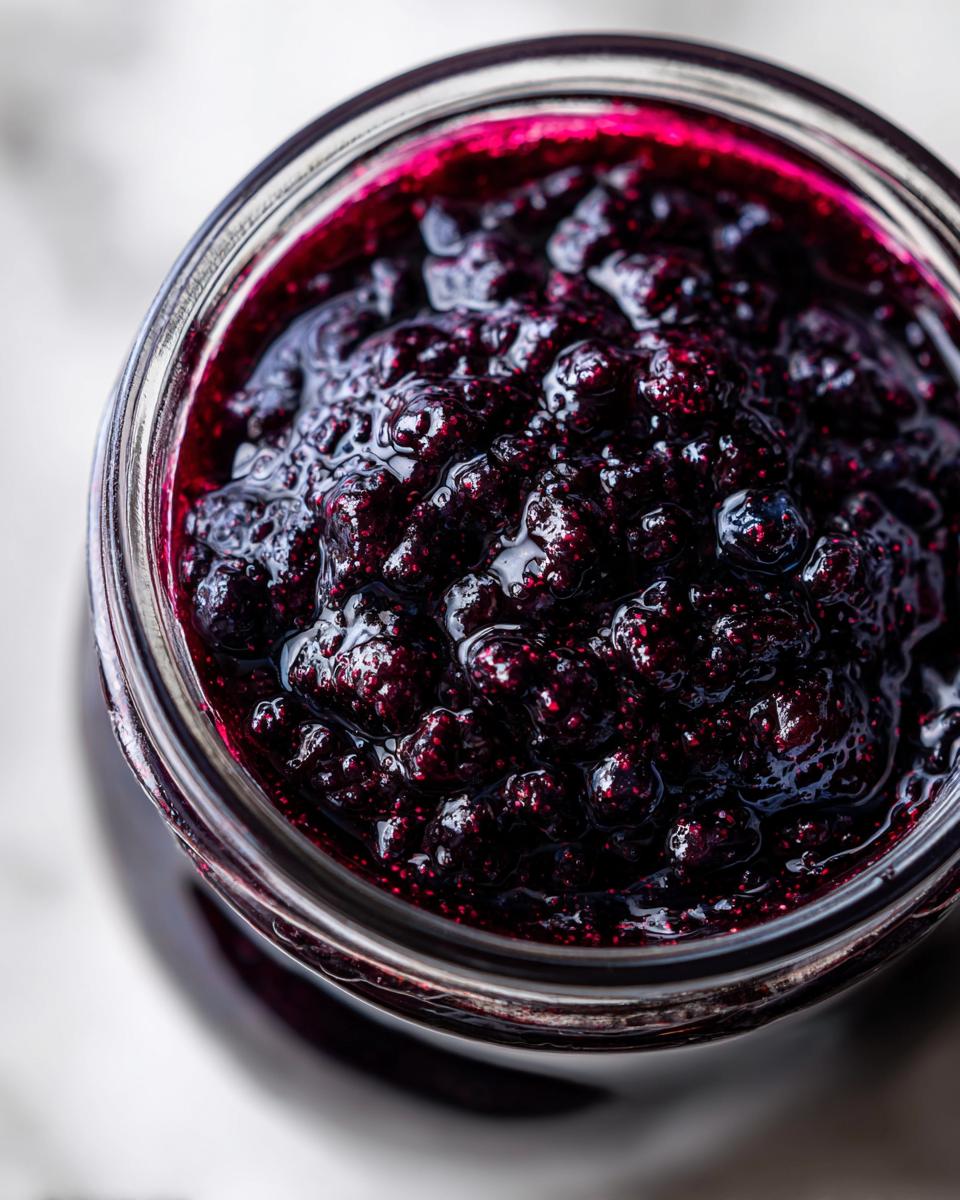
Testing for Blueberry Jam Doneness
This is the most important part to get your jam *just right*! Pop a small plate in the freezer before you even start cooking. Once you think the jam is getting thick, spoon just a little bit onto that cold plate. Let it sit for about 30 seconds, then give it a gentle poke with your finger. If the jam surface wrinkles up a bit, it’s ready! If it’s still super runny, give it a few more minutes on the stove and test again.
Adding Optional Flavors to Your Blueberry Jam
Once your jam has passed the wrinkle test and you’ve taken it off the heat, this is your moment to add those extra flavor boosters! If you’re going for that lovely vanilla blueberry spread vibe, stir in the vanilla extract now. It always smells amazing at this point!
Water Bath Canning Your Blueberry Jam
Okay, now that you have this gorgeous, perfectly thickened blueberry jam, it’s time to get it into jars so you can enjoy it all year long! Canning is super important to keep your delicious creation safe and shelf-stable. Honestly, setting up for water bath canning feels like a little ritual for me, and it’s not nearly as intimidating as it sounds. It ensures your water bath blueberry jam stays fresh and safe for ages!
Sterilizing Jars for Blueberry Preserves
First, and this is non-negotiable, your jars and lids need to be sparkling clean and sterilized. You can do this by boiling them in a large pot of water for about 10 minutes. Keep them hot until you’re ready to fill them – keeping them hot helps prevent the jars from breaking when you add the hot jam.
Filling and Sealing Your Blueberry Jam Jars
Carefully ladle that hot jam into your sterilized jars. Make sure you leave about a quarter-inch of space at the top, that’s called headspace. Wipe the rims of the jars super clean with a damp cloth; any jam residue can prevent a good seal. Then, just put on the lids and screw on the bands fingertip-tight. You don’t want them cranked on super hard, just snug.
Processing Blueberry Jam in a Water Bath
Now, get your canner ready! Carefully lower the filled jars into the boiling water, making sure they’re covered by at least an inch of water. Put the lid on the canner and bring it back to a rolling boil. Let them process for 10 minutes – remember to adjust that time a little if you’re at a higher altitude. Once done, carefully lift the jars out and let them cool completely on a wire rack. You’ll hear little pings as they seal! Check those seals after 12-24 hours.
Tips for Low Sugar Blueberry Preserves Success
Making these low sugar blueberry preserves is so rewarding, and I’ve learned a few tricks along the way to make sure you get that perfect texture and flavor every time. First off, don’t skimp on the fruit quality! Fresher, riper blueberries will give you the best flavor and natural pectin. Also, remember that sugar does more than just sweeten; it helps with preserving and thickening. So, if you find your jam isn’t quite setting up the way you’d like, a slightly longer cooking time is usually the answer. Don’t be afraid to let it bubble away until it passes that crucial cold plate test! And always, always store your beautiful jars properly – unsealed ones go in the fridge and should be enjoyed fairly quickly. For more on our kitchen philosophy, check out our About page – it’s all about making delicious food accessible!
Storage and Reheating Instructions
Once your gorgeous jars of blueberry jam are sealed tight, they can hang out in a cool, dark pantry for about a year – wow! If a jar happens to not seal perfectly (or once you break one open, which I totally get!), just pop it in the fridge. Those will stay delicious for about 3-4 weeks. If your jam gets a little stiff in the fridge, no worries! Just give it a quick zap in the microwave for a few seconds or gently warm it on the stovetop to make it perfectly spreadable again.
Frequently Asked Questions About Blueberry Jam
You’ve got questions, I’ve got answers! Making homemade jam is so rewarding, but it’s natural to have a few little queries pop up. I’ve fielded these questions a bunch of times, so let’s clear them up!
Can I Use Frozen Blueberries for This Blueberry Jam Recipe?
Absolutely, yes! Using frozen blueberries for this jam is totally fine, and honestly, sometimes they’re even better because they haven’t lost any moisture yet. Just pop them in the pot straight from the freezer; no need to thaw!
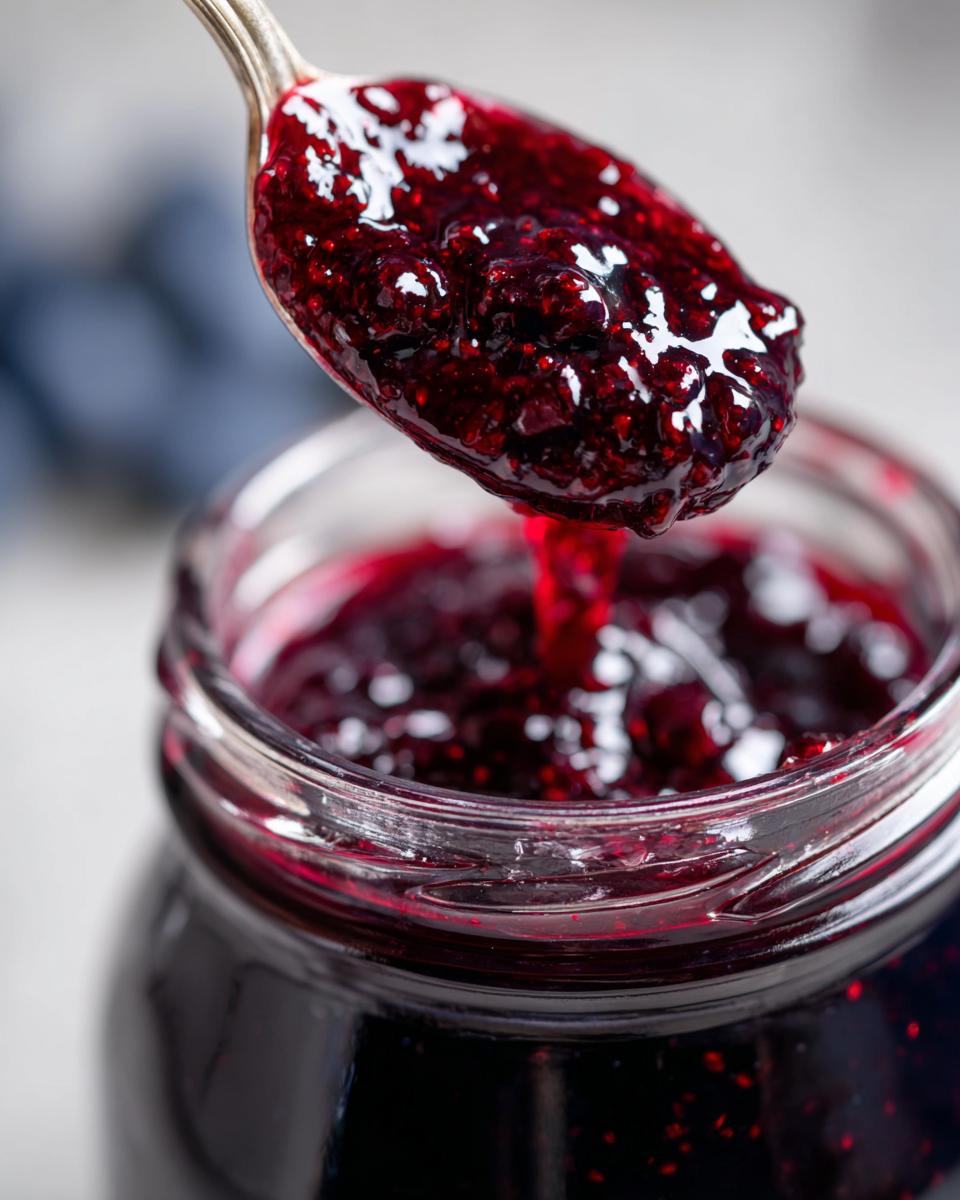
What If My Blueberry Jam Doesn’t Thicken?
Oh, the dreaded runny jam! Don’t panic! The easiest fix is just to keep cooking it. Skim off any foam, turn the heat back to medium, and let it simmer down, stirring frequently. Remember that cold plate test – it’s your best friend here!
How Long Does Homemade Blueberry Jam Last?
Properly water bath canned blueberry jam will last in your pantry for about a year. Once you open a jar, or if it didn’t seal properly, it’ll keep for about 3-4 weeks in the refrigerator. Happy spreading!
Estimated Nutritional Information
Just a little heads-up, the nutritional info for homemade jam can really change depending on the exact berries you use and how much sugar you end up needing. But, based on this recipe, a serving (that’s about 1 tablespoon) typically comes in around 50 calories. You’ll find about 12g of sugar and 1g of fiber, with pretty much zero fat or protein. It’s a sweet treat, for sure, but still a lovely way to enjoy those blueberries!
Share Your Blueberry Jam Creations!
I just can’t wait to hear how your blueberry jam turns out! Seriously, drop a comment below and let me know your experience, maybe give it a rating if you have a moment. And if you snap any photos of your beautiful jars or what you spread it on, please share them on social media and tag us! We love seeing your kitchen successes. You can also reach out through our contact page if you have any questions!
PrintClassic Blueberry Jam
A simple recipe for small-batch blueberry jam, perfect for canning. This low-sugar version highlights the natural fruit flavor, with optional vanilla and lemon notes.
- Prep Time: 15 min
- Cook Time: 30 min
- Total Time: 45 min
- Yield: 3–4 half-pint jars 1x
- Category: Preserves
- Method: Water Bath Canning
- Cuisine: American
- Diet: Vegetarian
Ingredients
- 4 cups fresh or frozen blueberries
- 2 cups granulated sugar
- 1/4 cup lemon juice
- 1 teaspoon grated lemon zest (optional)
- 1/2 teaspoon vanilla extract (optional)
Instructions
- Combine blueberries, sugar, and lemon juice in a large, heavy-bottomed saucepan.
- If using, add lemon zest.
- Stir to combine and let sit for 10 minutes to allow the sugar to start dissolving.
- Place the saucepan over medium-high heat and bring the mixture to a rolling boil, stirring constantly.
- Once boiling, reduce heat to medium and continue to cook, stirring frequently, until the jam thickens. This can take 20-30 minutes. Skim off any foam that rises to the surface.
- To test for doneness, place a small plate in the freezer. Spoon a small amount of jam onto the cold plate. Wait 30 seconds, then push the jam with your finger. If it wrinkles, it is ready.
- Remove from heat. If using, stir in the vanilla extract.
- Ladle the hot jam into sterilized jars, leaving 1/4 inch headspace.
- Wipe the rims of the jars clean and screw on the lids.
- Process the jars in a boiling water bath for 10 minutes (adjust for altitude if necessary).
- Remove jars from the canner and let them cool completely on a wire rack. Check seals after 12-24 hours.
Notes
- For a jam without pectin, the cooking time will be longer to achieve the desired thickness.
- This recipe makes approximately 3-4 half-pint jars.
- Ensure your jars and lids are properly sterilized before filling.
Nutrition
- Serving Size: 1 tablespoon
- Calories: 50
- Sugar: 12g
- Sodium: 0mg
- Fat: 0g
- Saturated Fat: 0g
- Unsaturated Fat: 0g
- Trans Fat: 0g
- Carbohydrates: 13g
- Fiber: 1g
- Protein: 0g
- Cholesterol: 0mg