
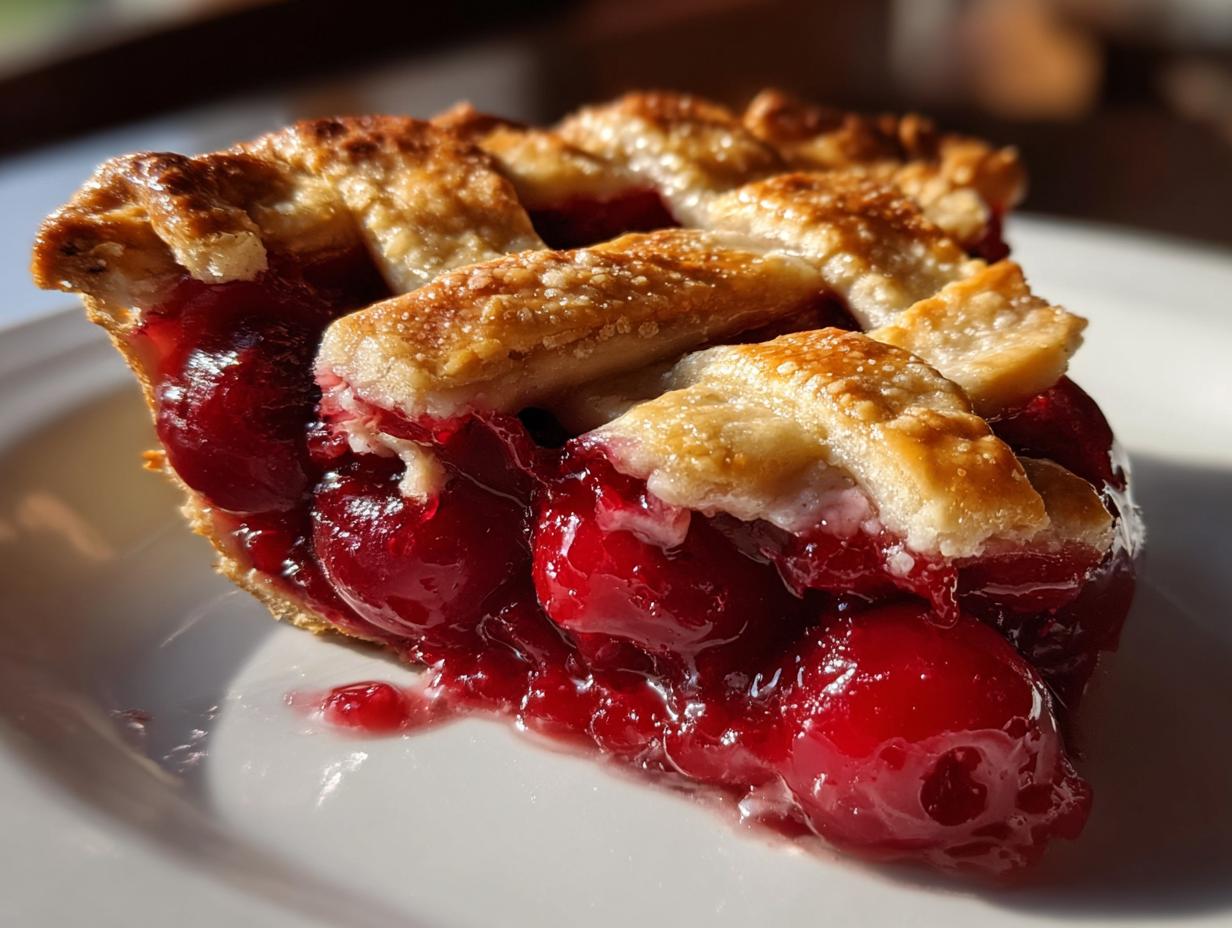
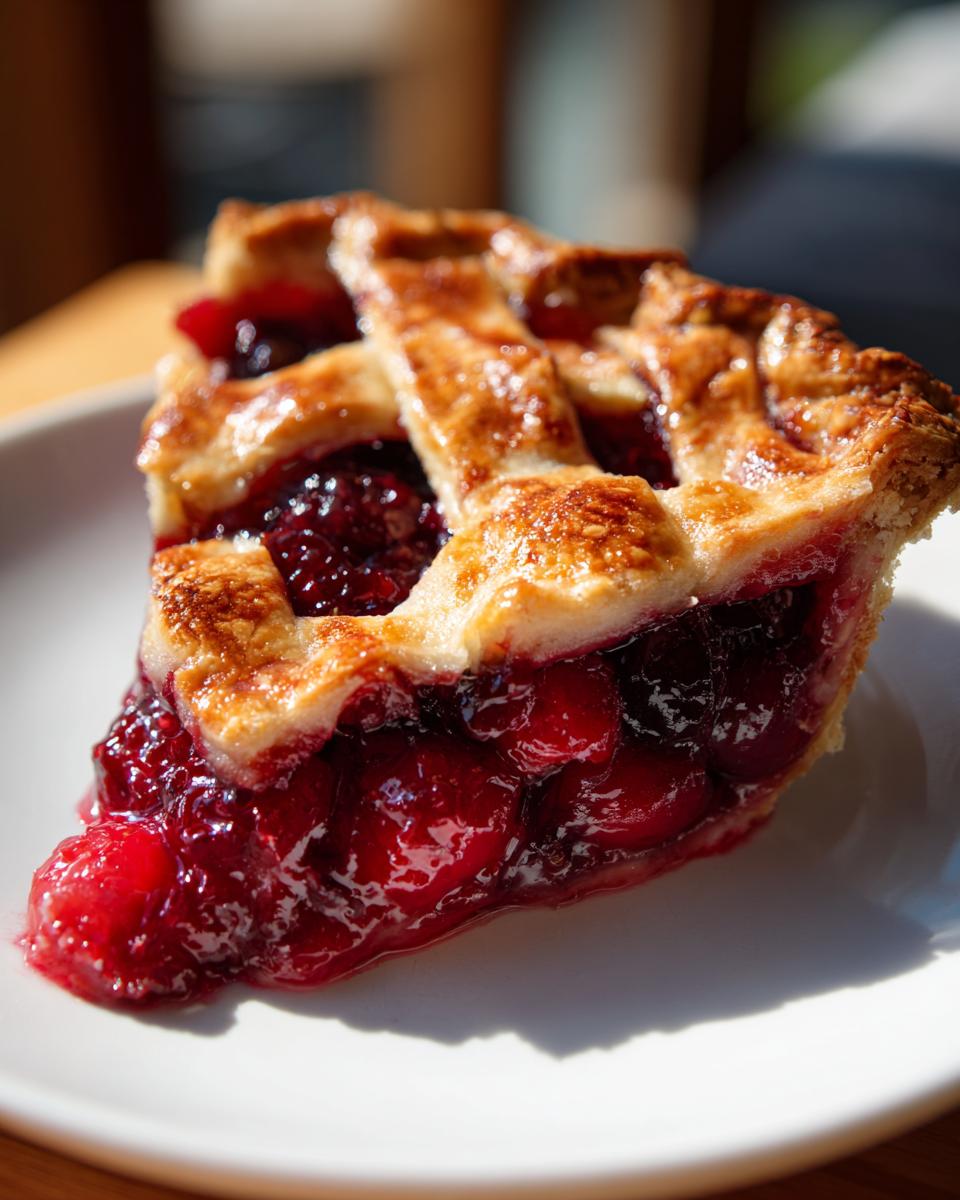
There’s just something magical about a slice of perfect homemade cherry pie, isn’t there? It’s that classic dessert that smells like holidays and happy memories all rolled into one. Forget those sad, runny pies you sometimes get! My passion is making sure you get that gorgeous, café-style slice every single time, with a thick, jammy filling that stays put and a flaky, buttery lattice crust that shatters just right. This recipe is born from my own kitchen adventures, where the goal is always bringing people together with food made with love, just like we always aimed for in my family.
- Why You'll Love This Classic Cherry Pie Recipe
- Ingredients for Your Homemade Cherry Pie
- Crafting the Perfect Lattice Cherry Pie: Step-by-Step
- Tips for a Perfect Fresh Cherry Pie
- Holiday Cherry Pie: Make-Ahead and Storage
- Frequently Asked Questions About Cherry Pie
- Nutritional Information for Classic Cherry Pie
- Share Your Delicious Cherry Pie Creations!
Why You’ll Love This Classic Cherry Pie Recipe
You’re going to fall head over heels for this classic cherry pie, trust me! Here’s why it’s a winner:
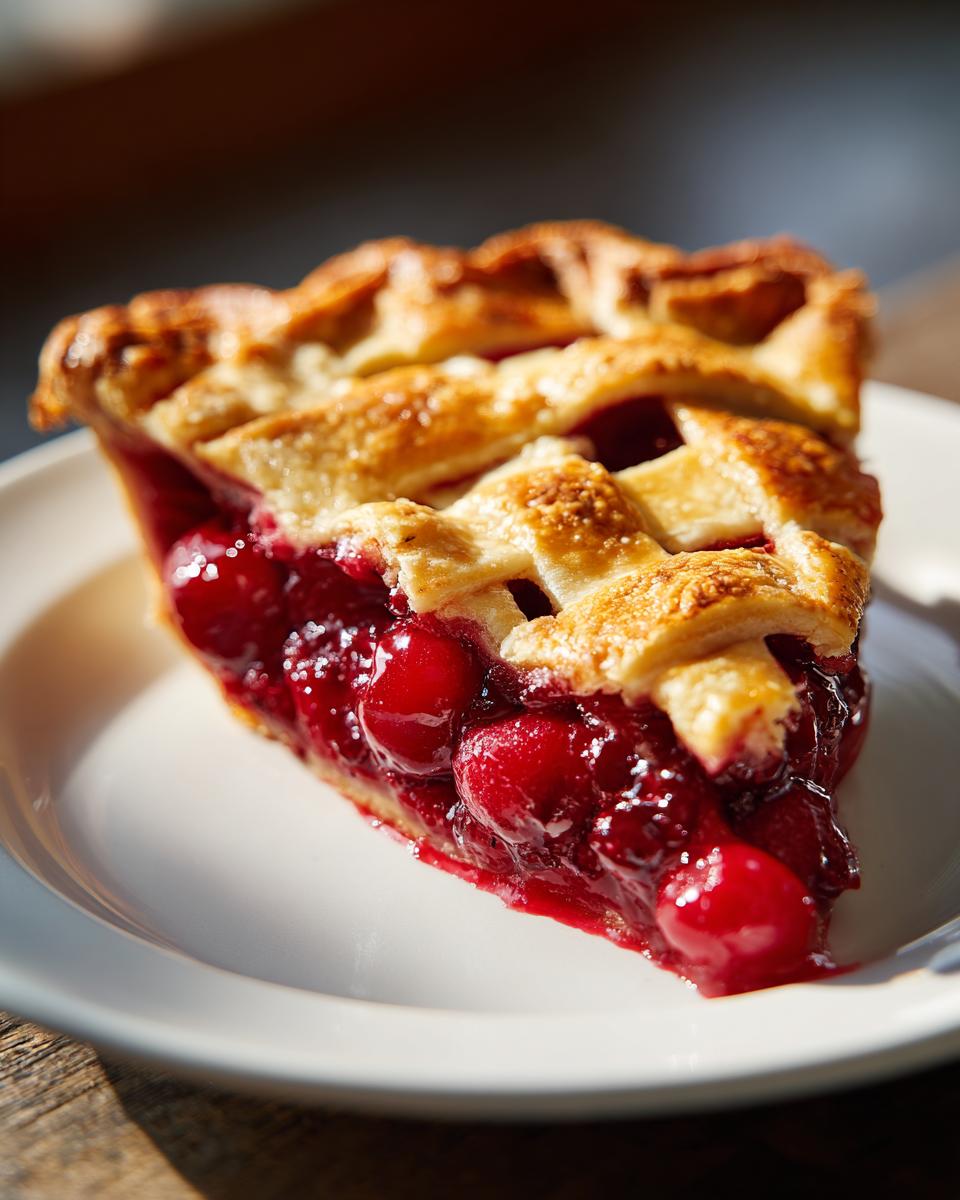
- Seriously Thick Filling: No more soupy slices! We nail that perfect, jammy consistency every time.
- Buttery, Flaky Crust: The lattice top is as beautiful as it is delicious, and the crust is pure buttery goodness.
- Amazingly Flavorful: That hint of almond extract combined with sweet cherries is just divine.
- Holiday-Ready (or Any Day!): It’s the showstopper dessert your family will beg for, year after year.
Ingredients for Your Homemade Cherry Pie
Okay, gather ’round and let’s get our ingredients ready for what’s going to be the best cherry pie you’ve ever made! For that amazing flaky crust, you’ll need 2 ½ cups of all-purpose flour, 1 teaspoon of salt, and, super important, 1 cup (that’s two sticks!) of cold unsalted butter, cut into nice ½-inch cubes. And don’t forget ½ cup of ice water to bring it all together. Now for that glorious, thick cherry filling: grab 6 cups of cherries – either fresh or frozen work beautifully, just don’t thaw the frozen ones! You’ll also need ¾ cup of granulated sugar, ¼ cup of cornstarch to get that perfect thick texture, a tablespoon of bright lemon juice, and my little secret weapon, 1 teaspoon of almond extract. For the shiny lattice top, a single large egg, beaten, and another tablespoon of granulated sugar for that sparkle will do the trick!
Crafting the Perfect Lattice Cherry Pie: Step-by-Step
Alright, let’s get our hands a little floury and turn these beautiful ingredients into pure pie magic! This is where the fun really begins.
Preparing the Pie Dough
First things first, let’s get that dough ready. In a big bowl, whisk together your flour and salt. Then, toss in those cubes of cold butter. I like using my fingertips for this, just rubbing it in until it looks like coarse crumbs with a few pea-sized butter bits still showing – those are key for flakiness! Now, slowly add your ice water, just a tablespoon at a time, mixing until it all starts to come together. Don’t overmix! Divide it into two equal disks, flatten ’em out a bit, wrap ’em up tight in plastic wrap, and let them chill in the fridge for at least an hour. Patience here pays off big time!
Making the Thick Cherry Filling
While the dough is chilling, let’s whip up that gorgeous filling. In another bowl, gently toss your cherries (fresh or frozen!), sugar, cornstarch – this is our secret weapon for getting that perfect thick filling, no soupiness here! – lemon juice for brightness, and that lovely almond extract. Just mix it gently so you don’t break up the cherries too much. Let this mixture hang out for a bit; it’ll start to get juicy and help that cornstarch do its thing.
Assembling Your Cherry Pie
Preheat your oven to a nice hot 400°F (200°C). Now, grab one disk of dough and roll it out on a lightly floured surface into about a 12-inch circle. Carefully drape it into your 9-inch pie plate, letting the edges hang over a bit. Trim it so you have about an inch hanging off. Pour that luscious cherry filling right into the crust. For the lattice top, roll out your second dough disk. You can cut it into strips for a classic weave, or go wild with cookie cutters for fun shapes! Arrange your lattice strips over the filling, weaving them as you go. Trim the strip ends and press them onto the bottom crust edge to seal. Now, crimp those edges all pretty! Give the lattice top a good brush with your beaten egg wash and sprinkle that extra tablespoon of sugar over everything for a beautiful, glistening finish.
Baking Your Classic Cherry Pie
Pop your pie onto a baking sheet – this is a lifesaver for catching any bubbly drips! Bake it at 400°F (200°C) for about 20 minutes. Then, lower the oven temp to 375°F (190°C) and let it bake for another 30 to 40 minutes. You’re looking for a bubble-filled, golden-brown crust. If the edges start browning too fast, just loosely tent them with some foil. The most important part? Let it cool COMPLETELY on a wire rack for at least 3 to 4 hours before you even *think* about slicing. This lets that filling set up perfectly.
Tips for a Perfect Fresh Cherry Pie
Making a truly incredible cherry pie is all about a few key details, and I’ve learned a couple of tricks over the years that really make a difference. It’s not just about following the steps; it’s about understanding *why* we do them!
Achieving a Thick Cherry Filling
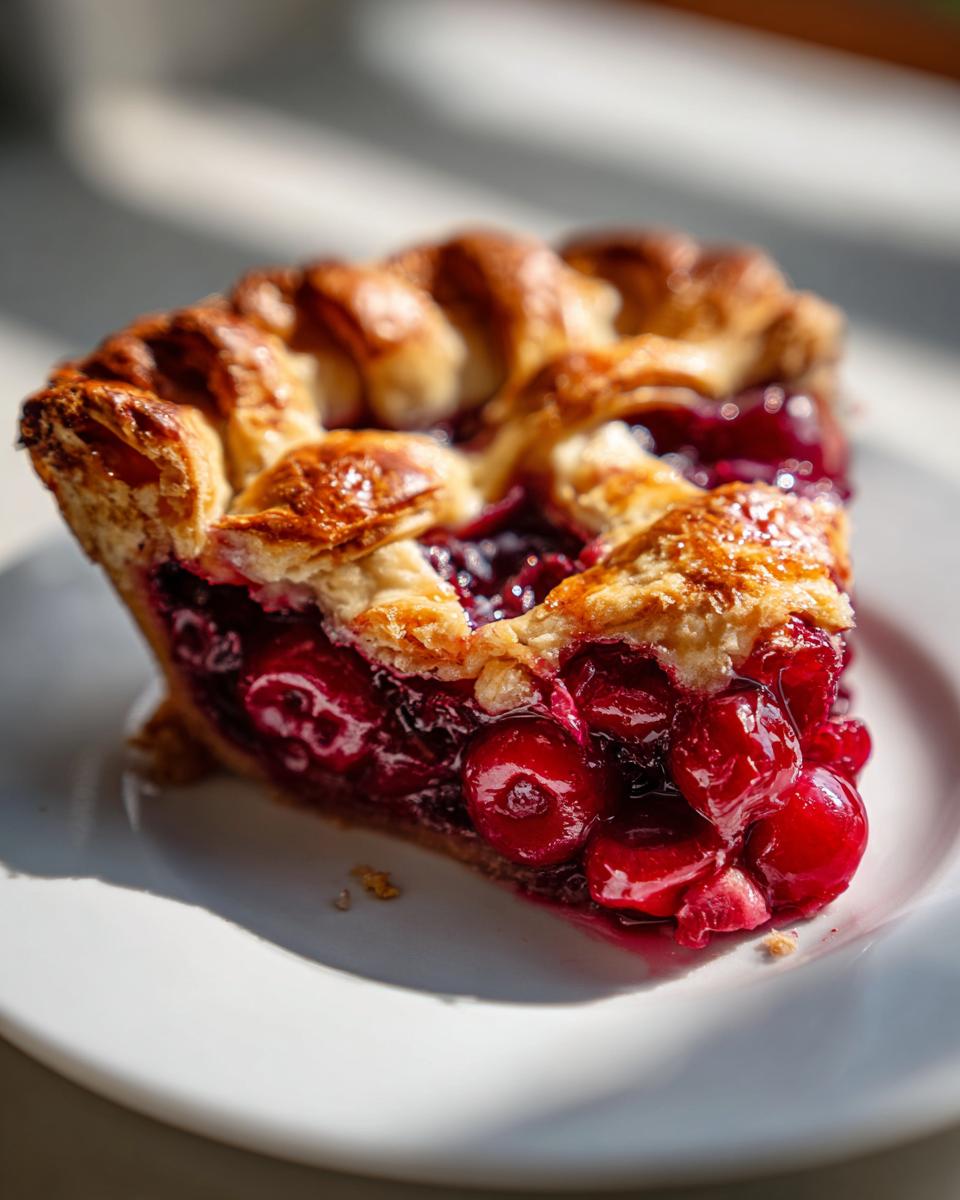
My biggest pet peeve with pie is a runny filling, and we’re absolutely avoiding that here! The cornstarch is your best friend, and make sure you toss it really well with those juicy cherries. Also, letting the filling sit for just a few minutes after you mix it really helps that cornstarch start doing its thickening magic before it even hits the oven. That’s how you get that amazing, chunky, café-style filling that just melts in your mouth.
Using Fresh vs. Frozen Cherries
Honestly, both fresh and frozen cherries work wonderfully in this pie, which is great news! If you’re using fresh ones, try to pick really ripe, sweet cherries for the best flavor. If you opt for frozen, just remember not to thaw them first – pop them in straight from the freezer. They release their juices slowly as they bake, which helps create that gorgeous, thick filling we’re after. Either way, you’re in for a treat!
Holiday Cherry Pie: Make-Ahead and Storage
Planning ahead is the best! You can totally get a jump start on this pie, which is perfect for busy holidays or just making life easier. The pie dough itself is your best friend here – make it up to 2 days ahead and keep it cozy in the fridge, or wrap it extra tight and freeze it for up to 3 months. When you’re ready to bake, just let it thaw in the fridge. You can even assemble the whole pie, unbaked, and freeze that for about a month. Just stick it straight into the oven from frozen, but remember it’ll need extra baking time, maybe an extra 10-15 minutes. And leftovers? Store any remaining pie wrapped up in the fridge for about 3-4 days. A quick zap in a warm oven can bring back some of that fresh-baked magic!
Frequently Asked Questions About Cherry Pie
Got questions swirling around about your cherry pie baking adventure? Don’t you worry, I’ve got you covered!
Can I use canned cherries for this cherry pie?
While I absolutely adore using fresh or frozen cherries for that amazing flavor and texture, you *can* use canned if you must. Just drain them really, really well and maybe cut back on the sugar a bit, as they’re often sweetened already. It won’t be quite the same, but it can still be tasty!
Why is my cherry pie filling runny?
Oh, the dreaded runny pie! Usually, it’s because there wasn’t enough cornstarch, or it wasn’t mixed in well enough with the juices. Skipping that crucial cooling time is another big culprit. Make sure it cools completely so that cornstarch can work its magic and set everything up beautifully.
How long does homemade cherry pie last?
This lovely pie is best enjoyed within 3-4 days when stored covered in the refrigerator. After a day or two, the crust can start to soften up a bit, so try to finish it before then for the best texture!
Nutritional Information for Classic Cherry Pie
Just a heads-up, these numbers are estimates and can bounce around a bit depending on exactly what you use, but here’s what you can generally expect per slice of this glorious cherry pie. We’re looking at around 450 calories, about 25g of fat (with 15g being saturated – blame that yummy butter!), 5g of protein to keep you going, and roughly 55g of carbs. You’ll also find about 35g of sugar and 3g of fiber in there, plus about 200mg of sodium and 60mg of cholesterol.
Share Your Delicious Cherry Pie Creations!
Did you bake up this amazing cherry pie? I’d absolutely LOVE to hear all about it! Drop a comment below, let me know how it turned out, or even share your photos with me! You can also reach out anytime through our contact page. Happy baking!
PrintClassic Cherry Pie with Lattice Crust

A classic homemade cherry pie recipe featuring a buttery lattice crust and a thick, flavorful cherry filling. Perfect for holidays or any occasion.
- Prep Time: 45 min
- Cook Time: 50 min
- Total Time: 135 min
- Yield: 8 servings 1x
- Category: Dessert
- Method: Baking
- Cuisine: American
- Diet: Vegetarian
Ingredients
- 2 ½ cups all-purpose flour
- 1 teaspoon salt
- 1 cup (2 sticks) cold unsalted butter, cut into ½-inch cubes
- ½ cup ice water
- 6 cups fresh or frozen pitted cherries (if frozen, do not thaw)
- ¾ cup granulated sugar
- ¼ cup cornstarch
- 1 tablespoon lemon juice
- 1 teaspoon almond extract
- 1 large egg, beaten (for egg wash)
- 1 tablespoon granulated sugar (for sprinkling)
Instructions
- In a large bowl, whisk together flour and salt. Cut in cold butter using a pastry blender or your fingertips until the mixture resembles coarse crumbs with some pea-sized pieces of butter. Gradually add ice water, 1 tablespoon at a time, mixing until the dough just comes together. Divide the dough in half, flatten each half into a disk, wrap in plastic wrap, and refrigerate for at least 1 hour.
- In a large bowl, combine cherries, sugar, cornstarch, lemon juice, and almond extract. Toss gently to coat.
- Preheat your oven to 400°F (200°C).
- On a lightly floured surface, roll out one disk of dough into a 12-inch circle. Carefully transfer the dough to a 9-inch pie plate. Trim the edges, leaving about a 1-inch overhang.
- Pour the cherry filling into the pie crust.
- Roll out the second disk of dough. Cut into strips for a lattice top, or cut out decorative shapes. Arrange the lattice strips over the filling, weaving them over and under each other. Trim the ends of the strips and press them onto the bottom crust edge. Crimp the edges decoratively.
- Brush the lattice top with the beaten egg wash and sprinkle with the remaining tablespoon of sugar.
- Place the pie on a baking sheet (to catch any drips). Bake for 20 minutes at 400°F (200°C).
- Reduce the oven temperature to 375°F (190°C) and continue baking for another 30-40 minutes, or until the crust is golden brown and the filling is bubbly. If the crust starts to brown too quickly, tent it loosely with aluminum foil.
- Let the pie cool completely on a wire rack for at least 3-4 hours before slicing to allow the filling to set.
Notes
- For a thicker filling, you can add an extra tablespoon of cornstarch.
- If using fresh cherries, ensure they are ripe and sweet. Adjust sugar if needed.
- Make ahead: The pie dough can be made up to 2 days in advance and refrigerated, or frozen for up to 3 months. The assembled, unbaked pie can also be frozen. Bake from frozen, adding extra baking time.
- For a café-style finish, ensure your filling is thick before baking by letting it sit for a few minutes after mixing.
Nutrition
- Serving Size: 1 slice
- Calories: 450
- Sugar: 35g
- Sodium: 200mg
- Fat: 25g
- Saturated Fat: 15g
- Unsaturated Fat: 10g
- Trans Fat: 0g
- Carbohydrates: 55g
- Fiber: 3g
- Protein: 5g
- Cholesterol: 60mg