

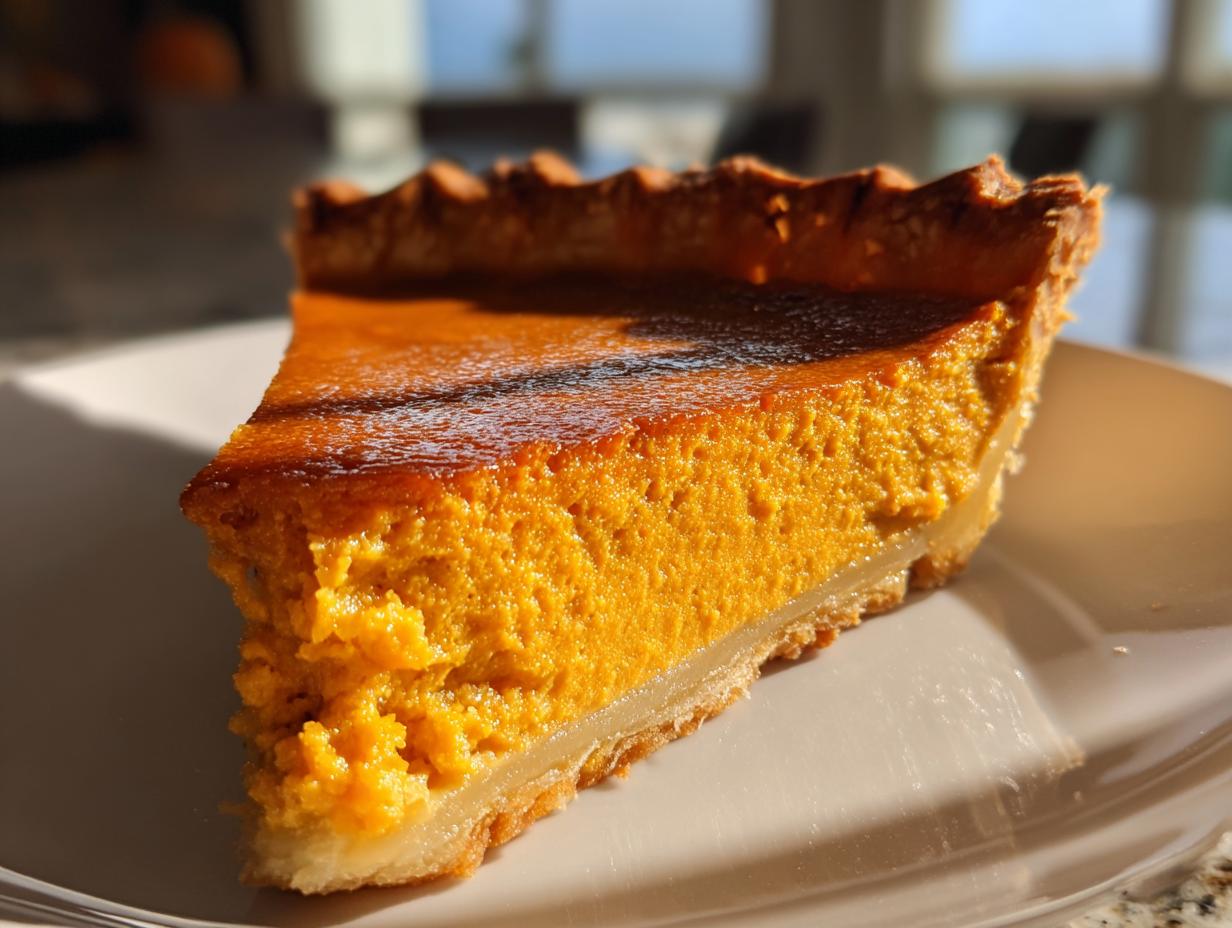
There’s just something about that first bite of pie when the house starts smelling like autumn, isn’t there? It’s the official signal that the holidays are truly here. But let’s be honest, standing over a holiday dessert can be stressful! If you’re looking for that purely comforting, perfectly spiced taste that pulls everyone back to memory lane, I’ve got you covered. Forget the complicated juggling acts; this is my ultimate, reliable, and traditional classic pumpkin pie recipe. It focuses on two things that matter most: a unbelievably creamy pumpkin filling and a perfect, flaky crust. Trust me, this simple, foolproof method makes holiday baking a joy again.
- Why This Is the Best Pumpkin Pie Recipe for Your Holiday Table
- Gathering Ingredients for Your Classic Pumpkin Pie Recipe
- How to Prepare Your Easy Pumpkin Pie From Scratch
- Tips for the Perfect Classic Pumpkin Pie Recipe Bake
- Serving Your Traditional Holiday Dessert
- Storage and Reheating Instructions for Your Classic Pumpkin Pie Recipe
- Frequently Asked Questions About This Classic Pumpkin Pie Recipe
- Estimated Nutritional Values for This Classic Pumpkin Pie Recipe
- Share Your Homemade Pumpkin Pie Creations
Why This Is the Best Pumpkin Pie Recipe for Your Holiday Table
When everyone is circling around the dessert table, you want something they recognize and adore. This isn’t the time for experimental pumpkin flavors; this is the time for tradition! This recipe stands out because it’s my go-to best pumpkin pie recipe because it removes all the guesswork. It guarantees that hallmark, melt-in-your-mouth texture that makes a slice of pie feel like a warm hug. If you’ve had trouble with sunken centers or grainy textures before, I promise this method for a traditional holiday dessert works every single time.
Achieving the Perfect Creamy Pumpkin Filling
The secret weapon here is the sweetened condensed milk, folks. Seriously, ditch the idea of measuring out granulated sugar for the filling! When you use that sweet, thick milk, you instantly get that luxurious, smooth consistency. The other key is gentle mixing. You want everything whisked just until uniform. If you beat it like you’re whipping meringue, you’re incorporating air, and air causes cracks. And nobody wants a cracked pie top on Thanksgiving, right?
Tips for a Truly Flaky Crust Pie Success
Look, I’m all about making things from scratch, but sometimes we need a shortcut to keep the peace on busy days. If you use a store-bought crust, you still need to treat it right! Before you even think about filling it, make sure that dough is cold—I mean refrigerator cold. A warm flaky crust pie dough will shrink disastrously in the hot oven, leaving you with a giant gap between the crust edge and the filling. If you need to pre-bake it slightly (though this recipe doesn’t require it), chilling the pan beforehand is vital.
Gathering Ingredients for Your Classic Pumpkin Pie Recipe
Okay, let’s talk supplies. For a truly authentic, old-fashioned experience, we have to be picky about one thing right off the bat: that can of pumpkin! You absolutely must grab 100% pure pumpkin puree. Do not grab the can that says “Pumpkin Pie Mix.” That mix already has all the sugar and spices mixed in, and we want to control those flavors ourselves, right? Everything else here is pretty straightforward pantry working, making this an easy pumpkin pie from scratch project, even if you buy the crust.
Here is exactly what you need to assemble your wonderful filling:
- 1 (15 ounce) can pure pumpkin puree (Remember, not the mix!)
- 1 (14 ounce) can sweetened condensed milk
- 2 large eggs, lightly beaten
- 1 (9 inch) unbaked flaky pie crust
- Whipped cream, for serving (you deserve the good stuff!)
Spice Blend for Classic Pumpkin Pie with Spices
This little trio of spices is what gives you that wonderfully warm, comforting aroma—that signature scent of the holidays. Don’t skimp on the whole spices! We’re keeping this blend simple because the richness of the condensed milk carries the flavor, but we need these specific notes for that classic taste. You’ll use:
- 1 teaspoon ground cinnamon
- 1/2 teaspoon ground ginger
- 1/4 teaspoon ground nutmeg
- 1/4 teaspoon salt (Don’t forget this! Salt wakes up all the sweet notes.)
That’s it! See how accessible this is? These specific spices perfectly hit that sweet spot for a truly old fashioned pumpkin pie.
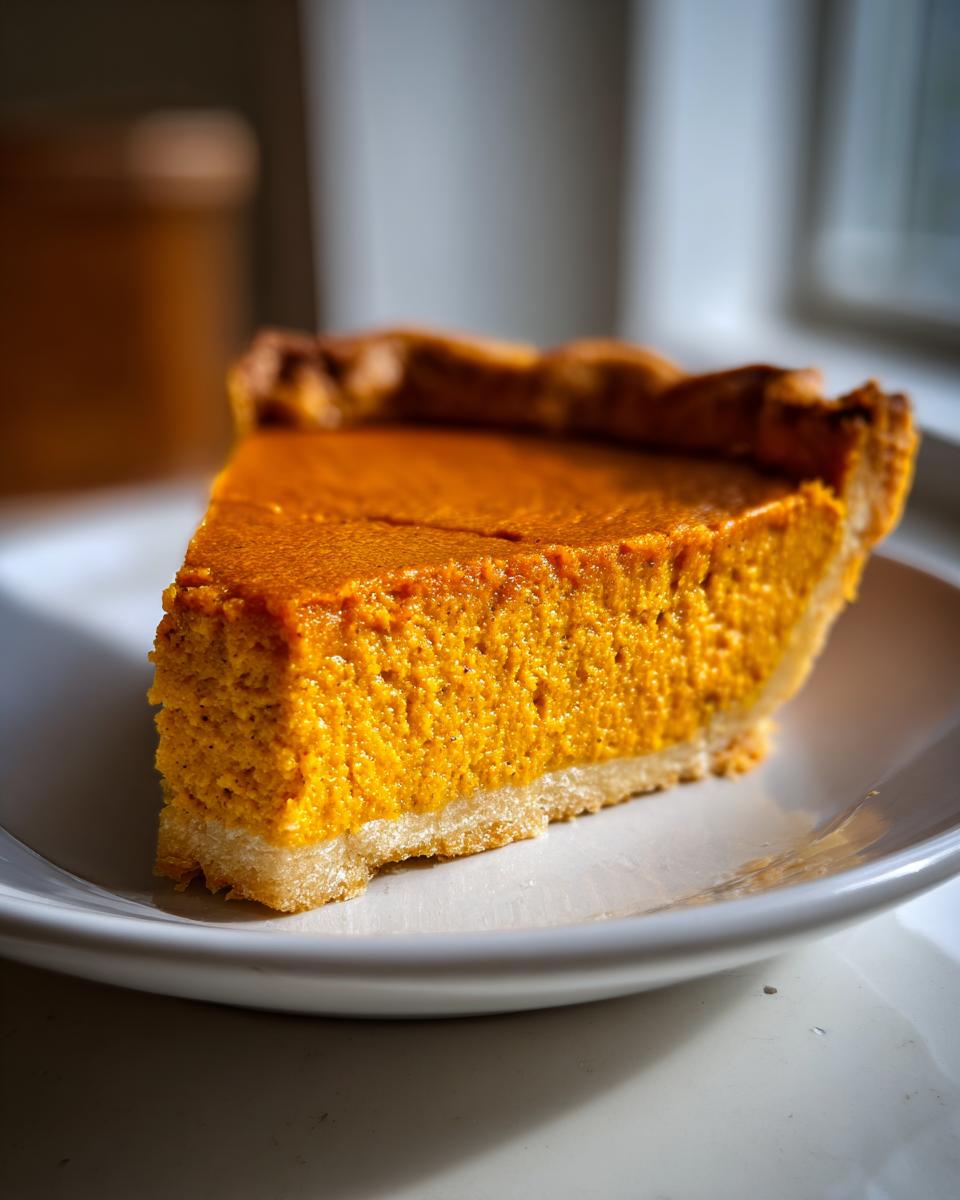
How to Prepare Your Easy Pumpkin Pie From Scratch
Now we move to the fun part—getting this lovely dessert into the oven! This process is so streamlined, you’ll see why I call it my easy pumpkin pie from scratch method. First things first: fire up that oven to 425 degrees Fahrenheit. We need that initial heat blast! Get your 9-inch unbaked crust ready on a baking sheet—that always helps catch any minor drips.
Mixing the Creamy Pumpkin Filling: Step-by-Step
Grab your biggest bowl and your whisk. We’re going to combine everything that isn’t the crust. Put in the pumpkin puree, the whole can of sweetened condensed milk, those two eggs you lightly beat, and all those beautiful spices we just talked about—cinnamon, ginger, nutmeg, and salt. Now, whisk gently! You’re not trying to aerate this mixture; remember what I said about cracks? We want that perfect creamy pumpkin filling, so just mix until you don’t see any streaks of egg or unincorporated spice. Then, pour it right into that cold crust.
The Two-Temperature Baking Method for No-Fail Pumpkin Pie
This is the real trick for a no-fail pumpkin pie, so pay attention! Bake the pie exactly as it is at that hot 425°F for just 15 minutes. This high heat sets the outer edges of the crust and the filling quickly so it doesn’t slide down the sides. After those 15 minutes, DO NOT open the door. Just drop the oven temperature down to 350°F. Let it bake for another 35 to 40 minutes. This gentle finish cooks the center without burning your beautiful crimped edges!
Tips for the Perfect Classic Pumpkin Pie Recipe Bake
We’ve put in the work; we’ve mixed that creamy filling, and we set that two-temperature timer. Now comes the part that tests the patience of everyone in the kitchen! It’s easy to peek, but trust me, baking is an act of faith sometimes. I pulled these extra bits of wisdom straight from my own messy kitchen experiments over the years to help you reach that perfect, comforting bake for your classic pumpkin pie recipe.
Knowing When Your Classic Pumpkin Pie is Done
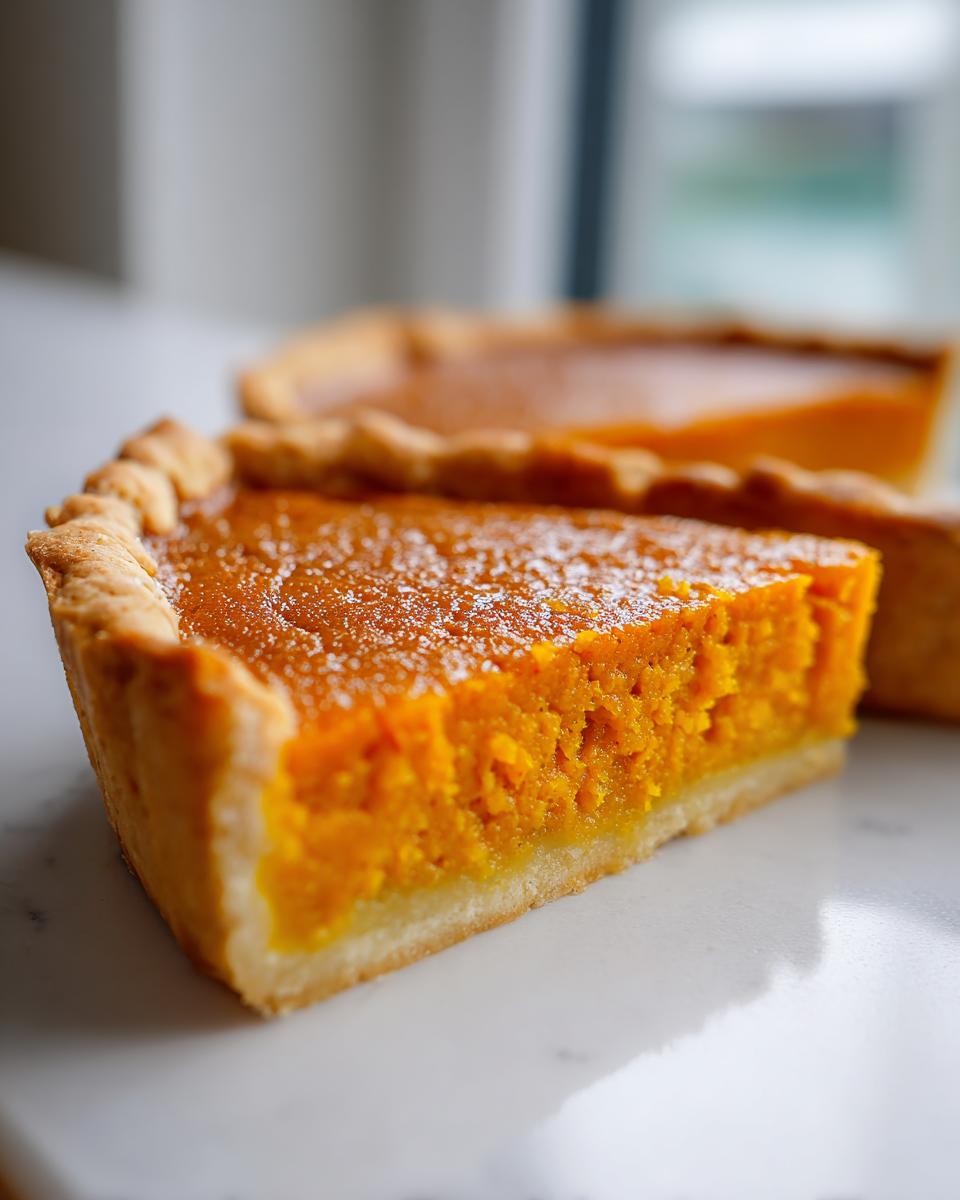
When that timer goes off for the second bake (the 350°F part), don’t just pull it out because the clock says so! Different ovens run differently, and humidity plays a mean trick on custard pies. The primary test is inserting a thin knife near the direct center, remember? If it comes out clean, you’re golden. An even better sign I look for—one my Mom always taught me—is checking the wobble. The edges should look totally set, maybe even a little puffed, but the very center (maybe about a silver dollar size) should still have a slight, gentle jiggle to it. It looks unfinished, I know, but that’s exactly what you want!
That tiny bit of uncooked filling will finish cooking beautifully using the residual heat after you pull it from the oven. If you wait until that very center looks completely firm, you’ve waited too long, and you’ll end up with a rubbery texture instead of that lovely creamy pumpkin filling. I learned that the hard way baking for Thanksgiving one year!
Also, keep an eye on those edges! If you notice the crust is getting too deeply browned while the center still needs a few more minutes, grab a small strip of aluminum foil and loosely drape it over the rim of the crust. It acts like a little sun hat for your flaky crust pie, protecting it from burning while the filling finishes setting up perfectly.
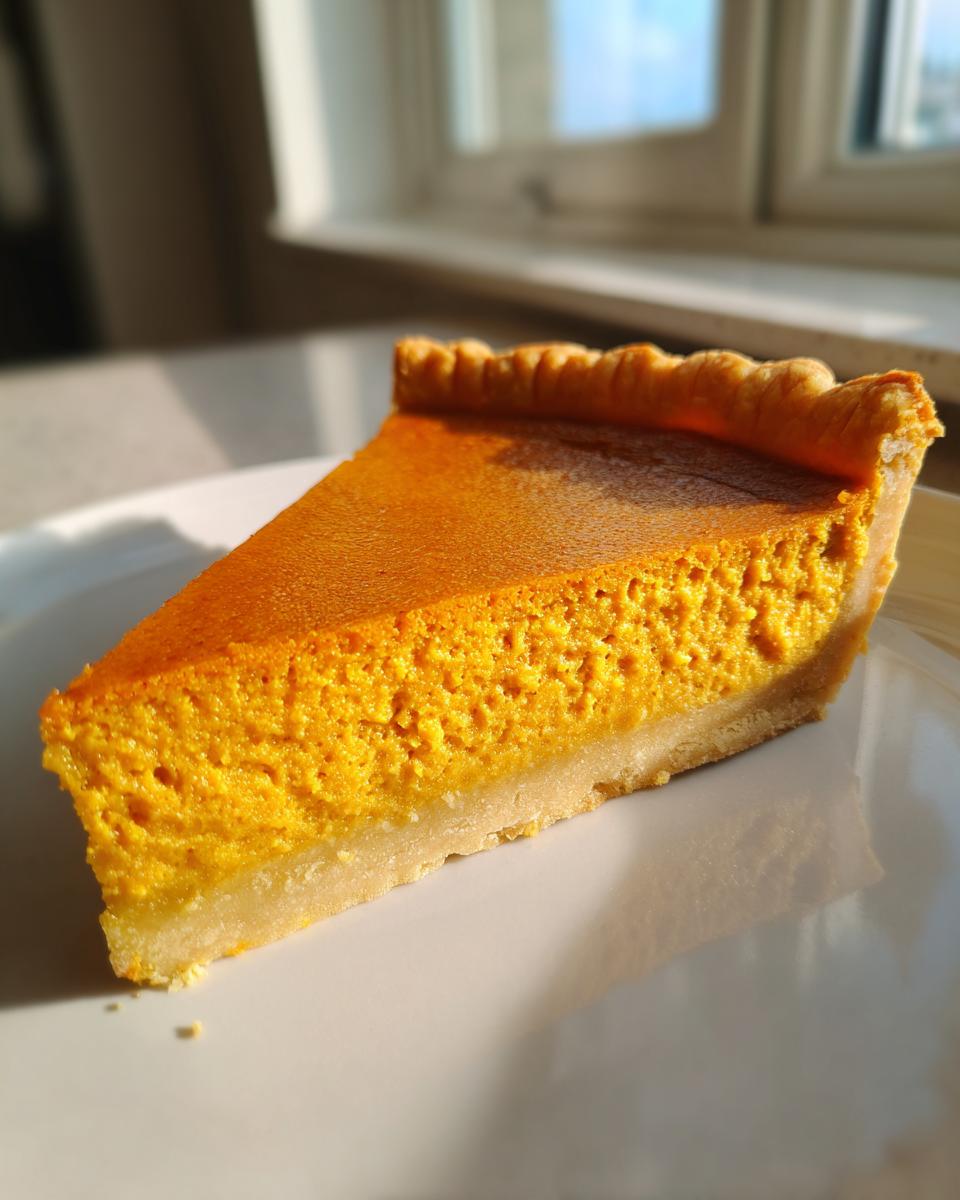
Finally, and this is crucial for all custard pies, you must let it cool completely! I know you want to slice into that traditional holiday dessert right away, but you need at least two hours on the wire rack. This allows the structure to stabilize. If you try to slice it hot, it will just ooze all over the plate. Patience pays off, promise!
Serving Your Traditional Holiday Dessert
The moment of truth! You’ve navigated the baking temperatures, you’ve waited patiently while that gorgeous custard set up—now you get to the best part: serving! Remember that cooling time I stressed earlier? That two-hour minimum isn’t just a suggestion for your sanity; it’s vital for the structure of this pie. If you slice it warm, that beautiful creamy pumpkin filling will spread out sadly onto your prettiest serving platter. We want clean, perfect wedges here!
Once it’s fully cooled, whether you serve it chilled right from the fridge or let it sit on the counter for about 30 minutes to reach room temperature, it’s ready for its crowning glory. My absolute favorite way to present this traditional holiday dessert is with a huge, dolloping cloud of homemade whipped cream. Seriously, don’t even think about reaching for a canned spray can when you’ve made this masterpiece!

Whipping up your own cream takes literally two minutes. Just heavy cream, a splash of vanilla, and maybe a tablespoon or two of powdered sugar. The fresh, light flavor of that whipped topping provides the perfect contrast to the rich, dense, spiced pumpkin underneath. It really lifts the entire experience. Serve a generous slice of this classic pumpkin pie alongside that fluffy mound of cream, and watch everyone go silent for a moment. That’s the harmony of a perfect holiday dessert right there!
Storage and Reheating Instructions for Your Classic Pumpkin Pie Recipe
So, the impossible happened: you have leftover pie! Honestly, I’m sometimes more excited about the pie the next day, but you have to treat this guy right in storage because it’s a rich custard filling, not a bouncy fruit cake.
Here is the absolute rule for keeping your classic pumpkin pie recipe leftovers fresh and safe: it goes straight into the refrigerator. Don’t try to leave it on the counter hoping it will hold up overnight. Once it cools down completely (and I mean *completely*—no warm spots left!), cover the dish tightly with plastic wrap or an airtight lid. I usually just use a big piece of foil tented over the top, careful not to let it touch the surface of the filling. Keeping it covered stops the crust from drying out and absorbing any weird fridge smells.
When stored like this, your pie is fantastic for about three, maybe maybe four days. If you try to push it to five, the crust starts getting suspicious, even if the filling is fine. You simply pull out a slice, let it sit on the counter for about 15 or 20 minutes if you prefer the texture slightly softer, or just grab a fork and dive in cold! Honestly, eating a cold slice of this creamy pumpkin filling pie for breakfast is one of my favorite, slightly shameful holiday traditions. No reheating required here, folks—this pie is truly happy cold.
Frequently Asked Questions About This Classic Pumpkin Pie Recipe
I know when I’m baking for the holidays, my mind starts racing with little doubts. Will it set? Can I skip an ingredient? Don’t worry, I’ve been there! These are the questions I get asked the most about making the absolute classic pumpkin pie recipe. Getting these little details right frees you up to enjoy the rest of your traditional holiday dessert prep!
Can I make this classic pumpkin pie recipe ahead of time?
Yes, you absolutely can, and I highly recommend it! Honestly, this pie tastes better the second day anyway. The spices have time to really meld into that creamy pumpkin filling, and the chilling time ensures a perfect, clean slice. I usually bake it the entire day before Thanksgiving or Christmas, let it cool completely (remember those two hours!), and then cover it loosely and leave it in the fridge overnight. Trying to bake it the morning of the feast just adds unnecessary stress when you should be enjoying your coffee!
What is the difference between this and a Libby’s pumpkin pie recipe?
That’s a great question because so many people grew up on the recipe on the back of that famous can! The main difference lies in the dairy. The classic Libby’s recipe usually calls for evaporated milk—milk that’s been cooked down and concentrated. My recipe, which gives you that richer, sweeter flavor profile, uses **sweetened condensed milk**. It’s already heavily sweetened, which is why we don’t add extra sugar to the filling mix. That condensed milk gives you a denser, almost silken texture that I just find perfect for a truly decadent slice. It hits all the notes of an old fashioned pumpkin pie for me.
Can I use a homemade crust instead of a pre-made flaky crust pie?
Please, if you have the time, go for the homemade crust! Nothing beats true butter in a flaky crust pie. If you are using your own dough recipe, you have a little more flexibility, but I always suggest you check your crust recipe instructions regarding blind baking. Because our filling isn’t heavily acidic (thanks to the condensed milk), it plays nicely with some unbaked crusts. However, if your homemade dough recipe suggests a quick 10-minute blind bake at 375°F just to set the bottom, go ahead and do that before pouring in the filling. It’s the extra insurance needed for a perfect bottom crust that doesn’t get soggy!
Estimated Nutritional Values for This Classic Pumpkin Pie Recipe
I always love sharing the hard data, but listen, this is just a guide! When we bake for holidays, we aren’t exactly weighing out portions with scientific precision, are we? These numbers are based on breaking the whole pie down into 8 equal slices, so they are a good ballpark figure, but they should never stop you from enjoying that second slice!
For every serving of this wonderfully traditional, creamy dessert, here’s what we’re looking at:
- Serving Size: 1 slice
- Calories: 320
- Sugar: 28g (That condensed milk is doing some heavy lifting here!)
- Fat: 15g
- Saturated Fat: 7g
- Carbohydrates: 42g
- Protein: 7g
- Sodium: 350mg
Just a quick disclaimer so your tracker doesn’t yell at you: everything from absorption of fat by the crust to the slight variation in brands of condensed milk means these are estimates. But hey, they are delicious estimates for the best pumpkin pie for holidays! Enjoy that slice!
Share Your Homemade Pumpkin Pie Creations
Alright, now you have the roadmap for creating what I truly believe is the ultimate classic pumpkin pie recipe. Remember our philosophy here at Delish Symphony? It’s all about enjoying the harmony of cooking and sharing that goodness with the people you care about. This pie is built for sharing!
Once you pull that perfectly baked, beautifully set pie out of the oven and treat it to some fresh whipped cream, snap a picture! I would absolutely *love* to see your results. Did you manage to avoid any cracks? Is your crust edge perfectly crimped? Head over to our social channels and tag us in your photos. Seeing your family enjoying this comforting autumn pie makes all the recipe testing worthwhile.
And please, if this recipe worked for your Thanksgiving table—or your Tuesday night dessert table, I don’t judge!—please leave a rating right here on the page. Those star ratings really help other home cooks who are nervously scrolling through options, wondering if this is the one that will deliver that perfect creamy spiced dessert. Your feedback helps build our community kitchen. Happy baking, and I hope this pie brings a little delicious harmony to your next gathering!
PrintThe Ultimate Classic Homemade Pumpkin Pie Recipe (Flaky Crust & Creamy Filling)

Find the reliable, traditional recipe for a creamy pumpkin filling encased in a flaky crust. This no-fail pumpkin pie is the best Thanksgiving dessert everyone loves.
- Prep Time: 15 min
- Cook Time: 50 min
- Total Time: 2 hours 5 min
- Yield: 8 servings 1x
- Category: Dessert
- Method: Baking
- Cuisine: American
- Diet: Vegetarian
Ingredients
- 1 (15 ounce) can pure pumpkin puree (not pumpkin pie mix)
- 1 (14 ounce) can sweetened condensed milk
- 2 large eggs, lightly beaten
- 1 teaspoon ground cinnamon
- 1/2 teaspoon ground ginger
- 1/4 teaspoon ground nutmeg
- 1/4 teaspoon salt
- 1 (9 inch) unbaked flaky pie crust
- Whipped cream, for serving
Instructions
- Preheat your oven to 425 degrees Fahrenheit (220 degrees Celsius).
- In a large bowl, whisk together the pumpkin puree, sweetened condensed milk, eggs, cinnamon, ginger, nutmeg, and salt until the mixture is smooth and fully combined. This creates your creamy pumpkin filling.
- Pour the filling mixture into the unbaked 9-inch flaky pie crust.
- Bake at 425 degrees Fahrenheit (220 degrees Celsius) for 15 minutes.
- Reduce the oven temperature to 350 degrees Fahrenheit (175 degrees Celsius) without opening the oven door.
- Continue baking for 35 to 40 minutes more, or until a knife inserted near the center comes out clean.
- Let the pie cool completely on a wire rack for at least two hours before slicing.
- Serve your classic pumpkin pie chilled or at room temperature with homemade whipped cream.
Notes
- For an extra flaky crust, keep your pie dough very cold before placing it in the pan.
- If the edges of your crust start to brown too quickly during baking, cover them loosely with aluminum foil strips.
- This pie tastes best when fully chilled, allowing the creamy filling to set properly.
- Pair this traditional holiday dessert with homemade whipped cream for the best flavor combination.
Nutrition
- Serving Size: 1 slice
- Calories: 320
- Sugar: 28g
- Sodium: 350mg
- Fat: 15g
- Saturated Fat: 7g
- Unsaturated Fat: 8g
- Trans Fat: 0g
- Carbohydrates: 42g
- Fiber: 2g
- Protein: 7g
- Cholesterol: 65mg