
Some foods just wrap you up like your favorite cozy blanket, right? For me, nothing hits that spot quite like a big, warm bowl of rice pudding. Forget those thin, runny versions you find sometimes—we are here today to make the real deal: the Old-Fashioned Creamy Stovetop Rice Pudding that tastes like childhood in a spoon.
This isn’t some fussy, fancy baked affair that takes hours. I’ve tested this recipe endlessly in my own kitchen after long days in the IT world, trying to find that perfect balance. It’s simple, it relies on classic pantry ingredients, and honestly, the texture is unbelievable. If you want that rich, velvety, homemade pudding dessert that sticks perfectly to your spoon, stick with me. This stovetop method is how we get that perfect consistency every single time, keeping it incredibly easy for your busy weeknights.
You can learn more about how we develop accessible, flavorful recipes just like this one over at our story page.
- Why This Old-Fashioned Creamy Rice Pudding Recipe Works
- Ingredients for Perfect Creamy Rice Pudding
- Step-by-Step Instructions for Stovetop Rice Pudding
- Tips for the Best Rice Pudding with Cinnamon and Vanilla
- Storing and Serving Your Old Fashioned Rice Pudding
- Frequently Asked Questions About Creamy Rice Pudding
- Nutritional Estimates for This Simple Pudding Recipe
- Share Your Nostalgic Recipes Experience
Why This Old-Fashioned Creamy Rice Pudding Recipe Works
What makes this recipe shine, honestly, is that we aren’t trying to reinvent the wheel. This is pure, nostalgic cooking done right. We’re aiming for a genuine classic comfort dessert experience, and the secret weapon is keeping it simple and on the stovetop. I know you’re busy, and this is why this works so well for your weeknight cooking schedule; you can find the recipe guide for more quick meals here: weeknight dinners.
This isn’t a complicated overnight bake, nope. This easy rice pudding delivers that rich texture using basic physics and a little bit of patience on the stove. It’s all about coaxing the starch out of the rice grains, which is something the stovetop method does beautifully and quickly.
Achieving Ultimate Creaminess in Your Stovetop Rice Pudding
Okay, listen up, because this is crucial for that velvety mouthfeel everyone craves in a creamy rice pudding recipe. You absolutely need short-grain white rice—Arborio is usually what I use, but any short-grain works. Why? Because these grains have more surface starch! As they slowly cook in the milk, they release their starch right into the liquid, creating that luscious, naturally thick sauce that coats your spoon.
No eggs, no cornstarch, just time and stirring. That frequent stirring I preach about? It’s not just to prevent scorching; it’s what scrapes that creamy layer off the bottom and back into the pudding, building up the body of the whole dish. It’s practical science right there in your favorite saucepan!
Simple Steps for Quick Rice Pudding Dessert
If you look at the ingredient list, you’ll see we’re only using about seven things. That’s what I mean about approachable ingredients! The prep time is just five minutes flat. You boil the water, then you add the milk, and then you just let it bubble gently.
The whole cooking process is mostly hands-off simmering, making this the perfect warm sweet treat to have going while you fold laundry or catch up on emails. It’s honestly one of the simplest homemade pudding desserts you can whip up when that craving hits!
Ingredients for Perfect Creamy Rice Pudding
When I talk about our philosophy at Delish Symphony, a big part of that is using ingredients you already have. You don’t need to run out to a specialty store for this! Everything here is simple, humble, and affordable, which lets that pure rice and vanilla flavor shine through. This is the whole list for making a wonderfully satisfying bowl of creamy rice pudding recipe magic.
We’re making four good servings here, perfect for a cozy dessert night.
- 1 cup short grain white rice (Don’t skip the short grain—it’s key to the texture!)
- 4 cups whole milk (Yes, use the whole milk; skim just won’t give you that richness we’re after.)
- 1 cup water
- 1/2 cup granulated sugar
- 1 teaspoon vanilla extract
- 1/2 teaspoon ground cinnamon (plus extra for sprinkling on top—be generous!)
- 1/4 teaspoon salt
See? Nothing scary! Just solid pantry staples ready to turn into the ultimate classic comfort dessert. It proves you don’t need a ton of fancy stuff to create something truly memorable.
Step-by-Step Instructions for Stovetop Rice Pudding
This is where the magic happens, but you have to be present for it! Since we aren’t using eggs or thickeners, the texture of this stovetop rice pudding relies entirely on the time and attention you give it while the rice swells up in the milk. Don’t worry; while it takes a dedicated 40 to 50 minutes of low simmering, the prep work is practically zero. You can find some other super speed-focused recipes over at our easy breakfast ideas hub if you need multitasking tips!
My rule, learned from years of making this for family gatherings, is to stay close to the stove during that long simmer. It might seem tedious, but a quick thirty-second stir every couple of minutes is what separates a great pudding from one glued sadly to the bottom of the pot.
Initial Simmer: Cooking the Rice
First things first, we get the rice softened up a bit. Take your cup of rice and the one cup of water and dump them right into your medium saucepan. Set the heat to medium-high and bring that right up to a boil. Once it’s bubbling away, cut the heat way down—low is where we want to be—and let it bubble gently until all that water is gone. This only takes about five minutes, tops. Trust me, skipping this initial step leaves you with crunchy, unhappy rice grains later.
Developing the Texture: Slow Simmer for Creamy Rice Pudding
Now for the essential part of achieving that creamiest rice pudding recipe! Pour in your four cups of whole milk. Turn the heat up just enough to get it to a gentle simmer—we are *not* aiming for a rolling boil here, okay? If it gets too excited, the milk scorches fast. You need to stir frequently, especially as the mixture starts to look like it might stick. This is the 40 to 50-minute phase where the starch releases. Keep stirring often; this slow process is what makes the pudding thick and silky, not thin and soupy.
Finishing Touches and Flavoring Your Homemade Pudding Dessert
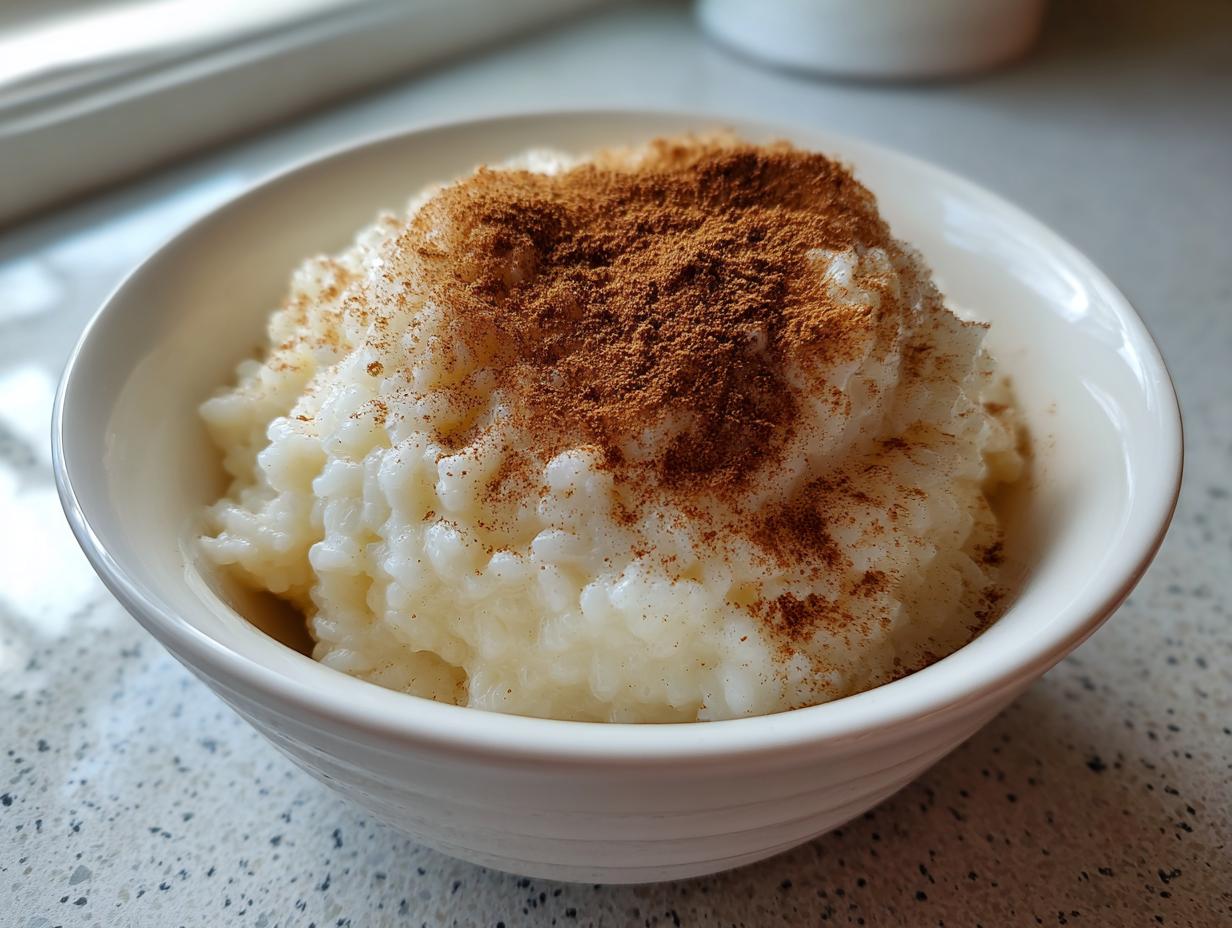
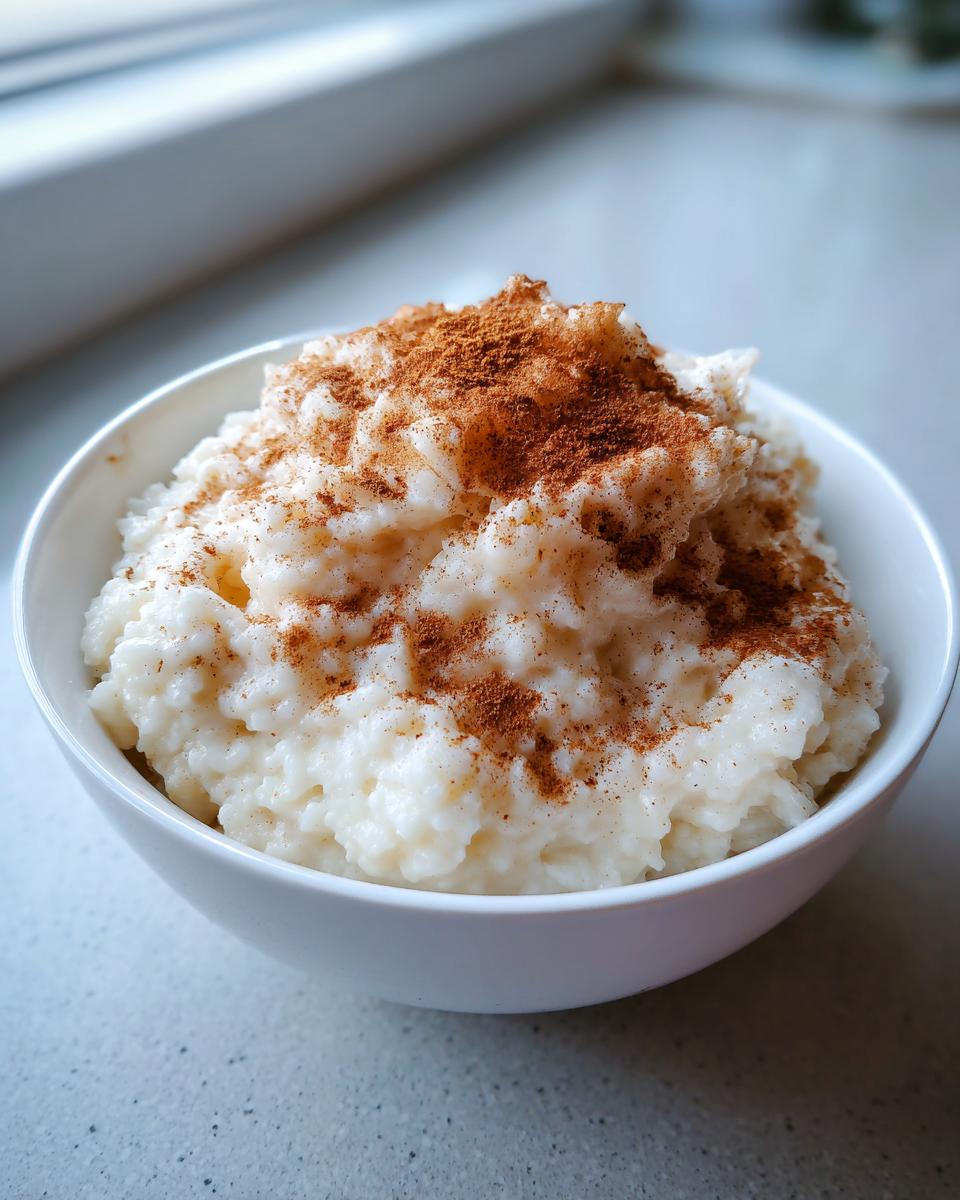
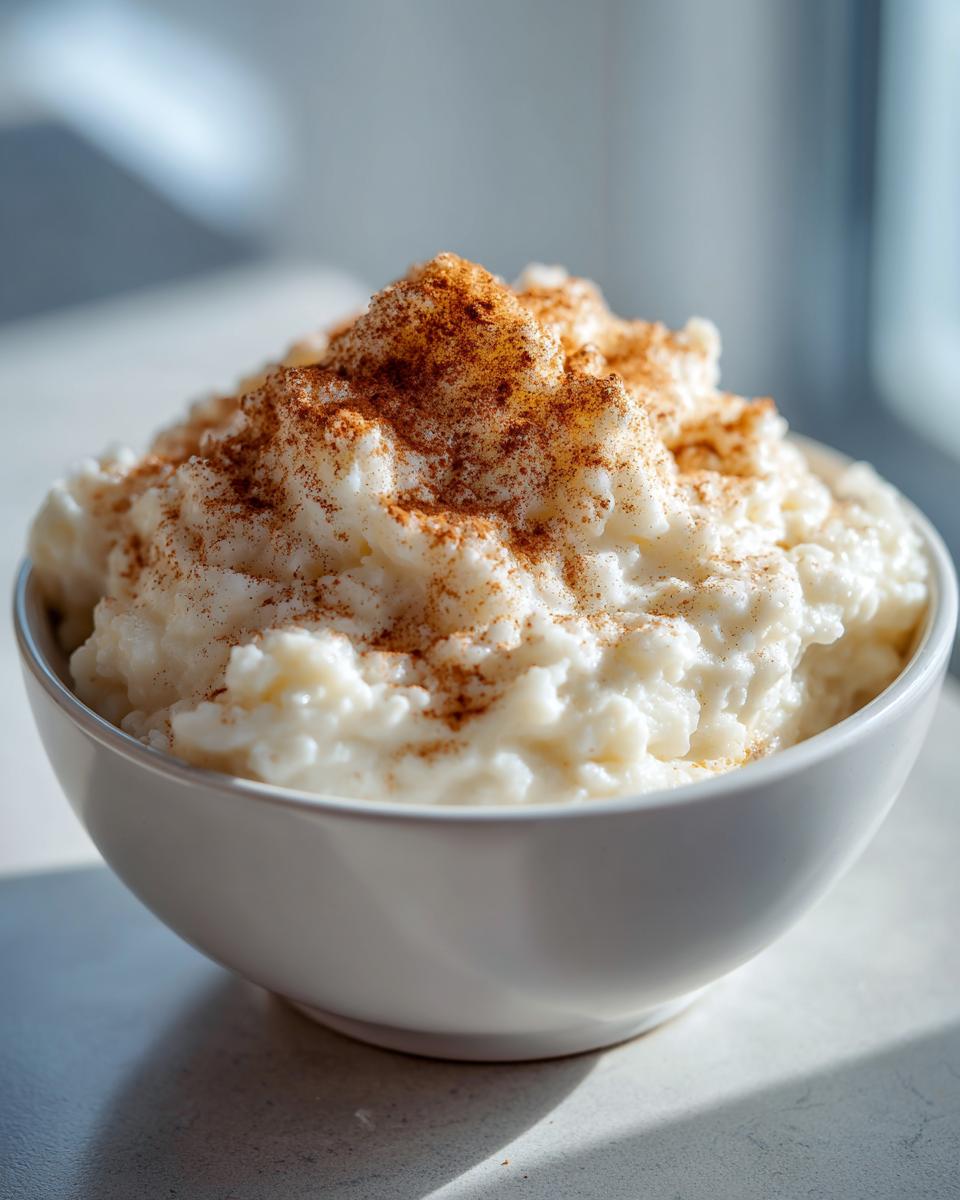
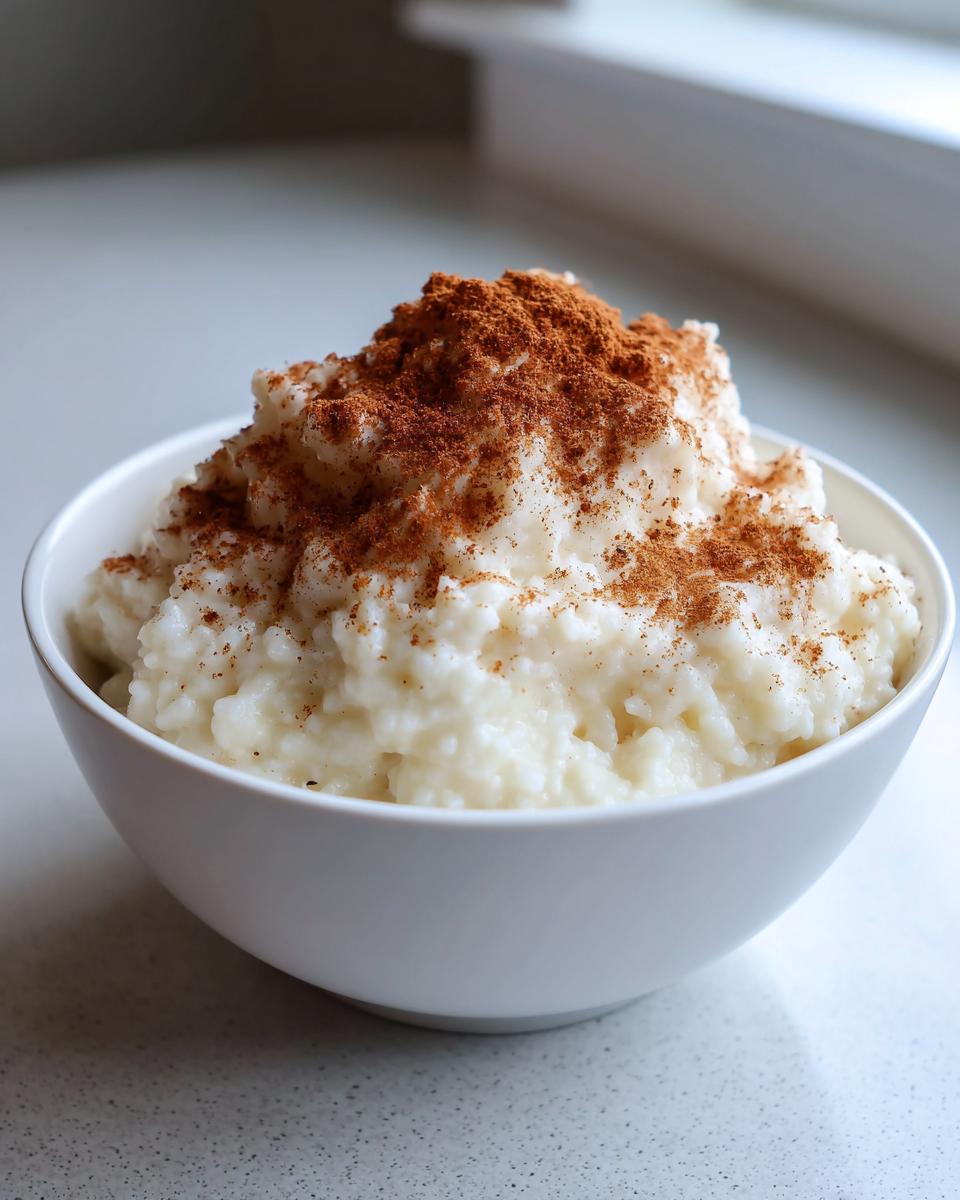
Once you look at the pudding and it’s thick enough to coat the back of your spoon—when you drag a spoon through it and the line stays open for a second—pull the whole pan right off that burner. Heat is the enemy now! Only when it’s off the heat do you stir in your sugar, that lovely teaspoon of vanilla extract, salt, and the ground cinnamon. Stir everything really well until the sugar dissolves. That warmth keeps the vanilla fragrant without cooking it out. Now you have an incredible homemade pudding dessert ready to go!
Tips for the Best Rice Pudding with Cinnamon and Vanilla
When developing recipes here at Delish Symphony, I don’t just give you the bare minimum steps; I want you to understand the *why* so you can cook with confidence! These tips are based on what I learned stirring this pudding until my arm ached, ensuring you get that dreamy texture every time. Because this recipe already relies on the classic pairing of rice pudding with cinnamon and vanilla, these small tricks just polish the final result.
If you’re looking for other small adjustments that make a big difference in your daily routine, check out some of my favorite simple snack recipes. It’s all about making life a little easier and a lot tastier!
Adjusting Consistency for Your Ideal Rice Pudding
Here is a crucial piece of knowledge about any milk-based pudding: it is going to thicken up a lot after it cools down. Seriously, overnight, this stuff can become almost spoon-able cement if you aren’t careful! That slightly looser texture you leave it at on the stove? That’s the sweet spot for warm servings.
If you plan on chilling this or saving it for tomorrow, you need a plan for reheating. Don’t just microwave it dry! If your leftovers are too stiff, simply whisk in a splash of whole milk—maybe a tablespoon or two at a time—while you gently warm it on the stove or in the microwave. This brings back that beautiful, smooth movement and keeps the pudding tasting fresh, reminding everyone why this is the creamiest rice pudding recipe around.
Flavor Swaps for Your Classic Comfort Dessert
While the base recipe calls for white sugar, it’s perfectly acceptable to experiment a little bit, especially when you are aiming for a classic comfort dessert profile. I love swapping out the granulated sugar for light brown sugar sometimes. You lose a little bit of the pure sweetness, but you gain this wonderful, subtle caramel note that pairs beautifully with the cinnamon.
Also, if you’re feeling adventurous, a little pinch of nutmeg alongside the cinnamon works wonders. Or, if you have a lemon or orange lying around, grating just a tiny bit of the zest into the pudding when you add the vanilla brightens the whole flavor up immediately. Just don’t go overboard—we want this to taste like your grandmother made it, simple and perfect, not like a full citrus bath!
Storing and Serving Your Old Fashioned Rice Pudding
This is such a lovely treat because it’s flexible! You don’t always have to eat it piping hot straight from the pot. In fact, some folks—and I won’t judge—think this old fashioned rice pudding is even better the next day when it’s completely cold. It firms up nicely and feels almost like a chilled custard when served straight from the fridge. If you’re looking for recipes that really let you organize your time, this definitely qualifies as a great make ahead dessert rice!
When you make a big batch, storage is super easy. Just transfer whatever you aren’t eating right away into an airtight container. I usually use glass containers because they hold the cold nicely. You should be good to go in the refrigerator for about three to four days. It really holds up well, which is the beauty of this simple pudding recipe.
Now, serving is all about mood, isn’t it? If you’ve had a rough day and you’re craving that ultimate warmth, pour a scoop into a mug and give it 30 seconds in the microwave—just enough to take the chill off. Then, you absolutely have to sprinkle that extra bit of cinnamon right on top. That burst of spice when it’s warm? Unbeatable.
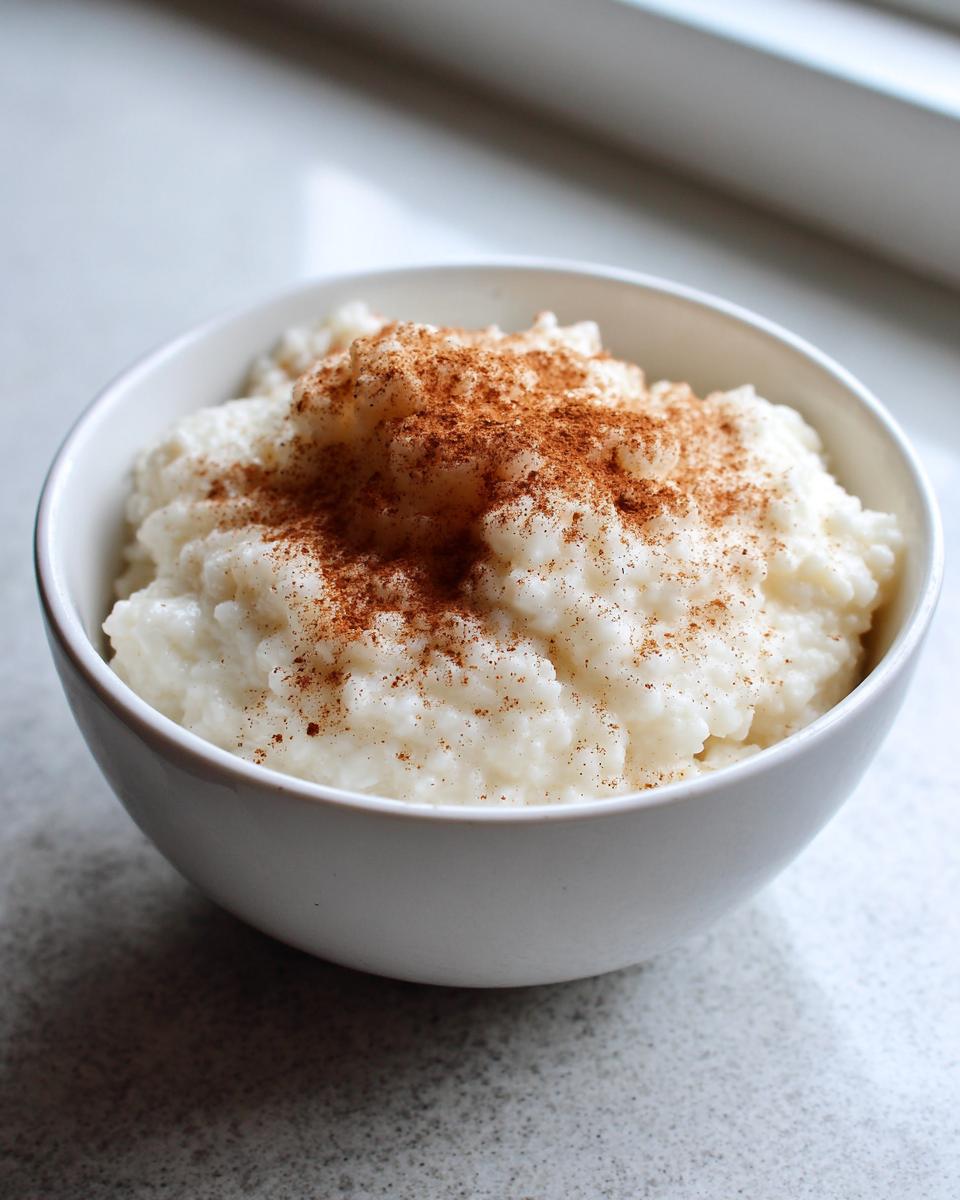
If you’re serving the next day cold, maybe consider swapping the cinnamon topping for a tiny dollop of jam or a sprinkling of toasted nuts for crunch. Either way—warm, cold, jazzed up, or plain—this is satisfying comfort food through and through. I hope you enjoy making it as much as I enjoy testing it!
Frequently Asked Questions About Creamy Rice Pudding
Whenever I get a new recipe perfected, I always think about the things that used to trip *me* up when I first tried making it. Questions about ingredients, or how to handle the transition from stovetop to counter—those are the things that matter! I want you to have success making this creamy rice pudding recipe, so let’s cover the common stuff right here. This helps me confirm that this is the absolute best rice pudding recipe out there for stress-free cooking!
Can I use long-grain rice instead of short-grain for this rice pudding?
Oh, I see this question a lot when people look at nostalgic recipes! You *can* technically use long-grain rice, but you are asking for a different result, so I have to be honest with you. Long-grain rice—like Uncle Ben’s or Basmati—is designed to stay separate and fluffy when cooked. That’s great for pilaf!
But for pudding? We need that starch to break down and create a natural sauce. Short-grain rice releases way more starch, giving you that signature creamy texture without needing any extra thickeners. Using long-grain will give you rice suspended in milk, which is fine, but it won’t be that rich, thick, hugging flavor of an old fashioned rice pudding. Stick to short-grain if you want the creaminess!
How do I prevent the stovetop rice pudding from burning on the bottom?
This is the number one anxiety when making any slow-simmered milk dessert. Believe me, I’ve scraped burnt bits off the bottom of pots before—it happens to everyone! The main defense is two-fold: heat control and movement. Keep the heat strictly on low once the milk goes in; a gentle bubble is all you need, not a steady stream of angry pops.
Secondly, stir frequently! I mentioned stirring often during the main cooking time, but here’s my personal tip: use a silicone spatula, not a wooden spoon, and make sure you’re scraping the *entire* bottom of the pan gently as you stir. The thickest layer of starch settles right on the metal, so keep it moving. If you are stepping away for just a minute, use the time to stir it vigorously for 30 seconds before leaving again. That vigilance keeps this easy rice pudding from scorching.
Can this be made ahead of time?
Absolutely, yes! That’s what makes it such a fantastic make ahead dessert rice option for parties or just easy breakfasts. You can cook the whole thing through, let it cool down on the counter for about an hour, and then cover it and stick it in the fridge. It will get significantly thicker overnight. That’s totally normal!
When you pull it out the next day and realize it’s too solid to be a satisfying bowl of warm sweet treats anymore, don’t panic! Just put the amount you want to eat into a small saucepan with a splash or two of fresh milk. Warm it slowly over low heat, stirring until it loosens up and returns to that beautiful, creamy consistency we worked so hard to create. It tastes just as good, I promise!
Nutritional Estimates for This Simple Pudding Recipe
Look, I’m a home cook, not a registered dietitian! Michael here develops recipes that taste amazing first and foremost, using simple whole ingredients—that’s the Delish Symphony promise. But since you asked, and transparency is a huge part of building trust in the kitchen, I’ve put together some estimated nutrition facts for this simple pudding recipe.
Please remember, these numbers are an *estimate* only. They are based on the ingredients listed and standard databases. If you swap the whole milk for skim, or use brown sugar instead of white, your numbers are going to change! These figures are based on one generous serving size of this creamy rice pudding recipe.
- Serving Size: 1 cup
- Calories: 350
- Sugar: 25g
- Total Fat: 8g
- Protein: 10g
- Carbohydrates: 60g
You can see that this is going to be a treat that gives you great energy—lots of carbs from the rice and a decent hit of protein from the whole milk. It’s a real, satisfying bowl of comfort food, not just empty calories! I feel good about serving this homemade pudding dessert to my family knowing exactly what went into it.
Share Your Nostalgic Recipes Experience
Now that you know all my secrets for getting that perfect, hug-in-a-bowl texture, I really, really want to hear from you! When you make this old fashioned rice pudding, does it bring back memories of your own childhood kitchen? Does that smell of simmering milk and cinnamon instantly teleport you back in time?
That’s the magic of these nostalgic recipes, isn’t it? They connect us to the past while warming us up right now. Please, if you give this a try—whether you serve it warm with extra cinnamon or chilled the next day—come back here and leave a rating. I soak up every review!
Let me know if you tried using brown sugar or if you decided to sneak in a few raisins (no judgment here!). If you have trouble with anything, I’m always happy to chat through the specifics over at the contact page. Happy cooking, symphony makers! Enjoy every spoonful of that beautiful, creamy comfort.
PrintOld-Fashioned Creamy Stovetop Rice Pudding

Make a rich, creamy, and comforting old-fashioned rice pudding using simple stovetop methods. This recipe focuses on achieving a smooth texture perfect for a classic sweet treat.
- Prep Time: 5 min
- Cook Time: 50 min
- Total Time: 55 min
- Yield: 4 servings 1x
- Category: Dessert
- Method: Stovetop
- Cuisine: American
- Diet: Vegetarian
Ingredients
- 1 cup short grain white rice
- 4 cups whole milk
- 1 cup water
- 1/2 cup granulated sugar
- 1 teaspoon vanilla extract
- 1/2 teaspoon ground cinnamon (plus extra for topping)
- 1/4 teaspoon salt
Instructions
- Combine the rice and water in a medium saucepan. Bring to a boil over medium-high heat, then reduce heat and simmer until the water is absorbed, about 5 minutes.
- Add the whole milk to the saucepan with the rice. Bring the mixture to a gentle simmer over medium heat, stirring frequently to prevent sticking.
- Once simmering, reduce the heat to low. Continue to cook, stirring often, for 40 to 50 minutes. The pudding thickens as the rice absorbs the milk and releases starch.
- When the pudding reaches your desired creamy consistency, remove it from the heat. Stir in the sugar, vanilla extract, cinnamon, and salt until fully combined.
- Serve the rice pudding warm, sprinkled with extra cinnamon, or chill completely for a cold dessert.
Notes
- For an even creamier result, stir the pudding every few minutes, especially toward the end of cooking.
- If the pudding becomes too thick upon cooling, stir in a splash of milk to reach your preferred texture.
- You can substitute brown sugar for white sugar for a deeper flavor profile.
Nutrition
- Serving Size: 1 cup
- Calories: 350
- Sugar: 25
- Sodium: 150
- Fat: 8
- Saturated Fat: 4
- Unsaturated Fat: 4
- Trans Fat: 0
- Carbohydrates: 60
- Fiber: 1
- Protein: 10
- Cholesterol: 25