
The holidays are wonderful, but let’s be honest—the greatest stressor isn’t the turkey; it’s that tiny, sugary house falling apart before the guests even see it! I’m Michael Carter, and trust me, I’ve seen too many perfectly baked gingerbread walls collapse mid-construction. That’s why what you need right now is the absolute strongest, most reliable gingerbread house icing recipe out there. This isn’t just frosting; it’s your edible structural support system. A holiday centerpiece deserves to look proud, not droopy, and this Royal Icing is the secret ingredient to keeping those walls standing tall through Christmas morning.
This recipe is designed to dry rock-solid, making it the perfect, dependable glue for all your ambitious holiday architecture projects. Why settle for slouching roofs when you can build a fortress? If you’re looking for more quick, sturdy recipes for your busy days leading up to Christmas, check out some of my favorite weeknight dinner recipes.
- Why This Strong Icing for Gingerbread Houses Works So Well
- Gathering Ingredients for Perfect Gingerbread House Icing
- How to Make Sturdy Royal Icing: The Ultimate Gingerbread House Glue
- Tips for Success When Using Your Gingerbread House Icing
- How to Decorate Gingerbread Houses with Perfect Gingerbread Decoration Frosting
- Storage & Reheating Instructions for Gingerbread House Icing
- Frequently Asked Questions About Royal Icing Recipe
- Nutritional Estimates for Gingerbread House Icing
- Share Your Holiday Centerpiece Recipe Creations
Why This Strong Icing for Gingerbread Houses Works So Well
Standard buttercream? Forget it. That’s fantastic for spreading on a sheet cake, but it won’t stop your roof panels from sliding off halfway through decorating. We use Royal Icing here because of the magic ingredient—meringue, whether from powder or fresh whites. This creates an icing that sets up incredibly hard as it dries. That means when you use this gingerbread house icing as your adhesive, it cures into something structurally sound. You need that fast-drying speed so you can move onto the fun details instead of constantly bracing walls!
If you’re already in a dessert state of mind, you might enjoy browsing some other delicious dessert recipes I’ve perfected over the years.
Choosing Between Meringue Powder and Egg Whites for Your Gingerbread House Icing
You have two paths to structural greatness. Meringue powder is super convenient, reliable, and generally keeps everyone feeling safer regarding raw egg ingredients, which matters when you’re building a display piece. If you go the egg white route, you must include cream of tartar. That little bit of acid is crucial for stabilizing those protein chains so they whip up big and strong. Either way, we are whipping it hard!
Gathering Ingredients for Perfect Gingerbread House Icing
Alright, time to talk supplies! For this magic to happen, we need specific items. The absolute most important thing you must do first is sift that confectioners’ sugar—don’t skip it, or you’ll end up with lumps instead of that beautiful finish you see in magazines. We need four cups, sifted nice and fine for the best Easy Gingerbread Frosting. Also, make sure your egg whites are from *large* eggs, or if you are using meringue powder, hydrate it with lukewarm water first. Got that? Great, let’s look at the full lineup.
If you’re planning ahead for your week, maybe check out my guide to easy breakfast recipes while you gather these bits!
How to Make Sturdy Royal Icing: The Ultimate Gingerbread House Glue
This is where the magic happens, folks, so pay attention! We need maximum strength, remember? First things first, get those egg whites ready, or if you are using the powder, hydrate it properly with lukewarm water and give it five minutes to wake up. Now we start mixing. Get those whites foamy on medium speed, and if you’re using egg whites, toss in that cream of tartar right before you ramp up the speed until you see soft peaks forming.
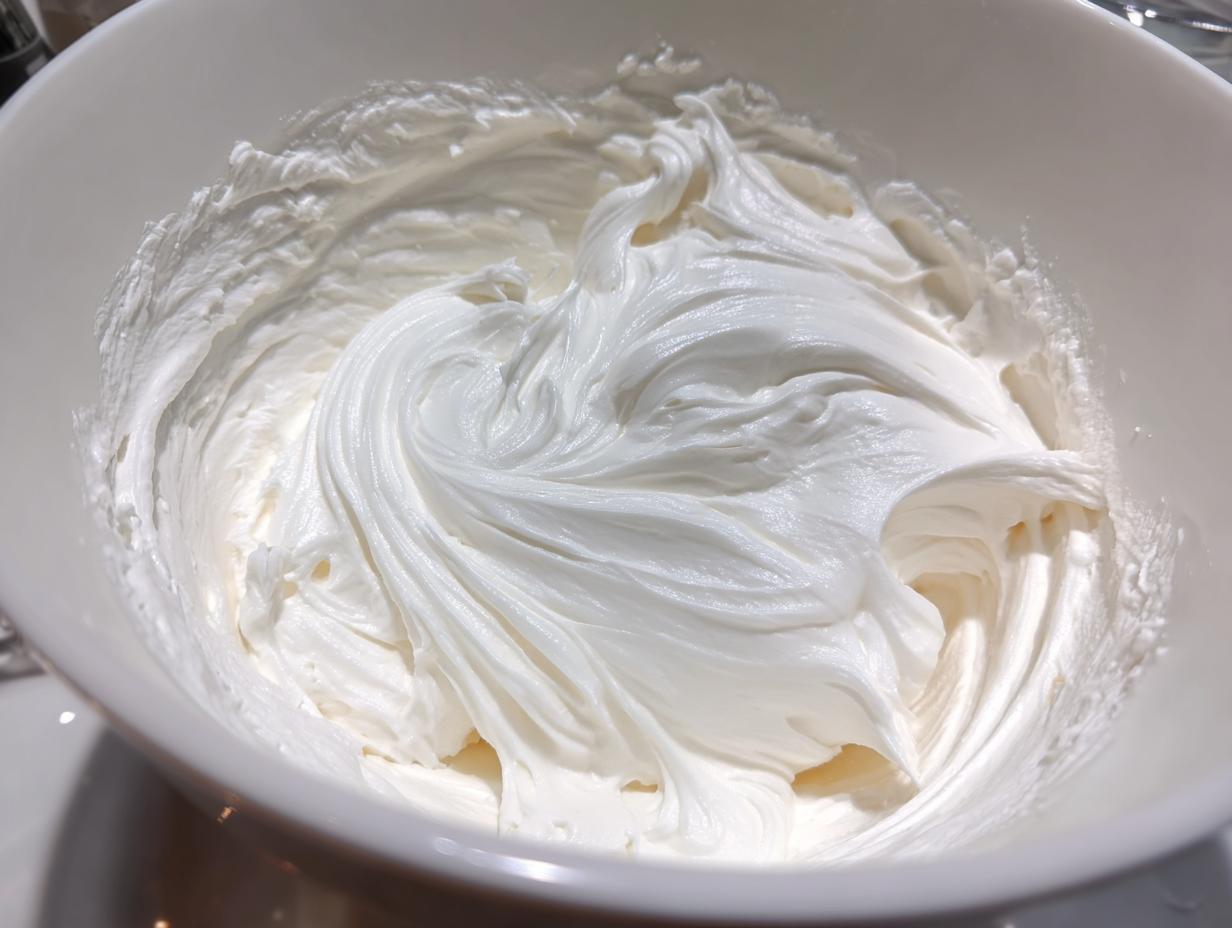
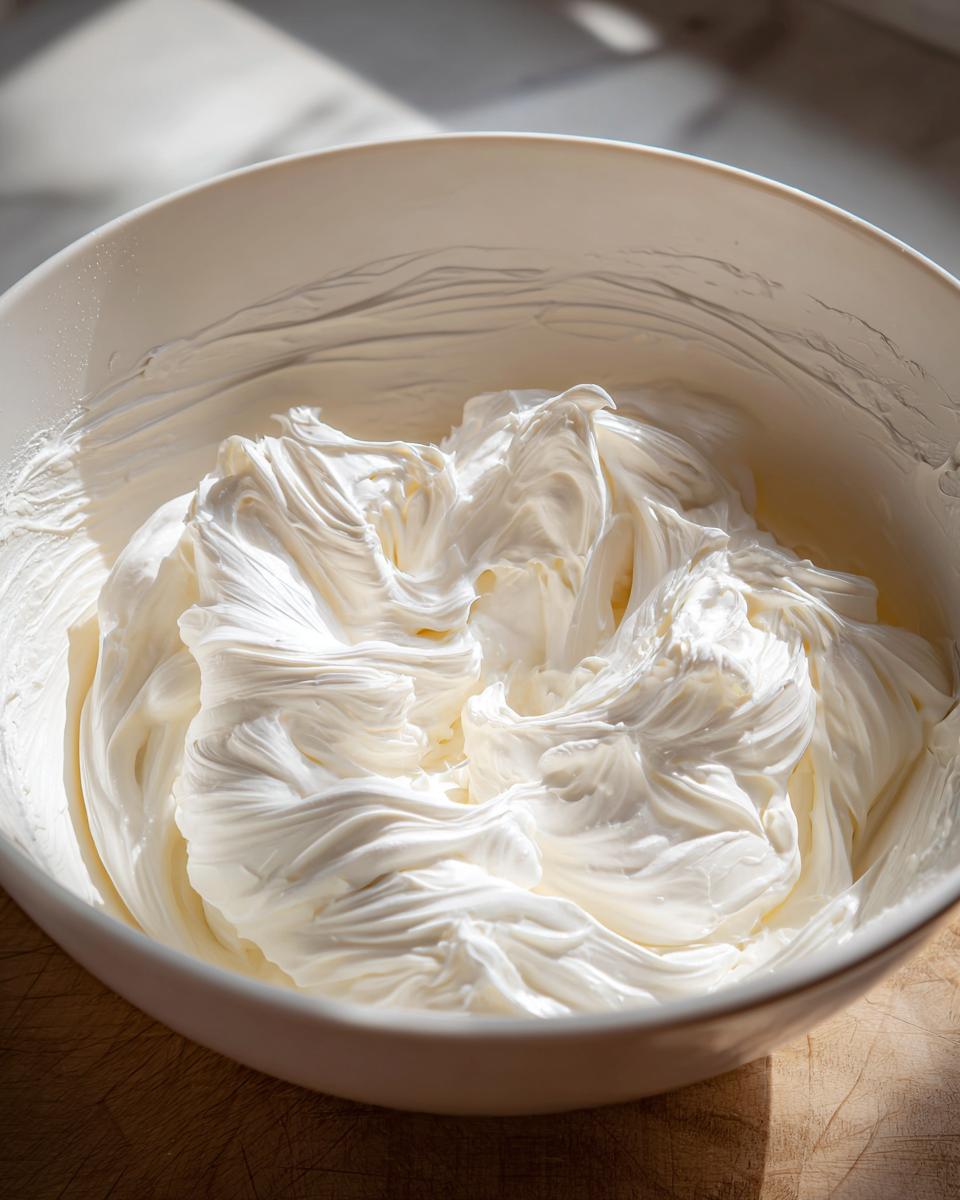
Next, gradually add that sifted sugar, cup by cup, mixing completely after each addition. Then, the flavor extracts go in. Here’s my pro tip from Mike Carter: you must beat this mixture for a full five to seven minutes on medium-high after everything is incorporated. Don’t shortchange this step! You need that dazzling, glossy stiff peak stage. When you lift the whisk, the icing should stand straight up without even thinking about flopping over. That’s your gingerbread house icing built for staying power.
Once you master this construction consistency, you can easily pivot to other great mixes like my homemade granola recipe!
Adjusting Consistency: From Gingerbread House Glue to Pipeable Holiday Icing
The icing you just made is perfect for gluing walls, but we need something softer for the pretty stuff, right? For decorating, we are aiming for a different texture. Take a bit of that thick batch and thin it down carefully, adding water just one teaspoon at a time. You want it to flow smoothly but still look substantial on the cookie—that’s your Pipeable Holiday Icing. Keep the main batch thick for construction support, though!
Tips for Success When Using Your Gingerbread House Icing
Now that you’ve built your walls, remember this crucial step: patience! If you try to decorate too soon, you risk knocking the whole thing over. My advice, as someone who has learned the hard way, is to let the main structure dry for at least four to six hours, but ideally overnight, before you add any heavy candy or detailed roof work. This gives the gingerbread house icing time to fully cure into that hard, dependable adhesive we worked so hard to achieve.
If you need a moment to recharge before decorating, I always have simple things ready, like my simple snack recipes.
Coloring and Storing Leftover Pipeable Holiday Icing
Before you seal everything up, separate the icing you want to color. Use gel food coloring—liquid coloring messes with the consistency too much! For any extra icing you don’t use immediately, store it in a very airtight container at room temperature, not the fridge. It stays good for about two days, but beware: it always needs a quick, hard re-whip when you pull it out again! I got some great tips for handling tricky projects over at Simple Joy.
How to Decorate Gingerbread Houses with Perfect Gingerbread Decoration Frosting
Once your basic structure is totally solid—seriously, give it time to set—it’s decoration time! This is where you need that perfectly pipeable consistency we talked about, which is just a little thinner than the heavy-duty gingerbread house icing glue. If it’s too thin, your perfect little snow drifts will just slump right down the walls. For those clean, crisp candy borders and window frames, I always prefer using a small round tip, like a Wilton #3 or #4. That specific size lets you draw sharp lines that actually hold their shape. It’s amazing what some careful piping can do to dress up those gingerbread walls!
If you need a break from all the holiday sweetness, you can always pivot to something savory, like my classic chocolate chip cookies when you need a palate cleanser!
For even more inspiration on achieving flawless holiday designs, check out what they are doing over at Emma’s Cake Studio.
Storage & Reheating Instructions for Gingerbread House Icing
Listen, this much icing always leaves leftovers, and we don’t want to waste any of this incredible building material! If you seal up any unused batch of this strong gingerbread house icing in a truly airtight container at room temperature, it should keep well for about two days. It’s so sturdy because it sets fast—that’s the benefit of a Fast Drying Icing!
When you go to use it again, don’t panic if it looks a little stiff or separated. Just give it a quick, hard whip with your electric mixer for about 30 seconds, and it will smooth right out, ready for more decorating or last-minute structural fixes. If you want to bake something totally different tomorrow, maybe check out my recipe for easy moist banana bread!
Frequently Asked Questions About Royal Icing Recipe
I know you might have a few lingering questions before you start building your miniature winter village. That’s completely normal when you’re dealing with something as crucial as the structural integrity of your masterpiece! Here are the questions I get most often regarding this Royal Icing Recipe.
Can I substitute corn syrup for cream of tartar in this gingerbread house icing?
Nope, I wouldn’t risk it for your gingerbread house icing! Corn syrup acts as a plasticizer, but the cream of tartar is essential for stabilizing the proteins in the egg whites, which is what gives you that incredibly hard, fast-drying finish we need for our Edible House Glue.
How long does this strong icing for gingerbread houses take to dry completely?
If you keep it thick and use it for construction, it will feel tacky within 20 minutes, but for true structural hardening, you really need to let the entire house stand untouched for at least 8 hours, or ideally overnight. Don’t try to decorate the next morning!
Is this Royal Icing Recipe safe to eat if we have leftovers?
That depends! If you followed the recipe using meringue powder, yes, it’s perfectly safe since the powder is pasteurized, provided you store it properly. If you used fresh egg whites, you step into raw egg territory, so I only recommend eating the leftovers if you used pasteurized eggs to begin with.
If you want to bake something else after your structural work is done, swing by my collection of delicious dessert recipes for inspiration!
Nutritional Estimates for Gingerbread House Icing
Now, I’m a home cook, not a lab technician, so remember these are just ballpark estimates based on the ingredients listed for this entire batch. Since this icing is mostly sugar and has zero fat when made, the numbers are pretty straightforward. For an average serving size of about 1/4 cup, you’re looking at around 190 calories. Mostly that comes from the sugar, which clocks in around 48 grams per serving, with about 49 grams of carbohydrates total. It’s pure holiday fuel, folks—delicious, but definitely meant for admiration more than daily consumption!
Share Your Holiday Centerpiece Recipe Creations
I really hope this gingerbread house icing recipe turns your shaky structure into a sturdy showstopper! When you finish up your build, please come back and leave a quick star rating so I know it worked for you. I actually love seeing what everyone creates, so snap a picture of your finished holiday centerpiece and share it! If you want to know more about how we create these straightforward, flavorful recipes here at Delish Symphony, check out my page About Me.
PrintThe Best Strong Royal Icing for Gingerbread House Glue and Decoration
This recipe creates a sturdy, pipeable royal icing perfect for assembling and decorating your gingerbread house. It dries hard, acting as reliable edible glue for walls and roofs.
- Prep Time: 15 min
- Cook Time: 0 min
- Total Time: 15 min
- Yield: About 6 cups 1x
- Category: Dessert Component
- Method: Mixing
- Cuisine: American
- Diet: Vegetarian
Ingredients
- 4 large egg whites (or 4 tablespoons meringue powder)
- 1 teaspoon pure vanilla extract
- 1/2 teaspoon lemon extract (optional)
- 4 cups confectioners’ sugar, sifted
- 1/4 teaspoon cream of tartar (if using egg whites)
Instructions
- If using egg whites, place them in a clean, grease-free mixing bowl. If using meringue powder, combine the powder with 1/2 cup of lukewarm water and let it sit for 5 minutes to hydrate.
- Using an electric mixer, beat the egg whites (or hydrated meringue powder mixture) on medium speed until foamy.
- Add the cream of tartar now if you are using egg whites. Increase the mixer speed to medium-high and beat until soft peaks form.
- Gradually add the sifted confectioners’ sugar, about 1 cup at a time, mixing well after each addition.
- Add the vanilla and lemon extracts. Continue beating on medium-high speed for 5 to 7 minutes until the icing is very stiff, glossy, and holds stiff peaks. This is your strong construction icing.
- To thin the icing for decorating details, add water, 1 teaspoon at a time, until you reach the desired consistency. For building, keep it very thick.
- Use immediately for construction. For decorating, separate the icing into bowls and color with gel food coloring if desired.
- To build your house, apply thick lines of icing to the edges of the gingerbread pieces and press them together. Hold pieces in place for a few minutes until the icing begins to set. Allow the structure to dry completely (several hours or overnight) before decorating the exterior.
Notes
- For the strongest ‘gingerbread house glue,’ use the icing as thick as possible directly from the mixer.
- If the icing seems too thin for piping details, add a small amount more sifted confectioners’ sugar.
- This royal icing dries hard, which is necessary for a sturdy holiday centerpiece.
- Store unused icing in an airtight container at room temperature for up to two days; it may need a quick re-whip before use.
Nutrition
- Serving Size: 1/4 cup
- Calories: 190
- Sugar: 48
- Sodium: 5
- Fat: 0
- Saturated Fat: 0
- Unsaturated Fat: 0
- Trans Fat: 0
- Carbohydrates: 49
- Fiber: 0
- Protein: 1
- Cholesterol: 0