
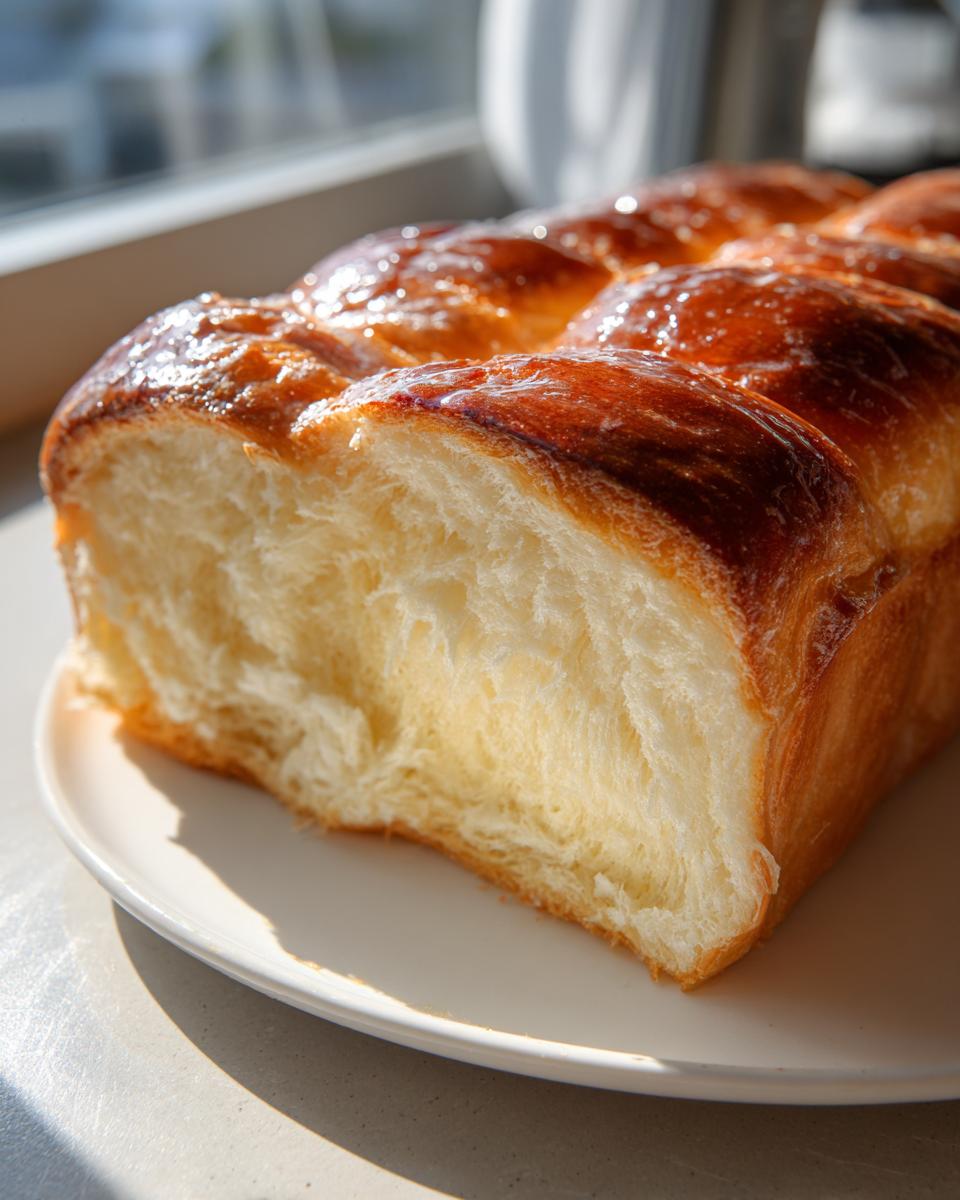
Forget everything you thought you knew about homemade bread! I promise you, the moment you slide your hands over this loaf, you’ll know you’ve unlocked a secret. We are making authentic Japanese milk bread today, Shokupan, and it is seriously the softest thing to ever come out of my oven. If you’ve always dreamed of that magical, cloud-like texture you only find in an artisan bakery, this is your ticket. We achieve that impossibly fluffy crumb by using the famous Tangzhong method. Michael Carter and his team at Delish Symphony have tested countless enriched doughs, and this specific formula is the one they stand behind for being truly foolproof for the home baker. You can read more about our dedication to reliable recipes over at our philosophy page.
- Why This Tangzhong Method Makes the Best japanese milk bread
- Gathering Ingredients for Your Fluffy japanese milk bread Recipe
- Step-by-Step japanese milk bread Instructions: The Tangzhong Bread Method
- Tips for Perfect japanese milk bread Success
- Serving Suggestions for Japanese Bakery Bread
- Storage and Reheating Instructions for Homemade Hokkaido Milk Bread
- Frequently Asked Questions about japanese milk bread
- Nutritional Estimate for Authentic Shokupan Recipe
- Share Your japanese milk bread Baking Journey
Why This Tangzhong Method Makes the Best japanese milk bread
Okay, let’s talk science—but I promise it’s the fun kind! If you want bread that feels like a pillow, you need the Tangzhong method. Seriously, once I started doing this, my bread game went from ‘pretty good’ to ‘Wait, did I buy this from a professional Japanese bakery?’ The folks who use the Yudane method are also onto something great, but Tangzhong uses milk instead of water, so we get richer results here!
What it does is cook a small portion of your flour and milk into a thick paste. This paste, the Tangzhong, gelatinizes the starches. Think of it like this: the gelatinized starch is a moisture sponge that can hold onto way more liquid than raw flour can. Because the dough holds so much more moisture, the final japanese milk bread stays softer for days. That’s the entire secret behind the Tangzhong Bread Method.
Achieving that Authentic japanese milk bread Texture
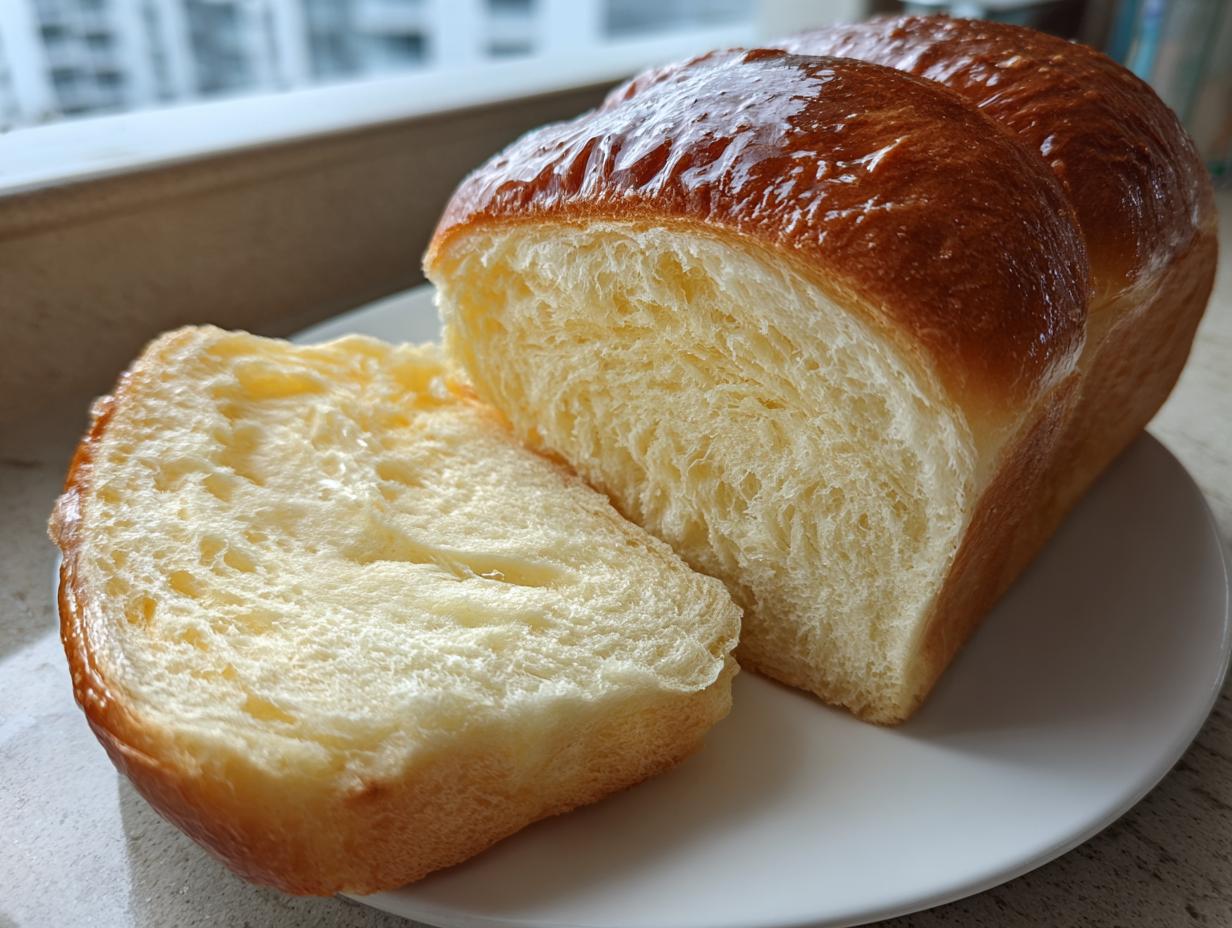
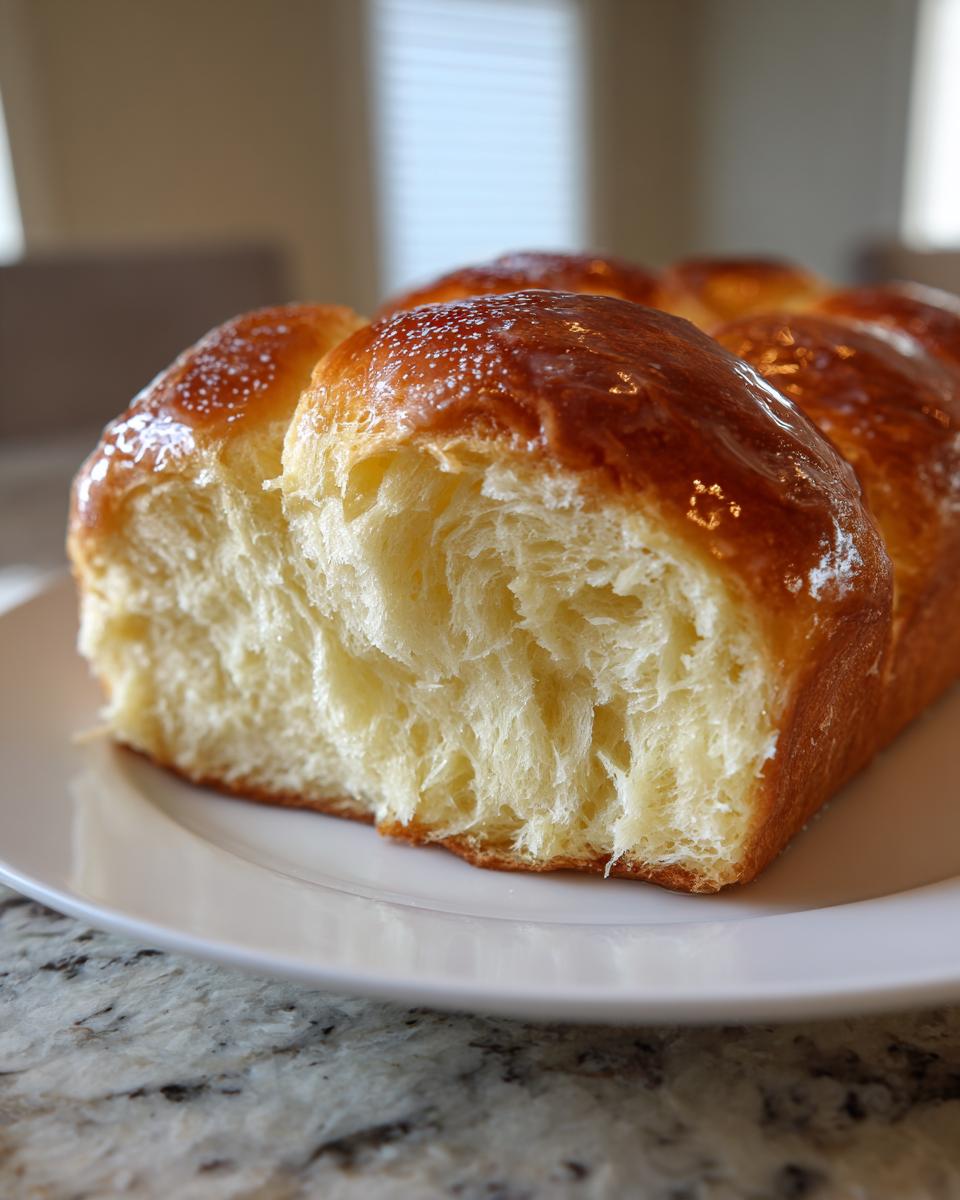
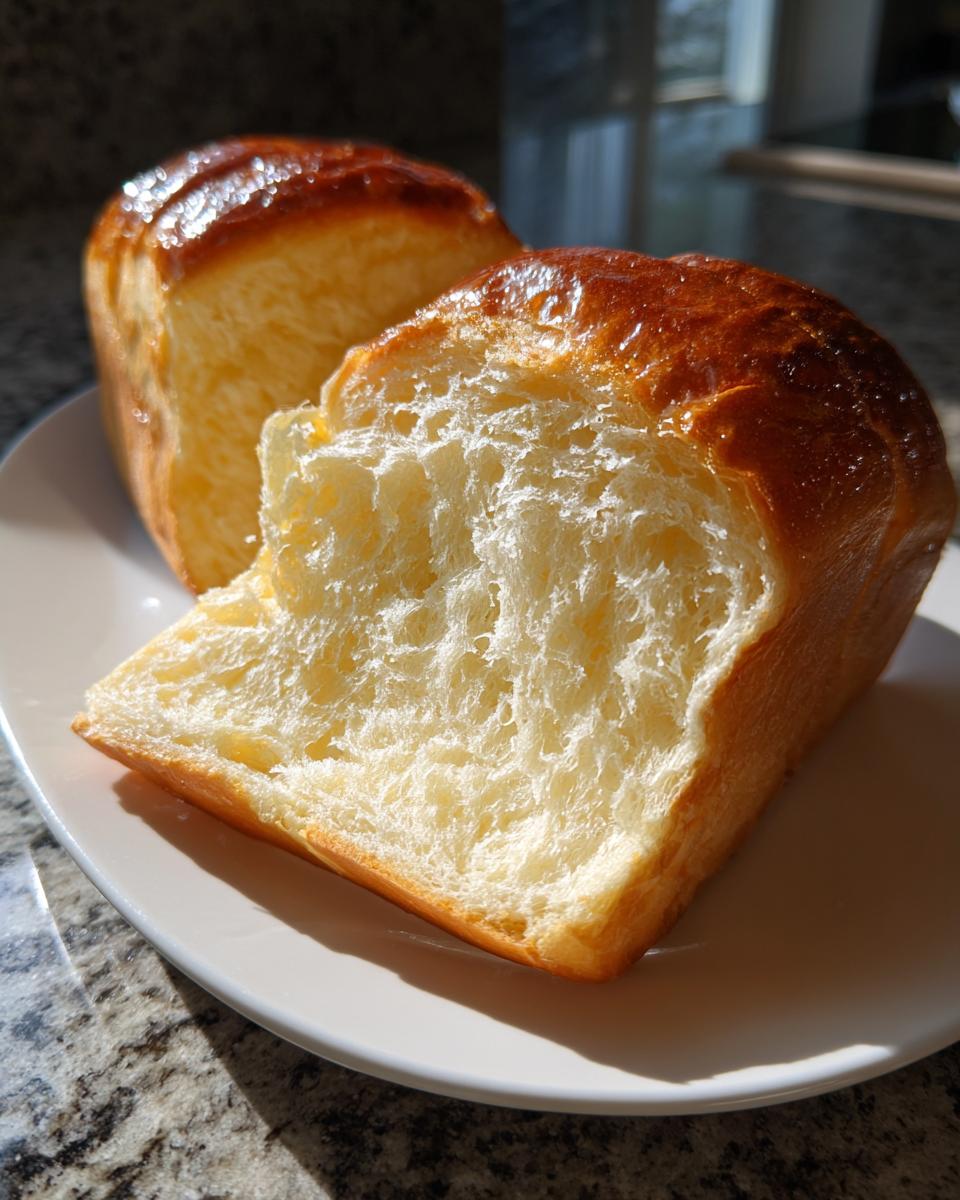
This extra moisture is exactly what gives us that heavenly, cloud bread texture. Most regular enriched bread doughs feel lovely, sure, but they dry out fast. Not this Shokupan! It gives you that iconic ‘tear apart’ quality. When you pull a slice, it stretches beautifully, it’s springy, and it just melts in your mouth. It’s not heavy or tough; it’s buoyant. Trust me, once you see that texture in person, you’ll never bake milk bread without this initial step again!
Gathering Ingredients for Your Fluffy japanese milk bread Recipe
Alright, before we get to the mixing miracle, we have to talk about the setup. This fantastic recipe relies heavily on the quality and the temperature of our components. If you want that truly pillowy, airy crumb we talked about, you absolutely must ensure everything for the main dough—especially the egg and the remaining milk—is at room temperature. Cold ingredients can shock the yeast and interrupt the smooth process of baking with milk for softness!
Don’t worry, the ingredient list is broken down into two simple parts: what we cook for the Tangzhong, and what goes into the big bowl for the dough. Keep them separate until we tell you to mix!
Ingredient List for japanese milk bread
For our Tangzhong Paste, you’ll need:
- 60g Bread Flour (for Tangzhong)
- 180ml Whole Milk (for Tangzhong)
And for the main dough, make sure it’s all ready to go:
- 280g Bread Flour (for Dough)
- 50g Granulated Sugar
- 1 teaspoon Instant Dry Yeast
- 1 teaspoon Salt
- 1 large Egg, room temperature
- 120ml Whole Milk, room temperature
- 45g Unsalted Butter, softened
- 30g Unsalted Butter, softened (for brushing)
Step-by-Step japanese milk bread Instructions: The Tangzhong Bread Method
Okay, deep breath! This is where the magic happens and where we put that amazing Tangzhong paste to work. This whole section is about developing that gluten structure that makes this bread so wonderful to work with. If you want that incredible, soft Shokupan baking result, the timing here is key. Don’t rush the kneading! If you are looking for tips on how to handle sticky, enriched doughs in general—like when you’re making banana bread—I have a quick guide for that, too.
Preparing the Tangzhong Paste
First things first: we need to make that paste! Whisk your 60g of bread flour and 180ml of milk together in a small saucepan until it looks totally smooth—no lumps allowed. Now, set it over medium-low heat. You must stir constantly here, don’t walk away! It’s going to look runny at first, but it will quickly turn into a very thick paste. We’re aiming for a texture that seriously resembles thick mashed potatoes, or you can use a cooking thermometer and pull it when it hits 65°C (149°F).
Once it’s that thick, get it off the heat immediately. The most crucial step here for cooling? Cover the surface *directly* with plastic wrap. If you leave a gap, you’ll get a rubbery skin on top, and that sticky skin will mess up our beautiful paste. Let it cool completely before moving on. Seriously, I usually pop mine in the fridge for about 20 minutes to chill down fast.
Kneading the Enriched Dough for japanese milk bread
Time for the stand mixer! Put all your dry ingredients—the rest of your flour, sugar, yeast, and salt—into the bowl with the dough hook attached. Now, add that cooled Tangzhong, your room temperature egg, and the rest of your room temperature milk. Mix on the lowest speed just until it comes together into what looks like a shaggy mess. Stop and scrape down the sides!
Now, add that first bit of softened butter (the 45g portion). Mix on medium-low until it disappears, then add the next piece, and so on. This is an enriched bread dough, so it needs work! You need to knead this for a good 10 to 15 minutes *after* all the butter is in. It will seem like it’s never going to come together, but hang in there! You know it’s ready when it’s super smooth and passes the windowpane test—meaning you can stretch a small piece thin enough to see light through it without tearing.
Proofing and Shaping the Easy Milk Bread Loaf
Once you have that amazing, stretchy dough, lightly oil a bowl, pop the dough in, turn it over so it’s coated, and cover it up. Let it rise until it’s totally doubled, usually about an hour or maybe a little longer. Don’t rush the first proof!
When it’s doubled, gently punch it down to release the air. Now, we shape! Divide that beautiful dough into three equal pieces. Roll each piece into a tight little ball, cover them, and just let them chill out for 10 minutes—this relaxes the gluten. After the rest, flatten each ball and roll it up tightly into a firm log shape. Take those three logs and place them seam-side down snugly in your greased 9×5 inch loaf pan.
Cover the pan loosely for the second proof. This is the final fluff-up. You want the dough to rise about an inch over the top edge of the pan. That usually takes 45 to 60 minutes. Keep an eye on it!
Tips for Perfect japanese milk bread Success
Baking this japanese milk bread is mostly about timing and temperature, but I’ve got a few final tricks up my sleeve to make sure you get those perfect bakery results every time. Seriously, don’t skip what happens right when it comes out of the oven! That step is non-negotiable if you want that professional glaze and shine. For more smart ways to streamline your weekly baking without sacrificing quality, check out our favorite efficiency tips.
Troubleshooting Common japanese milk bread Issues
If your dough seems stubborn during the first rise, nine times out of ten it’s the yeast being too cold or your kitchen being too drafty. Yeast loves warmth! If you aren’t seeing much activity, try putting the covered bowl in a barely warm oven (turned OFF, of course—just warm from a pilot light or residual heat).
Now, if your finished loaf comes out a bit dense, it almost always means you stopped kneading too soon. Remember that 10-15 minutes *after* the butter is mixed in? That extended kneading is what builds the structure to hold all that air. Don’t let the machine fool you; if you can’t pass the windowpane test, keep going! The result should be tear-apart bread, not a frisbee.
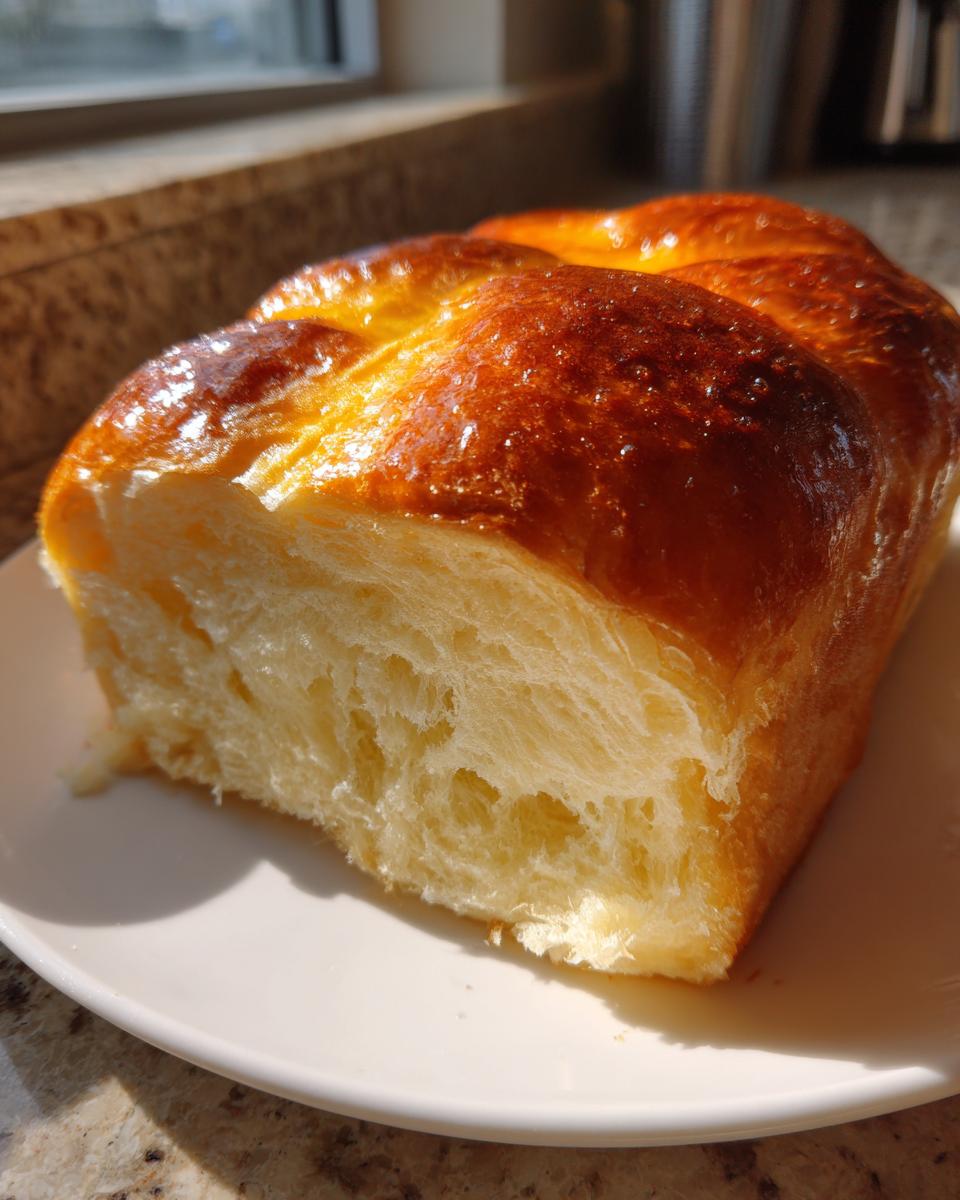
Finally, the second it comes out of the oven, before it has a chance to cool down even a little bit, brush that entire top surface lavishly with the remaining 30g of softened butter. This keeps the crust soft and gives it that gorgeous, inviting sheen—no boring dry top here!
Serving Suggestions for Japanese Bakery Bread
Now that you’ve made the best milk bread ever, the only hard part is deciding how to eat it first! Honestly, this bread is so good plain that I find myself just pulling off warm chunks straight from the cooling rack. Since this is such a naturally sweet Japanese loaf, it shines when the toppings are simple.
It is absolutely amazing lightly toasted with a smear of butter, but for sandwiches? Forget about it. It’s light enough that it doesn’t overpower the filling, but sturdy enough to hold up to anything, even leftover saucy meatloaf! If you’re feeling extra—and you should be!—try it with a homemade fruit spread, like my favorite applesauce recipe, just to let that pillowy texture do the talking.
Storage and Reheating Instructions for Homemade Hokkaido Milk Bread
The biggest win for this homemade Hokkaido milk bread is that it stays stunningly soft! That Tangzhong paste works wonders so you don’t have to worry about preservatives. To keep it perfect for three or even four days, you must wrap it super tightly right after it cools down completely. I use plastic wrap and then stick it inside a Ziploc bag. Keep it on the counter at room temperature; don’t refrigerate!
If you want that fresh-from-the-oven spring back, reheating is easy. For a single slice, 10 seconds in the microwave does the trick. If you want to revive the whole loaf, just pop it into a 300°F oven for about five minutes. That warmth brings back that unbelievably tender, fluffy texture instantly.
Frequently Asked Questions about japanese milk bread
I always get so many questions about this bread because people are worried about messing up the texture. It’s totally normal! Making high-hydration, enriched bread can feel intimidating, but that’s why we hammered out every detail in the main section. Here are a few things I get asked all the time when people are following this Japanese Milk Bread Recipe.
Can I use the Yudane method instead of Tangzhong for this japanese milk bread Recipe?
Yes, you absolutely can! The Yudane method is just fantastic, right? It uses hot water instead of warm milk to cook the flour paste. If you swap it out, you still get an amazing result; it will have that signature softness because the starch is still gelatinized. However, since we are using actual milk in the main dough, sticking with the Tangzhong (the milk paste) gives the final product a slightly deeper, richer flavor profile—a little more like authentic Japanese Bakery Bread. Both methods are excellent escapes from super dry bread!
How long does this Fluffy Bread Tutorial bread stay soft?
This is the best part! Thanks to that Tangzhong, this loaf honestly behaves like no preservative bread. If you wrap it up tightly—and I mean *tightly*—after it has cooled completely, it should stay beautifully fluffy and pillowy for three, maybe even four days at room temperature. Don’t put it in the fridge! The cold temperature actually dries out this specific bread faster. If you start your day with this bread, you get fantastic leftovers for your next morning’s breakfast!
Nutritional Estimate for Authentic Shokupan Recipe
Now, I know when we are deep in the pleasure of baking something this tasty, we don’t always think about the numbers, but since this is a reliable recipe, I wanted to share the estimates. Remember, this is based on our exact measurements using whole milk and butter, so your final count might shift a little based on your oven and how thick you slice it! We always aim for amazing flavor first, but it’s good to know what you’re working with.
These numbers below are based on making one standard 9×5 inch loaf of our Authentic Shokupan Recipe, divided into 12 slices. It’s surprisingly balanced considering how rich it tastes!
- Serving Size: 1 slice
- Calories: 180
- Sugar: 8g
- Sodium: 150mg
- Fat: 6g
- Saturated Fat: 3.5g
- Unsaturated Fat: 2.5g
- Trans Fat: 0g
- Carbohydrates: 26g
- Fiber: 1g
- Protein: 5g
- Cholesterol: 25mg
Just a quick reminder as you look at these figures: since we are making this bread totally from scratch, it’s got zero weird additives or stabilizers. That’s the beauty of making your own No Preservative Bread right here in your own kitchen!
Share Your japanese milk bread Baking Journey
Now that you’ve successfully conquered the Tangzhong method and you’re staring at that unbelievably soft loaf—you have to tell me about it! Seriously, I live for seeing your results. Did it have that perfect, delicate pull? Did you slice it thick enough for toast?
If you followed along and this turned out to be the Best Milk Bread Ever for you, please do me a huge favor and leave a rating right below this post. Five stars makes my day, it really tells other bakers they don’t need to be intimidated by Shokupan!
And I really want to see your stunning loaves! Snap a picture and tag me on social media—it’s the best way to connect outside of the kitchen. If you have any lingering questions that I might have missed, or if you just want to send me a virtual thank you note (which is always appreciated!), feel free to reach out through my contact page. Happy baking, and here’s to many more pillowy soft loaves!
PrintThe Ultimate Fluffy Japanese Milk Bread (Shokupan) using the Tangzhong Method
Make incredibly soft, cloud-like Japanese Milk Bread, or Shokupan, using the Tangzhong method for superior moisture and a pillowy texture perfect for toast or sandwiches.
- Prep Time: 45 min
- Cook Time: 35 min
- Total Time: 3 hr 20 min
- Yield: 1 loaf 1x
- Category: Baking
- Method: Baking
- Cuisine: Japanese
- Diet: Vegetarian
Ingredients
- 60g Bread Flour (for Tangzhong)
- 180ml Whole Milk (for Tangzhong)
- 280g Bread Flour (for Dough)
- 50g Granulated Sugar
- 1 teaspoon Instant Dry Yeast
- 1 teaspoon Salt
- 1 large Egg, room temperature
- 120ml Whole Milk, room temperature
- 45g Unsalted Butter, softened
- 30g Unsalted Butter, softened (for brushing)
Instructions
- Prepare the Tangzhong: Whisk 60g bread flour and 180ml milk in a small saucepan until smooth. Cook over medium-low heat, stirring constantly, until the mixture thickens into a thick paste, resembling mashed potatoes (about 5-7 minutes). It should register 65°C (149°F). Remove from heat, cover the surface directly with plastic wrap to prevent a skin from forming, and let it cool completely.
- Combine Dry Ingredients: In the bowl of a stand mixer fitted with the dough hook, whisk together 280g bread flour, sugar, yeast, and salt.
- Mix Wet Ingredients: Add the cooled Tangzhong, 1 large egg, and 120ml milk to the dry ingredients. Mix on low speed until a shaggy dough forms.
- Knead: Increase the speed to medium-low and knead for 5 minutes. Add the 45g softened butter, one piece at a time, waiting until each piece is incorporated before adding the next. Continue kneading for another 10-15 minutes until the dough is smooth, elastic, and passes the windowpane test.
- First Proof: Place the dough in a lightly oiled bowl, turning to coat. Cover and let it rise in a warm place until doubled in size, about 1 to 1.5 hours.
- Shape the Loaf: Gently deflate the dough. Divide it into three equal pieces. Roll each piece into a tight ball. Let the balls rest for 10 minutes, covered. Flatten each ball slightly, then roll each one tightly into a log shape. Place the three logs seam-side down into a greased 9×5 inch loaf pan.
- Second Proof: Cover the loaf pan loosely and let it proof in a warm spot until the dough has risen about 1 inch above the rim of the pan, about 45-60 minutes.
- Bake: Preheat your oven to 175°C (350°F). Bake for 30-35 minutes, or until the top is golden brown and the internal temperature reaches 93°C (200°F).
- Glaze and Cool: Immediately brush the top of the hot loaf with the remaining 30g of softened butter. Remove the bread from the pan immediately and cool completely on a wire rack before slicing.
Notes
- A stand mixer is recommended for the extended kneading time required to develop the gluten structure necessary for this bread’s texture.
- For an even richer flavor, substitute some of the milk with heavy cream.
- This bread stays soft for several days when stored tightly wrapped at room temperature.
Nutrition
- Serving Size: 1 slice
- Calories: 180
- Sugar: 8
- Sodium: 150
- Fat: 6
- Saturated Fat: 3.5
- Unsaturated Fat: 2.5
- Trans Fat: 0
- Carbohydrates: 26
- Fiber: 1
- Protein: 5
- Cholesterol: 25