
Sometimes you just need a cookie that looks like it took all day but actually came together with simple efficiency. That’s the magic of a beautiful pattern, folks! I’m Michael Carter, and while my background is in the logical world of tech, my heart thrives in the sensory world of the kitchen. Here at Delish Symphony, we aim for flavorful harmony without the fuss.
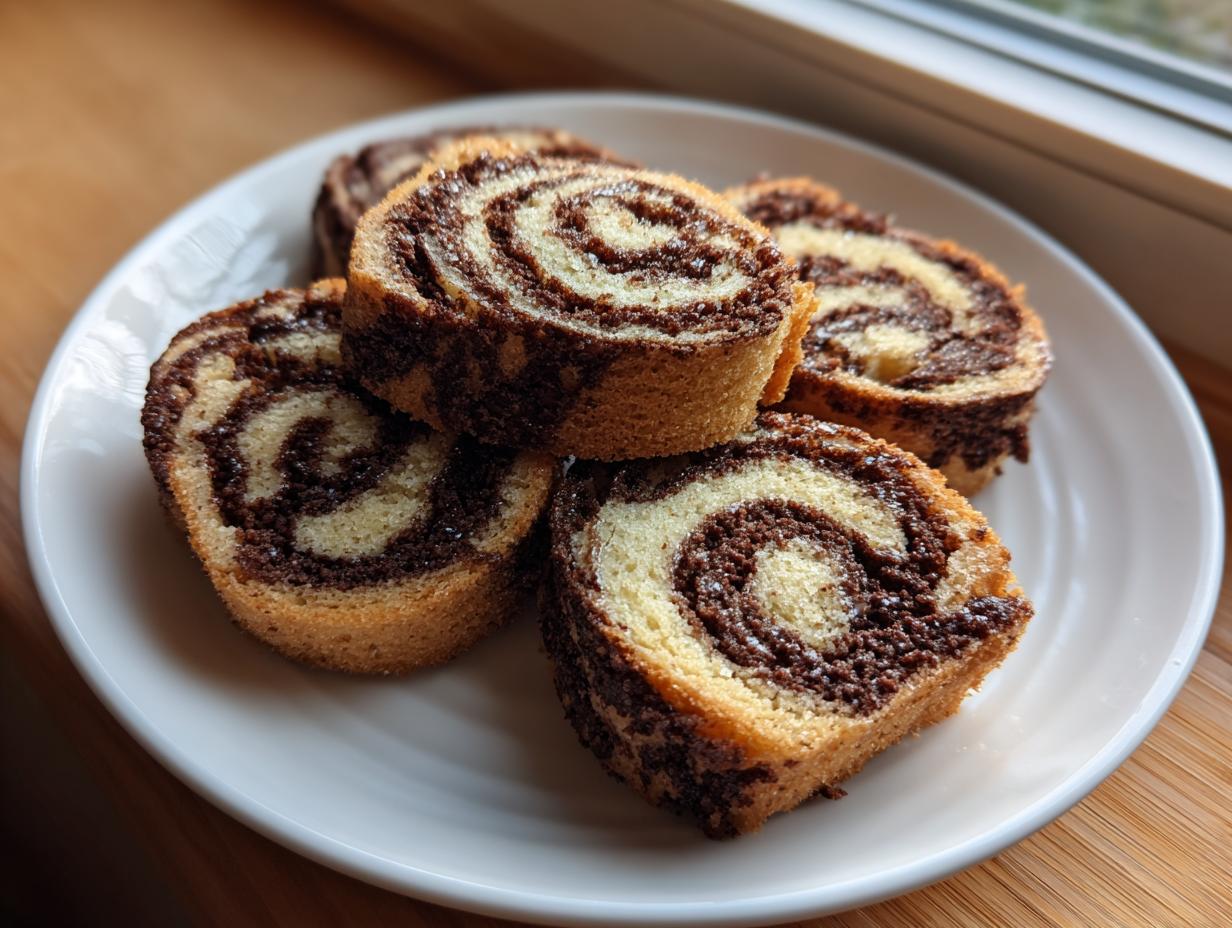
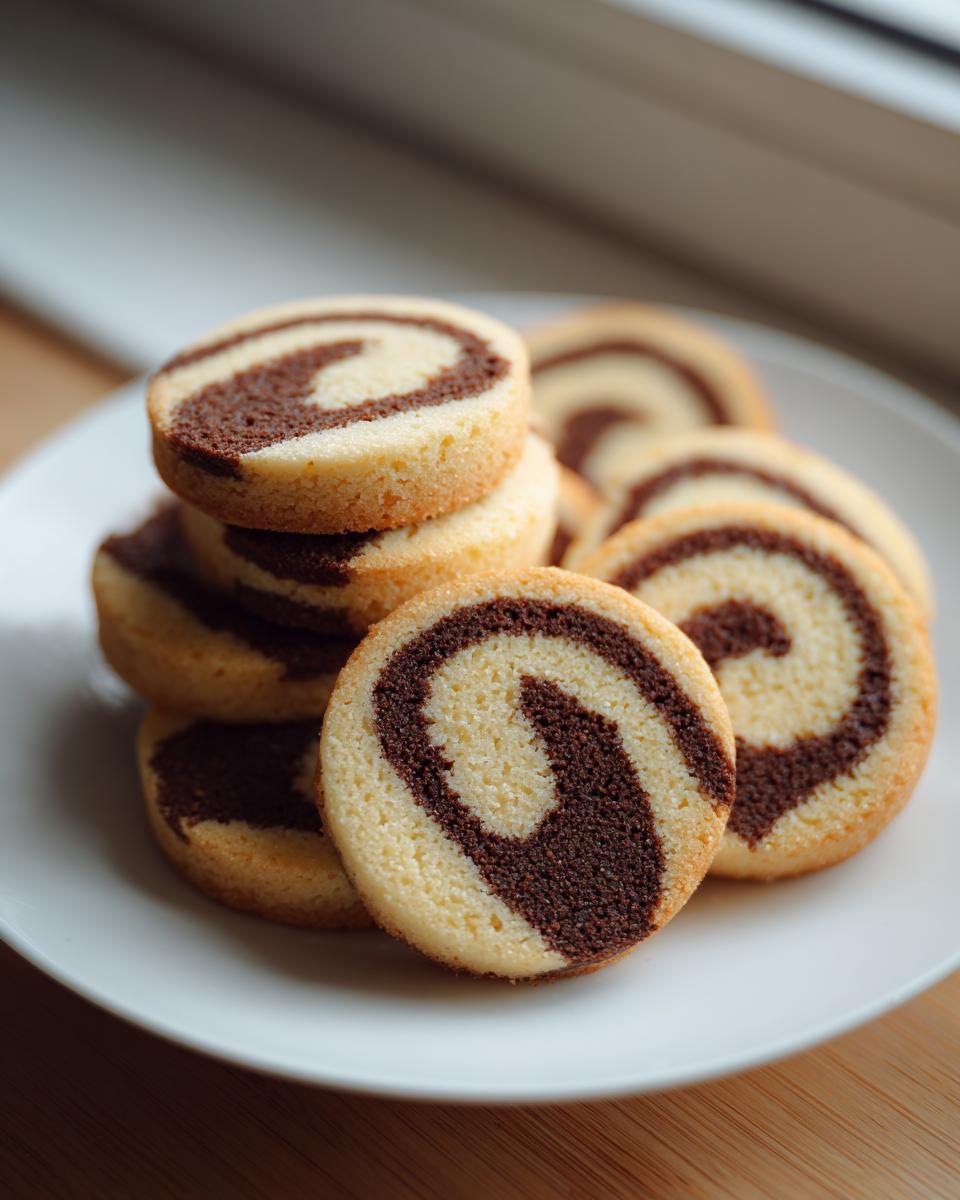
We’re talking about classic, buttery pinwheel cookies today. Forget trying to pipe intricate royal icing; these stars deliver mesmerizing swirls just by rolling two very simple doughs together. They are the ultimate slice-and-bake cookie that proves you can achieve an impressive visual result without complex choreography. These buttery beauties are perfect for bringing a little elegance to your next tray.
- Why These Classic Slice-and-Bake pinwheel cookies Are Essential for Your Holiday Trays
- Ingredients for Buttery Cookie Dough pinwheel cookies
- How to Make pinwheel cookies Using the Spiral Cookie Recipe Technique
- Ingredient Notes and Festive pinwheel cookies Variations
- Tips for Success with Make Ahead Cookies and pinwheel cookies Dough
- Storage and Reheating Instructions for Fresh pinwheel cookies
- Estimated Nutritional Data for These Festive Cookie Baking Treats
- Common Questions About Spiral Cookie Recipe Success
- Share Your Symphony: Rate and Comment on Your pinwheel cookies
Why These Classic Slice-and-Bake pinwheel cookies Are Essential for Your Holiday Trays
When the holidays roll around, my kitchen gets busy, but I refuse to sacrifice quality for speed. That’s why these pinwheel cookies are a non-negotiable item for me. They give you that show-stopping appearance without the fussy afternoon of decorating.
If you need Easy Holiday Cookies that earn major compliments, this is your recipe. Here’s why they earn top spots on my list for the Best Cookie Recipes for Trays:
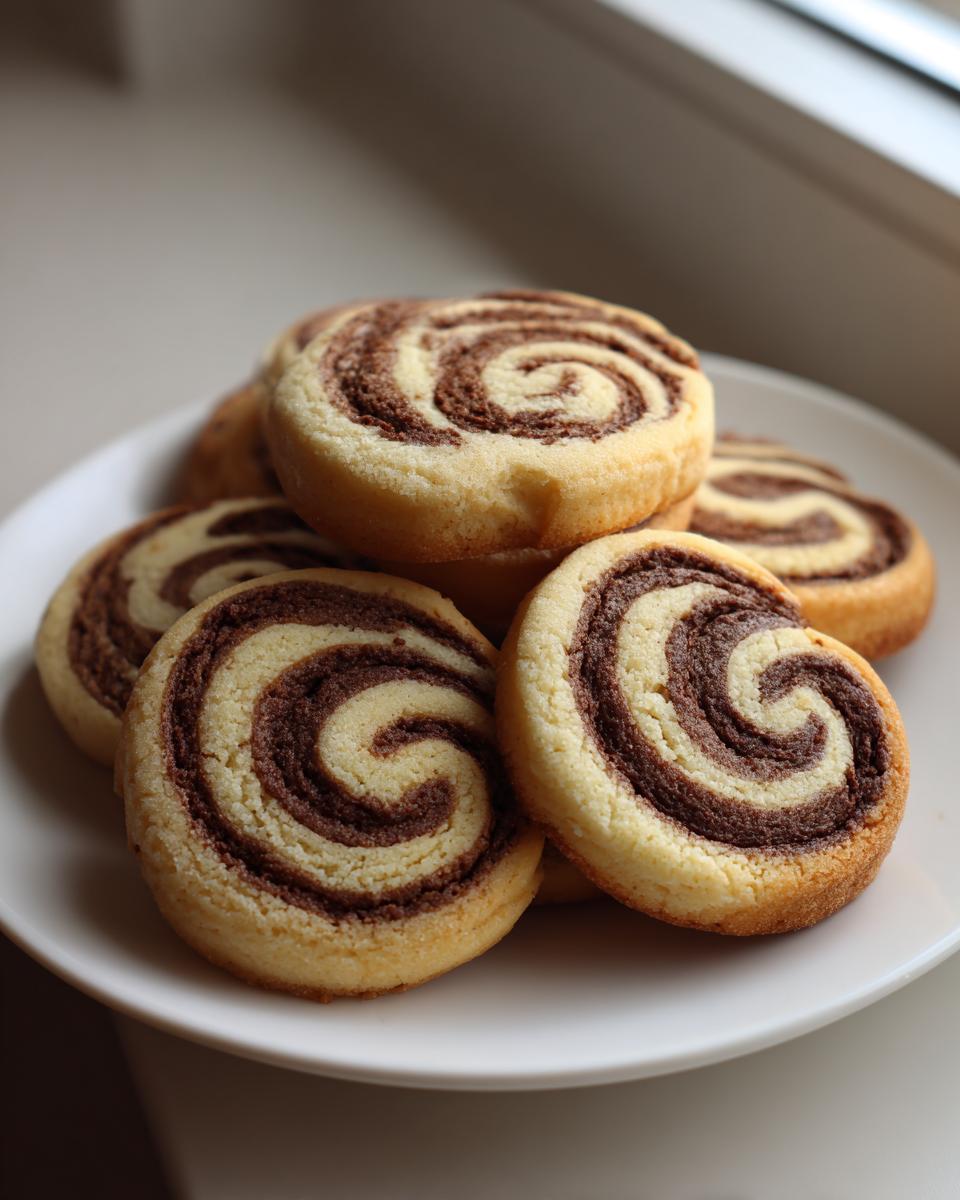
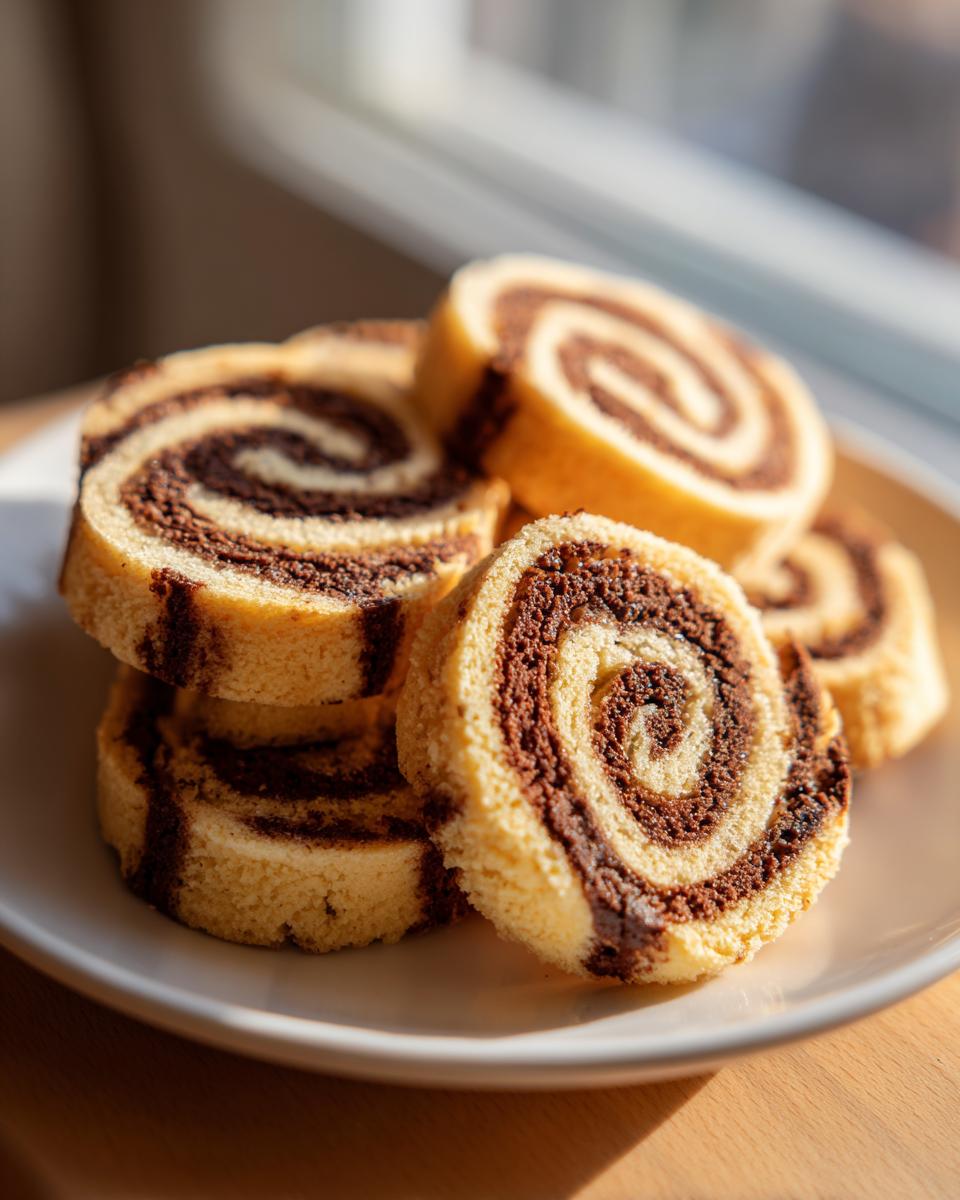
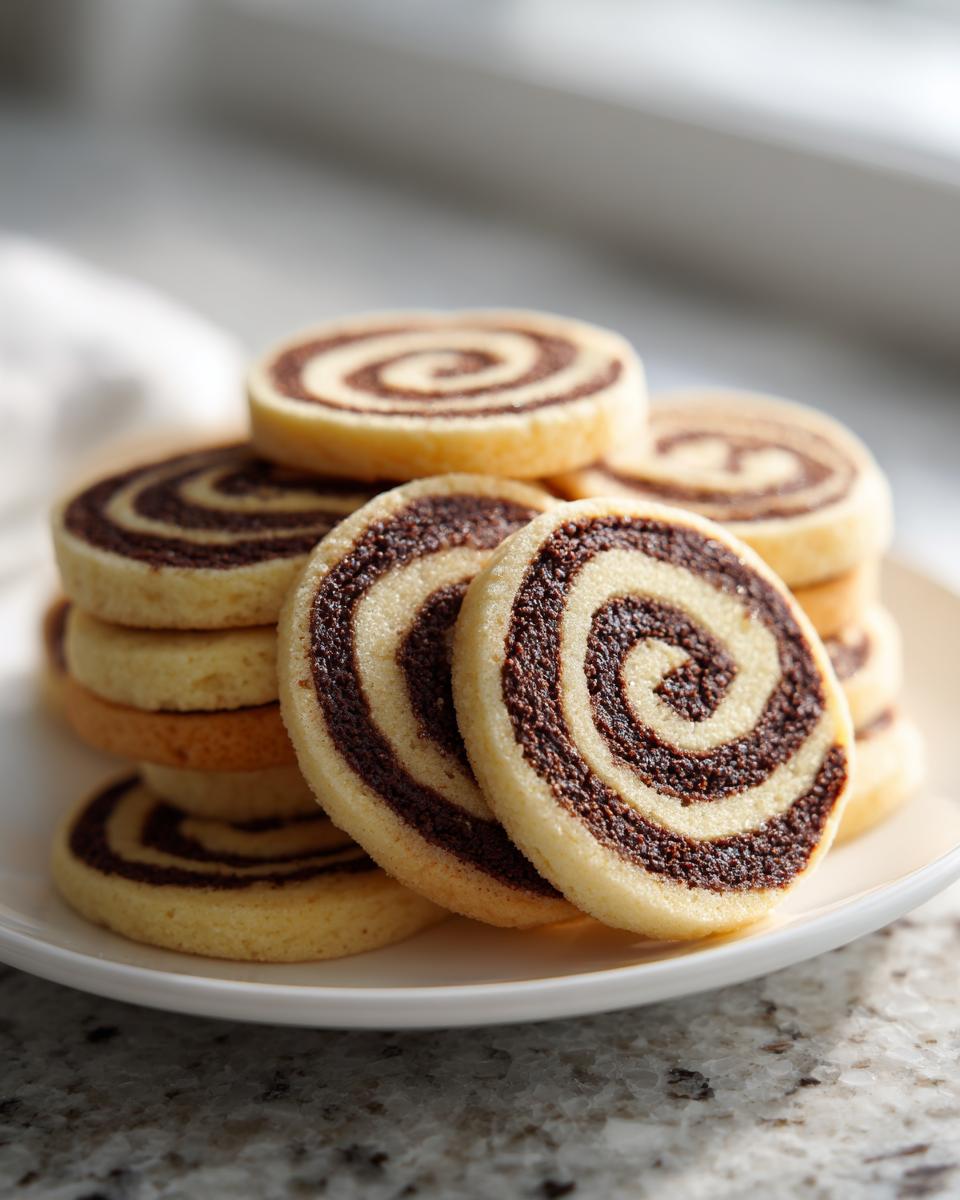
- They deliver Impressive Looking Cookies—those crisp, defined vanilla and chocolate spirals just look like they took hours, not minutes of prep!
- Because they are slice-and-bake cookie recipes, you can prepare the dough logs weeks ahead of time. You literally just slice and bake when company arrives.
- The buttery dough base is sturdy enough to handle little hands helping out during the assembly phase.
The Beauty of Visual Cookie Designs
Honestly, the swirl is the star here. By carefully layering the plain vanilla dough and the rich chocolate dough, you create a highly patterned cookie. For me, this is the ultimate Cookie Decorating Alternative. You skip the messy piping bags and coloring, and the pattern forms naturally as you roll and slice. It takes the pressure right off that gorgeous finish!
Mastering Slice and Bake Cookie Recipes Efficiency
This method aligns perfectly with my practical philosophy: make the hard work once, enjoy it many times. Once the dough is rolled and chilled into logs, you’ve essentially put the creation process on pause. It’s the smartest way to manage a busy baking schedule—you are ready to bake fresh spirals anytime!
Ingredients for Buttery Cookie Dough pinwheel cookies
Precision matters when you’re aiming for those sharp, clean spirals. When I look at a recipe, I always want to see exactly what I need laid out neatly. These buttery pinwheel cookies rely on standard pantry staples, but the measurements have to be right for the dough to handle rolling without stretching too much.
Here is the full shopping list to get you started. Don’t worry about mixing the chocolate in yet—that comes in the next step when we divide everything up!
- 1 cup (227g) unsalted butter, softened
- 1 cup (200g) granulated sugar
- 1 large egg
- 1 teaspoon vanilla extract
- 3 cups (360g) all-purpose flour
- 1 teaspoon baking powder
- 1/2 teaspoon salt
- 2 tablespoons milk
- 1 tablespoon unsweetened cocoa powder
- 1 teaspoon extra vanilla extract (this is for the chocolate dough only!)
- 1/4 cup powdered sugar (for dusting the outside)
Separating the Dough Components
Once you mix up the base dough following the initial steps, you’ll divide it exactly in half. One half stays pure vanilla goodness, and the other half gets the cocoa powder and that little extra hit of vanilla for depth. Having the cocoa powder ready is important so you can quickly flavor that second portion before it gets too warm.
How to Make pinwheel cookies Using the Spiral Cookie Recipe Technique
Okay, buckle up, because this is where the magic happens! Getting those sharp, defined spirals in our pinwheel cookies isn’t about witchcraft; it’s purely about timing and temperature. If you follow this Swirl Cookies Tutorial closely, you’ll end up with something that looks professionally made. Remember my philosophy: practical techniques lead to harmony!
Creating the Vanilla Chocolate pinwheel cookies Dough Base
First things first: grab your softened butter and sugar. Beat them together until they look light and fluffy—it’s like whipping air into the mix. Then add your egg and one teaspoon of vanilla. Mix just until it comes together. Now, for the dry stuff: flour, baking powder, and salt whisked separately. Add that dry mixture slowly to the wet ingredients, mixing only on low speed until you see just *barely* some streaks of flour remaining. Then, add the milk. Trust me, stop mixing as soon as it clumps up! Overmixing develops gluten, and we want tender cookies, not hockey pucks.
Once that base dough is ready, divide it evenly into two bowls.
Coloring and Chilling the Dough for Sharp Swirls
In one bowl, mix in the cocoa powder and that extra teaspoon of vanilla until it’s uniformly brown. That’s our chocolate dough. The other bowl stays the yummy vanilla flavor. Now, wrap both portions up separately, flattening them just a bit into disks. They need a good rest in the fridge for at least an hour. This initial chill is critical! Cold dough is easy to work with; warm dough stretches and smears, and suddenly your beautiful pinwheels look like muddy blobs.
Assembling and Rolling the Tight Dough Log
After about an hour, take those chilled disks out. Place each between sheets of parchment paper—this keeps everything tidy. Roll each piece gently into a flat rectangle, aiming for about 1/8 inch thick. Remember that visual cookie designs look best when the layers are even! Try to keep them the same size so they stack nicely. Peel off the top parchment sheets. You can see the beautiful contrast now! Lightly brush the surface of the vanilla dough rectangle with plain water—just a light spritz helps them stick together beautifully. Carefully flip the chocolate rectangle onto the vanilla one, aligning those edges neatly. Peel off the *second* sheet of paper.
Now, starting from one of the long sides, roll the layered dough up very tightly, like a jelly roll. You need to press gently as you roll to make sure there are no air pockets. Pinch the final seam closed firmly. Wrap this log tightly in plastic wrap and it gets a spa treatment in the fridge for a minimum of two hours, but seriously, overnight is where these pinwheel cookies really shine!
Baking and Cooling Your pinwheel cookies
When you’re ready, preheat that oven to 375°F (190°C) and line a sheet pan with parchment paper—I learned the hard way that these can stick, so don’t skip that! If you’re making these for a big batch for Christmas cookie exchanges ideas, you can pull them straight from the freezer here!
Take the log out, dust your counter lightly with powdered sugar—this gives the exterior a nice little finish—and roll the log gently through it. Use a very sharp knife to slice rounds that are about 1/4-inch thick. Place them on the sheet, leaving at least 2 inches between them because they do spread just a smidge.
Bake these for about 9 to 11 minutes. You’re looking for edges that are just starting to whisper ‘golden brown’—the center should still look soft. Let them sit on the hot pan for five minutes before moving them to cool completely. They firm up as they cool, giving you that perfect final snap!
Ingredient Notes and Festive pinwheel cookies Variations
The beauty of this base dough meant for Buttery Cookie Dough pinwheels is how easily it adapts! It really lets you play with those Visual Cookie Designs without having to fuss with a whole new recipe from scratch. I always keep my notes handy in the recipe card for when I want to switch things up, proving that even simple recipes can feel personalized.
The original recipe is classic vanilla and chocolate, but trust me, you can easily turn these into dazzling holiday showpieces or add a completely different flavor profile for your next Christmas cookie exchanges ideas.
Creating Colorful Layered Cookies for Christmas
If you want maximum holiday cheer, you don’t need spices—you need color! You can take that vanilla dough portion and divide it again before chilling. I color one batch bright red and the other bright green using gel food coloring because the liquid stuff can sometimes mess with the dough structure. Then, instead of just vanilla/chocolate, you layer red, chocolate, and green doughs together. When you slice those logs, wow! You get these gorgeous, strikingly colorful Colorful Layered Cookies that look amazing on any festive platter.
Adding Peppermint Swirl Treats Flavor
For a beautiful flavor twist, especially around the winter holidays, lean into peppermint! This is fantastic because it’s a huge crowd-pleaser. You can mix about a half teaspoon of peppermint extract right into the vanilla dough. Because the chocolate dough has its own flavor profile, I just leave the cocoa part as is—the combination of mint and deep chocolate is incredible. If you want that crunch, roll the final, tightly wrapped dough log in crushed peppermint candies before the final chill. Those little bits stick right to the outside and give you a wonderful textural element in every bite. If you want that soft center everyone raves about, check out the tips over at Peppermint Swirl Treats for ultimate softness!
Tips for Success with Make Ahead Cookies and pinwheel cookies Dough
One of the best things about these slice and bake cookie recipes is that they are truly masters of the “make ahead” game. If you’re planning for a big Christmas cookie exchanges ideas party, you don’t need to panic the night before! This is all about leveraging that efficiency I preach about. A well-chilled log means zero stress when you need fresh, beautiful pinwheel cookies piping hot from the oven.
Freezing and Storing Your pinwheel cookies Dough Logs
Once you’ve rolled that dough log tightly, wrap it twice in plastic wrap—I like an extra layer to prevent freezer burn. You can honestly freeze these logs for up to three months. That is what I call an emergency supply of Make Ahead Cookies ready to go! When you decide it’s time to bake, the trick is just pulling the log out and slicing it right away. Don’t let it thaw completely! Since the dough starts colder than the fridge, just add about two or three extra minutes to your standard baking time. You still get those perfect spirals but without any of the day-of prep work!
Storage and Reheating Instructions for Fresh pinwheel cookies
Since these are such great make ahead cookies, storage is important! Once completely cooled, these buttery pinwheel cookies hold up really well. Place them in a single layer in an airtight container; if you have too many, it’s okay to stack them, just place a piece of parchment paper between the layers. At room temperature, they stay wonderfully fresh for about five days. Honestly, they rarely last that long in my house, but this keeps that buttery flavor bright!
Estimated Nutritional Data for These Festive Cookie Baking Treats
Now, I know we aren’t out here strictly counting calories when we’re baking glorious holiday treats, but I always like to give a general idea of what’s in these rich, buttery pinwheel cookies! Remember, this information is an estimate based on the ingredients listed and serves about 3 dozen cookies. Since we’re using butter and sugar for that perfect texture, expect a wonderful but rich little treat!
When you stack these beautiful cookies up for your next event, here is the general breakdown:
- Serving Size: 1 cookie
- Calories: 145
- Total Fat: 7g
- Carbohydrates: 19g
- Protein: 2g
The high amounts of fat and sugar are what give these Festive Cookie Baking treats their melt-in-your-mouth quality, which is worth every single bite. Enjoy them with a tall glass of milk—that’s my practical advice for a balanced moment!
Common Questions About Spiral Cookie Recipe Success
Before we wrap up, let’s tackle a few things that always pop up when people first try to master the art of the perfect spiral. Sometimes, even when following the steps exactly, a cookie doesn’t cooperate. Since my goal here at Delish Symphony is always foolproof flavor, let’s troubleshoot common issues with these beautiful spiral cookie recipes!
Troubleshooting: Why Did My pinwheel cookies Swirls Spread?
This is the number one source of frustration with pinwheel cookies, and nine times out of ten, it comes down to temperature or overworking the dough. If your layers mushroom out in the oven, it usually means your dough wasn’t cold enough when it hit the heat. That critical second chill after you roll the log? Don’t rush it! It needs to be seriously firm—almost hard to slice. Another culprit is overmixing the base dough after adding the flour; remember, we want tender, shortbread-like results, not heavily structured bread dough!
Can I use different extracts in my pinwheel cookies?
Absolutely! That’s where we get to play with the Flavorful Harmony aspect of baking. While the vanilla and chocolate combination is classic, these are wonderful blank canvases. If you’re not a big fan of chocolate, skip the cocoa powder entirely and use a plain vanilla/vanilla setup. Then, in one dough disk, substitute the second teaspoon of vanilla with almond extract for a sweet, nutty flavor. Or, for a brighter flavor profile, use a teaspoon of lemon zest and juice instead of the cocoa. You’ll end up with bright, beautiful Vanilla Chocolate pinwheel cookies with a totally different, fresh taste!
Also, if you are looking for ideas on how to make sure your log has defined edges before you slice, check out the great advice on defining those spirals in Christmas cookie exchanges ideas collections online. It’s all about keeping that dough under control!
Share Your Symphony: Rate and Comment on Your pinwheel cookies
We built this recipe—the buttery cookie dough pinwheels, the easy chill time, the beautiful swirl—to bring a little harmony to your busy kitchen. Now that you’ve tried this spiral cookie recipe, I genuinely want to hear how it went! Did you go bold with the red and green coloring, or stick to the classic chocolate and vanilla? Did you find that chilling the dough overnight really resulted in those crisp edges?
Please take a moment and leave a star rating right here on the page based on how well this recipe worked for you. Feedback is the music that helps me tune the next recipe perfectly!
And if you made something really special or found a clever way to adapt these Visual Cookie Designs, drop a comment below! Tell me about your experience—I love seeing how you interpret these fundamental, fantastic slice and bake cookie recipes in your own homes. Let’s keep this Delish Symphony community growing, one perfectly swirled batch of pinwheel cookies at a time!
PrintClassic Slice-and-Bake Pinwheel Cookies
Create visually impressive, buttery slice-and-bake pinwheel cookies with striking vanilla and chocolate swirls. These cookies are simple to prepare and perfect for holiday cookie exchanges or any occasion needing impressive looking cookies.
- Prep Time: 45 min
- Cook Time: 11 min
- Total Time: 3 hours 56 min
- Yield: 3 dozen 1x
- Category: Dessert
- Method: Baking
- Cuisine: American
- Diet: Vegetarian
Ingredients
- 1 cup (227g) unsalted butter, softened
- 1 cup (200g) granulated sugar
- 1 large egg
- 1 teaspoon vanilla extract
- 3 cups (360g) all-purpose flour
- 1 teaspoon baking powder
- 1/2 teaspoon salt
- 2 tablespoons milk
- 1 tablespoon unsweetened cocoa powder
- 1 teaspoon extra vanilla extract (for chocolate dough)
- 1/4 cup powdered sugar (for dusting)
Instructions
- In a large bowl, beat the softened butter and granulated sugar together until light and fluffy. Add the egg and 1 teaspoon vanilla extract; mix until combined.
- In a separate bowl, whisk together the flour, baking powder, and salt. Gradually add the dry ingredients to the wet ingredients, mixing on low speed until just combined. Add the milk. The dough will be stiff.
- Divide the dough evenly into two separate bowls.
- In the first bowl, mix in the cocoa powder and the extra teaspoon of vanilla extract until the dough is uniformly chocolate colored. This is your chocolate dough.
- In the second bowl, leave the dough as is (vanilla dough).
- Wrap each dough portion separately in plastic wrap, flatten slightly into a disk, and chill in the refrigerator for at least 1 hour. This chilling step is key for clean swirls.
- Once chilled, place one disk of vanilla dough and one disk of chocolate dough between two large sheets of parchment paper. Roll each disk into a rectangle approximately 1/8 inch thick. The rectangles should be roughly the same size.
- Carefully peel off the top layer of parchment paper from both rectangles. Flip the chocolate rectangle onto the vanilla rectangle, aligning the edges as closely as possible. Gently peel off the second sheet of parchment paper from the chocolate dough.
- Brush the surface of the vanilla dough lightly with water to help the layers stick. Tightly roll the layered dough from one long edge to the opposite long edge, creating a firm log. Press gently to seal the seam.
- Wrap the dough log tightly in plastic wrap and chill in the refrigerator for a minimum of 2 hours, or until very firm. For best results when slicing, chill for 4 hours or overnight.
- Preheat your oven to 375°F (190°C). Line baking sheets with parchment paper.
- Remove the dough log from the refrigerator. Dust a clean surface with powdered sugar. Roll the log lightly in the powdered sugar.
- Using a sharp knife, slice the log into 1/4-inch thick rounds. Place the pinwheel cookies onto the prepared baking sheets, leaving about 2 inches between them.
- Bake for 9 to 11 minutes, or until the edges are lightly golden brown. The centers should remain soft.
- Let the cookies cool on the baking sheet for 5 minutes before transferring them to a wire rack to cool completely.
Notes
- For festive holiday colors, divide the vanilla dough into two portions before chilling. Color one portion red and the other green using gel food coloring. Then layer red, chocolate, and green doughs for a three-color swirl.
- If you want a peppermint flavor, add 1/2 teaspoon of peppermint extract to the vanilla dough and omit the extra vanilla in the chocolate dough. You can also roll the dough log in crushed peppermint candies before the final chill.
- You can make these make ahead cookies by freezing the wrapped dough logs for up to 3 months. Slice and bake directly from frozen, adding 2-3 minutes to the bake time.
Nutrition
- Serving Size: 1 cookie
- Calories: 145
- Sugar: 10
- Sodium: 85
- Fat: 7
- Saturated Fat: 4
- Unsaturated Fat: 3
- Trans Fat: 0
- Carbohydrates: 19
- Fiber: 0
- Protein: 2
- Cholesterol: 25