
We all chase that perfect bite, right? That moment where the center of a baked good melts in your mouth—that’s the harmony I look for in the kitchen. Too cakey and you’ve missed the mark; too raw and it’s just messy. But when you nail that dense, decadent texture, that’s when the real magic happens.
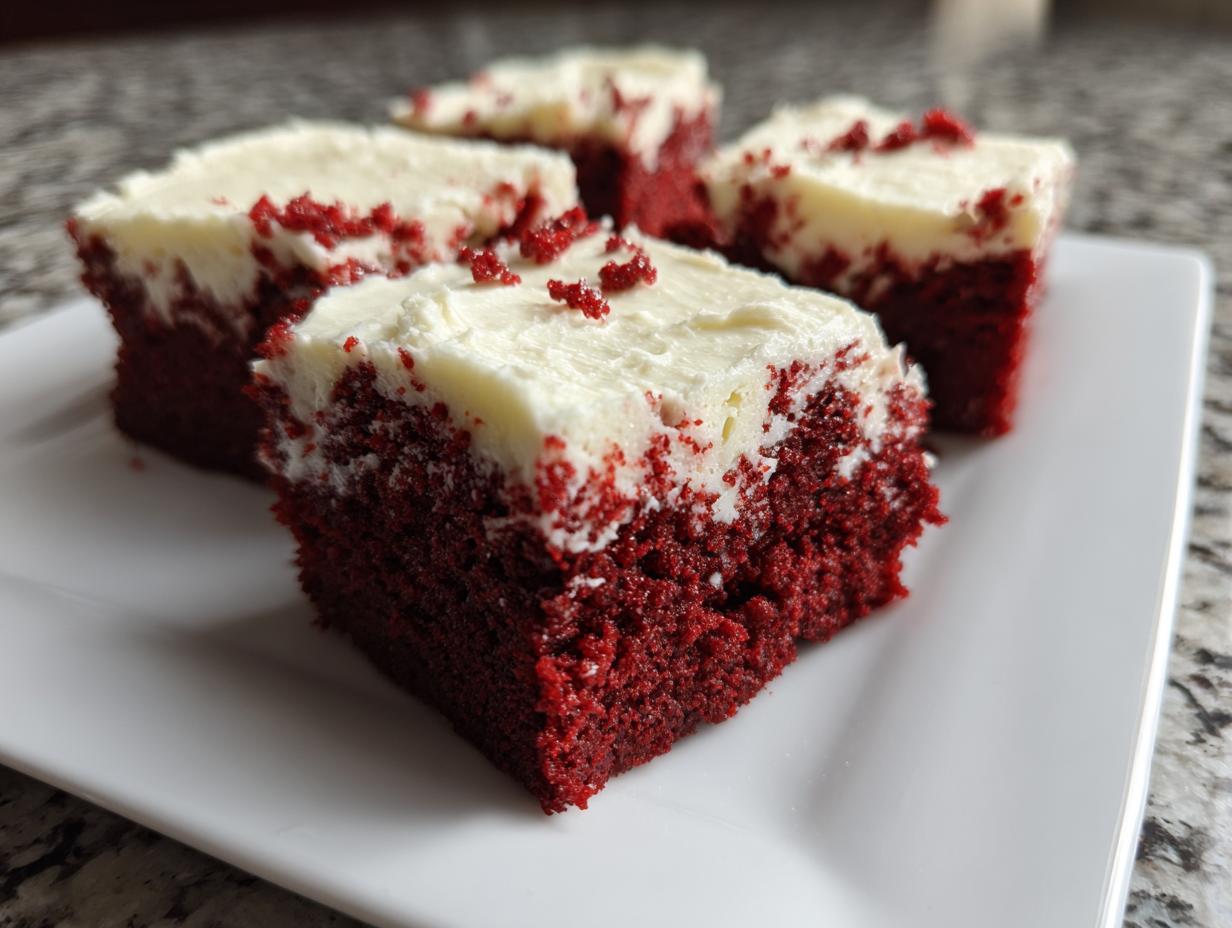
That’s exactly what we’re achieving today with my absolute favorite treat: the Ultimate Fudgy Red Velvet Brownies with Tangy Cream Cheese Frosting. When I stepped away from my IT career to focus on what really brings me joy, it was moments like these—turning simple ingredients like butter and cocoa into something spectacular—that solidified my path. These aren’t just brownies; they’re a vibrant, foolproof expression of flavor. If you’re looking for rich, easy-to-make red velvet brownies, you’ve found our signature recipe. You can read more about my philosophy of baking for a flavorful life starting on our About Page.
- Why This Ultimate Fudgy Red Velvet Brownies Recipe Works
- Gathering Ingredients for Your Red Velvet Brownies
- How to Prepare Ultimate Fudgy Red Velvet Brownies
- Expert Tips for Bakery Style Red Velvet Brownies
- Storing and Serving Your Decadent Red Desserts
- Frequently Asked Questions About Red Velvet Brownies
- Nutritional Estimate for Homemade Red Velvet Brownies
- Share Your Red Velvet Treats
Why This Ultimate Fudgy Red Velvet Brownies Recipe Works
When you bite into these brownies, you’ll immediately taste why they are my household favorite. We focus on that decadent richness folks expect from a top-rated bakery, but we keep the steps totally approachable. Trust me, these deliver on every promise.
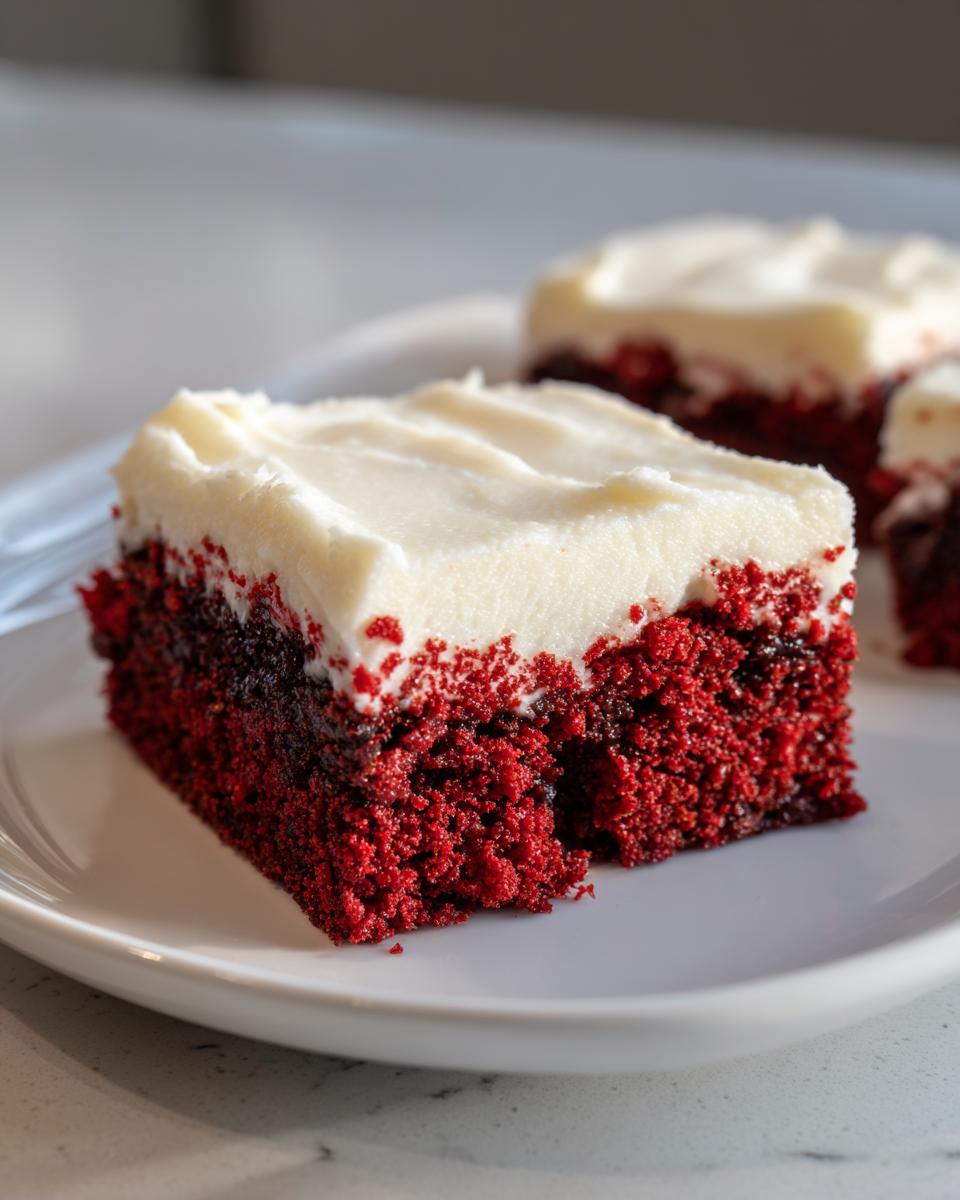
- That perfectly dense, totally fudgy texture we all crave.
- A deep, stunning red color that really pops on any holiday table.
- That necessary, tangy counterpoint from the cream cheese element layered right in!
This balance is what sets these red velvet brownies apart from plain old chocolate squares.
Achieving the Perfect Fudgy Texture in Red Velvet Brownies
For that signature dense, chewy result—the key to any great Fudgy Brownie Recipe—it all comes down to fat and sugar. We use melted butter and a high ratio of sugar mixed well into the eggs. This setup prevents too much gluten structure from forming. My biggest tip here? Stop mixing as soon as the flour disappears. Seriously, as soon as you don’t see white streaks anymore, walk away from the bowl. Overmixing is the enemy of gooey brownies!
Tips for a Vibrant Red Dessert Hue
If you want that incredible, vibrant red shine—especially if you’re making these as Holiday Brownies—you need to invest in gel food coloring. The liquid drops you find everywhere always seem to dilute my batter just enough to make the color look dull or brownish. A little bit of gel goes a very long way toward creating that beautiful, striking hue that makes these red velvet brownies so festive. You want intense color without extra liquid, simple as that!
Gathering Ingredients for Your Red Velvet Brownies
Okay, now that we know *why* this approach works so well, let’s talk about what you need to pull these beautiful red velvet brownies together. The beauty of this Homemade Brownie Recipe is that the main ingredients are pretty straightforward. Remember my philosophy—approachable ingredients create spectacular results! We’ll get everything measured out, and I’ve even separated the list for the cream cheese topping so you can prep those components separately. You can find tons of other great baking projects on our main Dessert Recipes page once you’re done today.
Here is what you’re grabbing from the pantry and fridge:
- 1 cup (2 sticks) unsalted butter, melted
- 2 cups granulated sugar
- 4 large eggs
- 1 tablespoon vanilla extract
- 1 teaspoon white vinegar
- 2 tablespoons red food coloring (gel preferred for vibrancy)
- 1 1/4 cups all-purpose flour
- 1/2 cup unsweetened cocoa powder
- 1 teaspoon salt
- 1/2 teaspoon baking soda
- 1/2 cup buttermilk
Cream Cheese Frosting Ingredients for Red Velvet Brownies
If you are making the full frosting layer, or even just reserving some extra for that gorgeous swirl effect, make sure you have these items ready to go. Having everything softened when needed is half the battle in baking!
- 4 ounces cream cheese, softened
- 1/4 cup powdered sugar
- 1 tablespoon milk
How to Prepare Ultimate Fudgy Red Velvet Brownies
Alright, here’s where we put the plan into action and start creating our Easy Brownie Recipe. The goal here is simple: combine ingredients enough to integrate them, but stop before you activate too much gluten. That’s the secret to keeping things perfectly dense and fudgy. First things first, get your oven warmed up to 350°F (175°C). I always prep my 9×9 inch pan with parchment paper, letting the ends hang over the sides like little handles—this makes removing the finished product a total breeze later.
You’ll find a whole host of other straightforward recipes perfect for busy evenings when you check out my collection of Weeknight Dinner Recipes, but today, we focus on this showstopper.
Mixing the Wet and Dry Components for Red Velvet Brownies
Start by taking that melted butter and whisking it vigorously with the granulated sugar in a big bowl. You just want them acquainted! Next, we bring in the eggs, one at a time, mixing well after each addition. Now for the color punch: add your vanilla, the white vinegar—which helps bring out the cocoa flavor, so don’t skip it!—and all that bright red coloring. Mix until it looks dramatically red, like something you’d dream about!
In a separate bowl, quickly whisk your flour, cocoa powder, salt, and baking soda together. Now, we add these dry elements gradually to the wet ingredients. Mix on low speed only until you see the flour streaks disappear. I mean it, stop mixing the second it comes together! Pour in the buttermilk last and give it just one quick fold to smooth it out—that’s the payoff for a soft, Chewy Brownies texture.
Creating the Cream Cheese Swirl and Baking
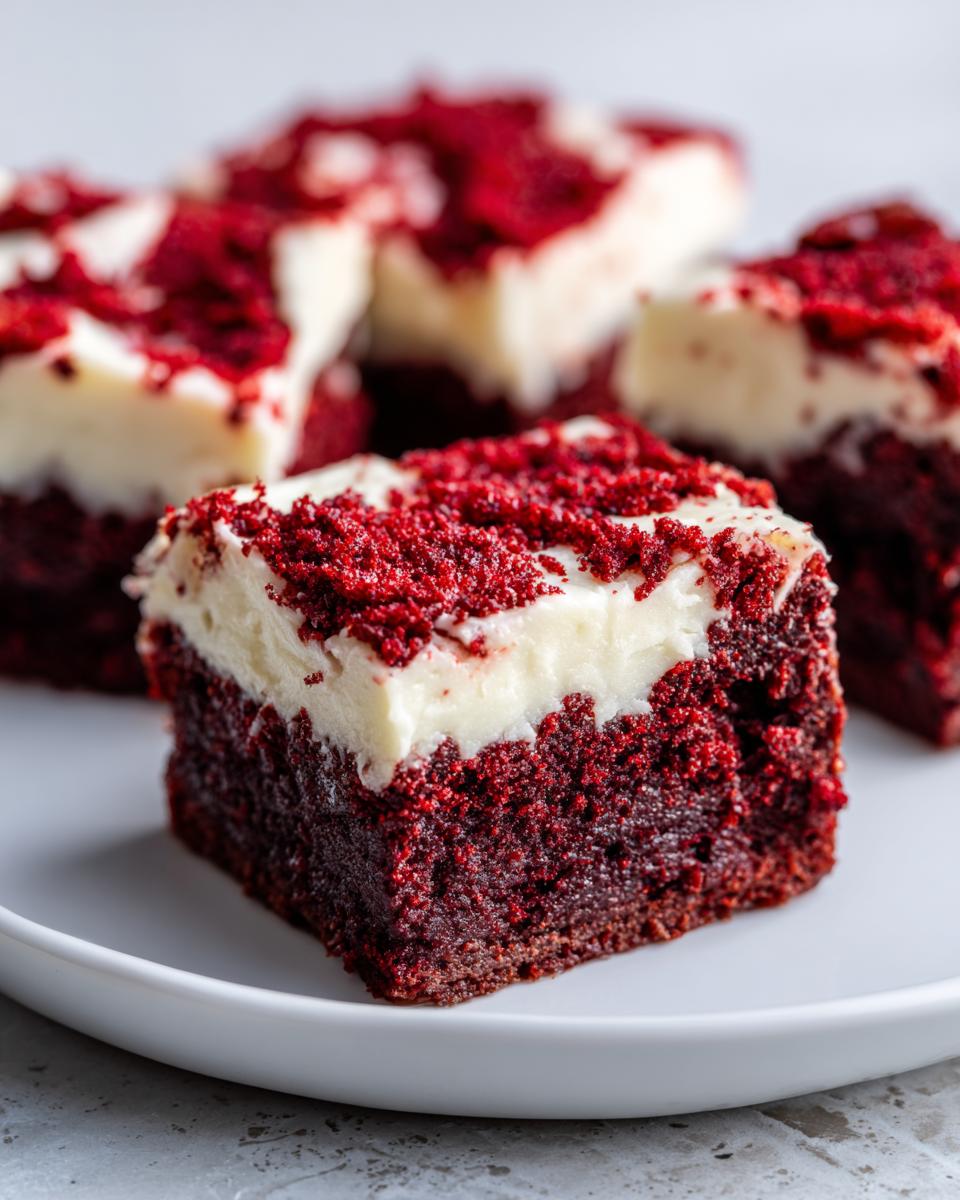
Time for that amazing cream cheese addition! Take about half of your rich red batter and spread it into the prepared pan. Remember that small batch of cream cheese mixture we talked about? Drop spoonfuls of that right over the batter. Pour the second half of the red velvet batter right on top of those cheese dollops.
Grab a skewer or a thin knife and gently cut through the layers in figure-eights to get a lovely marbled look. Don’t overdo the swirling; we want pockets of cream cheese, not a fully mixed purple mess! Pop it into the oven for 30 to 35 minutes. You are looking for moist crumbs on your toothpick—not wet batter! That means you’ve hit that perfect sweet spot for Gooey Brownies.
Expert Tips for Bakery Style Red Velvet Brownies
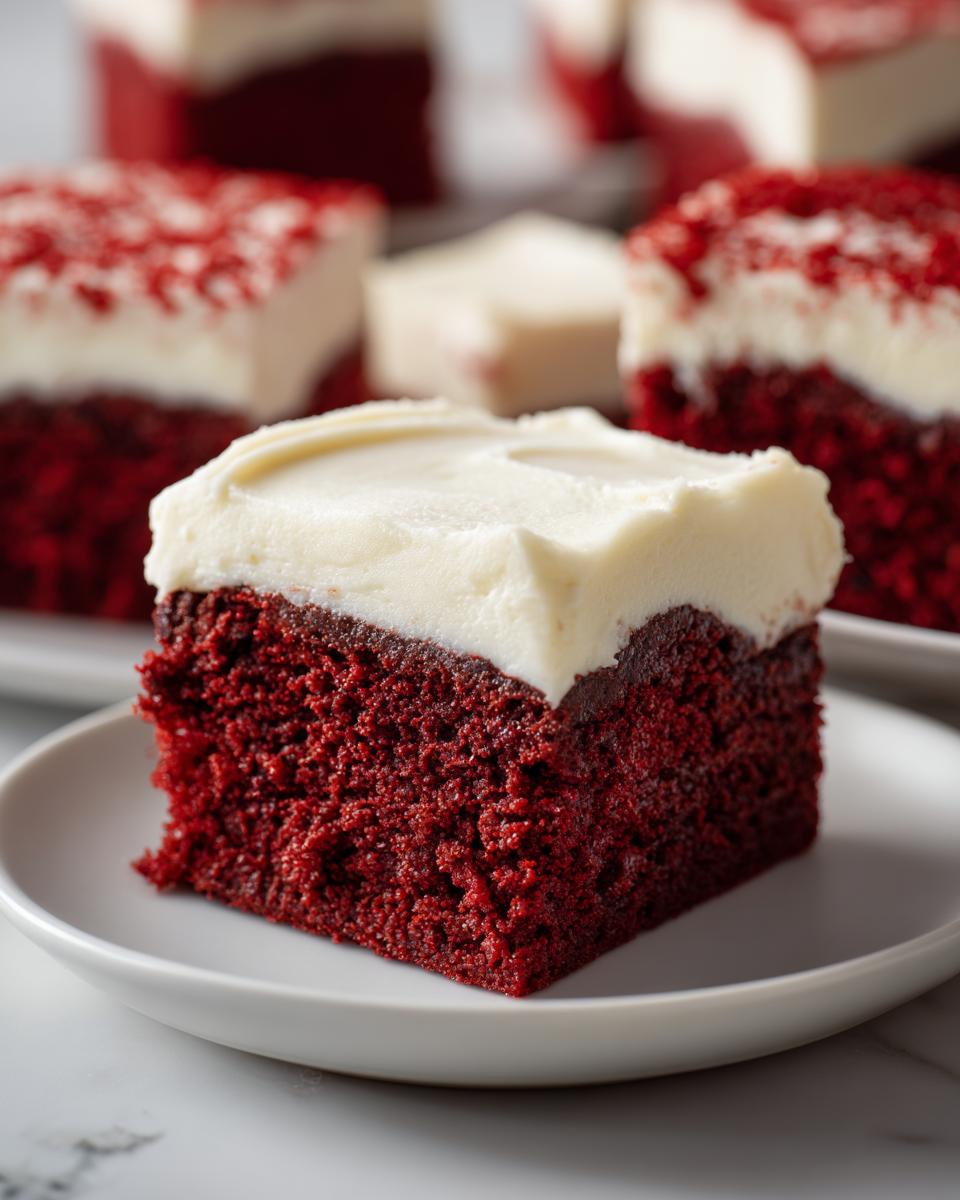
Okay, you’ve baked them perfectly—now don’t ruin the ending! Getting that Bakery Style Brownies look sometimes comes down to what you do *after* the oven dings. Patience is truly a virtue here. Resist the urge to slice into them right away. These brownies need time to set up, especially with that rich, fudgy structure we worked so hard for. Letting them cool completely on a wire rack is non-negotiable if you want clean, sharp squares.
When you finally get to cutting, use a large, sharp knife, and wipe the blade clean between every single cut. This stops the red and cream cheese layers from smearing together, keeping your red velvet brownies looking crisp and professional. If you set them in the fridge for about 30 minutes before cutting, they slice even cleaner! It really does elevate the final presentation. For more tips on making stunning home bakes, don’t forget to look through my guide on a great Homemade Brownie Recipe.
Storing and Serving Your Decadent Red Desserts
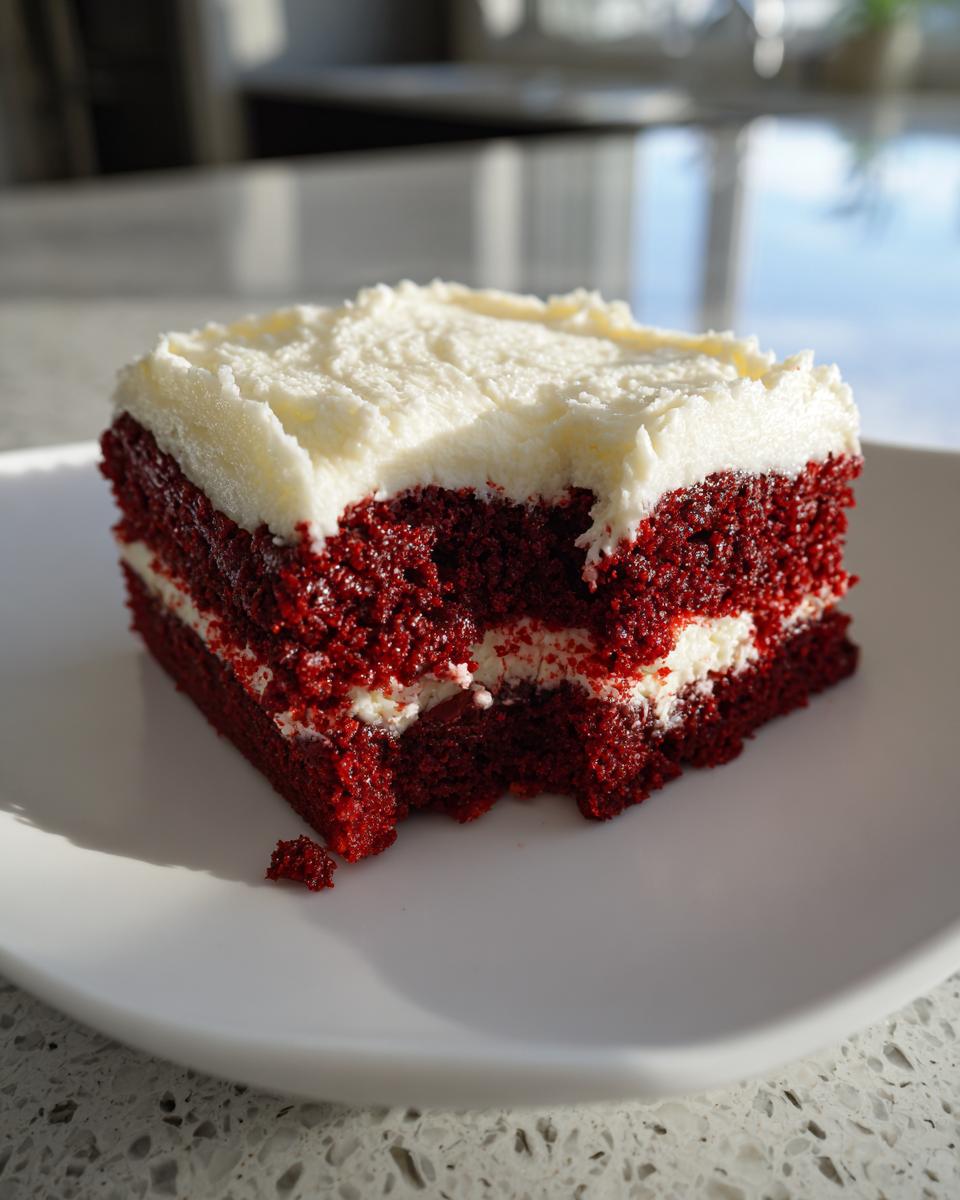
These Decadent Red Desserts are so rich you’ll probably have leftovers—though I doubt it! Since we have that lovely cream cheese element, storage is important. If you frosted them, I recommend keeping the pan lightly covered at room temperature for just a day, but for longer freshness, pop them in the fridge. They firm up a bit when cold, but they are wonderful eaten straight from the fridge.
If you want to serve them warm later, microwave a square for just 10 or 15 seconds. But here’s my personal suggestion for the ultimate experience: serve these slightly chilled alongside a tall glass of my New Orleans Iced Coffee. That cool, strong coffee flavor cuts right through the sweetness perfectly!
Frequently Asked Questions About Red Velvet Brownies
I know when you’re baking something special like these, you might have a few sneaky questions popping up! That’s totally normal, especially when trying to nail that perfect texture. I’ve pulled together some of the most common things folks ask me about these Cream Cheese Brownies so you can bake with confidence. We want these to be your go-to choice for Holiday Brownies! If you’re ever curious about quick morning fixes instead of dessert, I keep a bunch of simple ideas on our Easy Breakfast Recipes page.
Can I make red velvet brownies without buttermilk?
Oh absolutely, life happens and sometimes you just don’t have buttermilk hanging around! Don’t sweat it. The tanginess in buttermilk is important because it reacts subtly with the cocoa powder and enhances that classic red velvet flavor. Here’s my quick fix: For every half cup of buttermilk the recipe calls for, just use a half cup of regular milk and stir in half a teaspoon of white vinegar or lemon juice. Let it sit for about five minutes until it looks slightly curdled. Voila! You’ve got your homemade cultured milk ready to go. It keeps that essential little zing in the flavor, so you don’t lose anything.
How do I get the shiny, crackly top on my red velvet brownies?
This is, hands down, one of the most asked items about any truly great brownie, and yes, it’s achievable at home! That beautiful, shiny, often crackly cap isn’t usually about the food coloring; it’s about how you treat the sugar and eggs. You need to make sure that granulated sugar is thoroughly dissolved into your melted butter and eggs before you add in the flour. When you whisk those ingredients vigorously early on, you’re creating a sugar syrup base. As the brownie bakes and cools, that dissolved sugar creates that signature thin, shiny crust. It’s a key indicator of a fantastic Homemade Brownie Recipe, and it all stems from that initial mixing!
Nutritional Estimate for Homemade Red Velvet Brownies
Now, I know some of you are tracking macros or just like to know what you’re getting into when you bake something this delightfully rich. Since these are homemade from scratch, keep in mind that these numbers are just my best estimate based on the ingredients listed. Your white chocolate chips or the specific brand of cocoa powder you use can shift these around a little bit, so take these figures as a good guiding point!
We are looking at 16 generous brownies from this batch, which keeps things feeling reasonable for a weekend treat. But seriously, enjoy these—they are worth every single glorious bite. The recipe uses high-quality ingredients, so we get some great fats and a bit of protein, but yes, sugars are present because, well, they’re red velvet brownies!
- Serving Size: 1 brownie
- Calories: 350
- Sugar: 35
- Sodium: 250
- Fat: 21
- Saturated Fat: 12
- Unsaturated Fat: 9
- Trans Fat: 0
- Carbohydrates: 38
- Fiber: 1
- Protein: 4
- Cholesterol: 85
Again, this is just a snapshot! I developed this recipe to bring harmony to the table, not guilt. If you’re making these for parties or sharing them as wonderful Valentine Dessert Ideas, the enjoyment factor far outweighs ticking every health box. Focus on the flavor harmony!
Share Your Red Velvet Treats
Whew! We made it to the finish line, and I couldn’t be happier for you right now. I truly hope bringing these red velvet brownies into your kitchen brings you a little moment of calm and a whole lot of chocolatey joy. Baking really is about that rhythm, that symphony of flavors coming together perfectly.
If you ended up with a tray of these beauties—especially if you made them for a special spread of Valentine Dessert Ideas or as gorgeous additions to your holiday menu—I really want to see them! Don’t keep that deliciousness hidden away. Snap a picture and tag me online; I love seeing how my recipes show up in your kitchens around the country.
And hey, if you have a moment, come back here and leave a rating for the recipe. That feedback is invaluable; it lets me know what’s working and helps other cooks find this perfect fudgy brownie recipe. If you want to reach out with specific questions or just share a baking story, you can always get in touch via my Contact Page. Or, if you’re already thinking about what to bake next, you can check out this great recipe over at Cooktrove for another fun take on these treats!
PrintUltimate Fudgy Red Velvet Brownies with Tangy Cream Cheese Frosting
Find the simple harmony in baking with these rich, fudgy red velvet brownies. This recipe delivers a vibrant red color and dense texture, topped with a classic cream cheese frosting for a truly decadent dessert.
- Prep Time: 15 min
- Cook Time: 35 min
- Total Time: 50 min
- Yield: 16 brownies 1x
- Category: Dessert
- Method: Baking
- Cuisine: American
- Diet: Vegetarian
Ingredients
- 1 cup (2 sticks) unsalted butter, melted
- 2 cups granulated sugar
- 4 large eggs
- 1 tablespoon vanilla extract
- 1 teaspoon white vinegar
- 2 tablespoons red food coloring (gel preferred for vibrancy)
- 1 1/4 cups all-purpose flour
- 1/2 cup unsweetened cocoa powder
- 1 teaspoon salt
- 1/2 teaspoon baking soda
- 1/2 cup buttermilk
- 4 ounces cream cheese, softened (for swirl/frosting)
- 1/4 cup powdered sugar (for swirl/frosting)
- 1 tablespoon milk (for frosting)
Instructions
- Preheat your oven to 350°F (175°C). Line a 9×9 inch baking pan with parchment paper, leaving an overhang for easy removal.
- In a large bowl, whisk together the melted butter and granulated sugar until combined.
- Whisk in the eggs one at a time until fully incorporated. Stir in the vanilla extract and white vinegar.
- Add the red food coloring and mix until you achieve a uniform, vibrant red color.
- In a separate medium bowl, whisk together the flour, cocoa powder, salt, and baking soda.
- Gradually add the dry ingredients to the wet ingredients, mixing on low speed until just combined. Do not overmix.
- Gently stir in the buttermilk until the batter is smooth.
- Pour half of the brownie batter into the prepared pan.
- Prepare the cream cheese element: In a small bowl, beat the softened cream cheese until smooth. Beat in the powdered sugar and milk until you have a smooth, spreadable frosting consistency.
- Drop spoonfuls of the cream cheese mixture over the batter in the pan. Pour the remaining brownie batter over the top.
- Use a knife or skewer to gently swirl the cream cheese mixture into the batter to create a marbled effect.
- Bake for 30 to 35 minutes, or until a toothpick inserted near the center comes out with moist crumbs attached, indicating a fudgy texture.
- Let the brownies cool completely in the pan on a wire rack.
- Once cool, you may spread the remaining cream cheese mixture (if you reserved some) or a simple glaze over the top before cutting into squares.
Notes
- For the fudgiest texture, avoid overbaking. Moist crumbs on the toothpick mean they are done.
- Use gel food coloring for the most intense, vibrant red color without thinning the batter.
- If you prefer a cream cheese swirl instead of a full frosting layer, reduce the cream cheese mixture ingredients by half and only swirl it into the batter before baking.
Nutrition
- Serving Size: 1 brownie
- Calories: 350
- Sugar: 35
- Sodium: 250
- Fat: 21
- Saturated Fat: 12
- Unsaturated Fat: 9
- Trans Fat: 0
- Carbohydrates: 38
- Fiber: 1
- Protein: 4
- Cholesterol: 85