
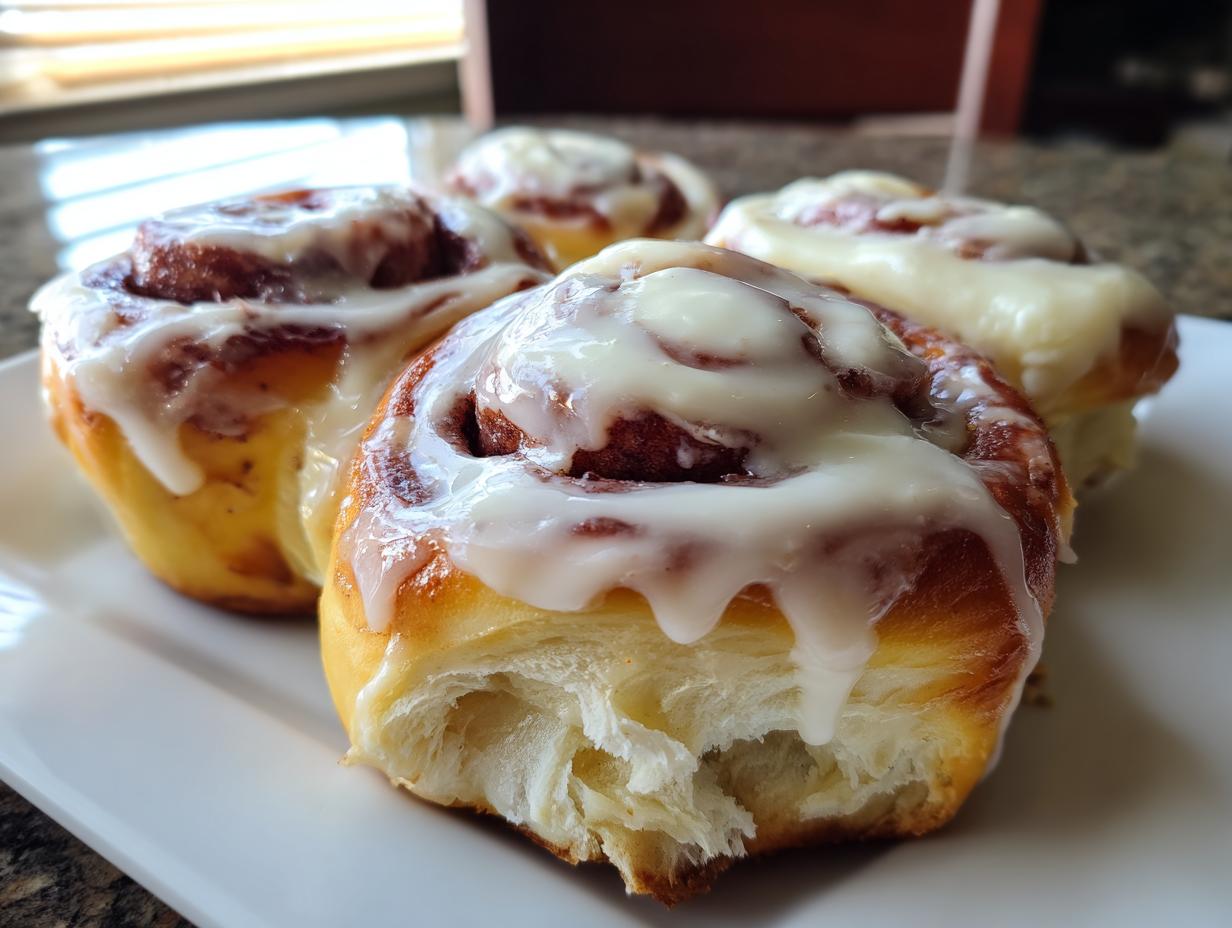
Let’s be honest, sometimes breakfast demands something a little richer than toast, something that feels like a celebration even if it’s just Tuesday. That’s where these **red velvet cinnamon rolls** sneak into my kitchen! Forget those dry, dense versions you sometimes find—we are making these completely from scratch, aiming for that unbelievably soft, fluffy texture that pulls apart in ribbons.
The entire goal here, which Michael Carter brings into every recipe he develops, is foolproof baking. He makes sure that even if you’re new to yeast doughs, you’ll end up with bakery style cinnamon rolls that are vibrant red, deeply flavored, and absolutely drowning in that necessary cream cheese icing. If you’re looking for the ultimate sweet breakfast ideas, you just found them. You might want to check out some of our other easy breakfast recipes once you master this one, but trust me, this one is worth the effort!
- Why You Will Love These Soft & Fluffy red velvet cinnamon rolls
- Ingredients for the Best red velvet cinnamon rolls Recipe
- Step-by-Step Instructions for Homemade red velvet cinnamon rolls
- Tips for Success with Homemade red velvet Baking
- Storage & Reheating Instructions for red velvet cinnamon rolls
- Serving Suggestions for Holiday Breakfast Treats
- Frequently Asked Questions about red velvet cinnamon rolls
- Estimated Nutritional Data for red velvet cinnamon rolls
- Share Your Homemade red velvet Cinnamon Rolls Experience
Why You Will Love These Soft & Fluffy red velvet cinnamon rolls
Honestly, what’s not to love? When I first started tinkering with these, I vowed they had to meet three main criteria for us to keep them around. These aren’t just any sweet breakfast ideas; they’re an event!
- They are genuinely soft AND fluffy. We nail the yeasted dough so they feel light, not heavy like bread.
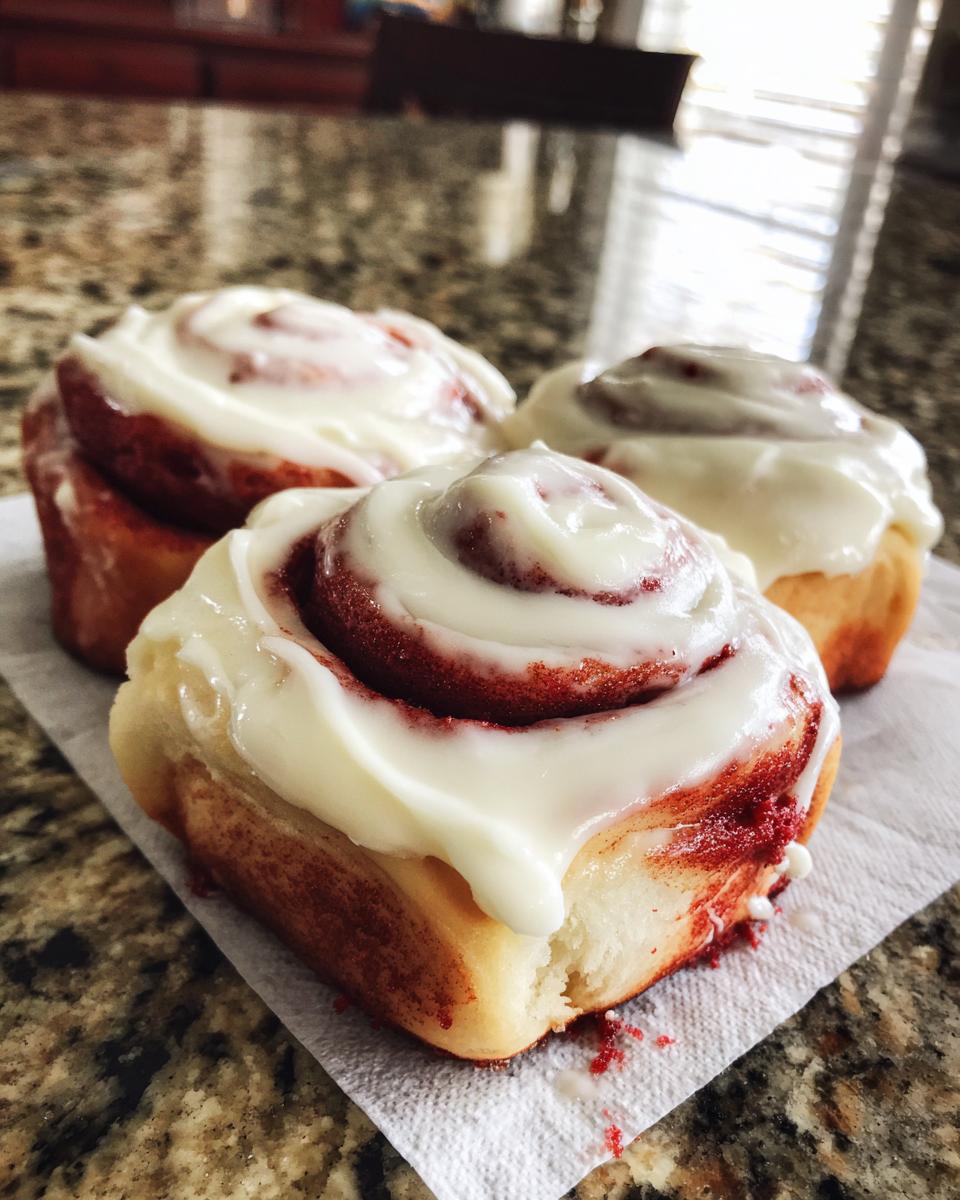
- That iconic, vibrant red color—it makes them perfect for Valentine’s Day dessert ideas or Christmas morning cinnamon rolls!
- The filling isn’t boring! We use a mix of brown sugar and cinnamon for that perfect swirl inside these **red velvet cinnamon rolls**.
- The topping is non-negotiable: our homemade cream cheese icing for cinnamon rolls is totally addictive and balances the cake flavor beautifully.
- While you *can* use cake mix, these are made from scratch, giving you that superior, deep flavor you only get with homemade red velvet baking.
- They make fantastic holiday breakfast treats that look spectacular when you bring them out warm from the oven!
Seriously, these are easy enough for a weekend brunch but impressive enough for company. You’re going to want to make a double batch!
Ingredients for the Best red velvet cinnamon rolls Recipe
Okay, this is where the magic starts! Getting the right ingredients—and treating them right—is how we get those perfectly soft, fluffy red velvet rolls instead of a dense brick. Don’t skip the notes because they are Michael’s secrets for making sure this cinnamon roll casserole-style dough works every single time!
For the Fluffy red velvet cinnamon rolls Dough
This is the base that gives us that gorgeous rise and that signature red hue:
- 1 cup warm water. And I mean warm, not hot! You want it between 105-115°F so you don’t kill your yeast.
- 2 1/4 teaspoons active dry yeast.
- 1/2 cup granulated sugar, and we split this up between activating the yeast and the rest of the dough.
- 1/2 cup unsalted butter, melted because we are incorporating it early.
- 1 large egg, room temperature is best!
- 1 teaspoon vanilla extract—got to have that depth!
- 1/2 teaspoon salt.
- 3 1/2 to 4 cups all-purpose flour, plus extra for dusting when we knead.
- 2 tablespoons unsweetened cocoa powder—this is what gives it the chocolate hint.
- 1 tablespoon red food coloring. Seriously, use the gel kind if you can find it! Liquid food coloring can sometimes throw off the hydration in the dough, and we need this dough perfect.
For the Sweet Cinnamon Filling
This filling is what makes them classic cinnamon rolls underneath the red velvet layer. Soft butter is key here, trust me!
- 1/2 cup unsalted butter, softened to room temperature.
- 1 cup packed light brown sugar. Make sure it’s packed firmly!
- 2 teaspoons ground cinnamon.
For the Cream Cheese Icing for Cinnamon Rolls
You cannot mess this up. The tang from the cream cheese is what cuts through the richness of the roll itself. Always start with softened fats for the creamiest cream cheese icing for cinnamon rolls:
- 8 ounces cream cheese, softened.
- 1/2 cup (1 stick) unsalted butter, softened.
- 3 cups powdered sugar, sifted. Don’t skip sifting; nobody likes lumps in their glaze!
- 1 teaspoon vanilla extract.
- 1-2 tablespoons milk or heavy cream. We add this slowly until it’s perfect.
Step-by-Step Instructions for Homemade red velvet cinnamon rolls
Alright, deep breath! Making yeast dough from scratch can sound intimidating, but these steps walk you through exactly how we get these from scratch cinnamon rolls to be so incredibly fluffy. It’s all about timing and temperature, friends.
Remember, patience here is what separates a good roll from an *amazing* one. If you want those showstopper results like the ones you see on Heavenly Red Velvet Cinnamon Rolls, stick close to these directions!
Activating Yeast and Mixing the red velvet Dough
First things first, we wake up the yeast! Pour your warm water—make sure it’s between 105°F and 115°F—into your big mixing bowl. Add the yeast and just one tablespoon of your granulated sugar. You need to watch it bubble up; if nothing happens after five or ten minutes, your water was too hot or too cold, and we have to start that step over. Trust me, good yeast activity is everything.
Once it’s happy and foamy, whisk in the melted butter, the rest of the sugar, the egg, vanilla, and salt really well. Now for the fun red part! In a separate bowl, mix your 3 1/2 cups of flour gently with the cocoa powder. Then, right before you add it to the wet stuff, mix in your red food coloring until it looks like slightly streaky red paste. Gradually add this flour mix into your liquid ingredients. Mix it until it’s shaggy, meaning it’s just barely holding together. Don’t worry about making it smooth yet!
Kneading and First Rise for Fluffy red velvet Rolls
Time to get your hands dirty! Turn that shaggy mess onto a lightly floured counter. You are going to knead this dough for about six to eight minutes. You are looking for smooth and elastic—it should stretch without tearing too easily. If it’s sticking horribly to your hands or the counter, add a tiny bit more flour, maybe a tablespoon at a time. Once it feels nice and workable—that’s your cue!
Lightly grease a clean bowl, place your beautiful red dough ball inside, and turn it over once so it’s coated in a little oil. Cover the bowl tightly with plastic wrap or a clean kitchen towel. Put this contraption somewhere warm—my oven with the light on is perfect—and let it happily double in size. This usually takes about 1 to 1.5 hours, depending on how warm your kitchen is.
Filling, Shaping, and Second Rise of red velvet cinnamon rolls
While that dough is puffing up, whip up your filling. You want the butter to be totally softened (squishy!) so you can beat it easily with the brown sugar and cinnamon until it looks like smooth, sweet red mud. Set that aside.
Once the dough has doubled, gently punch the air out—we need to make room for the delicious filling! Roll that dough out on your countertop into a big rectangle, aiming for about 12 inches by 18 inches. Think of it almost like setting up an algebra problem; be precise!
Smear that butter filling all over the dough, but stop about an inch short on one long side; this border seals the deal later. Now, starting from the edge *opposite* that border, roll it up super tight, like a sleeping bag. Pinch that seam closed; this stops the rolls from unraveling as they bake. Use a sharp, un-serrated knife or some unflavored dental floss—I swear by the floss trick for clean cuts—to cut the log into 12 equal pieces. Place these cut rolls into your greased 9×13 pan, cover them again, and let them rest until they look puffy again. That second rise is shorter, about 30 to 45 minutes.
Baking and Preparing the Cream Cheese Icing for Cinnamon Rolls
When those rolls are looking delightfully puffy, fire up your oven to 375°F (190°C). Bake them for about 20 to 25 minutes. They are done when the tops look set and you see just a tiny bit of golden brown peeking through the red edges. You don’t want them dark!
While they are baking, tackle that frosting! You absolutely must beat your softened cream cheese and softened butter together until they look truly smooth—no lumps allowed. Then, slowly introduce the sifted powdered sugar and vanilla. Keep the mixer on low until it’s incorporated, then bring it up slowly. If it looks too stiff to spread, add your milk or cream just one tablespoon at a time. We are aiming for that perfect, slightly runny, rich and creamy dessert texture.
You can find more ideas for amazing cream cheese sweet rolls on the blog, too!
Final Frosting of the red velvet cinnamon rolls
This is my favorite part, but timing is everything! Don’t frost them straight out of the oven; they’ll just melt into a puddle. But don’t let them cool completely either, or the frosting won’t spread. Wait about 5 to 10 minutes after they come out of the oven. Use a sturdy spatula to spread that luscious cream cheese icing generously over the warm tops. The residual heat melts the frosting just enough so that it drips down into every crack and crevice. That warm, gooey feeling is why we bake them in the first place!
Tips for Success with Homemade red velvet Baking
Okay, we made it through the kneading and the rising, which are the scariest parts! Now, here are a few little tricks Michael swears by—and that I’ve learned the hard way—to elevate these from “good” to “I can’t believe you made these at home” level. Getting the right color and the right structure for these moist banana bread-adjacent recipes is crucial.
I remember the first time I made these; I used liquid food coloring because that’s all I had in the pantry, and the dough felt soupy! I nearly trashed the whole batch. Now, I’m militant about using the gel kind. It saves the dough structure, and you get the vibrancy you’re looking for. You want those stunning visuals, right?
If you want your rolls to look just as stunning as the ones you see on Easy Red Velvet Cinnamon Rolls recipes, pay attention to these details while you bake!
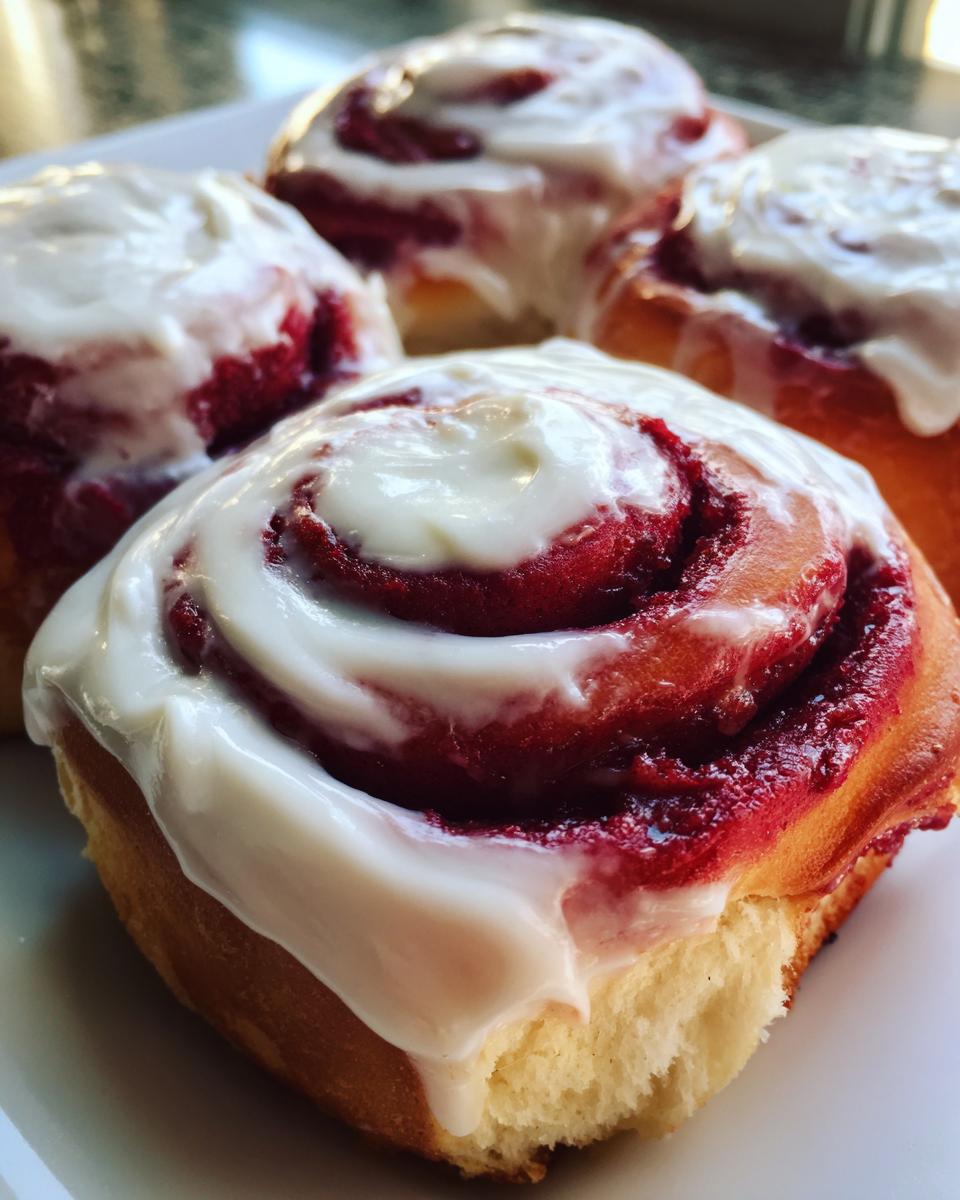
Achieving the Perfect Red Hue
I’m serious about the gel coloring. Liquid food coloring is mostly water, and since yeast dough is already sensitive to too much liquid, adding a heavy dose of red drops can make your dough sticky and hard to handle. Gel food coloring is concentrated, so you only need a little dab to get that deep, dramatic red velvet glow we are after. Less liquid means your dough stays workable and elastic, which is exactly what we want.
When you mix it in, try to fully incorporate the color into the melted butter and sugar *before* you add the flour. This pre-mixing helps distribute the pigment evenly across the fat molecules, giving you a more uniform color throughout the final swirl.
Ensuring Bakery Style Cinnamon Rolls Texture
The biggest texture killer is usually over-flouring during kneading. You need enough flour to keep the dough from sticking horribly, but if you add too much, your beautiful, light rolls turn into little hockey pucks. Remember, the dough is supposed to feel a little tacky when you take it off the counter, but it shouldn’t leave major residue on your hands.
The real test is elasticity. After kneading for those 6 to 8 minutes, try the windowpane test. Take a small piece of dough and gently stretch it between your fingers. If you can stretch it thin enough to see light through it without it tearing immediately—maybe not perfectly clear like glass, but close—then you’ve developed enough gluten structure. That strong gluten network holds onto the gasses from the yeast, which is what creates those incredible, light, airy pockets inside these **bakery style cinnamon rolls**.
Storage & Reheating Instructions for red velvet cinnamon rolls
So, what happens if you can’t eat all twelve of these amazing rolls in one sitting? Believe me, that’s a pipe dream in my house, but you might be sharing them, so here’s how to keep them magnificent.
If you have leftovers that are already frosted, you need to be careful. The cream cheese icing isn’t a huge fan of long counter vacations, so for more than a few hours, wrap them tightly in plastic wrap and pop them right into the fridge. They should last about 3 to 4 days this way. If you happen to have any rolls left that you haven’t frosted yet, wrap those even tighter, air-tight, and they will easily last about two days on the counter.
Reheating to Restore That Gooey Warmth
The goal when reheating these is to bring back that fresh-out-of-the-oven, gooey feeling. You don’t want them hot enough to melt the frosting completely off, but warm enough to make the dough soft again.
- For a single serving (Microwave): This is the fastest way! Pop one roll on a microwave-safe plate and heat it for about 10 to 15 seconds. That’s usually enough time for the dough to relax and soften up beautifully.
- For a whole batch (Oven): If you’ve got a few to reheat, wrap the covered dish tightly in foil first—this locks in the moisture. Heat them at 300°F for about 10 minutes until they are warm all the way through. Remember to re-frost them if the icing got weird while chilling!
If you really want to get ahead for a special brunch, you can assemble the rolls, put them in the baking dish, cover them, and refrigerate them overnight. The next morning, just leave them on the counter for about an hour while the oven comes up to temperature. They’ll have a slightly longer second rise (maybe you skip the second rise altogether!), but they bake up just as well!
Serving Suggestions for Holiday Breakfast Treats
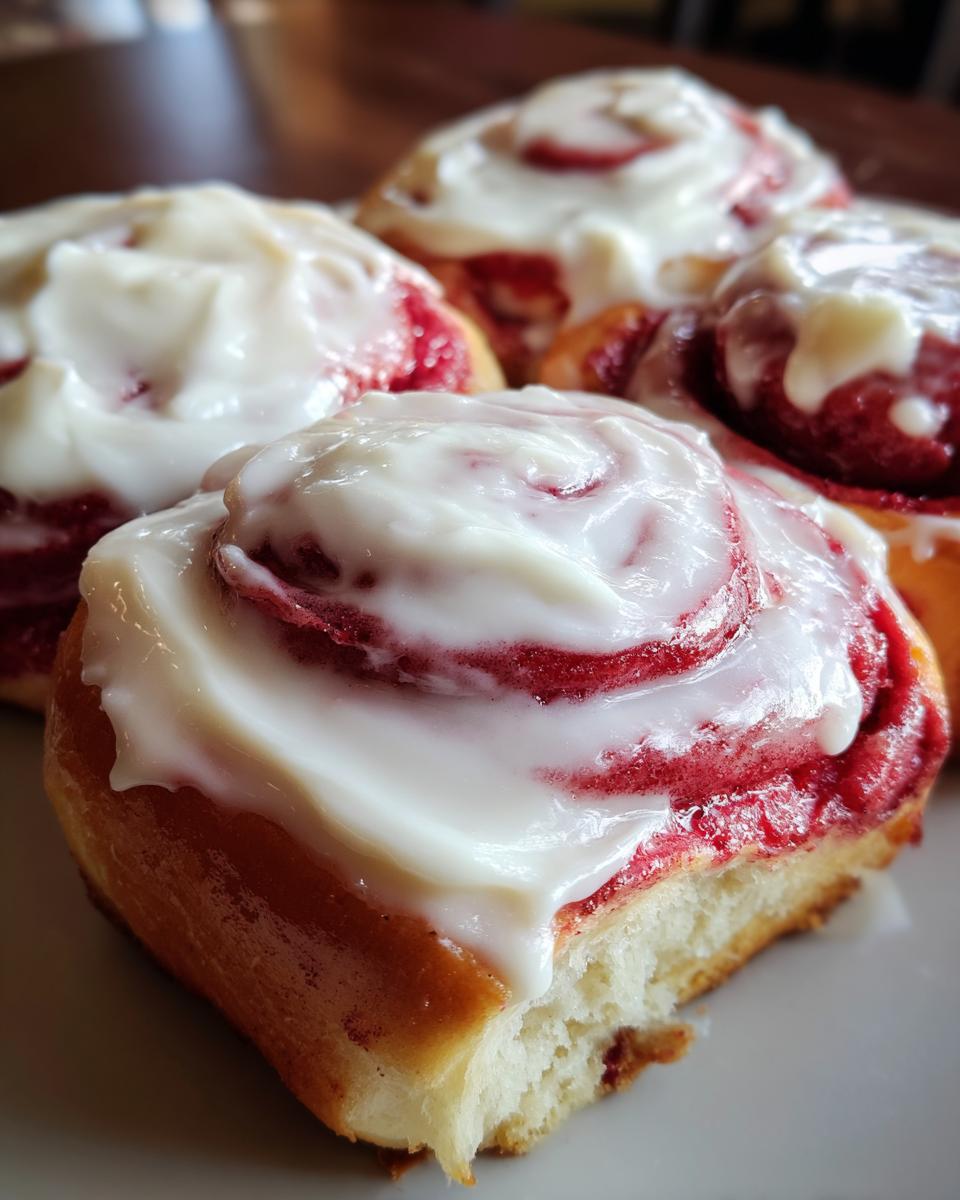
These **red velvet cinnamon rolls** are so decadent they can totally take center stage at any brunch buffet. That beautiful red color just screams celebration, doesn’t it? They’re rich enough to be dessert, but we’re serving them up for an indulgent morning spread.
Since these rolls pack a lot of sweet flavor and richness—thanks to all that butter and cream cheese icing—you need beverages that can cut through that without adding more sugar overload. Think about what you’d serve with an exceptionally great slice of chocolate cake!
Beverage Pairings for Balance
When serving these at a special occasion, I always look for something slightly tart or strongly flavored to balance the richness. These aren’t your plain old morning coffee rolls, though a good cup of joe definitely helps!
- Strong Black Coffee: Nothing beats a strong brew. If you’re serving this for a holiday breakfast treat, try making a batch of New Orleans Iced Coffee—the bitterness and chicory elevate the whole experience.
- Tart Citrus Punch: Something bright, like an orange or grapefruit-based drink, really cleanses the palate between bites of sweet roll. A good Cranberry Orange Punch works perfectly when you need a festive, non-alcoholic option that pops.
- Cold Milk: I’m not even going to lie. Sometimes, nothing beats a tall, ice-cold glass of whole milk to wash down a sweet, gooey roll. My kids always go for this!
Side Dishes That Complete the Spread
Because these rolls are so filling, you don’t need a massive spread. Focus on something light or savory to balance out all that sugar. Think of them as a decadent bread course!
For a large brunch, I love setting out a big bowl of fresh, seasonal fruit salad—berries, melon… things that are cool and crisp. If you need something warm and savory to balance this amazing **sweet breakfast idea**, try making simple scrambled eggs or a platter of crisp bacon. The saltiness of the bacon next to the sweet, tart cream cheese icing? Whew! That combination is unbeatable.
These rolls are just so visually stunning, they honestly don’t need much help, whether you’re making them for Valentine’s Day dessert ideas or just treating yourself!
Frequently Asked Questions about red velvet cinnamon rolls
I get so many questions every time I post these! You guys are clearly as obsessed with **red velvet cinnamon rolls** as I am. Here are the most common things people ask me about getting this recipe just perfect. If you’ve managed to make an Easy Red Velvet Dessert recently, you know the details matter!
Can I make red velvet cinnamon rolls using cake mix?
Oh, gosh, I get this one all the time! Yes, you absolutely *can* use cake mix as a total shortcut. There are tons of recipes out there that use red velvet cake mix to speed things up if you’re in a real pinch. But listen, if you have the time, I really, really encourage you to try making these **from scratch cinnamon rolls** like we detailed above. The texture of homemade yeast dough is just night-and-day better—so much softer and fluffier than anything you get from opening a box. Stick with our method for the best results!
How do I prevent my red velvet cinnamon rolls from drying out?
The number one killer of a good cinnamon roll is dryness! The best defense starts during the mixing process. Make sure you don’t over-flour the dough when you’re kneading it. It absolutely needs to feel a little soft and yielding—tacky, not dry. If you’re making them ahead and storing them in the fridge (which is a great move!), always keep them covered tightly with plastic wrap. If you do happen to pull one out the next day that seems a bit stiff, heating it briefly with a tiny splash of milk or a dab of butter on top will revive that moisture instantly!
What is the best time to make these for Christmas Morning Cinnamon Rolls?
If you use these for **Christmas Morning Cinnamon Rolls**, you need a game plan because nobody wants to be kneading dough at 6 AM! The absolute best way to handle this is to prepare everything through Step 6 (making the filling) the night before. Then, mix and knead your dough, let it do its first rise, punch it down, and roll it out.
Skip the second rise. Spread the filling, roll it up, slice it, and place the raw rolls in your baking dish. Cover the whole thing tight with plastic wrap and put it in the fridge overnight. In the morning, pull them out while you’re making coffee—let them sit on the counter for about 45 minutes to an hour to warm up slightly—and then pop them straight into the oven. They bake up perfectly, smelling incredible, just as everyone wakes up ready to eat!
You can also find instructions for using cake mix if you need a faster route, like those found here: Red Velvet Cake Mix Cinnamon Rolls, but promise me you’ll try the scratch version soon!
Estimated Nutritional Data for red velvet cinnamon rolls
I always feel a little funny putting numbers next to something this delicious, because honestly, when you’re making something this special, we aren’t really counting calories, right?
However, for everyone out there who asked—Michael tracked this for us based on the standard ingredients listed. These figures are just estimates, of course! Where you buy your butter or how heavy-handed you are with that dreamy cream cheese icing will change the final tally. So please treat these as a general guide for one roll, not lab results!
- Serving Size: 1 roll
- Calories: 450
- Sugar: 45g
- Sodium: 350mg
- Fat: 22g
- Saturated Fat: 14g
- Unsaturated Fat: 8g
- Trans Fat: 0.5g
- Carbohydrates: 58g
- Fiber: 2g
- Protein: 6g
- Cholesterol: 55mg
Just keep that in the back of your mind when you’re reaching for that second one! If you are trying to keep things a bit lighter—though I don’t recommend it for a first try!—you can always reduce the amount of icing you put on top, which is where most of that sugar lives.
Share Your Homemade red velvet Cinnamon Rolls Experience
Now that you’ve made these gorgeous, fluffy **red velvet cinnamon rolls**, I absolutely need to know how they turned out! Seriously, nothing makes my day quite like hearing that you successfully tackled a yeast dough and ended up with something incredible in your own kitchen.
If you loved them as much as we do, please be a sweet friend and leave a rating right here on the post! Star ratings help other home cooks like you find recipes that work, and that’s the whole point of Delish Symphony—sharing delicious, foolproof baking methods.
Don’t forget to snap a picture of your beautiful red swirl, especially if you managed to get that perfect ribbon effect, and tag us on social media! Seeing your kitchen creations makes the whole process worthwhile. We love sharing reader photos on our stories and celebrating your success! If you’re looking for more indulgent bakes after conquering these rolls, check out our full collection of delicious dessert recipes.
Have questions about your rise time or how to get that icing extra smooth? Drop a comment below! I read every single one, and I’m happy to jump in and help troubleshoot. Happy baking, everyone!
PrintSoft & Fluffy Red Velvet Cinnamon Rolls with Classic Cream Cheese Frosting
Make soft, fluffy red velvet cinnamon rolls from scratch. These rolls feature a rich red color and flavor, a sweet cinnamon filling, and are topped with a creamy, tangy cream cheese icing.
- Prep Time: 30 min
- Cook Time: 25 min
- Total Time: 2 hr 35 min
- Yield: 12 servings 1x
- Category: Breakfast
- Method: Baking
- Cuisine: American
- Diet: Vegetarian
Ingredients
- 1 cup warm water (105-115°F)
- 2 1/4 teaspoons active dry yeast
- 1/2 cup granulated sugar, divided
- 1/2 cup unsalted butter, melted
- 1 large egg
- 1 teaspoon vanilla extract
- 1/2 teaspoon salt
- 3 1/2 to 4 cups all-purpose flour, plus more for dusting
- 2 tablespoons unsweetened cocoa powder
- 1 tablespoon red food coloring (gel preferred)
- For the Filling:
- 1/2 cup unsalted butter, softened
- 1 cup packed light brown sugar
- 2 teaspoons ground cinnamon
- For the Cream Cheese Frosting:
- 8 ounces cream cheese, softened
- 1/2 cup (1 stick) unsalted butter, softened
- 3 cups powdered sugar, sifted
- 1 teaspoon vanilla extract
- 1–2 tablespoons milk or heavy cream
Instructions
- Activate the yeast: In a large bowl, combine the warm water, yeast, and 1 tablespoon of the granulated sugar. Let stand for 5-10 minutes until foamy.
- Mix the dough: Add the melted butter, remaining granulated sugar, egg, vanilla extract, and salt to the yeast mixture. Stir to combine.
- In a separate bowl, whisk together 3 1/2 cups of flour, cocoa powder, and red food coloring until the color is uniform. Gradually add the flour mixture to the wet ingredients, mixing until a shaggy dough forms.
- Knead the dough: Turn the dough out onto a lightly floured surface. Knead for 6-8 minutes until the dough is smooth and elastic. Add small amounts of the remaining flour if the dough is too sticky.
- First rise: Place the dough in a lightly oiled bowl, turning once to coat. Cover the bowl and let it rise in a warm place for 1 to 1.5 hours, or until doubled in size.
- Prepare the filling: While the dough rises, beat together the softened butter, brown sugar, and cinnamon until smooth and well combined. Set aside.
- Shape the rolls: Gently punch down the risen dough. Roll it out on a lightly floured surface into a large rectangle, approximately 12×18 inches.
- Spread the filling evenly over the dough, leaving a 1-inch border along one long edge.
- Starting from the long edge opposite the border, tightly roll the dough into a log. Pinch the seam closed.
- Cut the log into 12 equal rolls (about 1.5 inches thick).
- Second rise: Place the rolls in a greased 9×13 inch baking dish. Cover and let rise again for 30-45 minutes until puffy.
- Preheat your oven to 375°F (190°C). Bake for 20-25 minutes, or until the tops are set and lightly golden brown around the edges.
- Make the frosting: While the rolls bake, beat the softened cream cheese and butter together until smooth. Gradually beat in the powdered sugar and vanilla extract. Add milk or cream, one tablespoon at a time, until you reach a smooth, spreadable consistency.
- Frost the rolls: Remove the rolls from the oven and let them cool for 5-10 minutes before generously spreading the cream cheese frosting over the warm rolls.
Notes
- For a quicker dough, you can use a no-knead method; allow the dough to rise for 2 hours instead of the initial 1-hour rise.
- Use gel food coloring for the most intense red color without adding too much liquid to the dough.
- If you prefer a less sweet glaze, reduce the powdered sugar by 1/2 cup.
Nutrition
- Serving Size: 1 roll
- Calories: 450
- Sugar: 45g
- Sodium: 350mg
- Fat: 22g
- Saturated Fat: 14g
- Unsaturated Fat: 8g
- Trans Fat: 0.5g
- Carbohydrates: 58g
- Fiber: 2g
- Protein: 6g
- Cholesterol: 55mg