
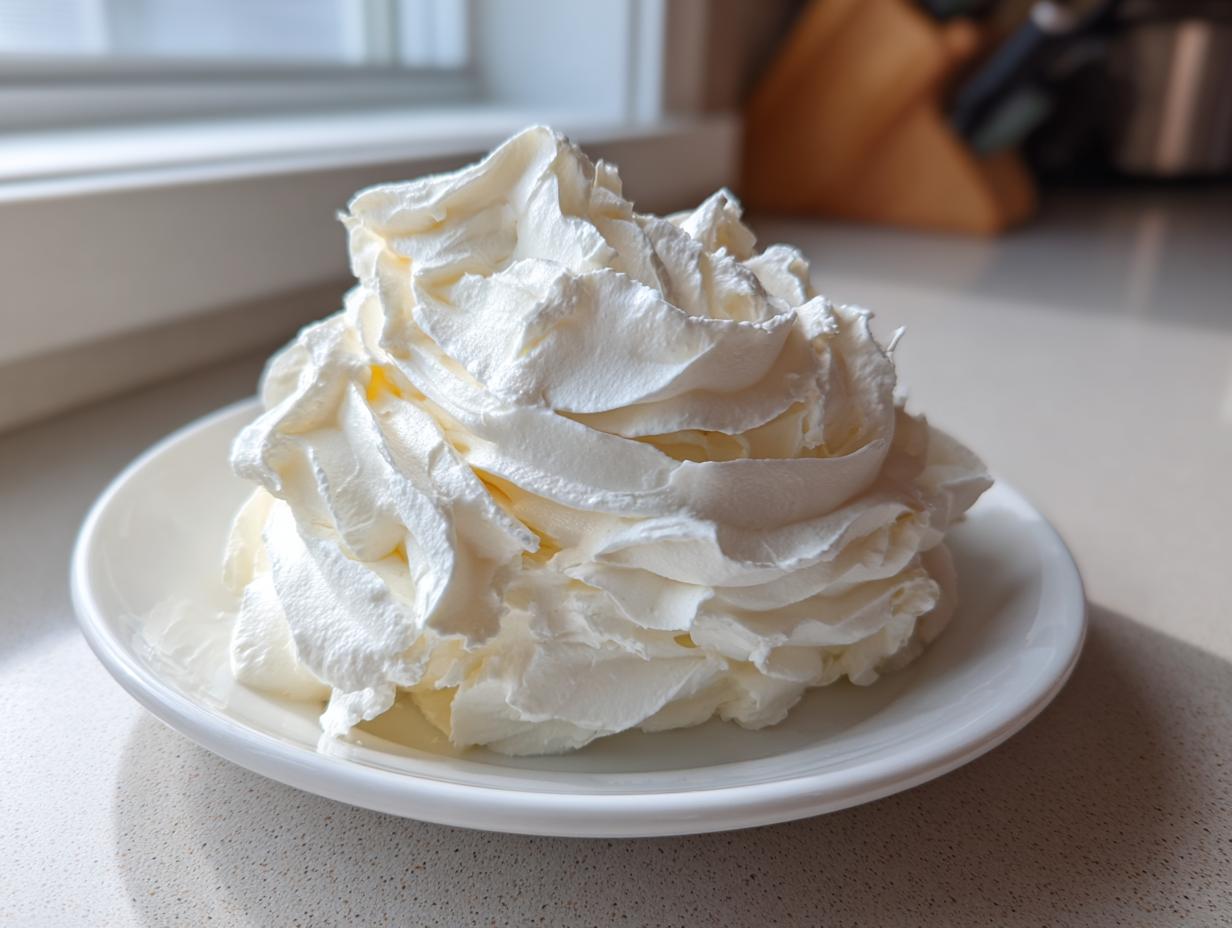
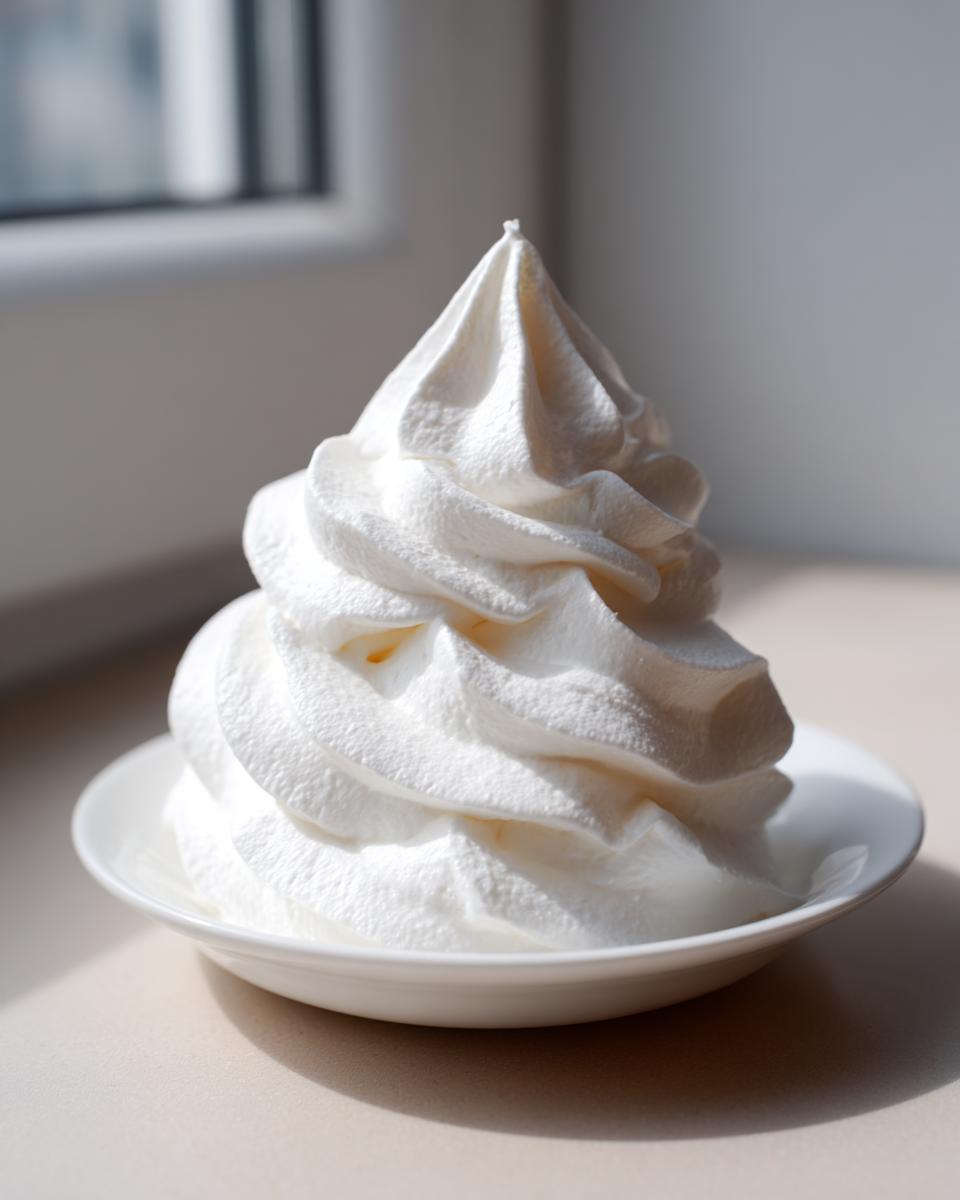
There’s nothing quite like that moment when you pull the mixer bowl away and realize you’ve achieved it—that perfect, cloud-like swirl. If you’ve spent time wrestling with grainy, soupy, or just stubbornly flat frosting, I get it. I’m Mike Carter, and here at Delish Symphony, we keep things simple and focus on flavor harmony. That’s why I spent years perfecting this vanilla buttercream recipe. Trust me when I say this is the foolproof, ultra-smooth homemade creamy frosting you can have ready for your cakes or cupcakes in under 15 minutes. We build flavor through practical techniques, making sure you get that silky texture every time without any fuss. You can read more about how we approach cooking over at our story page.
- Why This is the Best Ever vanilla buttercream Recipe
- Ingredients for Your Silky vanilla buttercream Recipe
- How to Prepare Fluffy vanilla buttercream for Cupcakes
- Tips for Success with Your Classic vanilla icing
- Troubleshooting Common Issues with vanilla buttercream
- Serving Suggestions for Best vanilla frosting for Cakes
- Storage & Reheating Instructions for Homemade Creamy Frosting
- Frequently Asked Questions About This No-Fail vanilla buttercream Tutorial
- Estimated Nutritional Data for vanilla buttercream
Why This is the Best Ever vanilla buttercream Recipe
I truly believe this is the ultimate recipe because I engineered it for reliability. I tested this batch after batch until I could confidently call it a no-fail buttercream tutorial. The resulting homemade creamy frosting is stable, pipeable beautifully, and it never struggles with graininess, which is a huge win! When I was still stuck in my IT job, I needed desserts that looked professional but took minimal effort. This recipe delivers that consistent, silky finish every time. We focus on fundamentals here at Delish Symphony, which is why we recommend checking out our focus on other quick weeknight methods too, like our weeknight staples.
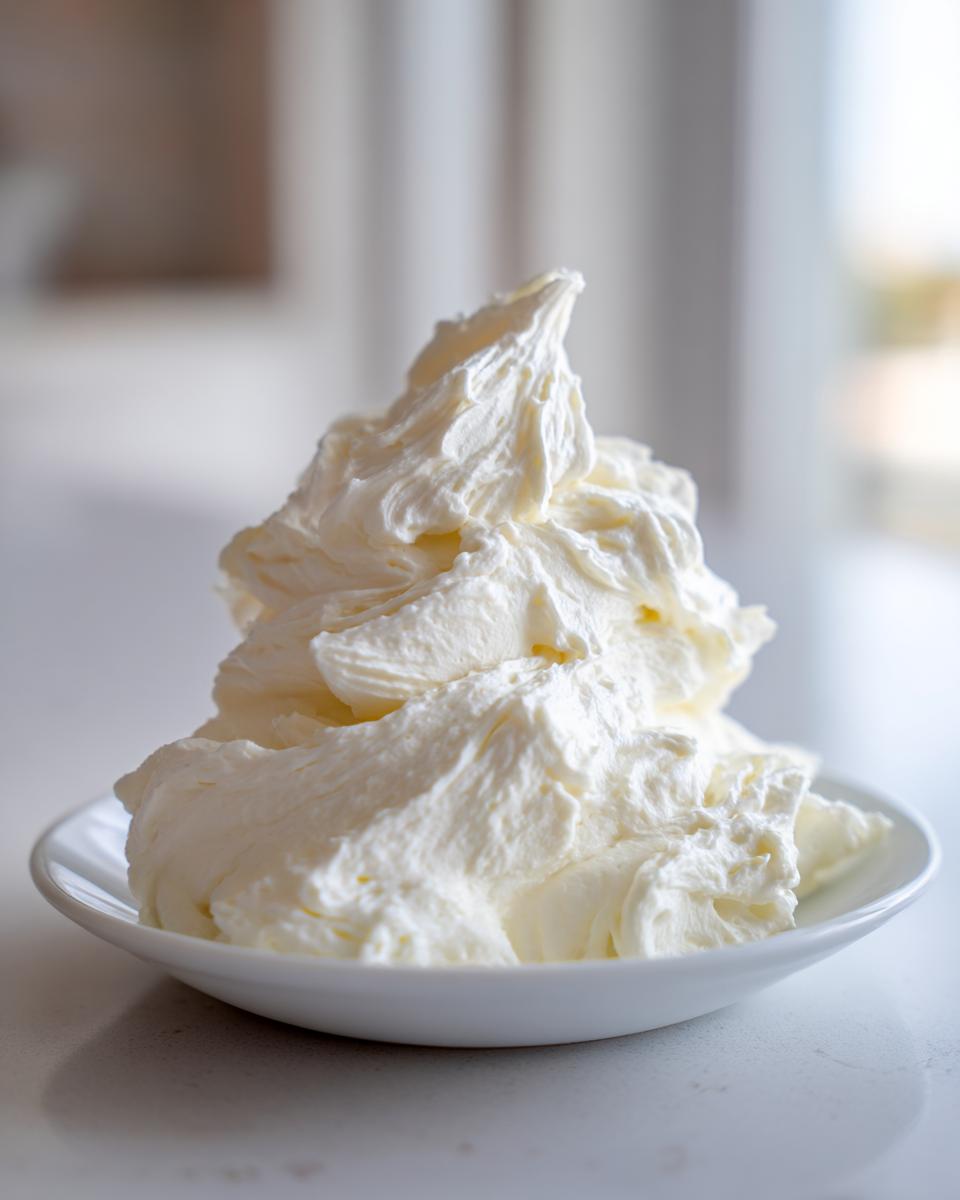
Achieving Ultra-Smooth vanilla buttercream Texture
The secret to ditching that gritty mouthfeel lies in two non-negotiable steps. First, your butter must be perfectly room temperature—soft, but definitely not melting or greasy. Second, you absolutely have to sift your powdered sugar. I know it’s annoying, but those tiny lumps turn into no grain buttercream particles if you skip it. Don’t skip the sifting, I swear this makes all the difference for that wonderful, velvety smooth texture you’re looking for.
Quick Dessert Topping Ready in Minutes
For those busy nights when you need an impressive finish fast, this is your answer. Honestly, this entire American buttercream recipe comes together in about 10 to 15 minutes total. That’s it! You get this rich, classic vanilla buttercream ready to go without waiting for complicated syrups or cooling stages. It’s the definition of making something simple feel truly special, fast.
Ingredients for Your Silky vanilla buttercream Recipe
To make sure your frosting meets that high standard for a silky buttercream recipe, you need to be precise with what you bring to the mixer. You’ll start with one cup of unsalted butter, and listen closely—it needs to be perfectly softened, meaning room temperature, folks! Then, grab three and a half cups of powdered sugar, but you have to sift it first so we avoid any grittiness. Don’t forget the flavor boosters: one teaspoon of pure vanilla extract, a little pinch of salt for balance, and you’ll finish it off with anywhere from two to four tablespoons of heavy cream or milk, depending on how thick you want your finished classic vanilla icing.
How to Prepare Fluffy vanilla buttercream for Cupcakes
Alright, let’s get mixing! This is where the magic happens that turns simple butter and sugar into light, fluffy buttercream for cupcakes. We are using the paddle attachment on the stand mixer for this whole operation—it really helps knock in that air we need for volume. Just follow these steps carefully, and you’ll have beautiful piping consistency frosting in no time. If you’re whipping up something amazing, make sure to check out our huge collection of dessert recipes for ideas!
Creaming the Butter Base
First things up: get that perfectly room temperature butter into your mixer bowl. You need to beat this stuff on medium speed until it is looking perfectly smooth and totally creamy, which takes about three solid minutes. Don’t rush it! Once it looks good, grab your spatula and scrape down the entire inside of that bowl. We want everything evenly incorporated before we start adding anything else.
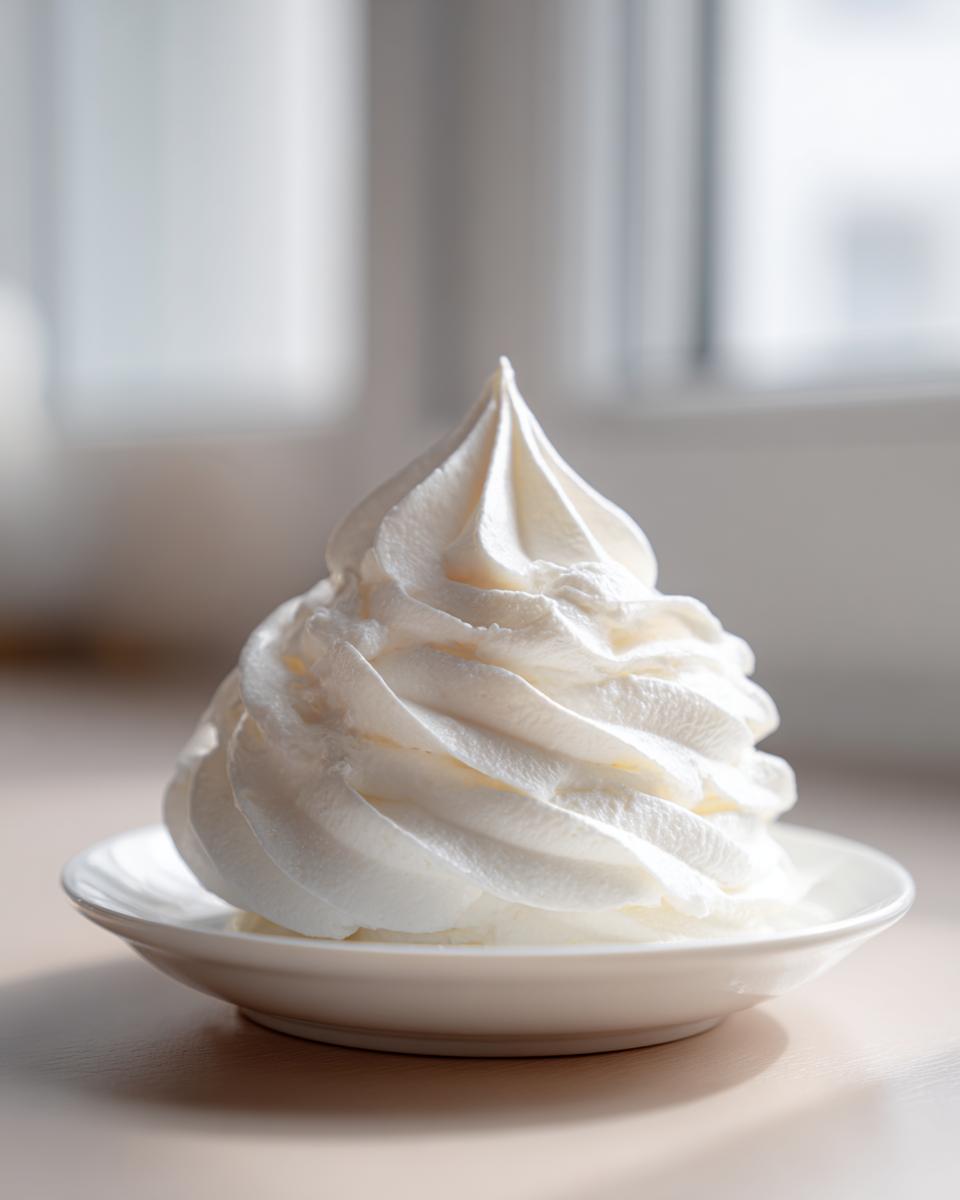
Incorporating Sugar and Achieving Piping Consistency Frosting
Next, you’re going to toss in that sifted powdered sugar, one cup at a time, mixing on low speed only until it just disappears into the butter. After that, add your vanilla and salt. Now, turn the speed up to medium-high. This is the most important part for getting that super smooth buttercream icing: you must beat it for a full three to five minutes once you add two tablespoons of heavy cream! That whipping time is what makes it airy and light, ensuring you get proper piping consistency frosting that holds its shape.
Tips for Success with Your Classic vanilla icing
Look, every home cook runs into a little snag now and then, but with this classic vanilla icing, we can head most of them off at the pass. My biggest rule, and I can’t stress this enough, is to use butter that is at room temperature, not melty goo! If it’s too cold, you end up with those annoying little lumps we worked so hard to avoid earlier. Also, really commit to sifting that powdered sugar; it’s like creating the perfect canvas for painting.
Now, if you get into the mixing process and it seems way too stiff, don’t panic! Just add a little more heavy cream or milk, one teaspoon at a time, until it loosens up nicely for spreading. Conversely, if you think you added too much liquid and it’s getting sloppy (which happens if your kitchen is warm), just slowly whisk in a few more tablespoons of that sifted powdered sugar. Keep it balanced, and your vanilla buttercream will be perfect for your next simple snack creation!
Troubleshooting Common Issues with vanilla buttercream
Sometimes, even with the best blueprint, things go left, right? If your kitchen is just too warm, that beautiful vanilla buttercream might turn into a swimming pool almost instantly. If it starts looking melted, don’t dump it! Just pop the whole mixing bowl into the fridge for about 10 minutes. You want it firm enough to hold its shape again, then bring it back out and give it a quick, high-speed whip to remold it. That should firm up those edges nicely for decorating.
Another thing that trips people up is when the frosting tastes too sweet. Remember how I said we balance things out? If yours is too sugary, it’s usually because the butter wasn’t flavorful enough, or you didn’t add that little pinch of salt I called for. A tiny splash more vanilla extract can sometimes help mellow the straight sweetness, too. Keep tasting as you go; that’s the true home cook secret!
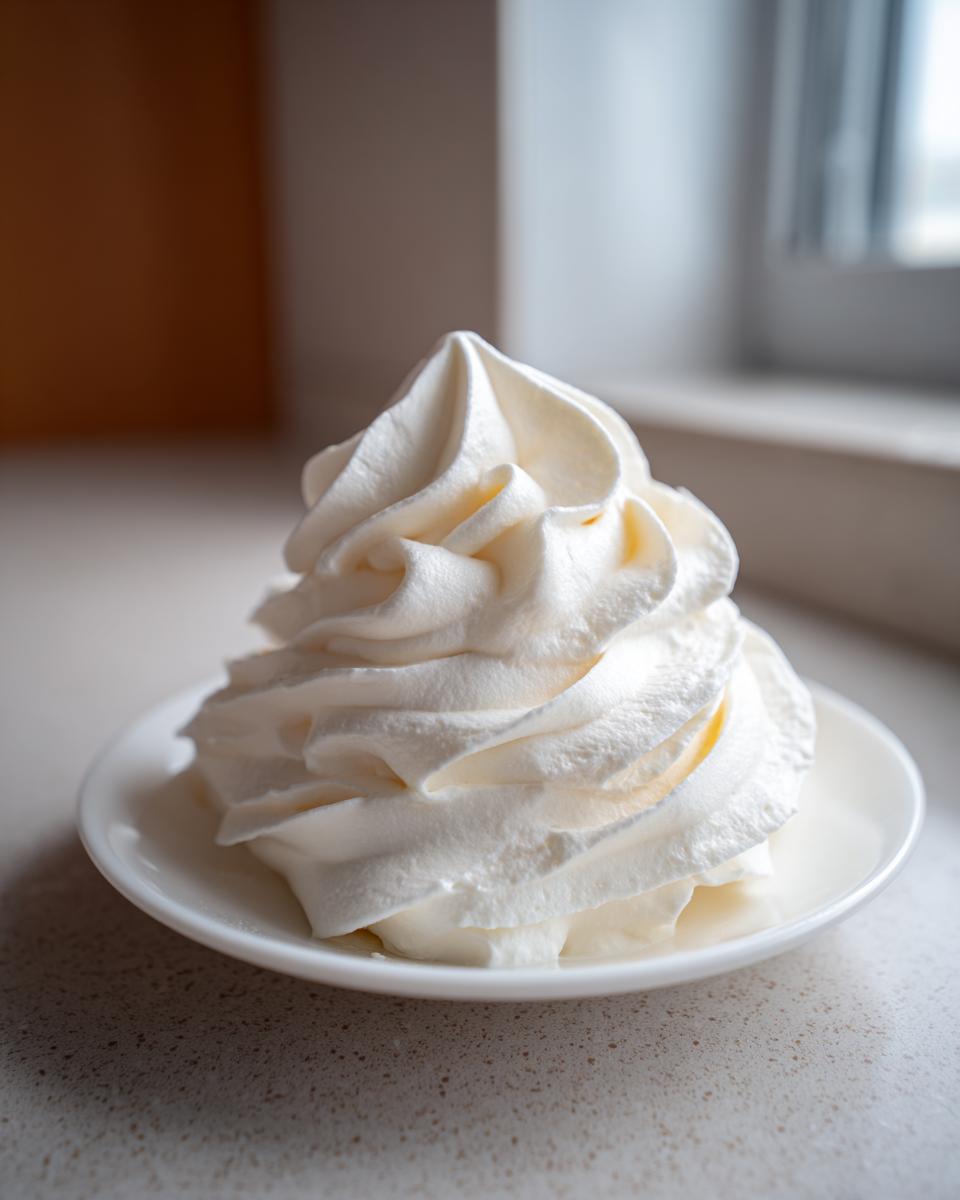
Serving Suggestions for Best vanilla frosting for Cakes
This Best vanilla frosting for cakes isn’t just for vanilla cakes, though it is phenomenal on a light sponge, like the recipe you can find over at Grandma Eats! This versatile topping shines on just about anything. It’s spectacular piled high on chocolate cupcakes—the contrast is amazing. I also find that this sturdy, creamy vanilla buttercream freezes beautifully, so make an extra batch! And if you’re looking for something totally different but just as delicious, try spreading it on a slice of my easy moist banana bread; you won’t regret it!
Storage & Reheating Instructions for Homemade Creamy Frosting
So you made a big batch of that gorgeous homemade creamy frosting—that’s smart cooking! If you’re not using it all right away, pop it into an airtight container. If you’re planning on using the rest later that day, leaving it on the counter works fine, provided your kitchen isn’t a sauna.
For longer storage, like anything longer than a day, the fridge is your best friend. Seal it up tight, and it keeps well for about a week. When you’re ready to use your chilled vanilla buttercream, just pull it out. Let it sit on the counter until it comes back up to room temperature—this is mandatory! Then, pop it back into your mixer with the paddle attachment and whip it on medium speed for a minute or two until it’s silky and spreadable again. Voila! Good as new!
Frequently Asked Questions About This No-Fail vanilla buttercream Tutorial
Can I use salted butter instead of unsalted?
That’s a great question! You certainly *can* use salted butter if you’re in a pinch, but since this is a no-fail buttercream tutorial, I always recommend unsalted so you control the salinity. Salted butter varies wildly in how much salt it contains. If you use it, you must completely skip the 1/4 teaspoon of salt I list in the recipe. Taste as you go, because adding too much once the sugar is in is tough to fix!
Can I make this ahead of time?
Yes, this easy buttercream frosting is fantastic for making ahead! I mentioned storage above, but let me reiterate: aim to make it no more than three days in advance for the best flavor. Keep it airtight in the fridge. When you’re ready to frost, just let it soften for an hour or so on the counter, then give it a thorough re-whip on medium speed until it’s fluffy again. This revives the airiness you need for piping consistency frosting.
Is this the same as Swiss Meringue Buttercream?
Not at all! This is a classic American buttercream recipe. That means it relies only on fat (butter) and sugar for structure, which keeps it fast and simple. Swiss Meringue is much more complex; it requires heating egg whites and sugar over a water bath first. Mine is quicker and richer, perfect for home baking, while Swiss is often silkier and less sweet. If you want a quick alternative, check out the 15-minute recipe from Hertaste, though mine offers that great classic richness!
How do I get a good flavor without tasting only sugar?
The key to avoiding that overly sweet flavor in any classic vanilla icing is using high-quality vanilla extract and that little bit of salt. Don’t skimp on the vanilla; use the pure stuff, not imitation! Also, make sure you fully beat the butter before adding sugar and then whip it long enough after adding the cream. That whipping time incorporates air, which lightens the overall taste profile. If you ever need to reach out with specific questions about consistency or substitutions, our door is always open over at our contact page!
Estimated Nutritional Data for vanilla buttercream
When you’re whipping up this fantastic vanilla buttercream, it’s good to have a general idea of what’s going into your delicious creation. Based on the recipe yield, here’s the approximate breakdown per serving, about a quarter cup. Keep in mind this data is an estimate since ingredients can vary slightly. For a typical serving, you’re looking at about 350 calories, 19 grams of fat, 48 grams of carbohydrates (with 45 grams being sugar, naturally!), and just one gram of protein. It’s rich, it’s sweet, and it’s absolutely worth every single bit of that creamy goodness!
PrintBest Ever Vanilla Buttercream Frosting: Silky Smooth and Fluffy
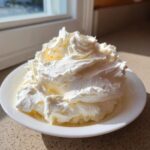
This is the foolproof recipe for ultra-smooth vanilla buttercream frosting. You will achieve a creamy, fluffy texture perfect for coating cakes or piping decorations, ready in under 15 minutes.
- Prep Time: 10 min
- Cook Time: 0 min
- Total Time: 10 min
- Yield: About 3 cups 1x
- Category: Dessert Topping
- Method: Mixing
- Cuisine: American
- Diet: Vegetarian
Ingredients
- 1 cup (226g) unsalted butter, softened to room temperature
- 3 1/2 cups (420g) powdered sugar, sifted
- 1 teaspoon pure vanilla extract
- 1/4 teaspoon salt
- 2 to 4 tablespoons heavy cream or milk
Instructions
- Place the softened butter in the bowl of a stand mixer fitted with the paddle attachment. Beat the butter on medium speed until it is completely smooth and creamy, about 3 minutes. Scrape down the sides of the bowl.
- Gradually add the sifted powdered sugar, one cup at a time, mixing on low speed until just combined after each addition.
- Add the vanilla extract and salt. Mix on low speed until incorporated.
- Increase the mixer speed to medium-high. Add 2 tablespoons of heavy cream or milk. Beat for 3 to 5 minutes until the frosting is light, fluffy, and smooth. This whipping time is key for a non-grainy texture.
- If the frosting seems too stiff for spreading, add the remaining cream, one teaspoon at a time, until you reach your desired consistency. If it is too soft, add a few more tablespoons of sifted powdered sugar.
- Use immediately for topping cakes or piping decorations.
Notes
- For the smoothest results, always use room temperature butter; cold butter will result in lumps.
- Sifting the powdered sugar prevents graininess in your final frosting.
- If your kitchen is warm, chill the finished buttercream for 10 minutes before piping to help it hold sharp edges.
Nutrition
- Serving Size: 1/4 cup
- Calories: 350
- Sugar: 45
- Sodium: 55
- Fat: 19
- Saturated Fat: 12
- Unsaturated Fat: 7
- Trans Fat: 0
- Carbohydrates: 48
- Fiber: 0
- Protein: 1
- Cholesterol: 60