
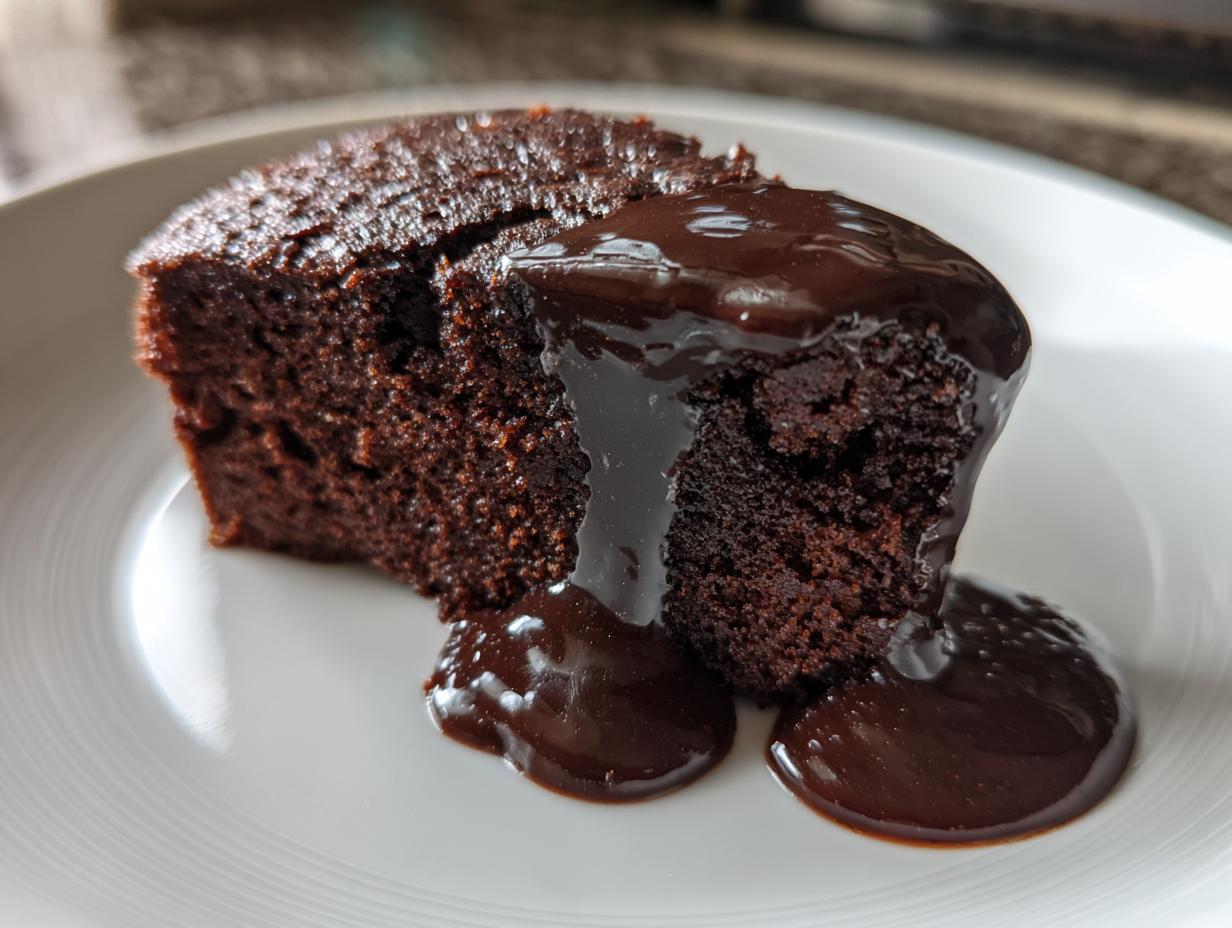
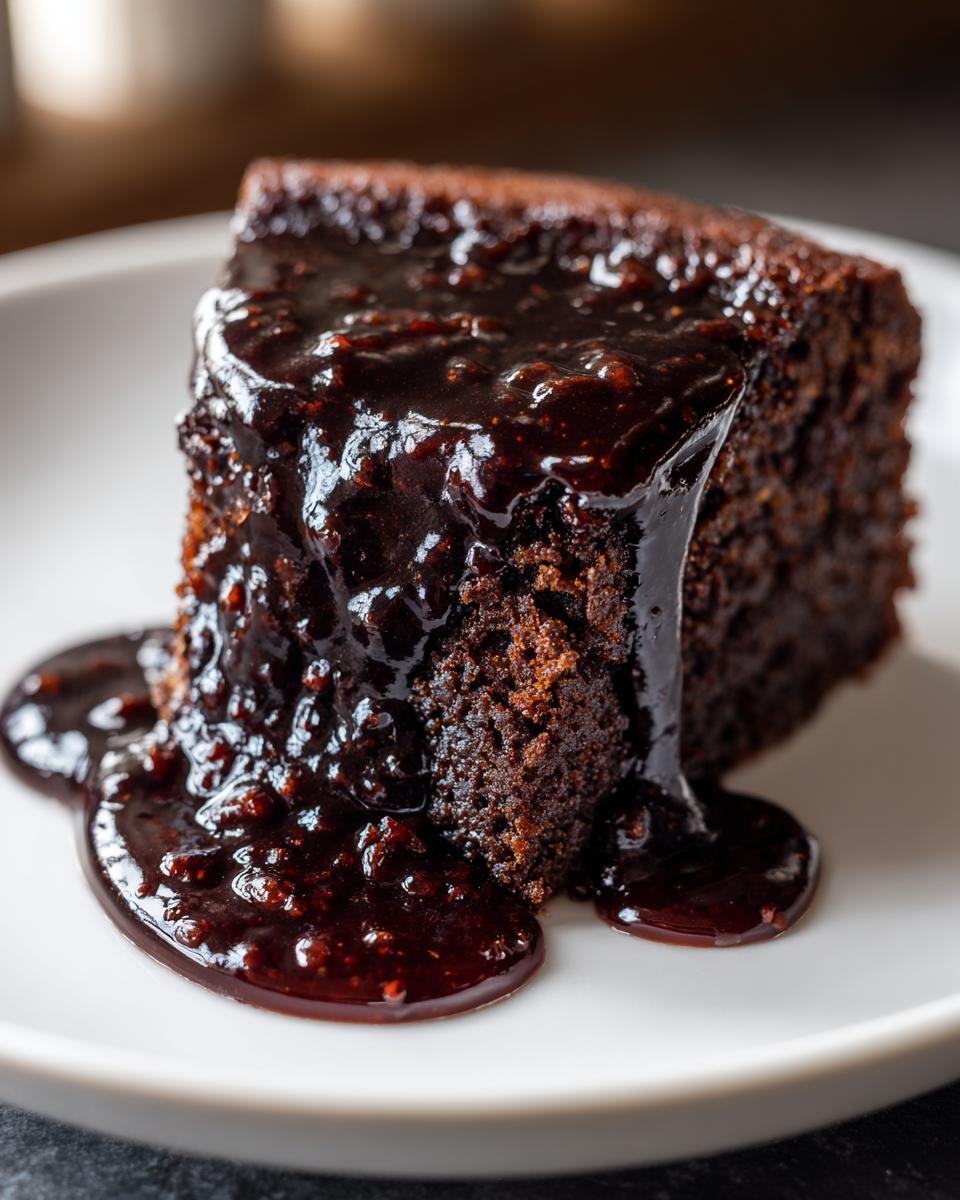
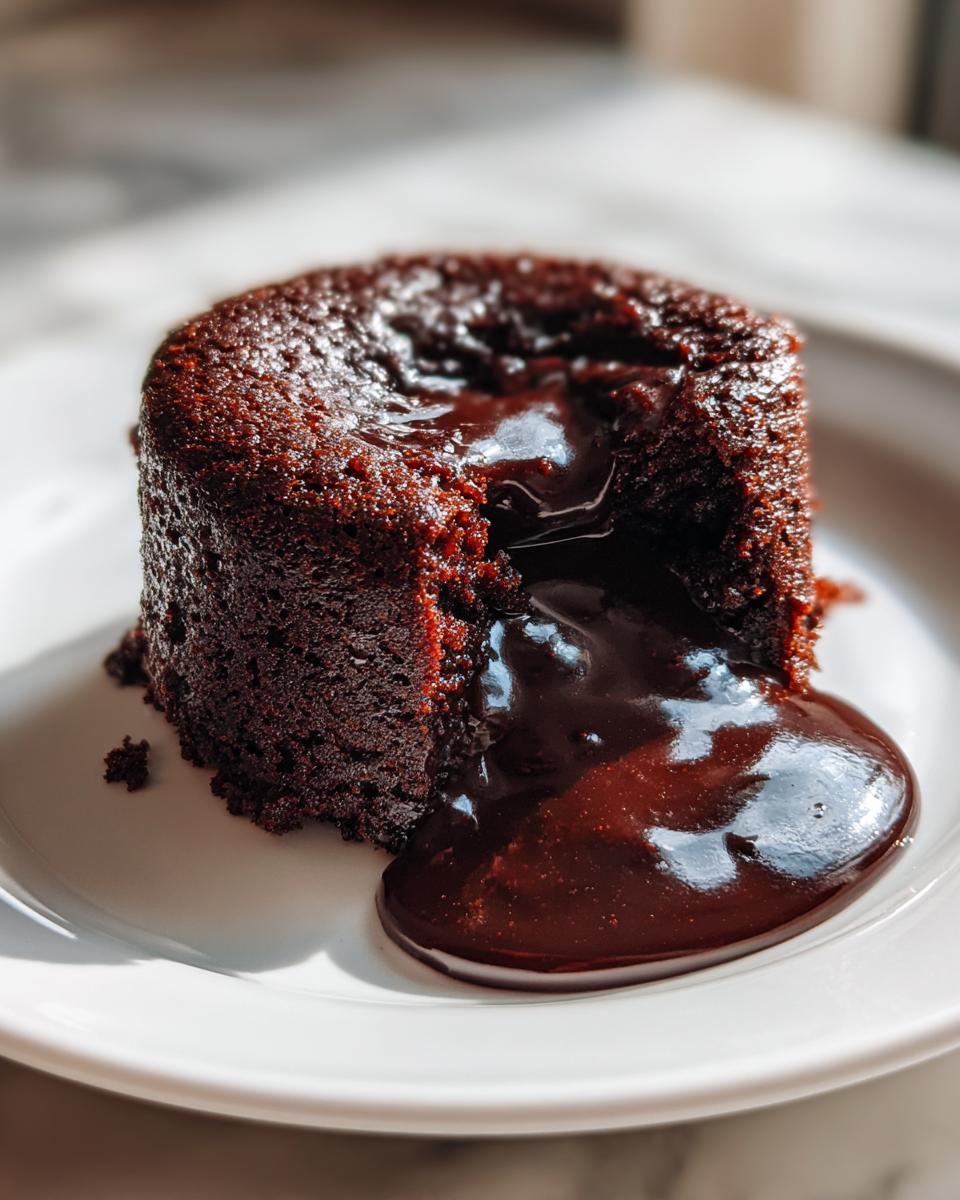
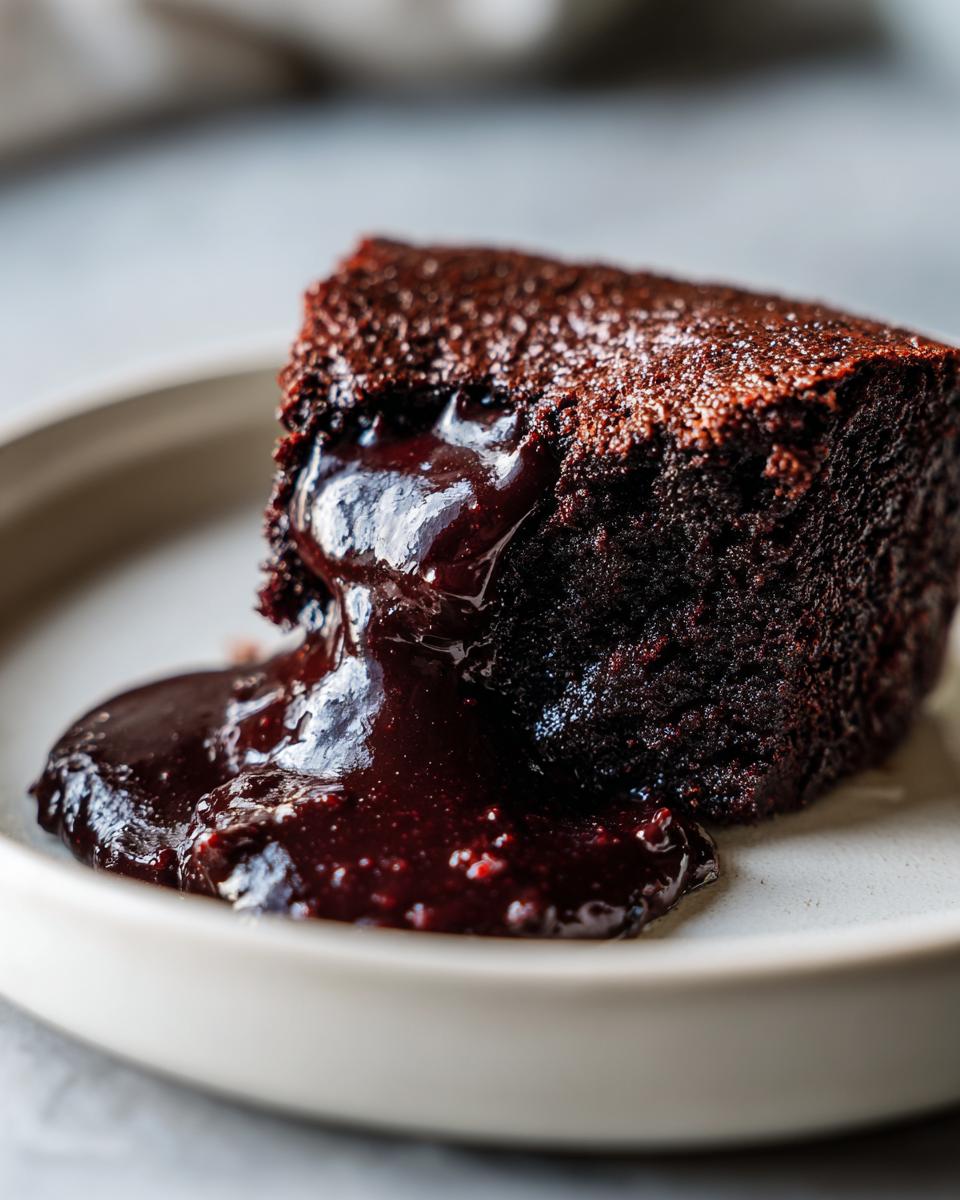
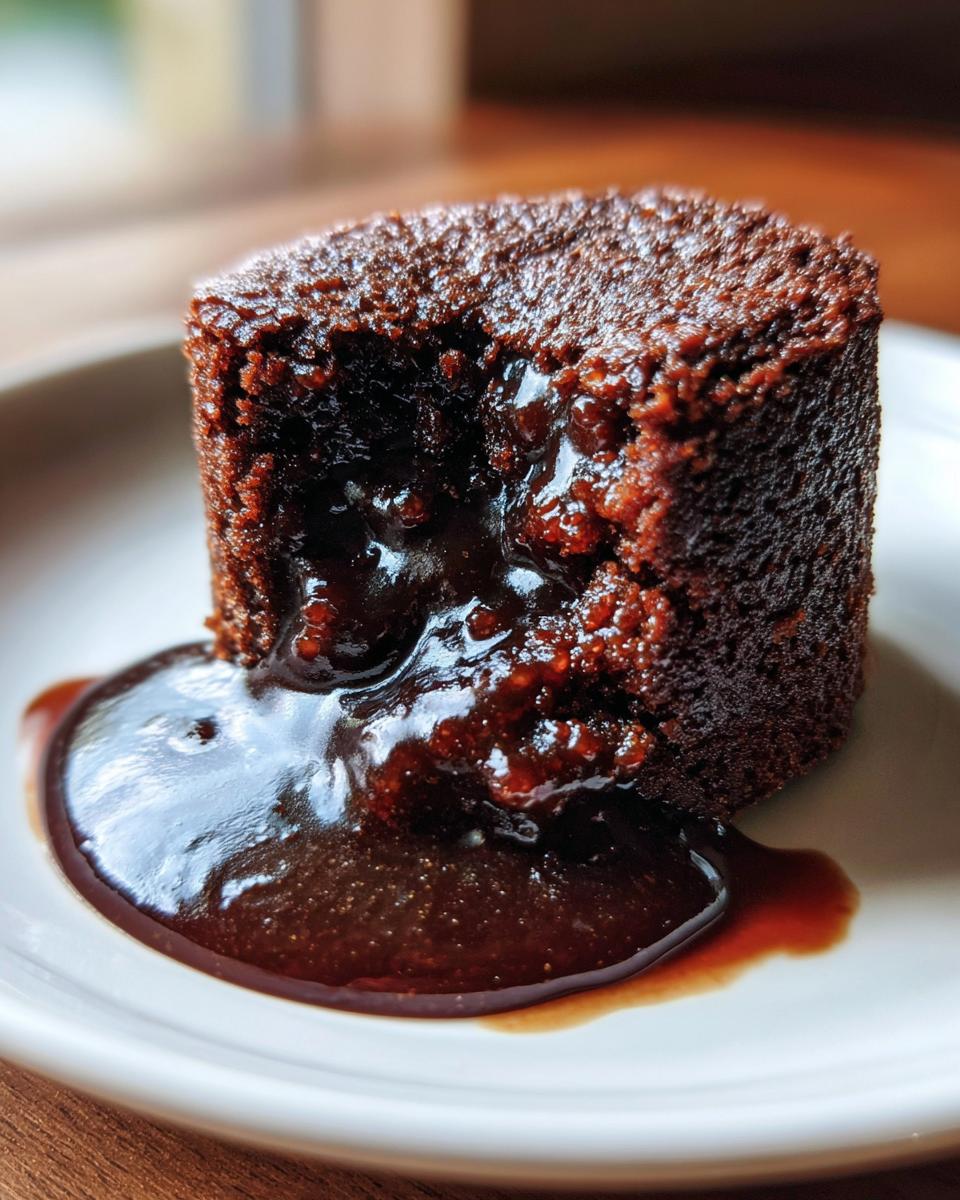
When life gets hectic, you just need something warm, decadent, and deeply chocolatey, right? That’s when I turn straight to my go-to recipe: the **chocolate pudding cake**. Seriously, this dessert is pure magic because it totally handles itself in the oven, giving you that incredible two-in-one texture. You end up with a ridiculously moist cake floating right on top of a rich, gooey, self-saucing chocolate layer—it’s the dream!
Mike Carter takes a lot of pride in creating recipes that work, even when you’re juggling a busy week, so you won’t find any fussy steps here. We’re keeping it pantry-friendly and super straightforward so you can whip up this ultimate comfort food fast. If you need a quick win in the kitchen, this is honestly your ticket. Check out some of our other ideas for satisfying weeknight dinners that make cleanup easy, too!
- Why This Classic Self-Saucing Chocolate Pudding Cake is a Weeknight Chocolate Treat
- Ingredients for Your Decadent Easy Chocolate Dessert
- How to Prepare the Best Chocolate Pudding Cake Recipe
- Tips for Success Making a Fudgy Pudding Cake
- Serving Suggestions for Warm Chocolate Dessert with Ice Cream
- Storage and Reheating Instructions for Leftover Chocolate Pudding Cake
- Frequently Asked Questions About This Comfort Food Chocolate Bake
- Estimated Nutritional Data for Chocolate Pudding Cake
- Share Your Simple Homemade Chocolate Dessert Experience
Why This Classic Self-Saucing Chocolate Pudding Cake is a Weeknight Chocolate Treat
If you’re looking for a truly decadent **chocolate pudding cake** without spending your entire evening baking, you’ve hit the jackpot. This recipe is my favorite kind of kitchen cheer: high reward, super low effort. Seriously, you grab a bowl, a whisk, and you’re practically done with the assembly! We aren’t even touching the stand mixer here, which means cleanup is a breeze. That perfectly hits our goal of being a **quick chocolate dessert from scratch**.
What makes this shine as a **self saucing chocolate dessert** is that it uses ingredients I always have stocked—flour, sugar, cocoa, and water. It respects your time, meaning dessert doesn’t have to be stressful. It’s the perfect bake for a Tuesday night or when you suddenly decide you need something magnificent right now.
The Magic of the Molten Chocolate Center Dessert
The secret sauce? It’s literally in the instructions! You just sprinkle some sugar and cocoa over the top of the batter, and then—this is the cool part—you gently pour boiling water over *everything*. Don’t mix it! As it bakes, the water sinks and dissolves the sugar right under the cake layer, turning that space into beautiful, thick, hot fudge sauce. It’s pure genius, resulting in that unbelievable **gooey chocolate cake recipe** texture.
Ingredients for Your Decadent Easy Chocolate Dessert
Since our goal with this **chocolate pudding cake** is maximum flavor with minimum fuss, we rely almost entirely on pantry staples. You don’t need fancy frosting or anything weird—just good quality stuff that comes together fast. Remember, this whole cake batter is mixed right in one bowl, saving you even more time!
Here is what you absolutely need for the cake base and the magical sauce:
- One and a half cups of all-purpose flour—don’t scoop it; spoon it into the cup!
- One cup of granulated sugar for sweetness up top.
- A quarter cup of unsweetened cocoa powder for the cake itself.
- One teaspoon of baking soda for the lift.
- Half a teaspoon of salt to balance everything out.
- One cup of nice, **cold water**—this is important for the texture, trust me on this one!
- Half a cup of milk (any kind works fine).
- A quarter cup of vegetable oil—it keeps things ultra moist.
- One teaspoon of vanilla extract.
- For the sauce layer: half a cup of packed brown sugar and another quarter cup of cocoa powder.
- And finally, one cup of **boiling water** added right at the end.
You can grab some inspiration for quick morning meals like easy breakfast recipes while this bakes later!
Ingredient Notes and Substitutions for Chocolate Pudding Cake
When making this **chocolate pudding cake**, I always recommend using a good quality, unsweetened cocoa powder rather than Dutch-process if you want that classic deep brown color and slightly sharper flavor. We use oil instead of melted butter here because oil stays liquid at room temperature, which helps maintain that gorgeous molten center even as it cools a bit.
Also, remember that cold water is key for the batter! Mixing it quickly while the water is cold prevents the batter from getting too tough before that hot water hits in step five. Skip the fancy stuff; these simple ingredients deliver the knockout punch.
How to Prepare the Best Chocolate Pudding Cake Recipe
Okay, here come the actual steps! This is where the magic of the **chocolate pudding cake** truly happens, and honestly, it’s so straightforward you’ll wonder why you ever bought a mix. First things first, make sure your oven is warmed up to 350 degrees F (175 degrees C). Take your 8×8 inch baking dish and just brush a little oil or butter inside to grease it up. No fancy parchment needed!
My biggest advice for this no-mixer **chocolate pudding cake recipe** is patience during the mixing phase. When you whisk the dry ingredients (flour, sugar, cocoa, soda, salt) together, they have to look uniform. Then, stir in the cold water, milk, oil, and vanilla. Stop mixing as soon as those streaks of flour disappear. Overmixing is the enemy! It makes everything tough, and we want soft cake and gooey sauce, remember? Take a peek at my favorite chocolate chip cookie recipe too; the mixing rules are similar!
Mixing the Batter and Creating the Hot Fudge Cake Recipe Layers
Once your smooth, slightly thin batter is sitting in that prepared dish, it’s time for the dual-layer effect that makes this a top-tier **hot fudge cake recipe**. Grab your brown sugar and the remaining cocoa powder and sprinkle that mixture evenly right over the top of the raw batter. Don’t mush it in! Then, grab your 1 cup of boiling water. This is the critical moment: slowly, I mean slowly, pour that boiling water evenly across the whole top. Do not stir! That pouring action is what separates the layers, creating pure sauce underneath while the cake batter rises above it.
Baking Time and Checking Doneness for Chocolate Cake with Liquid Center
Bake this beauty for about 30 to 35 minutes. You are looking for the top cake layer to look set—it should look like a regular cake on top, not wet in the center. But remember, we aren’t checking for a dry toothpick! For this **chocolate cake with liquid center**, the visual cue is key: the edges should look slightly pulled away from the pan, and the sauce should have formed underneath. It’s ready when the top looks baked, but the smell is unbelievably rich!
Tips for Success Making a Fudgy Pudding Cake
I want you to have a perfect experience with this **chocolate pudding cake**, so let’s talk about locking in that gooey factor. A huge thing from my own testing in the kitchen is how quickly you need to serve this up. While leftovers are fine, this dessert peaks within about 15 minutes of coming out of the oven. That’s when the **fudgy pudding cake** layer is at its absolute molten best!
When you pour that boiling water in, go slow. If you dump it too fast, you might accidentally mix the topping layer into the batter, which defeats the whole purpose of the sauce forming underneath. Also, if you find your cocoa powder is a little old or clumpy, dust it through a fine-mesh sieve before mixing the topping. A little extra attention to the sauce ingredients pays off big time!
If you happen to have any left over, don’t stress. You can enjoy it cold the next day, but for that real wow factor, reheat a single serving in the microwave for about 15 to 20 seconds. That brings the sauce right back to life. You can find more of Mike’s favorite tips for keeping baked goods moist over in the easy moist banana bread post!
Serving Suggestions for Warm Chocolate Dessert with Ice Cream
Honestly, this dessert begs to be served right out of the oven while it’s still steaming! The contrast between the hot, gooey sauce and something icy cold is just heavenly. It’s the ultimate **warm chocolate dessert with ice cream** experience.
I always go for high-quality vanilla bean ice cream—it’s the perfect creamy foil to all that intense chocolate richness. You don’t need much else, but a dusting of powdered sugar or maybe some chopped pecans sprinkled over the top adds a nice bit of texture if you’re feeling fancy.
If you’re looking for other warm, comforting bakes for a chilly evening, you absolutely must check out the recipe for my classic apple crisp recipe. It hits that same nostalgic spot as this pudding cake does!
Storage and Reheating Instructions for Leftover Chocolate Pudding Cake
Now, let’s be real: this incredible **chocolate pudding cake** is always best enjoyed fresh and warm from the oven, when that sauce is truly glorious! But if you happen to have leftovers (which is rare in my house, I won’t lie), you need to know how to store it.
Pop any remaining portion into an airtight container and pop it right into the fridge. I never recommend keeping this much longer than two days because the cake layer starts to absorb too much of that moisture and loses its fluffy top texture.
To bring back that luscious, molten sensation, the microwave is your best friend. Just heat a single serving for about 15 to 20 seconds. That gentle warmth reactivates that lovely pudding sauce perfectly!
Frequently Asked Questions About This Comfort Food Chocolate Bake
I get so many questions about tweaking this recipe, and that’s awesome! It just proves how much everyone loves a good, reliable, **comfort food chocolate bake**. Usually, people ask me about making it faster or fitting it into different pans. Here are the big three that pop up all the time when folks want to try this out.
If you’re looking for quick ideas for something lighter while dinner is cooking, make sure you browse through Mike’s tips on simple snack recipes!
Can I make this chocolate pudding cake ahead of time?
Look, I totally get wanting to prep things in advance! But with this specific **chocolate pudding cake**, the magic is entirely in the reaction between the dry ingredients, the batter, and the boiling water when it hits the oven. If you mix the batter ahead of time, it won’t separate correctly when you pour the water over it. For the best, most dramatic self-saucing effect, you absolutely must assemble and bake this right before you plan on serving it. It just won’t be the same if you try to cheat that step!
What is the best pan size for this gooey chocolate cake recipe?
For this recipe as written, the absolute sweet spot is an 8×8 inch square baking dish. Using that size ensures the liquid ratio is perfect for that thick, **gooey chocolate cake recipe** layer underneath the cake. If you decide to try a 9×9 inch pan, the sauce layer will become much thinner because you’ve spread it out more. If you use a deeper pan, like a loaf pan, you will drastically increase your baking time, and you risk the cake drying out before the sauce has fully formed underneath.
Estimated Nutritional Data for Chocolate Pudding Cake
I always get questions about the how-to, but the nutrition facts are important too! Keep in mind that this **chocolate pudding cake** is definitely a treat, and these numbers are just my best estimate based on a standard serving. Since we’re using simple pantry ingredients, the values are pretty straightforward, but they will shift depending on the brands of milk or oil you use.
For one serving of this dreamy dessert, you’re looking at:
- Calories: About 350
- Fat: Around 14 grams
- Carbohydrates: Roughly 55 grams
- Protein: About 5 grams
- Sugar: Close to 45 grams
Fair warning: this is a rich, fudgy bake, so enjoy it warm with that scoop of ice cream! It’s pure comfort, not a diet food, and that’s perfectly fine sometimes!
Share Your Simple Homemade Chocolate Dessert Experience
Okay, now that you’ve made this easy **chocolate pudding cake**, I really want to hear about it! Did it turn out perfectly gooey? Tell me everything in the comments below! Did you serve it warm with ice cream like everyone else does, or did you try a crazy topping?
If you loved this recipe and found it to be the perfect **simple homemade chocolate dessert**, please give it a five-star rating right here on the page! It really helps other folks find this slice of weeknight heaven. Happy baking, and I can’t wait to see your results!
If you’re ready for a few more sweet adventures after savoring this incredible bake, don’t forget to browse Mike’s full collection of delicious dessert recipes!
PrintClassic Self-Saucing Chocolate Pudding Cake
Make this easy chocolate pudding cake for a comforting dessert featuring a moist cake top and a rich, gooey hot fudge sauce bottom. It uses simple pantry ingredients and requires no mixer.
- Prep Time: 10 min
- Cook Time: 35 min
- Total Time: 45 min
- Yield: 6 servings 1x
- Category: Dessert
- Method: Baking
- Cuisine: American
- Diet: Vegetarian
Ingredients
- 1 1/2 cups all-purpose flour
- 1 cup granulated sugar
- 1/4 cup unsweetened cocoa powder
- 1 teaspoon baking soda
- 1/2 teaspoon salt
- 1 cup cold water
- 1/2 cup milk
- 1/4 cup vegetable oil
- 1 teaspoon vanilla extract
- 1/2 cup packed brown sugar
- 1/4 cup unsweetened cocoa powder (for sauce)
- 1 cup boiling water
Instructions
- Preheat your oven to 350 degrees F (175 degrees C). Lightly grease an 8×8 inch baking dish.
- In a large bowl, whisk together the flour, 1 cup granulated sugar, 1/4 cup cocoa powder, baking soda, and salt.
- Add the cold water, milk, oil, and vanilla extract to the dry ingredients. Mix with a spoon or whisk until just combined. Do not overmix.
- Pour the batter evenly into the prepared baking dish.
- In a separate small bowl, mix the brown sugar and the remaining 1/4 cup cocoa powder for the sauce. Sprinkle this mixture evenly over the top of the batter.
- Carefully pour 1 cup of boiling water over the sugar and cocoa topping. Do not stir.
- Bake for 30 to 35 minutes. The cake layer will set, and the liquid underneath will turn into a rich chocolate pudding sauce.
- Let the cake cool slightly before serving. Serve warm, ideally with a scoop of vanilla ice cream.
Notes
- For the best self-saucing effect, pour the boiling water slowly and evenly over the top layer.
- If you prefer a richer chocolate flavor, use dark cocoa powder in the batter and sauce.
- This dessert is best eaten warm on the day it is made to enjoy the molten center.
Nutrition
- Serving Size: 1 serving
- Calories: 350
- Sugar: 45g
- Sodium: 250mg
- Fat: 14g
- Saturated Fat: 3g
- Unsaturated Fat: 11g
- Trans Fat: 0g
- Carbohydrates: 55g
- Fiber: 3g
- Protein: 5g
- Cholesterol: 10mg