

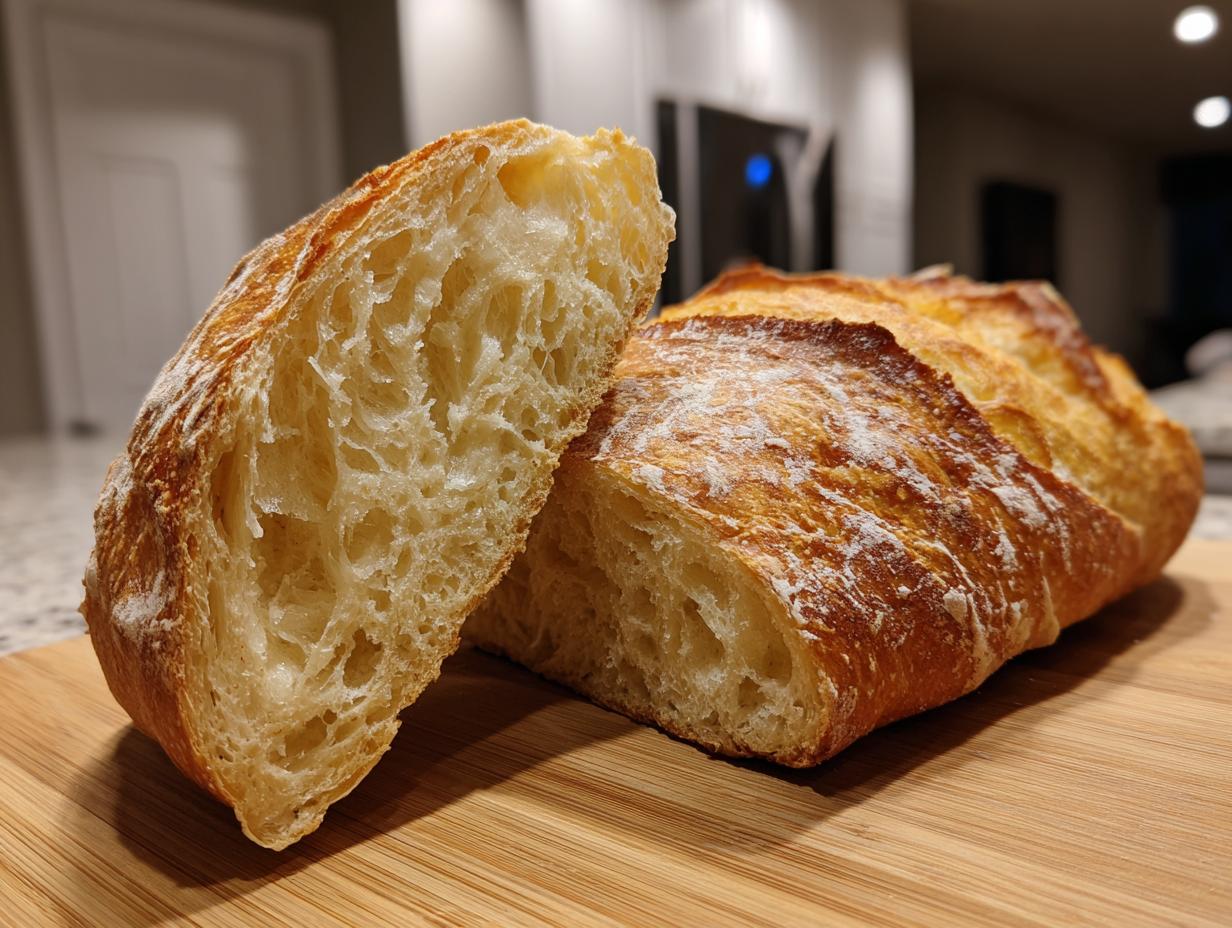
Oh, you guys, stop whatever you’re doing right now and picture this: the moment you pull this loaf out of the oven. That sound—the crust *crackling* as it rests on the wire rack! That is the smell of true kitchen victory. For years, I thought getting bakery-style results, meaning a beautifully crusty French bread that’s somehow still light and airy inside, was reserved for professionals. But I was wrong! Michael Carter here, and after years working in my kitchen to figure out the simplest, most reliable methods, I cracked the code for this Classic Crusty Homemade French Bread.
This isn’t some complicated artisan process; this is practical home baking focused on technique. We’re using just four simple ingredients, but we’re going to treat them right to get that unforgettable, fresh-baked result every single time. You can read more about my philosophy of demystifying cooking over on my About Page. Get ready to bring the aroma of Paris into your house!
- Why This Classic French Bread Recipe Works (Best French Bread Recipe)
- Ingredients for Your Homemade French Bread Recipe
- Step-by-Step Instructions for Easy French Bread
- Tips for Success When Making French Bread From Scratch
- Ingredient Notes and Substitutions for Your Recipe for French Bread
- Serving Suggestions for This Classic French Loaf
- Storage and Reheating Instructions for Fresh Baked Bread
- Frequently Asked Questions About Making French Bread
- Nutritional Estimates for Homemade French Bread Recipe
- Share Your Homemade French Bread Creations
Why This Classic French Bread Recipe Works (Best French Bread Recipe)
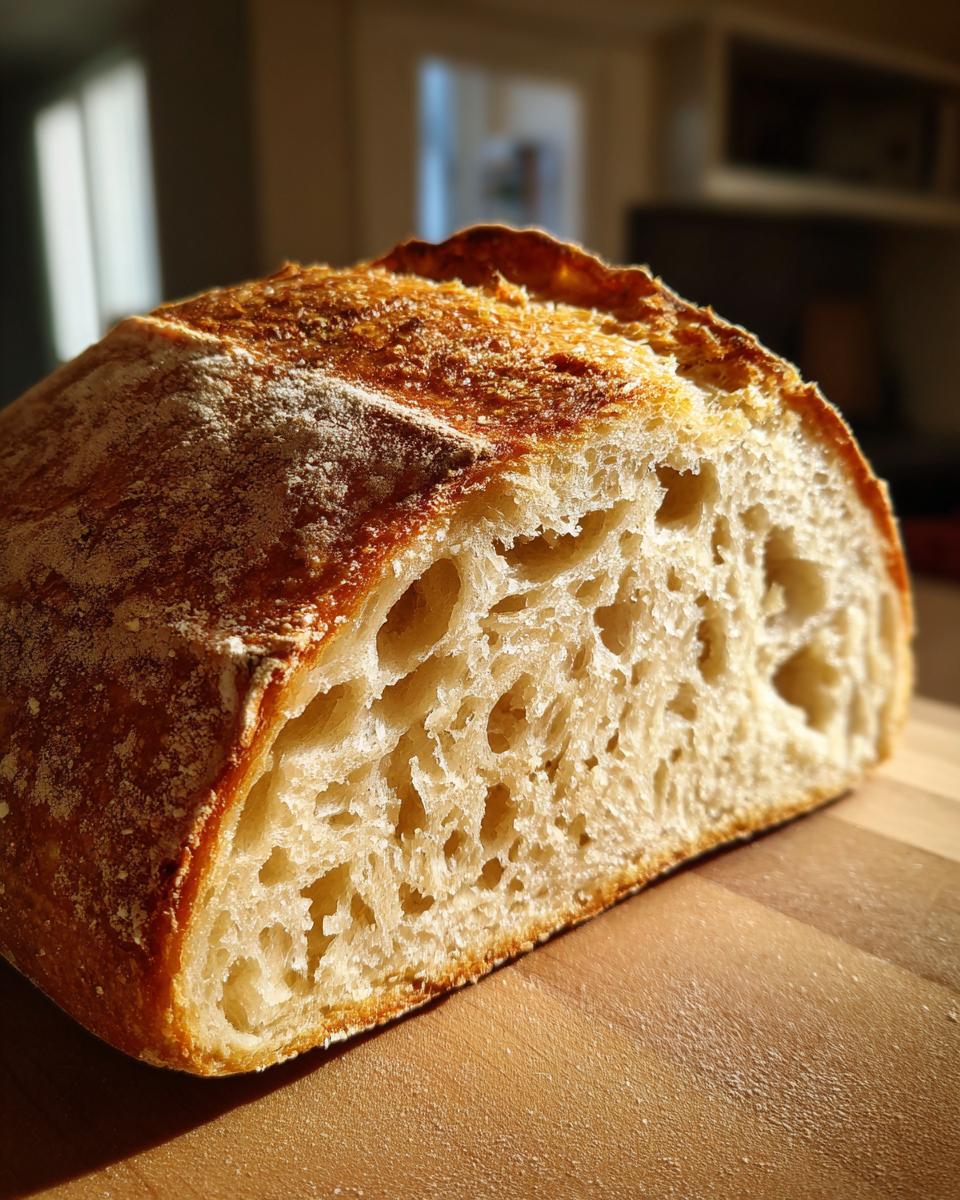
So many recipes promise amazing results, but I want you to understand *why* this one delivers that authentic texture. We are aiming for that perfect contrast: a shell that shatters and an inside that’s pillowy. This isn’t about complicated starters either; it’s about respecting the flour and using some straightforward artisan bread baking tricks that anyone can master right on their countertop. Trust me, this is easily the best French bread recipe I’ve landed on for reliable weeknight baking.
Achieving the Perfect Crusty French Bread Exterior
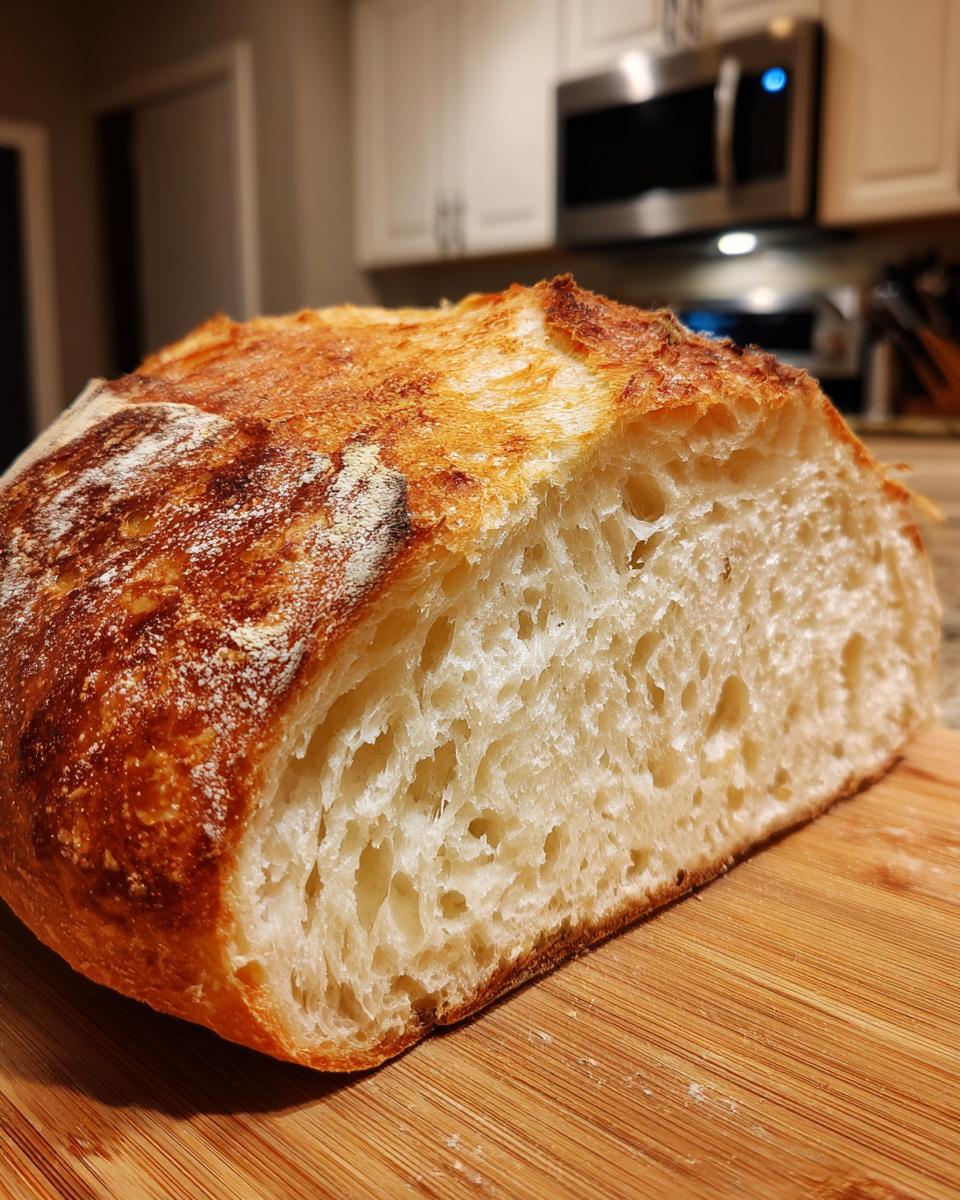
The secret weapon here is steam, pure and simple. When you dump hot water into the oven right before baking, that blast of humidity keeps the dough surface supple for those crucial first few minutes. This allows the dough to spring up fully before the crust sets hard. High heat combined with steam is what gives you that incredible, thin, crackly shell we all go nuts for.
Tips for Soft Fluffy French Bread Inside
If you beat the dough into submission, you’ll end up with a hockey puck, not the cloud-like interior we want for soft fluffy French bread. We mix just until everything comes together—it will look messy! That shaggy dough rests and develops strength on its own during the rise. Gentle shaping and giving it that final 30-minute rest are what create those beautiful, open air pockets inside that make the loaf so light.
Ingredients for Your Homemade French Bread Recipe
Okay, let’s talk supply run! The beautiful thing about this Homemade French Bread Recipe is that you probably have everything in your pantry already. We are keeping this incredibly simple because, honestly, you don’t need a ton of fancy additives to make stunning bread. Remember, we’re focusing on technique over complicated inputs. For the best results, make sure your water is genuinely warm—not hot enough to burn your hand, just warm enough to wake up that yeast!
- 3 cups all-purpose flour (that’s your workhorse flour!)
- 1 teaspoon instant yeast (no need to proof this separately, lucky you!)
- 1 1/2 teaspoons salt (don’t skip this, it adds so much flavor!)
- 1 1/4 cups warm water (aim for about 105-115°F)
- 1 tablespoon olive oil (just for greasing the bowl)
- Tons of water (we need this later for that amazing steam!)
Step-by-Step Instructions for Easy French Bread
Alright, let’s get these gorgeous loaves into the oven! We’re keeping this super straightforward, which is why I love this as an Easy French Bread recipe, even though the results look totally professional. Pay attention to the rest times, though; patience is the secret ingredient we can’t skip! If you need quick ideas later in the week, check out my collection of Weeknight Dinner Recipes.
Mixing and First Rise for Classic French Loaf
In a big bowl, just whisk the flour, yeast, and salt together quickly. Then, pour in your warm water and mix until you get a messy, shaggy ball. Seriously, stop mixing when it looks like that! Overmixing develops too much gluten, and we need the opposite for a light interior. Slather a clean bowl with oil, tuck the dough ball in, cover it tight, and let it hang out in a warm spot for about an hour to an hour and a half until it’s happily doubled in size.
Shaping and Final Proofing of the French Bread
Once it’s risen, gently punch the air out—don’t baby it too much! Turn the dough onto a lightly floured spot and divide it into two equal pieces. Now, here’s where a little care helps: as you shape, gently roll and stretch each piece into a long log, about 12 to 15 inches. You are trying to build surface tension, which is key for that nice oven spring. Lay them on your parchment-lined sheet, cover them loosely, and let them rest for 30 sweet minutes.
Creating Steam and Baking Your Crusty French Bread
This is the dramatic part! About 15 minutes before the second rest is up, shove a shallow pan onto the bottom rack and crank your oven up high to 450°F. Those slashes—make three or four diagonal cuts across the top of each loaf with a very sharp knife right before they go in. This lets the dough expand beautifully. Immediately place the bread inside, and then—carefully!—pour a cup of hot water into that bottom pan to make tons of steam. That steam keeps the outside soft so you get that ultimate crusty French bread. Bake for 20 to 25 minutes until they sound deeply hollow when you tap them. Then, let them cool completely on a rack!
Tips for Success When Making French Bread From Scratch
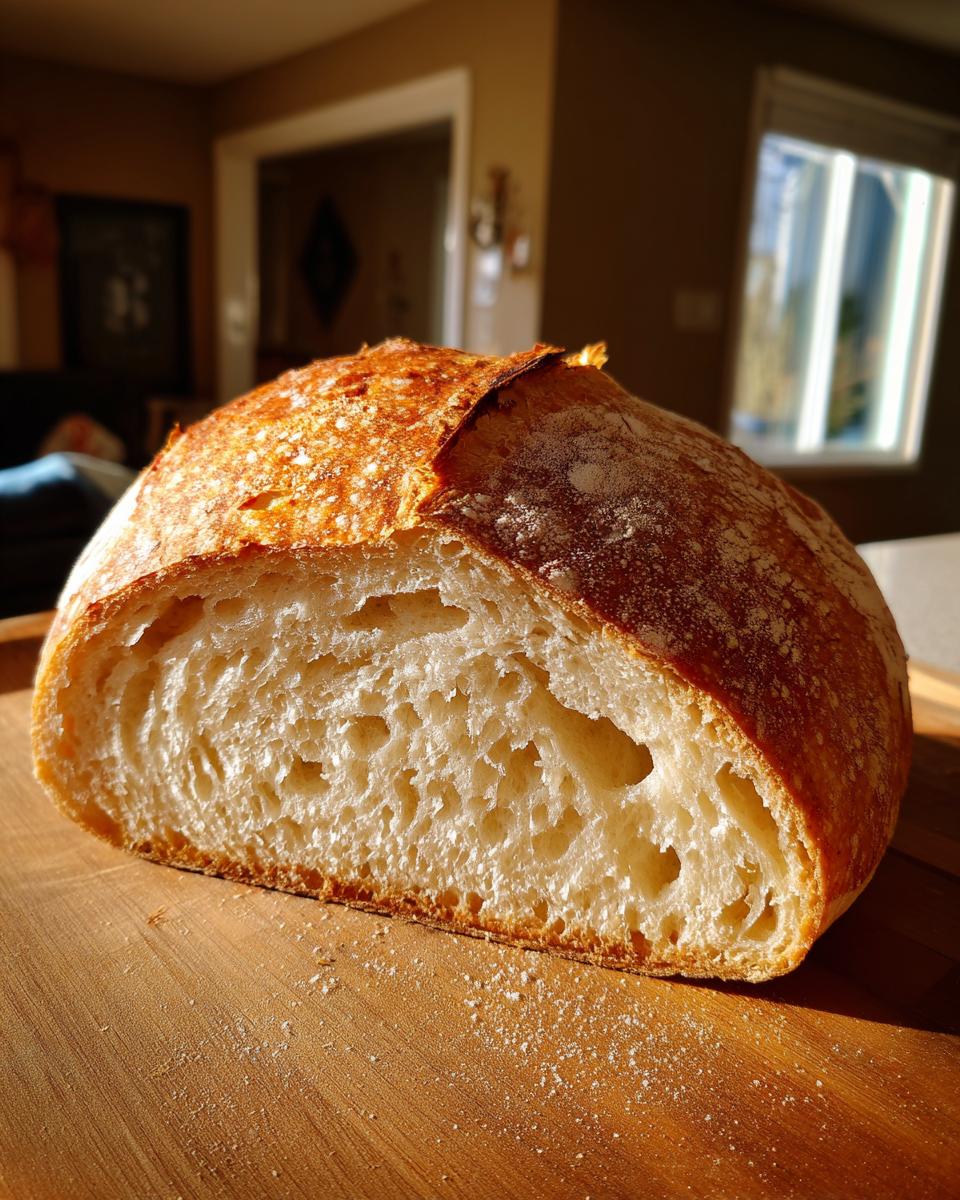
Making French bread from scratch is totally achievable, but sometimes those tiny details make all the difference between good bread and *amazing* bread. You absolutely must nail that steam situation—it’s non-negotiable if you want that bakery sound when you tap the finished loaf. If you skip it, you might end up with a softer crust, which is fine if that’s what you prefer, but we’re aiming for crackly!
Also, don’t mess with the mixing too much in the beginning. Leaving the dough shaggy means the gluten relaxes, which helps create that open crumb structure—keep your stirring to a bare minimum! If your house is cold, just find a slightly warmer spot for the dough to rise; warm yeast is happy yeast. For a truly authentic taste, some folks even mention that using bread flour instead of all-purpose can help structure, but the AP flour works great for beginners, honestly. If you’re looking for more foolproof artisan tips, check out this great resource on crusty bread.

Ingredient Notes and Substitutions for Your Recipe for French Bread
Let’s quickly go over what makes these ingredients special, although we are keeping things super simple, as always! We specifically call for instant yeast here because it means you don’t have to worry about proofing it separately in water first. It just goes right in with the flour. If you only have active dry yeast, don’t sweat it! You’ll just need to dissolve that active dry yeast in the warm water first and let it sit for about five minutes until it gets foamy.
I stick with all-purpose flour because it’s approachable; you can get it anywhere, and it works perfectly here. If you want a chewier bite, you *could* try swapping in some bread flour, but for this classic loaf, AP flour gives us that delightful tenderness. Remember, warm water is key—if it’s too hot, you’ll kill the yeast, and if it’s too cold, it won’t wake up! We want happy, bubbly yeast doing their job!
Serving Suggestions for This Classic French Loaf
What good is a beautiful Classic French Loaf if you don’t slice into it immediately? Honestly, I can’t wait! Since this bread is sturdy yet light, it works for so many things beyond just toast. It’s the ultimate side for dipping; try soaking up every last drop of a hearty bowl of soup, maybe my Irish Potato Leek Soup, for instance.
It also makes incredible bruschetta bases or the perfect vehicle for dipping into a strong dipping sauce, like a homemade Garlic Aioli. If you’re planning tonight’s dinner, know that this bread elevates any simple meal into something special!
Storage and Reheating Instructions for Fresh Baked Bread
Nothing beats that first pass at fresh baked bread right out of the oven, right? But if you happen to have leftovers—ha!—we have to protect that crispy crust. Do not, I repeat, do not put this in a plastic bag! That traps moisture and makes the crust soft instantly. Keep it wrapped loosely in a clean kitchen towel on the counter for the best, freshest texture for a day or two.
When you want to bring it back to life, give it a little spritz of water on the outside crust, then pop it into a 350°F oven for about five minutes. That little blast of dry heat will re-crisp that shell perfectly. Enjoy it piping hot!
Frequently Asked Questions About Making French Bread
I get so many notes from folks who are just starting out—and that’s fantastic! Baking can feel intimidating, but once you get the hang of the timing, it becomes muscle memory. I’ve gathered up some of the most common things people ask me about this recipe. We cover everything from speed to shape right here, making sure this is a great starting point for your journey into beginner bread baking.
Can I make this a Quick French Bread Recipe?
That’s always the big question! While this particular recipe is written for a slightly longer, more relaxed rise time to guarantee that beautiful oven spring and deep flavor, I know sometimes you need bread *now*. If speed is your main goal, I’m not going to lie; you might want to look into some one hour bread recipe variations out there, like the ones that skip the long initial rise. But for that perfect, crackly crust we are aiming for, sticking to the time I laid out ensures the best results. Check out some of those faster options if you’re in a pinch, perhaps like the ones my friends over at Modern Meal Makeover have published about their easy 90 minute French bread.
What is the difference between French Bread and a French Baguette Recipe?
It’s all in the shape, honestly! My recipe focuses on making a classic loaf shape (a little rounder and thicker than traditional Paris bread) because it fits neatly on most home baking sheets. If you want a true French baguette recipe, you just take the exact same dough—same ingredients, same proof times—and you shape it into a much thinner, longer cylinder. The baking method stays the same, but the way you score and handle it slightly changes, giving you that distinctive, narrow shape!
Is this Beginner Bread Baking Friendly?
Yes, absolutely! The ingredients are basic, and the mixing is deliberately minimal, which is great for beginners who might worry about overworking the dough. The only thing you need to give extra attention to is the steam step. Getting that pan hot and safely pouring the water in requires a little focus—maybe ask a helper if you feel nervous the first time. But after that first batch, you’ll see how straightforward this recipe for French bread truly is!
If you still have energy after mastering the loaf, try pairing it with some easy egg dishes for breakfast, like our Easy Breakfast Recipes!
Nutritional Estimates for Homemade French Bread Recipe
Now, I know many of you are just as interested in how this bread fits into your regular dinners as you are in the crust—and that’s fair! It’s important to know what you’re working with. Because we use such simple, whole ingredients here, this homemade French bread recipe keeps things surprisingly light, especially compared to all those store-bought loaves loaded with preservatives.
Please take these numbers as a guiding light, not gospel. The exact amounts can change based on the type of flour you use or exactly how much water your dough absorbs. But here’s what you can generally expect per slice when using the measurements listed in the recipe:
- Serving Size: 1 slice
- Calories: 150
- Sugar: 1g
- Sodium: 250mg
- Fat: 1g
- Saturated Fat: 0g
- Trans Fat: 0g
- Carbohydrates: 31g
- Fiber: 1g
- Protein: 4g
- Cholesterol: 0mg
See? Minimal fat and zero cholesterol, which just proves that when you bake your own classic French loaf, you are in total control of the goodness going into your belly!
Share Your Homemade French Bread Creations
Truly, the best part of sharing these recipes isn’t just teaching you how—it’s seeing what you all create! I pour my heart into testing these techniques to make sure you get that perfect, crackly crust, and I absolutely love when you send pictures of your finished loaves. Did you manage to get that huge oven spring? Did the crust sing when you pulled it out? Let me know!
Please take a minute after you’ve let your Homemade French Bread Recipe cool to give it a quick rating right down below in the comments, and definitely share your feedback. If you have a little photo of your beautiful, rustic loaf, I encourage you to share it on social media and tag me! It makes my week to see your success. This bread is meant for sharing, just like the inspiration I get from other bakers out there (you can see some fantastic examples here!). Happy baking, friends!
PrintClassic Crusty Homemade French Bread
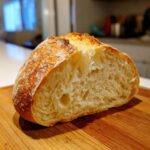
Bake a classic French loaf with a crisp exterior and a soft, airy interior using simple ingredients and practical techniques.
- Prep Time: 20 min
- Cook Time: 25 min
- Total Time: 2 hours 15 min
- Yield: 2 loaves 1x
- Category: Baking
- Method: Baking
- Cuisine: French
- Diet: Vegetarian
Ingredients
- 3 cups all-purpose flour
- 1 teaspoon instant yeast
- 1 1/2 teaspoons salt
- 1 1/4 cups warm water
- 1 tablespoon olive oil (for bowl)
- Water (for steam)
Instructions
- In a large bowl, whisk together the flour, instant yeast, and salt.
- Add the warm water to the dry ingredients. Mix with a wooden spoon until a shaggy dough forms. Do not overmix.
- Lightly oil a clean bowl. Turn the dough out onto a lightly floured surface and gently form it into a rough ball. Place the dough in the oiled bowl and turn to coat.
- Cover the bowl tightly with plastic wrap. Let the dough rise in a warm place for 1 to 1.5 hours, or until doubled in size.
- Gently punch down the dough. Turn it out onto a lightly floured surface. Divide the dough into two equal pieces.
- Shape each piece into a long, narrow loaf, about 12 to 15 inches long. Gently stretch and roll the dough to create surface tension.
- Place the shaped loaves on a baking sheet lined with parchment paper, leaving space between them. Cover loosely with plastic wrap or a clean kitchen towel. Let them rest for 30 minutes.
- About 15 minutes before baking, place a shallow pan on the bottom rack of your oven and preheat the oven to 450 degrees Fahrenheit (232 degrees Celsius).
- Just before placing the bread in the oven, use a sharp knife or razor blade to make 3 to 4 diagonal slashes across the top of each loaf.
- Carefully pour 1 cup of hot water into the preheated shallow pan on the bottom rack to create steam. Immediately place the baking sheet with the bread into the oven.
- Bake for 20 to 25 minutes, or until the crust is deep golden brown and sounds hollow when tapped.
- Remove the bread from the oven and transfer it to a wire rack to cool completely before slicing.
Notes
- For an extra crusty exterior, spray the oven walls with water once or twice during the first 10 minutes of baking.
- If you prefer a softer crust, omit the steam pan during baking.
- This recipe works well for making French baguettes or rustic loaves.
Nutrition
- Serving Size: 1 slice
- Calories: 150
- Sugar: 1
- Sodium: 250
- Fat: 1
- Saturated Fat: 0
- Unsaturated Fat: 1
- Trans Fat: 0
- Carbohydrates: 31
- Fiber: 1
- Protein: 4
- Cholesterol: 0