
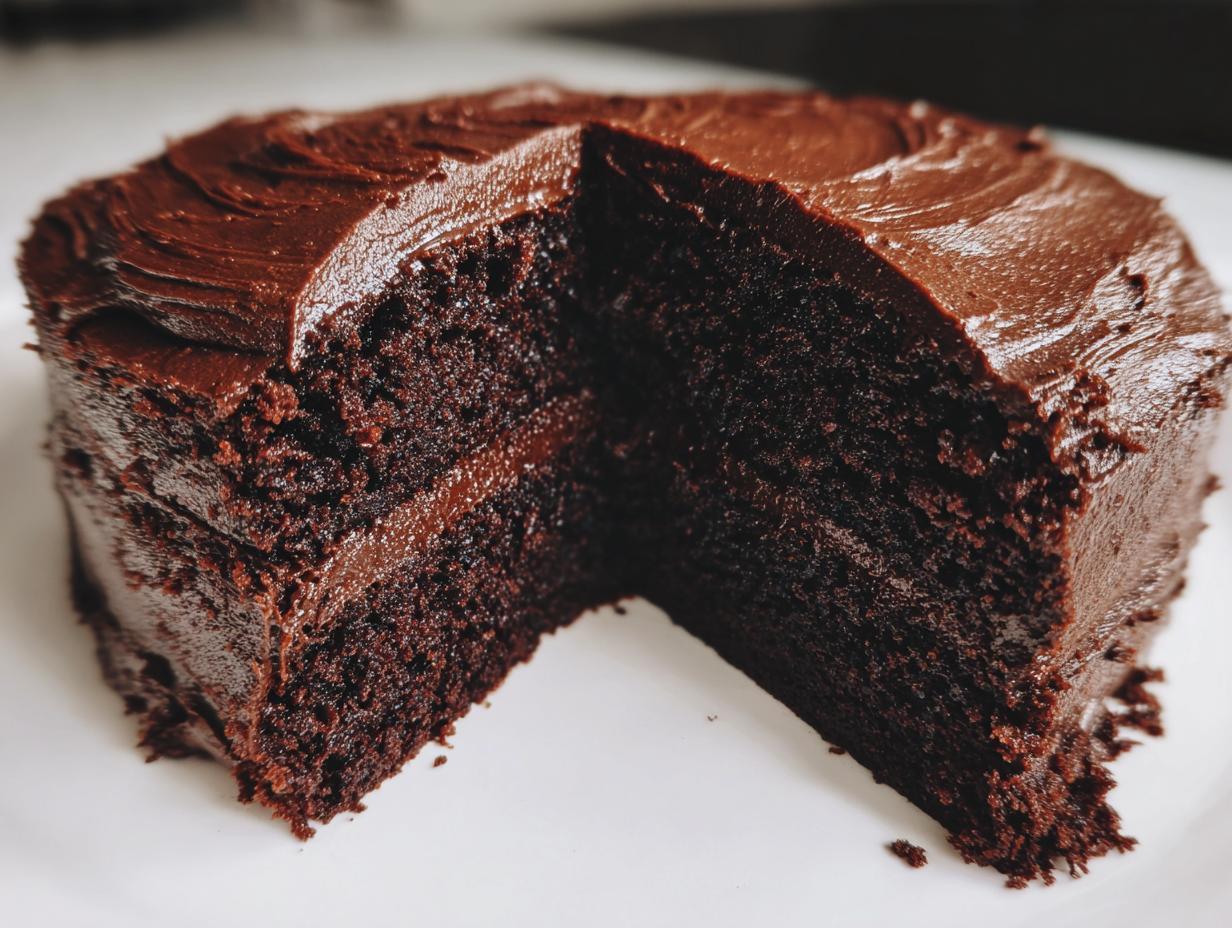
You know that craving, right? That deep, almost primal need for intensely rich, fudgy chocolate that only a truly spectacular cake can satisfy? Forget those dry, embarrassing box mixes! I’m Michael Carter, and for me, cooking chocolate isn’t about showy techniques; it’s pure comfort. That’s what led me to perfect this recipe: The Ultimate Easy Homemade Moist Chocolate Cake. Baking this from scratch isn’t complicated, I promise. It’s the kind of classic chocolate comfort food that reminds you why we bake in the first place—to bring people joy around a table. If you want a cake that’s moist every single time, stick with me. We’re going to make something wonderful together, starting with delicious dessert recipes that actually work for real life.
- Why This Homemade Chocolate Cake Recipe is Your New Go-To
- Gathering Ingredients for Your Homemade Chocolate Cake
- Step-by-Step Instructions for Your Homemade Chocolate Cake
- Tips for the Ultimate Homemade Chocolate Cake Success
- Storage and Make Ahead for Your Homemade Chocolate Cake
- Serving Suggestions for This Decadent Chocolate Dessert
- Frequently Asked Questions About This Homemade Chocolate Cake
- Estimated Nutritional Value for This Classic Chocolate Cake Recipe
- Share Your Homemade Chocolate Cake Creations
Why This Homemade Chocolate Cake Recipe is Your New Go-To
Look, there are a million recipes out there, but this one is special. I developed it because I wanted real flavor without spending half a day fussing over every little step. It’s my personal guarantee that you are getting an incredible moist chocolate cake recipe that holds up, tastes deeply chocolatey, and is genuinely wonderful.
- It truly is an easy chocolate cake from scratch—everything mixes right into one bowl!
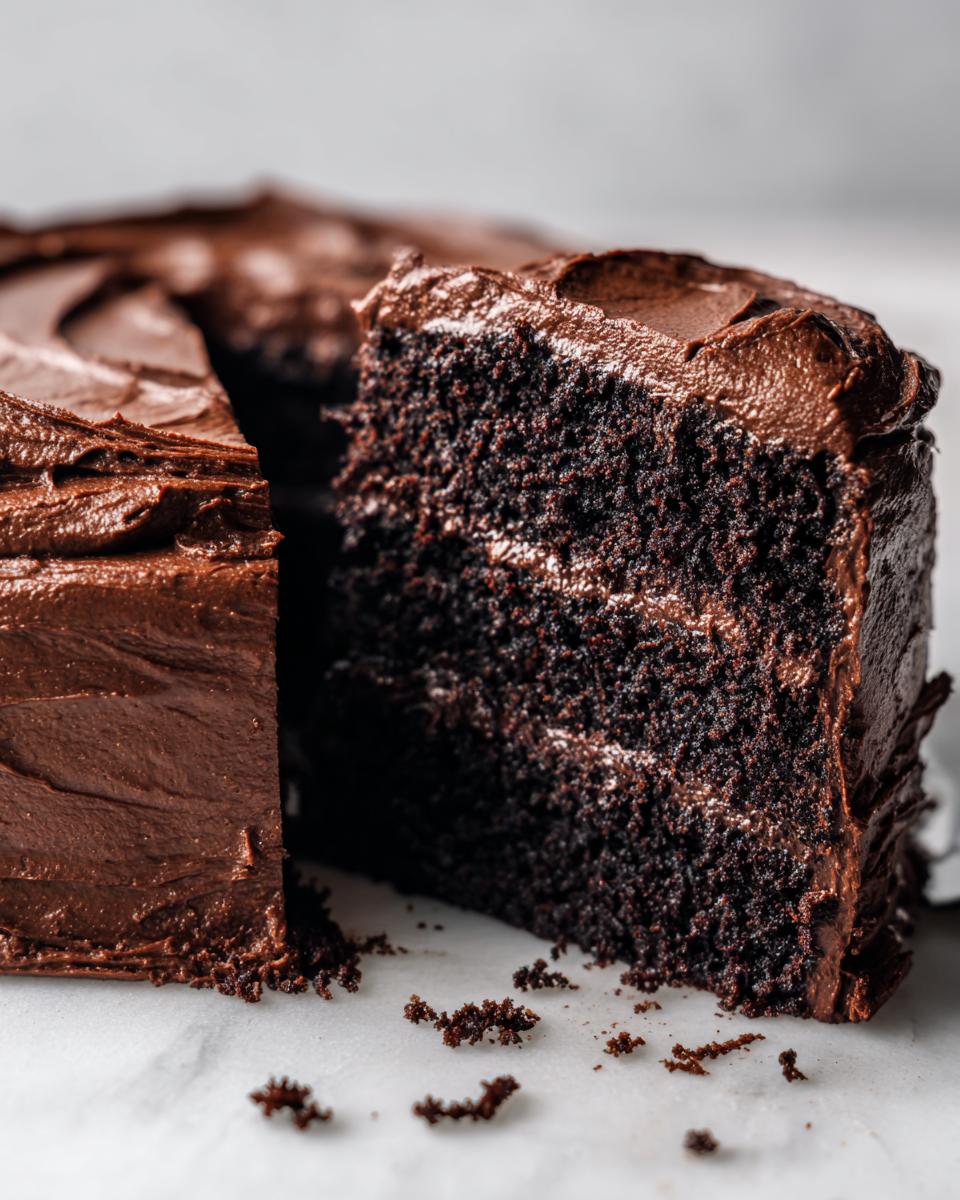
- The resulting cake is unbelievably soft; it practically melts in your mouth.
- It holds up beautifully for birthdays or just a great weekend treat.
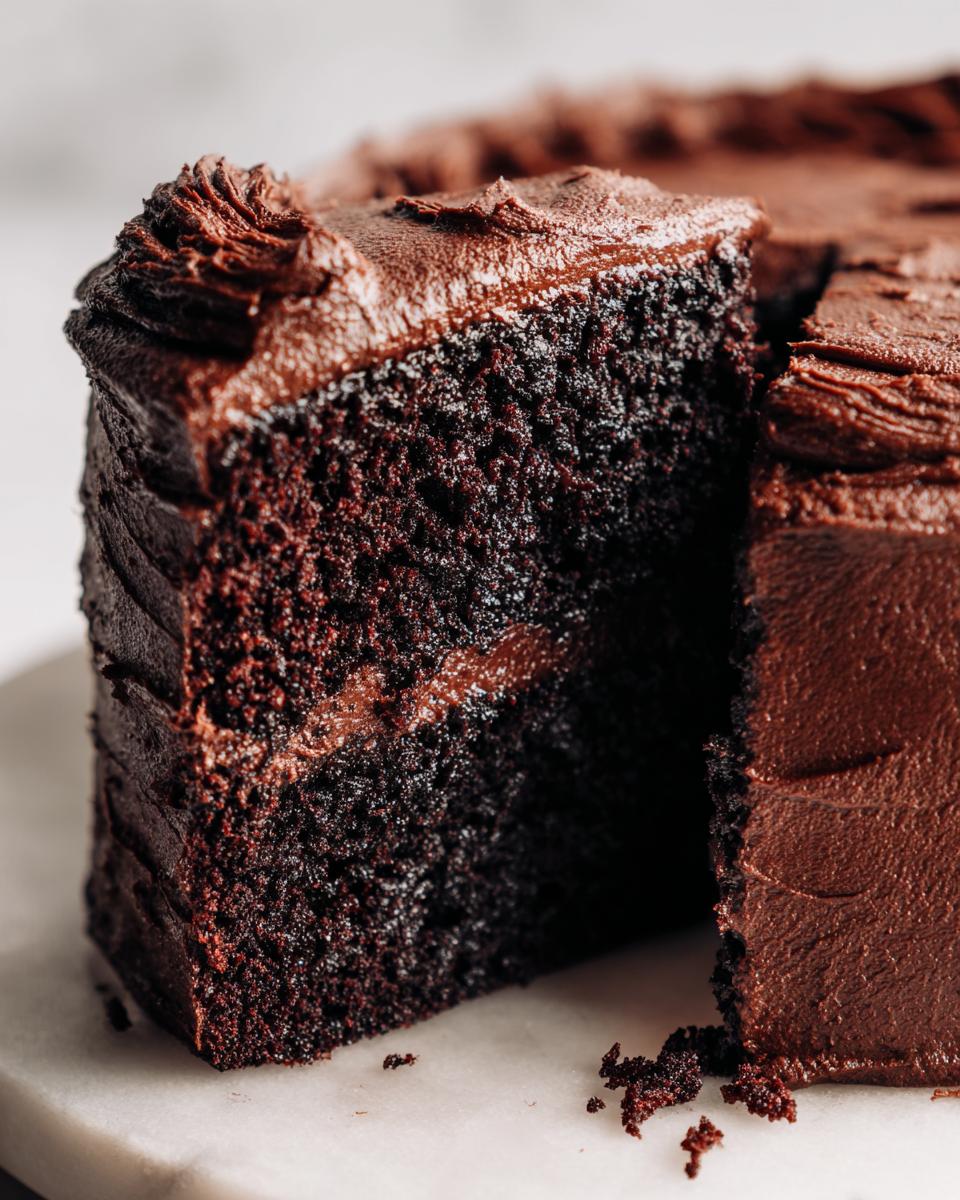
Achieving the Perfect Tender Crumb
The softness comes down to two simple chemical reactions, nothing scary, I swear! We use both baking soda and baking powder, which hit different temperatures during baking for a steady lift rather than one big, dramatic puff. Plus, the combination of buttermilk and that final addition of hot liquid wakes everything up, creating those tiny air pockets that result in a truly tender crumb.
The Secret to the Best Homemade Chocolate Cake
The secret that makes this the best homemade chocolate cake isn’t some fancy imported vanilla; it’s the ratio. We use natural cocoa powder against the acid in the buttermilk, which brings out the clearest chocolate flavor possible. You get that rich, fudgy depth you crave, but because it’s mixed so simply, it’s truly the most reliable homemade chocolate cake you’ll ever pull out of your oven. It’s baking from scratch, simplified!
Gathering Ingredients for Your Homemade Chocolate Cake
When we talk about making a great homemade chocolate cake, it all starts right here on the counter with the ingredients. My goal is always to keep things simple and use what you already have—no need to run out to specialty stores! Check your pantry; you probably have most of this already. Good baking is all about using quality basics together in the right ratio for that amazing chocolate harmony.
We are covering two parts: the cake itself, which is surprisingly liquidy—don’t panic!—and the frosting that brings it all home. If you’re interested in other simple pantry builds, check out my guide on easy homemade salad dressing recipes while we gather these items.
Cake Batter Components
For the actual cake layers, you’ll want to make sure your eggs and buttermilk are sitting out for about 30 minutes before you begin. Room temperature gets everything incorporated so much smoother.
- 1 3/4 cups all-purpose flour
- 1 3/4 cups granulated sugar
- 3/4 cup unsweetened cocoa powder (make sure it’s natural, not Dutch-process, for this recipe!)
- 1 1/2 teaspoons baking soda
- 1 1/2 teaspoons baking powder
- 1 teaspoon salt
- 2 large eggs, brought to room temperature
- 1 cup buttermilk (I explain a quick substitute later if you are out!)
- 1/2 cup vegetable oil (neutral oil works best here)
- 2 teaspoons pure vanilla extract
- 1 cup hot water or hot brewed coffee (Coffee is my choice for deep flavor, but plain hot water is fine!)
Rich Chocolate Buttercream Frosting Ingredients
For the frosting, texture is everything, so please make sure that butter is actually softened. Softened means you can easily press a finger into it, but it hasn’t started to look greasy or melted. That’s crucial for whipping up that fluffy homemade frosting recipe.
- 1 cup (that’s two full sticks) unsalted butter, softened
- 3 1/2 cups powdered sugar, sifted if yours is clumpy
- 3/4 cup unsweetened cocoa powder
- 1/2 cup heavy cream or whole milk
- 1 teaspoon vanilla extract
- Pinch of salt (this really wakes up the chocolate!)
Step-by-Step Instructions for Your Homemade Chocolate Cake
Alright, deep breath! We are putting those lovely ingredients to work. This process is so efficient, even if you’re a beginner baker, you’ll walk away feeling like a seasoned pro. My method keeps everything clean and simple, following that practical technique philosophy we talk about. We build the flavor layer by layer, which is why this is truly the homemade chocolate cake you’ll rely on when those sweet chocolate cravings hit hardest. Don’t forget to preheat that oven to 350°F (175°C) before you even grab your bowl!
Preparing the Cake Layers
First, grease and flour your two 9-inch round pans—a good coat means less stress later! In your biggest bowl, whisk together all the dry stuff: flour, sugar, cocoa, baking soda, baking powder, and salt. Give it a good mix to make sure those leaveners are spread out. Next, plop in the eggs, the buttermilk, oil, and vanilla. Now, grab your mixer and beat that mixture on medium speed for a solid two minutes. This is where we start building structure before the hot liquid goes in.
Mixing in the Hot Liquid and Baking
This is the magic moment, so be careful! You need to carefully stir in that hot water or coffee. I know, I know—the batter is going to look thin, almost soupy! Trust me on this. That thinness is exactly what guarantees an ultra-moist result. Don’t overmix it once the liquid is in; just mix until it’s smooth. Pour it evenly between your pans and bake for about 30 to 35 minutes. You’re looking for a toothpick to come out with just a few moist crumbs attached. Let them cool in the pan for ten minutes, then invert them onto a rack. They must be completely cool before frosting!
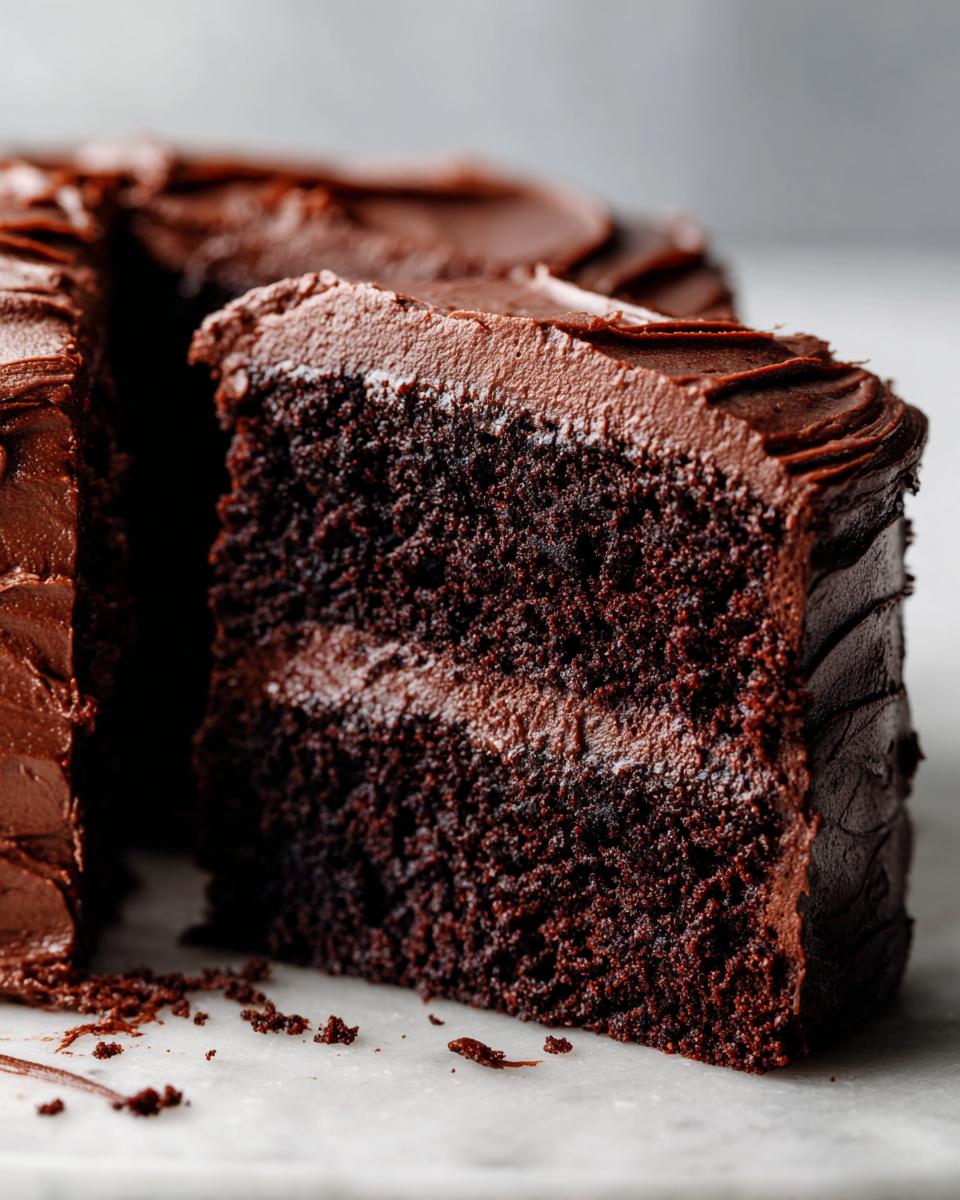
Crafting the Chocolate Cake with Buttercream Frosting
While the layers chill, let’s tackle that frosting! Beat your softened butter until it’s nice and creamy—like soft frosting clay. Now we alternate adding the sifted powdered sugar and cocoa powder with splashes of our heavy cream until it looks right. Beat it on high speed for three full minutes until it’s unbelievably light and fluffy. This is the component that makes this homemade chocolate cake feel so decadent. Once the layers are cool—and I mean truly cool, or the frosting will melt right off—place one on your carrier, load up about a third of the frosting, top it with the second layer, and then cover the whole thing beautifully. For more insights on making a great cake that everyone raves about, you can check out this favorite approach here. For more tips on making amazing frostings, you can also see my thoughts on a complementary homemade frosting recipe.
Tips for the Ultimate Homemade Chocolate Cake Success
Even with a blueprint like this, little things make the difference between “good” and “absolutely the best.” Becoming an expert at your homemade chocolate cake really comes down to respecting the temperature of your ingredients. Since we rely on the reaction between the cocoa and the liquid, using hot coffee or hot water is non-negotiable. That heat blooms the cocoa powder, making the flavor so much richer than just mixing it in cold. It really unlocks that deep, fudgy character we are aiming for!
For more ideas on rich, satisfying desserts that don’t bog you down with fuss, take a peek at my guide to making a simple chocolate mousse pie.
Ingredient Notes and Substitutions
If you’re staring into your fridge and realize you’re out of buttermilk—don’t freak out! Trust your instincts as a home cook. Just add one tablespoon of white vinegar or lemon juice to a cup of regular milk, let it sit on the counter for about five minutes until it looks slightly curdled, and bam! You’ve got your replacement. That little bit of acid is all you need for the tender crumb.
Also, cocoa powder loves to clump up. If you notice your cocoa powder is lumpy, take five extra seconds to sift it before adding it to the dry ingredients. Nobody wants a random pocket of unsweetened dry cocoa hitting their tongue. For beautiful results like those seen in this popular recipe here, a little precision goes a long way with those dry components!
Storage and Make Ahead for Your Homemade Chocolate Cake
One of the greatest things about having a tried-and-true homemade chocolate cake recipe in your back pocket is that you don’t have to bake it all on the day you need it! Life is busy, so knowing you can break this down into a weekend project is a huge win. This recipe is designed to be a great ‘make ahead’ option, which is perfect for busy weeknights or when you’re prepping for a big party.
If you plan on frosting it the next day, the layers handle waiting beautifully. Just let the two cooled layers sit completely uncovered on the counter overnight. Covering them traps moisture in condensation, which can leave you with a sticky cake surface that the frosting won’t hold onto properly. Leave them out on the rack; they are totally fine!
Now, if you are planning way ahead—and I highly recommend this for a big birthday chocolate cake—you can wrap those cooled, unfrosted layers tightly. Use two layers of plastic wrap around each layer, making sure to press the wrap snugly against the surface of the cake. You can freeze these rock-solid layers for up to a month! When you’re ready to frost, just pull them out and let them thaw on the counter for a few hours while still wrapped; by the time they are defrosted, they are perfectly ready for that buttercream. For more on planning your baking schedule, take a look at some of my favorite tips on handling a make ahead chocolate cake.
Once the cake is frosted and fully assembled, it stays wonderfully moist at room temperature for about two days, covered loosely with a cake dome or a large bowl to keep dust out but let it breathe a little. Refrigeration isn’t necessary unless you live somewhere super hot and humid, and honestly, cold cake isn’t the best way to enjoy that rich flavor, right?
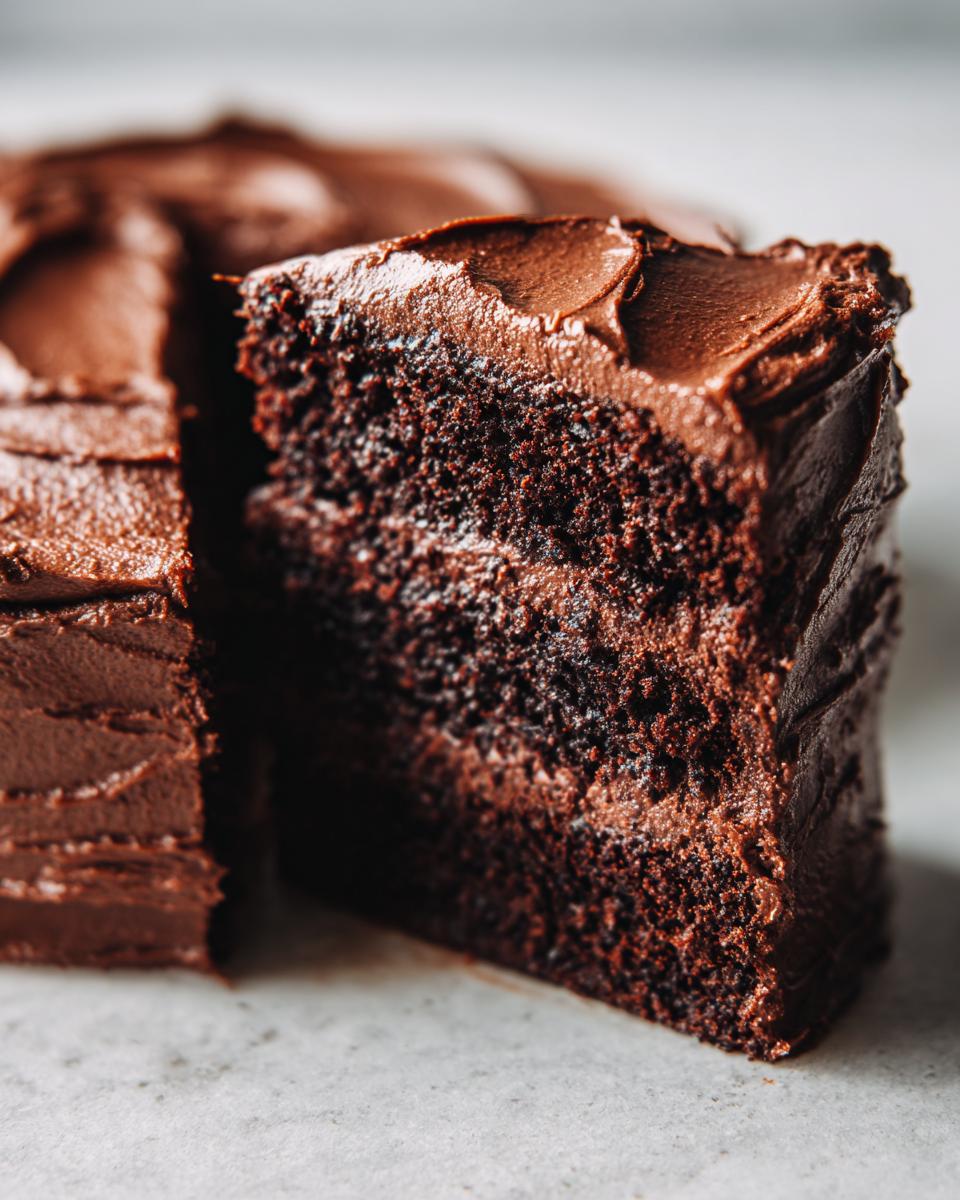
Serving Suggestions for This Decadent Chocolate Dessert
So, your beautiful cake is frosted, it’s cool, and the rich chocolate aroma is filling your kitchen—what comes next? Presentation matters, even when you’re just serving family! While this cake is absolutely glorious on its own, pairing it with simple complements can elevate it from a great dessert into a truly memorable one.
Because the cake itself is so rich and fudgy, I always aim for something on the plate that offers a little brightness or textural contrast. It cuts through that intense chocolate flavor perfectly. If you’re looking for a lighter side dish to balance out a heavy meal, you might want to check out how I make a refreshing winter fruit salad with cinnamon vanilla dressing earlier in the week.
Here are my favorite ways to serve this decadent chocolate dessert:
- Fresh Berries are Non-Negotiable: You can’t beat the combination of deep cocoa and tart fruit. A scattering of fresh raspberries or sliced strawberries right next to the slice adds a vibrant color pop and a necessary acidic bite.
- Vanilla Bean Perfection: If you’re serving this warm—yes, you can gently warm a slice!—a scoop of really good vanilla bean ice cream is the classic answer. The difference between standard vanilla and bean-speckled vanilla is worth the small splurge here.
- A Dusting of Salt: This is subtle but transformative. Before serving, take the finest mesh sieve you have and dust the top of the whole cake (or individual slices) with just the tiniest bit of flaky sea salt. It doesn’t make it salty; it just makes the chocolate taste *more* like chocolate.
- Simple Coffee Pairing: For those of us who love that deep, roasted note, serving a small espresso or a warm cup of strong black coffee alongside the slice is the perfect ending to any meal.
Remember, the goal of Delish Symphony is enjoyable, flavorful harmony. Don’t overcomplicate the platter; let the chocolate do the heavy lifting!
Frequently Asked Questions About This Homemade Chocolate Cake
I know when you’re deep into baking the best homemade chocolate cake, questions pop up. That’s totally normal! I’ve tried to keep this recipe so simple that you barely need notes, but let’s clear up a few things I hear often from folks trying this out for the first time. Knowing these little details up front helps guarantee you get that perfectly moist texture we talked about!
Can I use regular milk instead of buttermilk in this homemade chocolate cake?
You absolutely can, and that’s the beauty of baking from scratch—making do with what you have! If you’re out of buttermilk, don’t stress about running to the store. Just take one cup of regular whole milk or 2% milk and stir in one tablespoon of white vinegar or fresh lemon juice. Let that sit on the counter undisturbed for about five minutes. You’ll see it start to curdle slightly and thicken up. That’s your homemade buttermilk replacement, ready to go! It gives you that necessary acid to react with the baking soda, ensuring that glorious lift and texture.
How can I turn this into a birthday chocolate cake?
This recipe is practically built to be a birthday chocolate cake! Since the layers stack so well, all you really need to do is focus on presentation. Once you have your cake layers cooled and frosted with that rich buttercream, think about adding some texture to the sides. You can press chocolate sprinkles (jimmies) right onto the sides using your hands—it’s easy and hides any little frosting imperfections! Alternatively, if you have a piping bag and tip, just using a simple star tip to pipe little rosettes around the top edge gives it that classic, celebratory look. Kids love it when you add colorful edible glitter, too!
If you want a deeper dive into all the assembly tricks, I’ve put together a little guide on how to execute a perfect chocolate layer cake tutorial that covers splitting layers and crumb coating, which is great if you want drama for a big event!
Estimated Nutritional Value for This Classic Chocolate Cake Recipe
Now, I’m Michael Carter, and I’m going to be upfront: as a home cook focused on flavor and joy, I’m not a registered dietitian. These numbers are purely estimates based on the general ingredients list we used. Like any great recipe, your exact nutrition facts will vary slightly depending on the brands you choose, especially the amount of oil or sugar substitutes you might swap in.
If you are counting calories or following a specific diet, please use this chart as a general guide only. What I can tell you is that this is a rich, satisfying dessert, and as a general rule, it’s best enjoyed in moderation with a cup of coffee! We built this recipe for flavor harmony, not for perfect macros, so enjoy this wonderful treat!
- Serving Size: 1 slice (of 12)
- Calories: ~450
- Sugar: ~55g
- Fat: ~24g
- Protein: ~5g
- Total Carbohydrates: ~60g
That sugar content reflects the rich, fudgy texture and the creamy buttercream frosting, which are essential parts of what makes this cake so lovely! It really depends on how generously you frost it, too. Remember: every ingredient contributes to that rich, fudgy chocolate experience we aimed for in this classic chocolate cake recipe.
Share Your Homemade Chocolate Cake Creations
Well, we’ve reached the end of the instruction part, but our kitchen symphony isn’t over yet! I truly hope you felt that connection while mixing up this fantastic cake. If you followed along, you now have one of the most satisfying, moist, and easy desserts imaginable sitting on your counter, ready to be enjoyed.
Now it’s your turn to join the Delish Symphony community! My goal isn’t just to give you a recipe; it’s to empower you to bake with confidence. The feedback you leave—whether it’s a quick comment about how much your family loved it or a full 5-star rating—helps others who are nervous about baking from scratch feel comfortable trying this out. It builds the trust we rely on here.
Did you try the hot coffee trick? Did you use fresh berries on top? I would genuinely love to see your beautiful bakes! Please snap a picture and share it on social media, tagging us so I can see your success. If you run into any questions after you’ve cooled off and cleaned up, please don’t hesitate to reach out through my contact page; I always try to answer everything personally.
Go ahead—rate this recipe 5 stars if you loved it, leave a comment below telling me your favorite part, and start planning when you’ll bake it next. Happy baking, friends!
PrintThe Ultimate Easy Homemade Moist Chocolate Cake with Rich Chocolate Buttercream Frosting
This recipe delivers a deeply flavorful, moist chocolate cake from scratch, paired with a simple, rich chocolate buttercream. It is designed to be easy for the home cook.
- Prep Time: 20 min
- Cook Time: 35 min
- Total Time: 55 min
- Yield: 12 servings 1x
- Category: Dessert
- Method: Baking
- Cuisine: American
- Diet: Vegetarian
Ingredients
- 1 3/4 cups all-purpose flour
- 1 3/4 cups granulated sugar
- 3/4 cup unsweetened cocoa powder
- 1 1/2 teaspoons baking soda
- 1 1/2 teaspoons baking powder
- 1 teaspoon salt
- 2 large eggs
- 1 cup buttermilk
- 1/2 cup vegetable oil
- 2 teaspoons vanilla extract
- 1 cup hot water or hot brewed coffee
- For the Frosting: 1 cup (2 sticks) unsalted butter, softened
- 3 1/2 cups powdered sugar
- 3/4 cup unsweetened cocoa powder
- 1/2 cup heavy cream or milk
- 1 teaspoon vanilla extract
- Pinch of salt
Instructions
- Preheat your oven to 350 degrees Fahrenheit (175 degrees Celsius). Grease and flour two 9-inch round cake pans.
- In a large bowl, whisk together the flour, sugar, cocoa powder, baking soda, baking powder, and salt.
- Add the eggs, buttermilk, oil, and vanilla extract to the dry ingredients. Beat with an electric mixer on medium speed for two minutes.
- Carefully stir in the hot water or coffee until the batter is smooth. The batter will be thin.
- Pour the batter evenly into the prepared cake pans.
- Bake for 30 to 35 minutes, or until a wooden pick inserted into the center comes out clean.
- Let the cakes cool in the pans for 10 minutes before inverting them onto a wire rack to cool completely.
- To make the frosting, beat the softened butter in a large bowl until creamy.
- Gradually add the powdered sugar and cocoa powder, alternating with the heavy cream, beating until smooth.
- Mix in the vanilla extract and salt. Beat on high speed for 3 minutes until the frosting is light and fluffy.
- Once the cakes are completely cool, place one layer on a serving plate. Spread about one-third of the frosting over the top. Place the second layer on top.
- Frost the top and sides of the entire cake with the remaining chocolate buttercream frosting.
Notes
- Using hot coffee instead of hot water deepens the chocolate flavor without making the cake taste like coffee.
- Buttermilk helps create a tender crumb; if you do not have buttermilk, mix 1 cup of milk with 1 tablespoon of white vinegar or lemon juice and let it sit for 5 minutes.
- You can make this cake ahead of time; wrap cooled layers tightly in plastic wrap and freeze for up to one month. Thaw before frosting.
Nutrition
- Serving Size: 1 slice
- Calories: 450
- Sugar: 55g
- Sodium: 320mg
- Fat: 24g
- Saturated Fat: 14g
- Unsaturated Fat: 10g
- Trans Fat: 0.5g
- Carbohydrates: 60g
- Fiber: 3g
- Protein: 5g
- Cholesterol: 75mg