
Tired of that grainy, weirdly sweet canned stuff? Me too! Seriously, frosting should never feel like a chore, especially when you need something gorgeous fast. That’s why I’m handing over my go-to recipe for the absolute **best, easy vanilla buttercream frosting** out there. This thing is fluffy, creamy, smooth, and you can whip it up in about 10 minutes—no cooking involved, I promise! As a home cook who left the world of logic for the world of flavor, I focused on making this classic dessert topping foolproof. Whether you’re decorating a towering birthday cake or just need a quick cupcake frosting, this American buttercream holds its shape perfectly when you pipe it. You can trust this recipe; I spent years perfecting it in my own kitchen so that you don’t have to waste time fussing over lumpy sugar. Ready to make your desserts sing? Check out my philosophy on approachable ingredients over at the About Us page!
- Why This Classic Vanilla Buttercream Frosting Recipe Works
- Essential Ingredients for Perfect Vanilla Buttercream Frosting
- Step-by-Step American Buttercream Tutorial for Vanilla Buttercream Frosting
- Troubleshooting Common Issues with Homemade Vanilla Frosting
- Variations on Your Classic Vanilla Buttercream Frosting
- Serving Suggestions for This Best Vanilla Frosting for Cakes
- Storage and Reheating Instructions for Vanilla Buttercream Frosting
- Frequently Asked Questions About Vanilla Buttercream Frosting
- Approximate Nutrition Details for This Classic Dessert Topping
- Share Your Fluffy Buttercream Icing Creations
Why This Classic Vanilla Buttercream Frosting Recipe Works
When you need frosting that performs, you don’t want to cross your fingers hoping it holds its shape. This recipe is engineered for success, giving you that dream combination: super creamy, smooth mouthfeel, yet sturdy enough for serious decorating. It’s my absolute favorite **easy buttercream frosting recipe** because it masters that crucial point between soft spread and strong piping consistency. Seriously, I’ve tested every temperature combination imaginable on my butter to guarantee you get a perfect, non-gritty result! This reliability is why it’s my go-to for birthdays and holidays.
Quick Prep Time for Your Vanilla Buttercream Frosting
Who has hours to fuss over frosting? Nobody I know! The best part about this specific **vanilla buttercream frosting** is that it’s a total time-saver. We’re talking ten minutes, start to finish. Since it’s a **no cook buttercream**, you just dump, mix, and you’re done. It’s perfect for those nights when you realize you forgot to whip up a topping for those cookies you just baked. Quick, but never looks rushed, you know?
Achieving the Best Vanilla Frosting for Cakes Texture
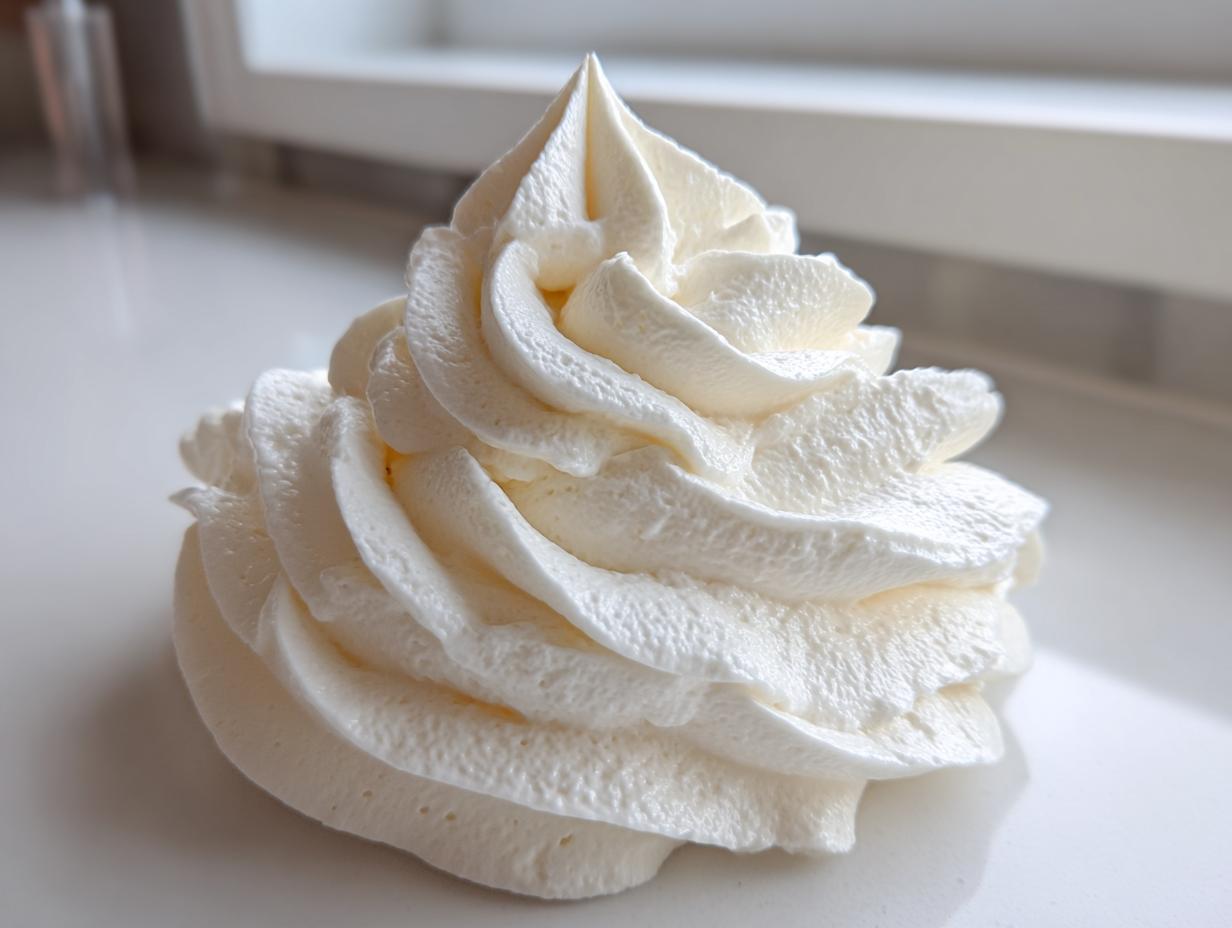
The secret to that cloud-like texture—that gorgeous **fluffy buttercream icing**—isn’t magic, it’s just beating the fat and sugar long enough. We need to incorporate air! Think of this as your basic **American buttercream tutorial** foundation. By creaming the butter really well before introducing the sugar, we build structure. If you scrape down the sides occasionally, you ensure everything whips up into a consistently light and airy masterpiece, ready for any piping tip you throw its way.
Essential Ingredients for Perfect Vanilla Buttercream Frosting
Listen, for something so simple, the ingredients for **vanilla buttercream frosting** have to be perfect. There’s no hiding anything here, so we need quality stuff handled the right way. Trust me on this one; I’ve seen folks try to rush this, and the result is always gluey. We are aiming for smooth, sweet perfection, which depends entirely on the temperature and preparation of these few items. I’ve even pulled out my notes on Mike’s favorite recipes where prepping ingredients correctly makes all the difference, like making sure we sift that sugar!
Here’s what you need ready to go before you even turn on the mixer:
- 1 cup unsalted butter, softened to room temperature (This is non-negotiable! Too cold, it won’t cream; too warm, it melts!)
- 4 cups powdered sugar, sifted (Sifting is important, don’t skip it or you’ll be digging out lumps later!)
- 1 teaspoon pure vanilla extract (Use the good stuff; it makes a huge flavor difference in this simple frosting.)
- 2 to 4 tablespoons heavy cream or whole milk (We’ll discuss this liquid choice in a minute.)
- Pinch of salt (Just a tiny bit to balance out the sweetness, like in any **classic dessert topping**.)
Ingredient Notes and Substitutions for Creamy Vanilla Frosting Recipe
The liquid is where people get stuck, so let’s talk turkey. If you want the absolute best results—the kind that stack up beautifully and hold those sharp edges for your designs—heavy cream is your best friend for this **creamy vanilla frosting recipe**. It has a higher fat content, which helps stabilize the entire mixture against heat.
Now, if you don’t have heavy cream on hand, don’t panic and run to the store! You can absolutely use whole milk. If you are looking for a **buttercream without heavy cream**, milk works fine, but you need to use it sparingly. Stick to 2 tablespoons of milk initially. You might end up using slightly more than you would with cream, but just go slow. The goal is to add just enough liquid to bring the sugar and butter together into that smooth, pipeable magic without making it sloppy.
Step-by-Step American Buttercream Tutorial for Vanilla Buttercream Frosting
Putting this **vanilla buttercream frosting** together is incredibly straightforward. Honestly, if you can operate a mixer, you can nail this **easy buttercream frosting recipe**. I’ve broken down the steps exactly as I do them in my own kitchen to ensure we capture all that airy volume needed for a truly decadent finish. Remember, technique matters here, especially with the speed changes—stick with me, and you’ll have the **best vanilla frosting for cakes**!
- First things first: Get that one cup of softened butter into your mixer bowl. We need to beat it until it’s genuinely smooth and creamy, just on medium speed, which usually takes about two minutes. Don’t rush this initial creaming, or you’ll have little lumps of butter in your final product.
- Now, we add the bulk: the sifted powdered sugar. You absolutely must add this gradually, one cup at a time. Keep the mixer on low speed until the sugar is just incorporated after each cup. If you dump it all in at once? Well, you’ll end up wearing half your sugar, and the consistency will be awful! Make sure to stop and scrape down the sides really well between additions.
- Time for flavor! Add your teaspoon of pure vanilla extract and that tiny pinch of salt. Now, crank that speed up to medium-high and let it whip for a good three minutes. This is where the mixture starts transforming. It goes from looking dense and shaggy to light and fluffy!
- Here’s where we find our consistency. Start by adding just 2 tablespoons of your heavy cream or milk. Beat it for one more minute. This small addition usually brings it together beautifully. If you’re already happy with how soft it feels for spreading, stop here. If you want it softer or need a little help getting it ready for your star piping tips, add the rest of the liquid, just one tiny teaspoon at a time.
- The grand finale! This final beat incorporates all the air we’ve been working to trap. Turn the mixer up high and beat it for a full minute. This final blast makes the **homemade vanilla frosting** incredibly light and ready for whatever you need it for. Use it immediately for the best texture! If you want some ideas on great things to frost, I share some of my favorite recipes, like chocolate chip cookies, that would be perfect with this topping.
Tips for Adjusting Piping Consistency Frosting
This is the make-or-break moment for decorators. If you are aiming for intricate shells or rosettes, your **piping consistency frosting** needs to be firm. If the frosting feels too stiff after Step 4, add that extra heavy cream or milk, just half a teaspoon at a time, until you can easily move the beater through it. Don’t overdo it! Remember, too much liquid makes it runny, and you’ll be back to square one.
Now, flipped that—what if your butter was too warm when you started, or your kitchen is just hot, and the frosting looks a little slumped? That happens to me too, especially in the summer! You need to firm it up fast. Pop the entire mixing bowl into the refrigerator for about 10 to 15 minutes. Don’t let it get hard, just cool off the fat. Then, scrape it down again and give it a quick, high-speed whip for about 30 seconds. That chilling and re-whipping brings back all the body you lost!
Troubleshooting Common Issues with Homemade Vanilla Frosting
Even with the best plan, sometimes things go sideways in the kitchen, right? That’s totally normal, especially when you’re relying on simple ingredients like in this **homemade vanilla frosting**. If you run into a hiccup, don’t throw that bowl out! I’ve learned the hard way what causes these little problems, and usually, fixing them is easier than you might think.
Let’s tackle the three griefers of the buttercream world:
Grainy Texture
If your frosting tastes gritty or you can feel tiny sugar crystals when you lick the spoon, it nearly always comes down to one thing: improperly incorporated or unsifted powdered sugar. Yes, I know I told you to sift it earlier, but if you skip that step, those little hard clumps of sugar won’t dissolve into the fat. It just crunches! The fix is heating things up slightly. Cover the bowl and microwave the whole batch of frosting for about 10 seconds—literally just enough to soften the butter again, no melting! Then, put it back on the mixer and beat it on medium-high speed for a full 4 to 5 minutes. That friction and time will dissolve those crystals and make it silky smooth again.
Runny or Soupy Frosting
This usually happens if your butter was a little too soft—maybe it sat out too long or, heaven forbid, you tried to microwave it to soften it faster! When the butter (the structure of the frosting!) gets too warm, the mixture looks beautiful at first, but it quickly turns into a slippery mess. You can’t just add more sugar, or it goes back to being too sweet and stiff! The solution here is chilling. Cover the bowl and pop it in the fridge for a good 20 minutes. You want it cold enough so it firms up, but not rock solid. Once chilled, take it out, scrape the sides down aggressively, and whip it on high speed again. It’ll come right back to life!
Curdled or Separated Appearance
Sometimes, especially if you try to add your liquid too quickly in the beginning, the frosting looks like it has tiny, separated curds, almost like cottage cheese. This means the emulsion—the way the fat (butter) and the liquid (cream/vanilla) are holding together—has broken slightly. If you’re mixing too fast when you first add liquids, the fat molecules panic! Don’t panic back! Turn the mixer speed down to the lowest setting. Add one teaspoon of extra cold heavy cream or milk, let it mix just until incorporated, and then crank the speed back up to medium. More often than not, that final, vigorous beating will bring the emulsion back together into a gorgeous, thick **homemade vanilla frosting**.
Variations on Your Classic Vanilla Buttercream Frosting
This basic **vanilla buttercream frosting** is such a fantastic starting point. Honestly, once you nail the texture, you can switch it up a thousand ways to match whatever you’re baking! It’s all about using the same core structure—butter, sugar, cream—but swapping out that vanilla for something new. This is where we get to bring in some fun, unexpected flavors for your desserts. I love adding things that keep the frosting smooth and pipeable, never grainy, just following that same rhythm we learned before.
If you want to get wild, think about the flavors that pair well with a classic birthday cake feel. Maybe you want to swirl in some homemade pumpkin spice, or perhaps you just want to deepen that background note. The possibilities are endless, and these little tweaks mean this one recipe can handle your whole holiday season!
Making Chocolate Buttercream Icing
Okay, for all the chocoholics out there, this is the easiest switch you’ll ever make. To turn this into a killer **chocolate buttercream icing**, you don’t need melted chocolate, which can really mess with the texture. Instead, we are sticking 100% to dry ingredients, which keeps everything wonderfully stable for decorating.
Right when you are adding the powdered sugar (Step 2 of the main instructions), take about 1/2 cup of that sifted powdered sugar out of your recipe, and replace it with 1/2 cup of unsweetened cocoa powder. Make sure that cocoa powder is also nicely sifted! Blend that in low and slow with the sugar, just like we did before, and proceed with the rest of the instructions. You get that rich, deep flavor without compromising the fluffy texture of your frosting.
Adding Zest and Extracts
If you’re decorating something citrusy—like lemon cupcakes or maybe some bright orange cookies—try skipping the vanilla entirely and using almond extract instead! Just one teaspoon of almond extract gives the frosting a beautiful, fragrant note that pairs so well with fruit flavors. You can also add the zest of one lemon or orange directly into the frosting when you add the vanilla in Step 3. Make sure you only scrape the colorful part of the peel, though; the white pith underneath is bitter, and nobody wants bitter frosting!
Serving Suggestions for This Best Vanilla Frosting for Cakes
Okay, now that you have this unbelievable batch of ridiculously **creamy vanilla frosting recipe**, what are you going to frost? Honestly, I keep this recipe on rotation because it’s just so versatile. It’s not just for one day; it’s for every celebration! You’ve got to get this saved, because I promise you’ll be reaching for it constantly. If you want to see how this frosting looks piped on a fun dessert, check out my Fruit Pizza Sugar Cookie recipe—it looks amazing!
This is truly the **best frosting for birthdays** because it’s sturdy enough for a big, tiered masterpiece but simple enough for a hurried Tuesday night batch of cupcakes. I use it for everything, and it always gets rave reviews.
Here are my favorite ways to use this **best vanilla frosting for cakes**:
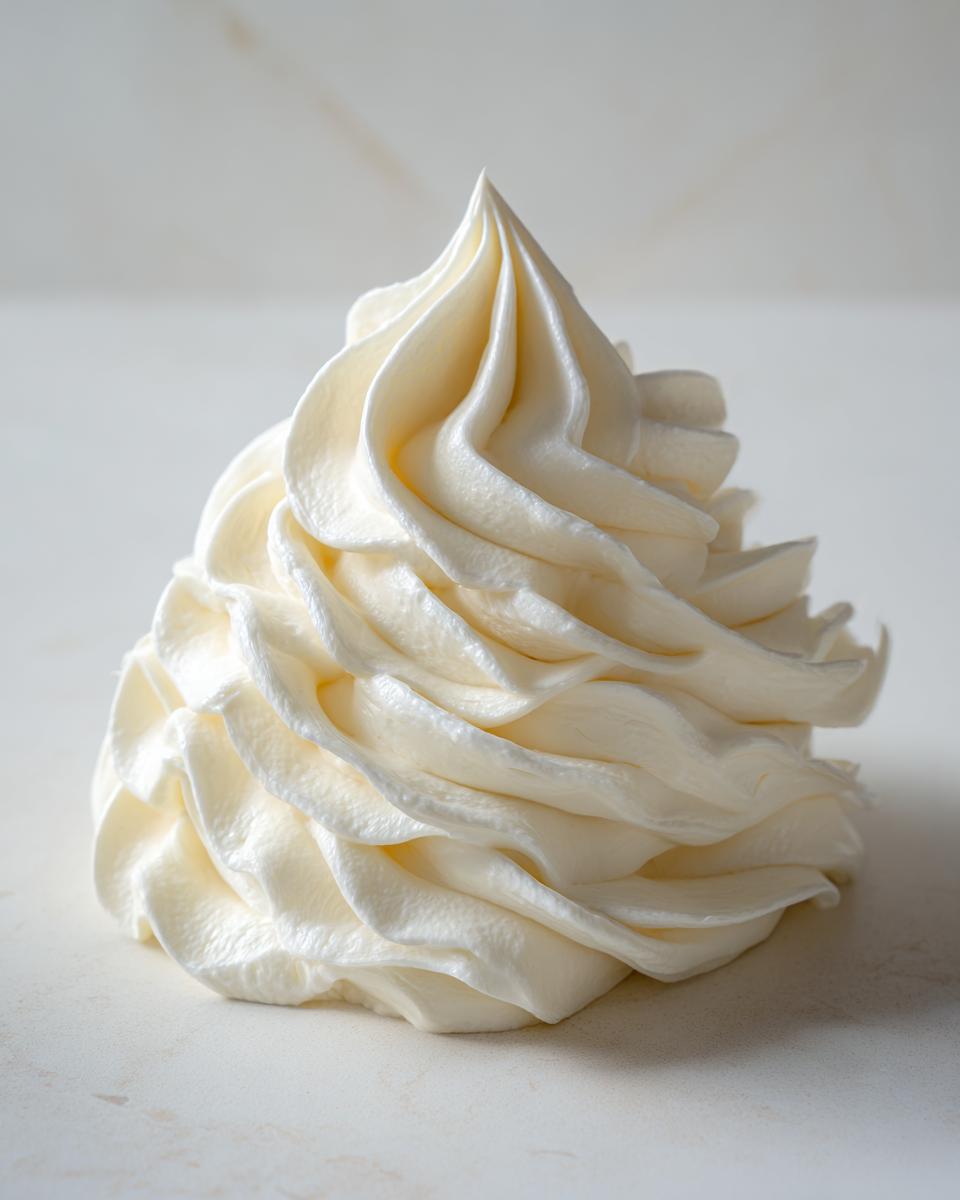
- Layer Cakes: Because this is a **piping consistency frosting**, it’s amazing for achieving sharp edges on layer cakes. Use an offset spatula for a beautiful, rustic look, or use a large star tip to create those classic swirls that everyone loves. It’s thick enough that it won’t slump under the weight of multiple layers!
- Cupcakes, Obviously: This is a **quick cupcake frosting**. Just load up a piping bag with a large tip (I love the big open star tips!) and swirl it high. It holds that height beautifully until the very last bite. Sometimes I use this for my basic vanilla cupcakes just to keep things simple and delicious.
- Cookie Topping: If you’re looking for a **vanilla icing recipe for cookies**, this works perfectly, especially if you let it set a bit. It’s much smoother than a basic powdered sugar glaze and gives you that satisfying, rich bite. Be sure to let the cookies cool completely before you start spreading it on, or you’ll end up with a melted puddle of dairy goodness!
- Filling for Sandwich Cookies: Don’t think frosting has to stay on top! I love using a firm batch of this, made with 2 tablespoons of cream, as the filling between two shortbread cookies. It offers a wonderful contrast to the buttery cookie base.

No matter how you use it, just remember how easy it was to make this **homemade vanilla frosting**! It turns humble baked goods into something truly special.
Storage and Reheating Instructions for Vanilla Buttercream Frosting
So, you made a giant batch of this amazing **vanilla buttercream frosting**, and now you have leftovers. Don’t you dare throw it out! This stuff is too good for that. The great news is that because it’s a stable American buttercream—meaning it’s mostly fat and sugar—it keeps really well. You have options depending on how long you need to store it.
For short-term storage, like if you only need to save it until the next day, you can definitely keep it right on the counter. Just make sure it’s completely covered. I use plastic wrap pressed directly onto the surface of the frosting to prevent a crust from forming. Keep it in a cool, dark spot if you can to avoid melting, but room temperature is usually fine for about 24 hours.
Bringing Chilled Frosting Back to Life
If you stuck your **homemade vanilla frosting** in the fridge (which is necessary for anything longer than a day), you are going to notice it becomes rock solid. That’s completely normal, but you can’t pipe with it like that! You need to bring it back gently.
First step: Take the container out of the fridge and let it sit on the counter for at least an hour, maybe two, depending on how warm your kitchen is. You want it soft enough that you can press a finger into it without much resistance. If you try to mix it when it’s too cold, you risk beating too much air in too quickly, and it can look curdled.
The Magic of Re-Beating
Once the frosting is soft again, here’s the trick: always beat it again! Put it back in your mixer bowl. It might look a little weird at first, maybe a bit wet or slightly separated because the butter molecules have settled. Don’t worry! Beat it on medium speed for about 30 seconds, scrape down the bowl, and then turn it up to medium-high. Give it a good minute or two of whipping. That re-beating re-incorporates air, smooths out the texture, and miraculously brings back that gorgeous, light, fluffy consistency we love. It will look exactly like the batch you just made!
Freezing Extra Frosting
If you made a huge recipe for a holiday and know you won’t use it for a few weeks, you can freeze it! Transfer your **vanilla buttercream frosting** to a heavy-duty freezer bag, squeeze out all the air, and seal it tight. It freezes beautifully for up to three months. Thaw it in the fridge overnight, and then follow the counter-thaw method and the re-beating step above, and you’re ready to frost again!
Frequently Asked Questions About Vanilla Buttercream Frosting
Because everyone has slightly different needs when whipping up this **vanilla buttercream frosting**, I gathered a few of the questions I get asked the most. It’s all about making sure your **easy buttercream frosting recipe** works for *your* baking situation, whether you’re using a hand mixer after a long day or you need it snowy white for a specific theme. Ask away, and let’s solve those last-minute kitchen dilemmas! If you’re looking for external verification on how great this recipe is, check out this fantastic vanilla buttercream frosting recipe tutorial!
Can I make this without a stand mixer?
Absolutely! I love my stand mixer, but sometimes I’m in a rush, or honestly, sometimes the dishwasher stole my bowl! This is totally doable with a sturdy handheld electric mixer. You’ll need a large, deep bowl. The main difference is you’ll need to mix a little longer to get that **fluffy buttercream icing** texture. When you get to the part where you beat the butter fluffy (Step 1), give it a good 3 or 4 minutes by hand, scraping down the sides often. Then, when you beat in the sugar, you’ll need to take breaks to really mix thoroughly to prevent streaks. It’s more upper body work, but the result is the same amazing **classic dessert topping**!
How do I make the frosting whiter?
Sometimes that nice yellow tone from the butter is a little too obvious, and you need a perfect white canvas for bright colors or just a really crisp look against dark cake layers. If you want a whiter **homemade vanilla frosting**, you have two main tricks. First, use the absolute lightest colored butter you can find, or consider swapping half the butter for vegetable shortening. Shortening contains no natural yellow color and makes for an incredibly stable frosting, too! Second, add just a tiny drop—and I mean tiny—of violet or electric blue food coloring. Purple cancels out yellow on the color wheel, so it neutralizes the yellow tone, making the frosting look stark white after it mixes in. Just use a toothpick and touch the dye once; you don’t want accidental lavender cake glue!
Can I use salted butter for this creamy vanilla frosting recipe?
This is a classic dilemma! The recipe calls for unsalted butter because it lets us control the salt level completely with just a pinch. If you only have salted butter on hand, you can still use it to make your **piping consistency frosting**, but you need to omit the extra pinch of salt we called for in Step 3. Taste your butter first. If it’s borderline salty, just skip the added salt entirely. If it’s very lightly salted, you might add just half the pinch. Butter is the fat backbone of this whole thing, and too much salt really throws off the balance of this **best vanilla frosting for cakes**.
Will this American buttercream frosting crust over too hard?
Because this is an American buttercream, which relies heavily on powdered sugar, it *will* set up firmly if left out for a long time, especially if it’s a dry environment. It won’t get rock hard like royal icing, but it will develop a thin, slightly drier layer on the outside. If you need a soft, lush texture, this frosting is best consumed within 24 hours at room temperature or used within a few days from the fridge. If you are making it way ahead of time, remember my advice on storage—re-whip it vigorously after bringing it to room temperature to soften that exterior layer again. If you want a frosting that stays super soft and never crusts, you might want to look into a Swiss Meringue recipe, but for reliable birthdays and fun decorating, this is the winner! If you want more ideas on technique, you can always check out my thoughts on recipes like those found in easy moist banana bread.
If you’ve whipped up a batch and want to share your decorating success or have other questions, leave a comment!
Approximate Nutrition Details for This Classic Dessert Topping
Okay, so we’ve made an absolutely incredible batch of **vanilla buttercream frosting**, and while we’re focused way more on flavor and fluffy texture than counting macros—because, let’s be honest, frosting is a celebratory food!—I know some of you are curious about what goes into this classic topping.
I ran the numbers based on the standard recipe where we use the heavy cream adjustment, and here are the estimated details for a serving size of about 1/4 cup. Remember, I’m a passionate cook, not a registered dietitian, so please see this as a fun guide rather than strict facts. The exact values will change depending on the brand of butter you use or if you swap milk for cream.
Here’s the estimated breakdown for that perfect scoop of **classic dessert topping**:
- Serving Size: 1/4 cup
- Calories: 350
- Fat: 15g
- Saturated Fat: 9g
- Trans Fat: 0g
- Carbohydrates: 56g
- Sugar: 55g
- Protein: 1g
- Sodium: 50mg
- Cholesterol: 40mg
- Fiber: 0g
See? Lots of sugar and fat, just like dessert should be! That’s what gives us the rich, creamy mouthfeel for that perfect **American buttercream tutorial** result. If you want to lower the calories slightly, remember my earlier tip? Swapping half the butter for vegetable shortening (though it changes the *flavor* profile a little) will cut down heavily on the saturated fat!
Keep in mind that these numbers are based on the full yield of the recipe, so if you pipe a tiny bit on top of your cupcakes, you’re probably consuming less than this amount. Really, the most important nutritional detail is the joy this **creamy vanilla frosting recipe** brings to the table!
Share Your Fluffy Buttercream Icing Creations
Now listen, I’ve shared all my secrets for getting that incredibly smooth, amazing **fluffy buttercream icing**, and I really hope you’re heading to the mixer right now! But honestly, the symphony isn’t complete until I see what you all create. Cooking is all about sharing the joy and bringing people together, just like we talk about over at Delish Symphony. I want to know if this recipe became your go-to **classic dessert topping**!
Did you pipe gorgeous roses on your birthday cake? Did you use this to top some incredible churros? Don’t keep that success to yourself!
Please take a moment to rate the recipe at the top of the page—five stars if it made your dessert dreams come true! More importantly, if you have a picture or a little note about how much easier this **vanilla buttercream frosting** made your life, drop it in the comments below. I read every single one, and knowing I helped someone avoid a sad, grainy batch is the best part of my day.
And because you know you’ll need it again for the next holiday or impromptu celebration, make sure you hit that Pin button and save this recipe! You’ll thank yourself later when you need that reliable, **best vanilla frosting for cakes** at a moment’s notice. If you’re curious about other recipes that get this kind of passionate feedback, check out this fantastic post on buttercream tips outside of my own site. Happy decorating!
PrintThe Best Classic, Easy Vanilla Buttercream Frosting for Piping
Make creamy, smooth, and fluffy American buttercream frosting quickly. This no-cook recipe is stable for piping and perfect for birthdays and celebrations.
- Prep Time: 10 min
- Cook Time: 0 min
- Total Time: 10 min
- Yield: About 3 cups 1x
- Category: Dessert Topping
- Method: Mixing
- Cuisine: American
- Diet: Vegetarian
Ingredients
- 1 cup unsalted butter, softened to room temperature
- 4 cups powdered sugar, sifted
- 1 teaspoon pure vanilla extract
- 2 to 4 tablespoons heavy cream or whole milk
- Pinch of salt
Instructions
- Place the softened butter in the bowl of a stand mixer fitted with the paddle attachment. Beat on medium speed until the butter is smooth and creamy, about 2 minutes.
- Gradually add the sifted powdered sugar, one cup at a time, mixing on low speed until just combined after each addition. Scrape down the sides of the bowl as needed.
- Add the vanilla extract and a pinch of salt. Increase the mixer speed to medium-high and beat for 3 minutes until the mixture is light and fluffy.
- Add 2 tablespoons of heavy cream or milk. Beat for another minute. If the frosting seems too stiff for piping, add the remaining cream, one teaspoon at a time, until you reach your desired smooth, creamy consistency.
- Beat on high speed for 1 minute to incorporate air, making the frosting extra fluffy. Use immediately for frosting cakes or piping decorations.
Notes
- For a stiffer consistency perfect for detailed piping, use less liquid (start with 2 tablespoons of cream).
- If your butter is too warm, the frosting will be runny. Chill the bowl for 10 minutes if the frosting becomes too soft.
- To make a chocolate option, sift in 1/2 cup of unsweetened cocoa powder with the powdered sugar.
- Always use room temperature butter for the smoothest texture.
Nutrition
- Serving Size: 1/4 cup
- Calories: 350
- Sugar: 55g
- Sodium: 50mg
- Fat: 15g
- Saturated Fat: 9g
- Unsaturated Fat: 6g
- Trans Fat: 0g
- Carbohydrates: 56g
- Fiber: 0g
- Protein: 1g
- Cholesterol: 40mg