
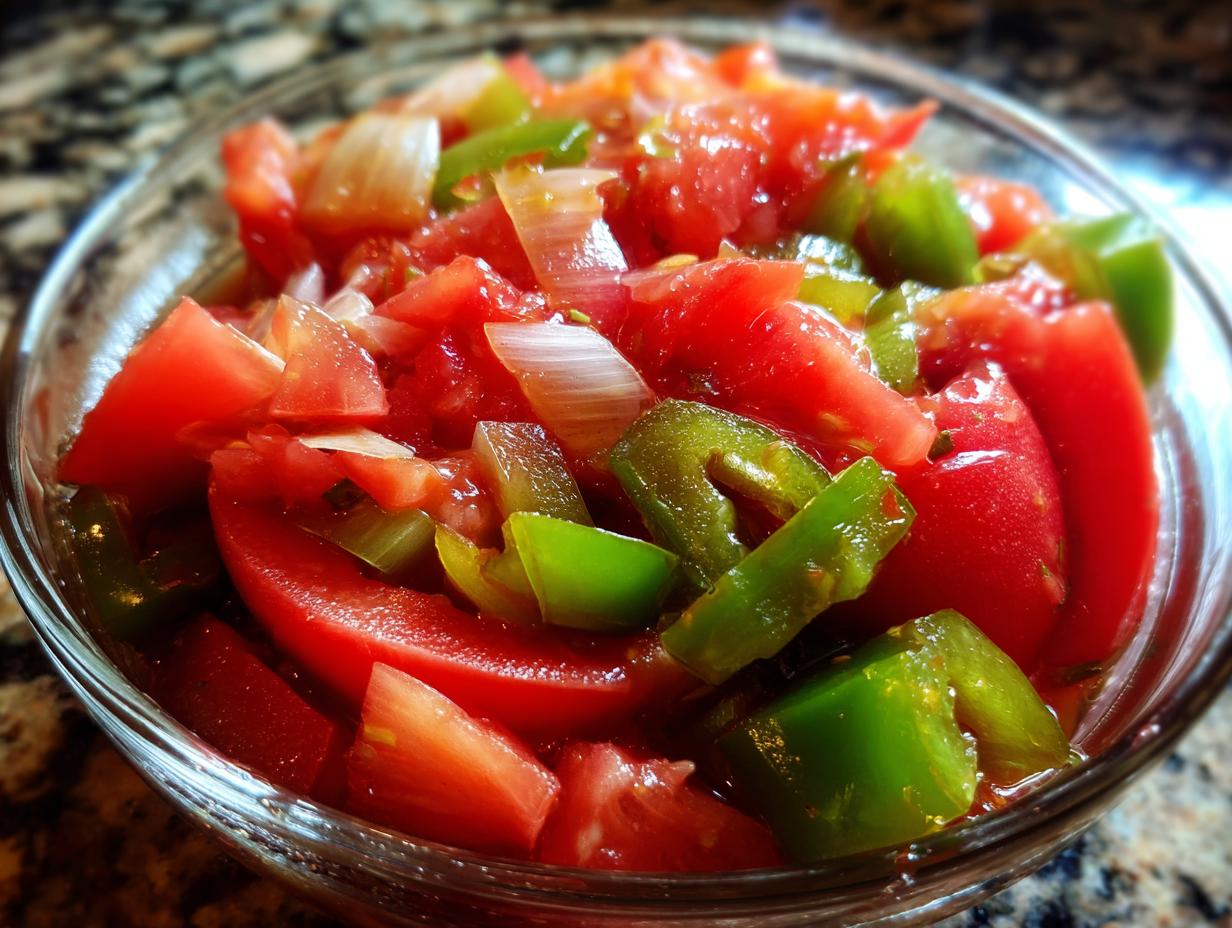
Oh, the joy of a garden bursting with ripe tomatoes and peppers! There’s nothing quite like it, is there? And when you have a bounty, preserving that freshness is key. That’s exactly why I’m SO excited to share my go-to tested water-bath salsa recipe. This isn’t just any recipe; it’s a lifesaver for gardeners like us, giving you that perfect chunky texture and letting YOU control the spice level. Trust me, making your own homemade salsa for canning is incredibly rewarding and ensures you’ve got deliciousness all year round!
- Why You'll Love This Homemade Salsa for Canning
- Essential Ingredients for Your Homemade Salsa
- Step-by-Step Guide to Making Homemade Salsa for Canning
- Tips for the Best Homemade Salsa for Canning
- Understanding Your Water Bath Tomato Salsa
- Frequently Asked Questions About Homemade Salsa
- Storage and Reheating Instructions for Preserved Salsa
- Estimated Nutritional Information for Homemade Salsa
- Share Your Homemade Salsa Creations!
Why You’ll Love This Homemade Salsa for Canning
Seriously, this recipe is a game-changer for anyone with a garden!
- Super Easy to Make: Even if you’re new to canning, you’ll find this straightforward.
- Bursting with Fresh Flavor: It tastes SO much better than store-bought, packed with garden goodness!
- Perfect for Preservation: Lock in that summer harvest to enjoy all winter long.
- Customizable Heat: You’re in charge – make it mild, medium, or extra spicy!
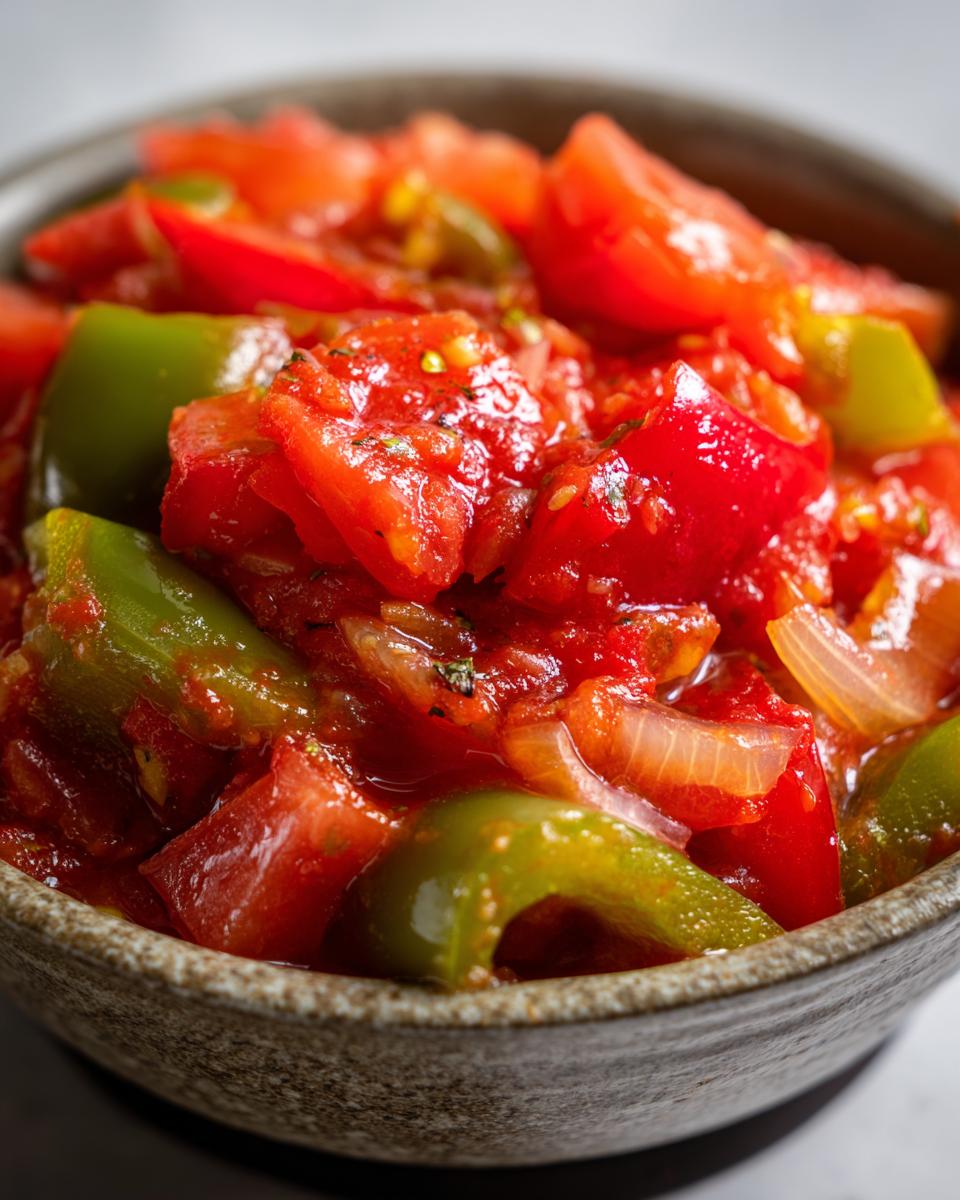
- Chunky & Delicious: Just the right texture for dipping or cooking.
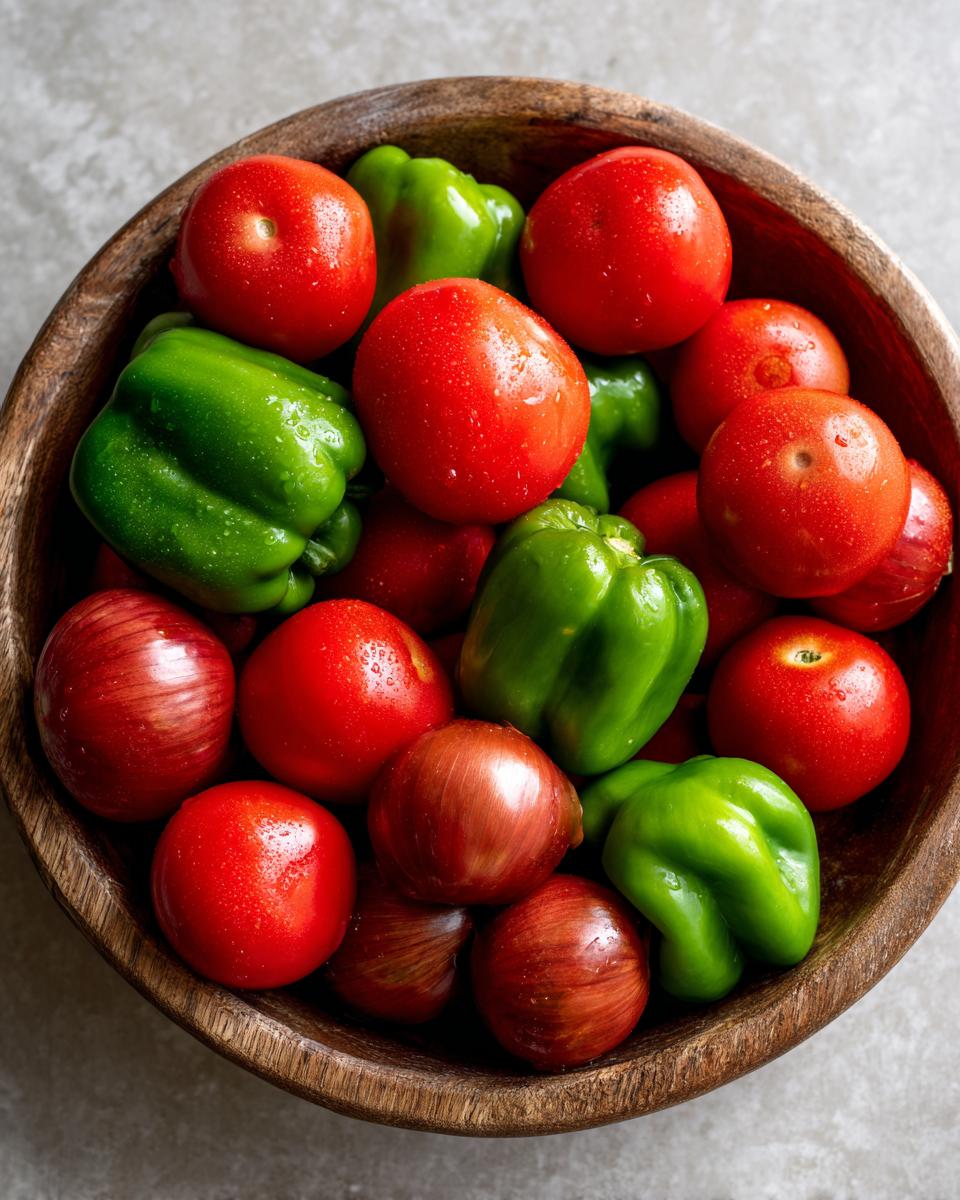
Essential Ingredients for Your Homemade Salsa
Alright, let’s talk about what goes into this magic jar of sunshine! Gathering these goodies is half the fun, especially when you’re pulling them right from your garden. Here’s what you’ll need for the best water bath tomato salsa:
- 6 cups of fresh, ripe tomatoes, peeled, cored, and chopped up really nicely (that’s about 3 pounds, folks!).
- 1 cup of chopped green bell pepper – roughly one medium pepper.
- 1 cup of chopped onion – about one medium onion works perfectly.
- 2-3 fresh jalapeno peppers, finely chopped. Now, remember, if you want it milder, just take out those seeds before you chop!
- 4 cloves of garlic, minced super fine.
- 1/2 cup of distilled white vinegar. Make sure it’s 5% acidity – this is super important for safe canning salsa!
- 1 teaspoon of salt.
- 1 teaspoon of dried oregano.
- And for my fellow spice lovers, 1/4 teaspoon of cayenne pepper – totally optional, but oh-so-good for an extra kick!
See? Nothing too fancy, just good, honest ingredients ready to be transformed!
Step-by-Step Guide to Making Homemade Salsa for Canning
Alright, deep breaths! Canning might sound a bit intimidating, but trust me, once you get into the rhythm, it’s incredibly satisfying. We’re going to walk through this together, step by delicious step, so you end up with perfect jars of chunky goodness.
Preparing Your Water Bath Canner and Jars
First things first: get your canner ready! Fill it up with water – enough so your jars will be covered by at least an inch when they’re inside. Get that simmering away. While it’s heating, make sure your jars, lids, and bands are all squeaky clean and sterilized. Hot jars are key here; we don’t want any temperature shock!
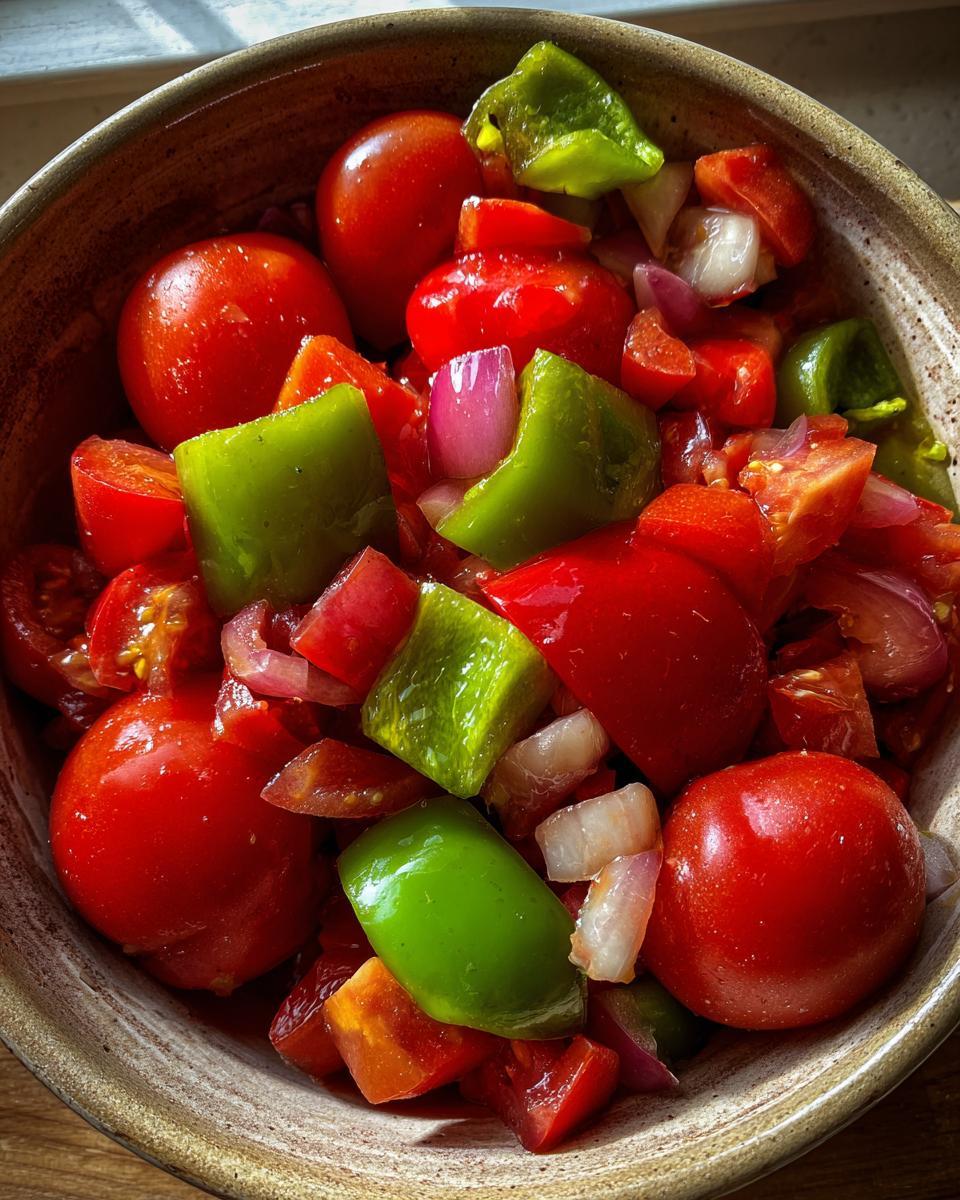
Combining and Cooking Your Chunky Salsa
Now for the fun part! Toss those chopped tomatoes, peppers, onions, and garlic into a big pot – make sure it’s non-reactive so it doesn’t mess with the flavor. Add in your vinegar, salt, oregano, and that optional cayenne if you’re feeling brave. Bring it all up to a boil, give it a good stir, then turn the heat down. Let it simmer for a solid 20 minutes, stirring often. You want it to get a little thicker and those veggies nice and tender. This is where all the flavors really start to meld together!
Filling and Sealing Your Jars of Homemade Salsa
Okay, carefully ladle that hot, bubbling salsa into your hot, sterilized jars. Leave about a half-inch of space at the top – this is called headspace, and it’s super important for a good seal. Gently run a little tool or a chopstick around the inside to get rid of any air bubbles; nobody wants those hanging around! Wipe the rims of the jars *really* well with a clean cloth, then pop on your lids and screw on the bands. Just tighten them until you feel that slight resistance – ‘fingertip tight’ is the magic phrase. Over-tightening can sometimes prevent a good seal!
Water Bath Processing for Safe Canning
Gently lower your filled jars into the simmering water bath canner. Make sure they’re covered by at least an inch of water. Now, bring that water back up to a rolling boil. Once it’s boiling hard, start your timer for 15 minutes. If you live at a higher altitude, you’ll need to adjust that time, so check your canner’s instructions for that. Keeping the jars submerged and the water boiling the whole time is crucial for proper preservation.
Cooling and Checking Seals on Your Preserved Salsa
Once the 15 minutes are up, turn off the heat, take the lid off the canner, and just let those jars sit in the hot water for another 5 minutes. This helps them cool down a bit more gradually. Carefully lift the jars out – I usually use jar lifters because they can be slippery! – and set them on a towel-lined counter. Let them cool completely, undisturbed, for about 12 to 24 hours. Listen for those satisfying ‘pings’ – that’s the sound of your lids sealing shut! Once they’ve cooled, give each lid a gentle press. If a lid stays down, it’s sealed! If it pops up and down, that jar didn’t seal properly. Just pop that one in the fridge and enjoy it within a few weeks.
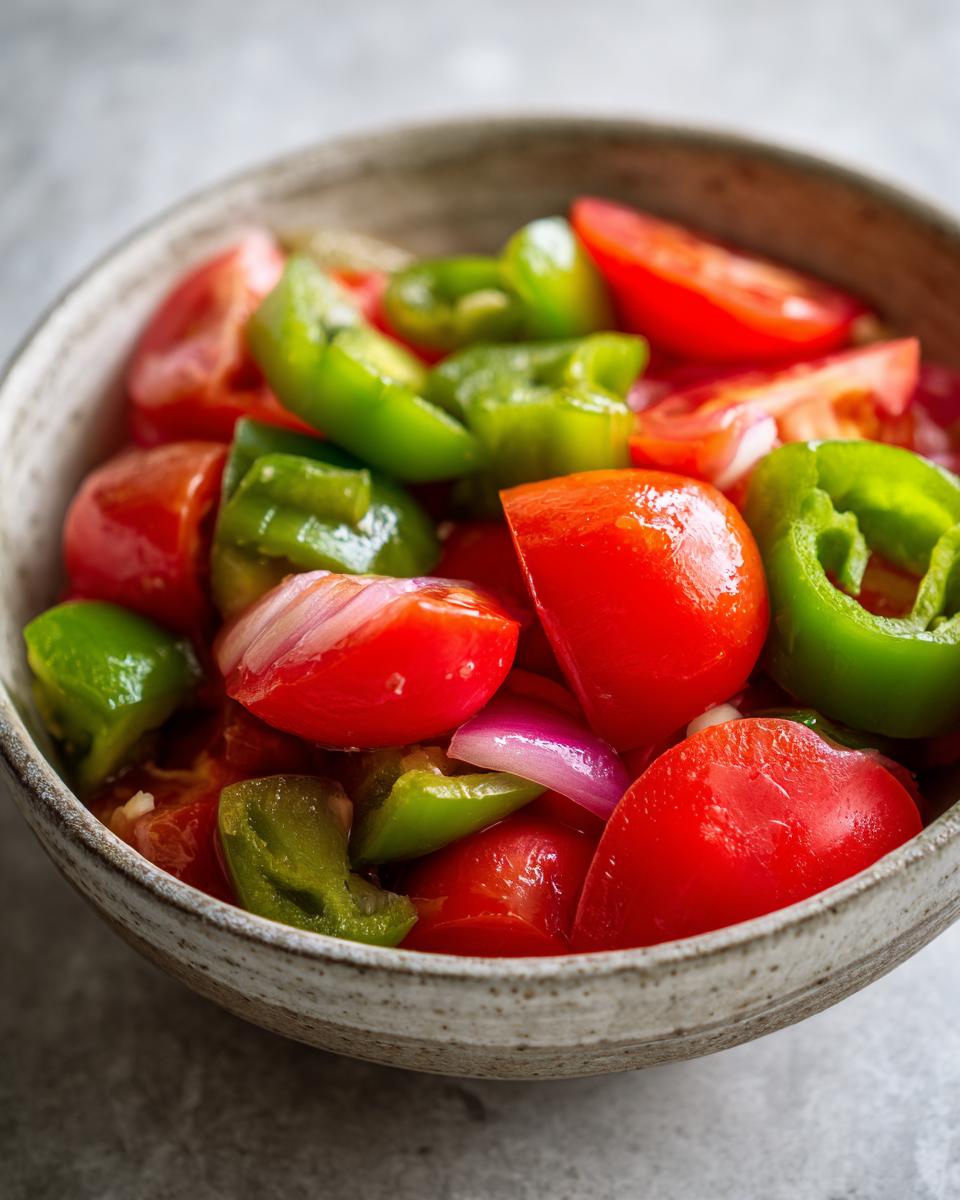
Tips for the Best Homemade Salsa for Canning
You know, there are a few little tricks I’ve picked up over the years that really make this recipe sing! My absolute favorite part is getting that perfect chunky texture. When you chop your tomatoes and peppers, try to keep the pieces relatively similar in size – not too tiny, not too giant. This makes every spoonful just right. And for spice? Oh, you’re the boss! I once made a batch where I accidentally left *way* too many jalapeno seeds in, and let me tell you, it was *fiery*! So, if you’re unsure, start with fewer seeds. Remember, that half-cup of 5% acidity vinegar is non-negotiable for making sure your salsa is truly safe canning salsa. It lowers the pH just enough to keep things safe and stable on the shelf. It’s the little things that make a big difference!
Understanding Your Water Bath Tomato Salsa
You might wonder why we get so particular about vinegar and simmering times, right? Well, it’s all about safety and getting that perfect, stable texture! Tomatoes are naturally acidic, but to make sure our gorgeous canned salsa is safe to store on the shelf, we add that extra bit of acidity with the vinegar. This helps prevent any unwanted bacterial growth. Water bath canning is brilliant for acidic foods like this, ensuring your efforts are preserved beautifully and safely for months to come!
Frequently Asked Questions About Homemade Salsa
Got questions about making your own salsa? I totally get it! It’s my favorite thing to can, and I’ve learned a few things along the way. Here are some of the most common questions I get:
Can I make this a smoother canned salsa recipe?
Oh, you sure can! If chunky isn’t your jam, after cooking the mixture for 20 minutes, you can carefully pulse it a few times in a food processor. Just be careful not to overdo it – we don’t want baby food, just a slightly smoother salsa!
How spicy can this garden salsa be?
This is where you’re the boss! To make it milder, just remove all the seeds and white pith from your jalapenos before chopping. For extra zing, leave some seeds in, or add a pinch more cayenne pepper like I do sometimes. You can even swap out jalapenos for milder peppers if you prefer!
What if my jars don’t seal?
Don’t panic! If a lid doesn’t seal after 12-24 hours, it just means that jar isn’t shelf-stable anymore. Pop it in the fridge right away and enjoy that delicious salsa within a few weeks. It’s still perfectly good, just needs to stay cool!
Storage and Reheating Instructions for Preserved Salsa
Once your beautiful jars of homemade salsa have pinged their seals into place, they’re ready for the pantry! Store those sealed jars in a cool, dark place like a cupboard or basement. They’ll stay perfectly delicious for about 12 to 18 months. Once you open a jar, though? Treat it like fresh salsa – pop it in the fridge and enjoy it within 2-3 weeks. It’s too good to waste!
Estimated Nutritional Information for Homemade Salsa
Okay, so let’s talk numbers! While this homemade salsa is bursting with flavor, it’s also wonderfully light. Per serving (that’s about 1/4 cup), you’re looking at roughly 25 calories, with minimal fat and protein. It’s got about 6 grams of carbs and around 200mg of sodium. Keep in mind, these are just estimates, and the exact amounts can wiggle a bit depending on the specific tomatoes and brands you use!
Share Your Homemade Salsa Creations!
I just LOVE hearing from you all! Seriously, did you make this salsa? How did it turn out? Did you add extra jalapeños or keep it mild? I can’t wait to hear all about your canning adventures! Leave a comment below, let me know how it went, or share photos of your gorgeous jars on social media! If you’re feeling adventurous, you can also reach out and tell me your salsa stories!
PrintHomemade Chunky Garden Salsa for Canning
A tested water-bath salsa recipe for gardeners, featuring a chunky texture and customizable spice level, perfect for preserving your garden harvest.
- Prep Time: 20 min
- Cook Time: 30 min
- Total Time: 50 min
- Yield: Approximately 5-6 pint jars 1x
- Category: Preserves
- Method: Water Bath Canning
- Cuisine: American
- Diet: Vegetarian
Ingredients
- 6 cups peeled, cored, and chopped ripe tomatoes (about 3 lbs)
- 1 cup chopped green bell pepper (about 1 medium)
- 1 cup chopped onion (about 1 medium)
- 2–3 jalapeno peppers, finely chopped (seeds removed for less heat)
- 4 cloves garlic, minced
- 1/2 cup distilled white vinegar (5% acidity)
- 1 teaspoon salt
- 1 teaspoon dried oregano
- 1/4 teaspoon cayenne pepper (optional, for extra heat)
Instructions
- Prepare your water bath canner by filling it with enough water to cover the jars by at least 1 inch and bring it to a simmer. Sterilize your canning jars, lids, and bands.
- In a large non-reactive pot, combine the chopped tomatoes, green bell pepper, onion, jalapeno peppers, and minced garlic.
- Add the vinegar, salt, oregano, and cayenne pepper (if using).
- Bring the mixture to a boil over medium-high heat, stirring occasionally.
- Reduce the heat and simmer for 20 minutes, stirring frequently, until the vegetables are tender and the salsa has thickened slightly.
- Ladle the hot salsa into hot sterilized jars, leaving a 1/2-inch headspace. Remove air bubbles.
- Wipe the jar rims clean and place the lids and bands on the jars, tightening them fingertip tight.
- Carefully place the jars into the simmering water bath canner. Ensure the water covers the jars by at least 1 inch.
- Bring the water to a rolling boil and process the jars for 15 minutes (adjusting for altitude if necessary).
- Turn off the heat, remove the canner lid, and let the jars sit in the hot water for 5 minutes.
- Carefully remove the jars from the canner and place them on a towel-lined counter to cool completely. You should hear a ‘ping’ as the lids seal.
- Check seals after 12-24 hours. If a lid does not seal, refrigerate the salsa and consume within a few weeks.
Notes
- For a smoother salsa, you can pulse the mixture a few times in a food processor before canning, but do not over-process.
- Adjust the number of jalapeno peppers and seeds to control the heat level.
- Ensure your vinegar has at least 5% acidity for safe canning.
- Always follow proper water bath canning procedures for safe preservation.
Nutrition
- Serving Size: 1/4 cup
- Calories: 25
- Sugar: 4g
- Sodium: 200mg
- Fat: 0g
- Saturated Fat: 0g
- Unsaturated Fat: 0g
- Trans Fat: 0g
- Carbohydrates: 6g
- Fiber: 1g
- Protein: 1g
- Cholesterol: 0mg