
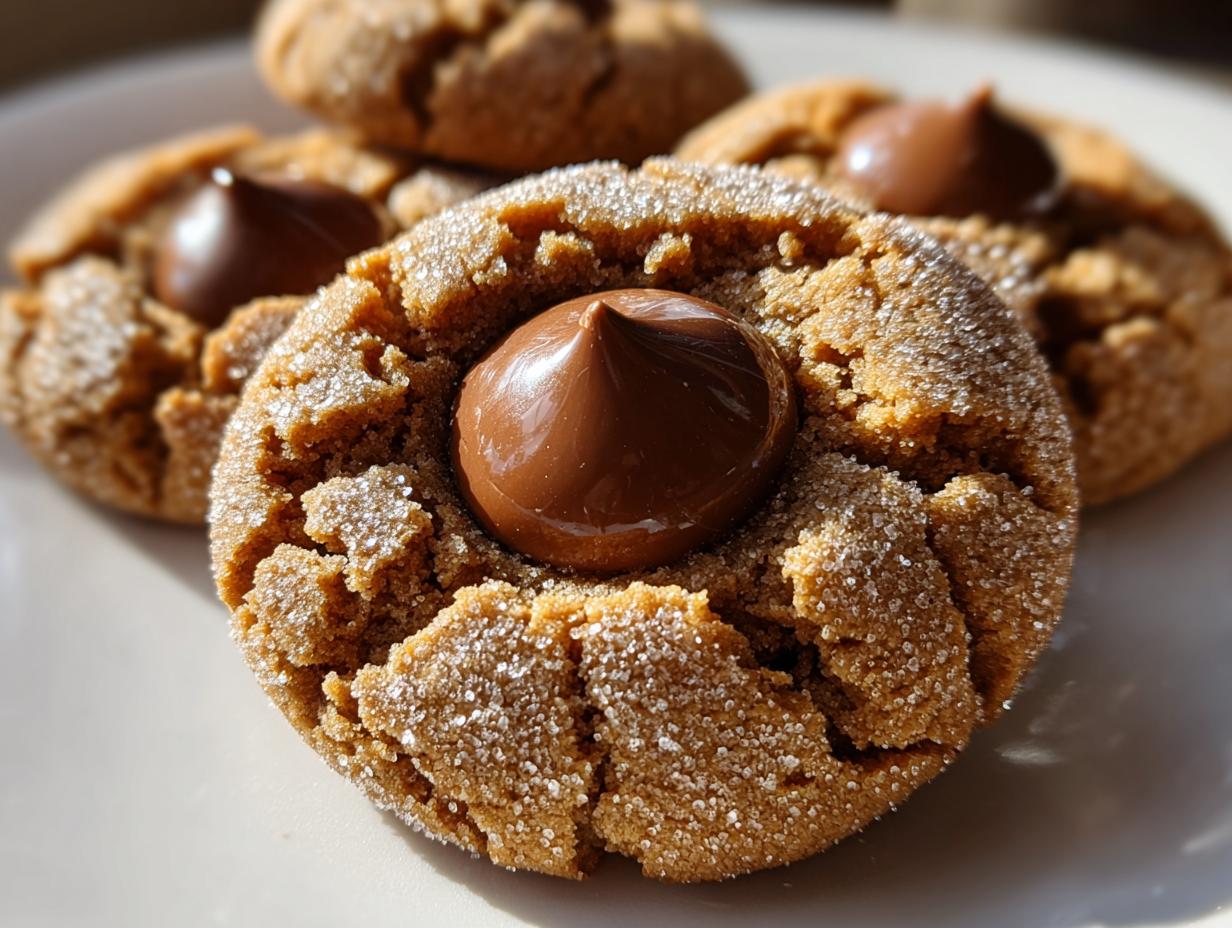
There’s something about the smell of baking around the holidays that just pulls you right back to childhood, isn’t there? For me, the absolute king of nostalgic cookies has always been the classic peanut butter blossoms. If you didn’t have these beauties on your plate, were they even Christmas? I’m not kidding, these are my favorite delicious dessert recipes to make all year because they transport me instantly. My goal with this recipe—which I’ve tested endlessly in my own kitchen—is to guarantee you get that perfect balance: a soft, chewy cookie with that signature sugary crackle, waiting for its chocolate crown. Forget dry, crumbly disappointments; we’re making foolproof, comforting magic here.
- Why This Classic Peanut Butter Blossoms Recipe Works (The Secret to Soft & Chewy Cookies)
- Ingredients for Perfect Soft & Chewy peanut butter blossoms
- Step-by-Step Instructions for Classic peanut butter blossoms
- Tips for Making the Best peanut butter blossoms Every Time
- Storage and Keeping Your peanut butter blossoms Fresh
- Serving Suggestions for peanut butter blossoms
- Frequently Asked Questions About peanut butter blossoms
- Estimated Nutritional Data for peanut butter blossoms
- Share Your Symphony: Rate This peanut butter blossoms Recipe
Why This Classic Peanut Butter Blossoms Recipe Works (The Secret to Soft & Chewy Cookies)
When you look at a great [Peanut Butter Blossom Recipe], you might think it’s just mixing stuff in a bowl. But trust me, the difference between a good cookie and one of the Best Peanut Butter Blossoms comes down to a few key moments. I spent weeks tweaking this formula because I hate dry cookies. We are aiming for Soft and Chewy Cookies that stand up to a little holiday handling, not cookies that shatter when you look at them!
The most important part, which I learned years ago testing different Classic Peanut Butter Cookies, is the creaming step. You have to beat that butter, both sugars, and the peanut butter until it’s genuinely light and fluffy. That beating action actually incorporates air into the dough. That trapped air is what gives you that wonderful lift and ensures they stay soft instead of compressing into dense little bricks. Don’t rush it; this foundation is everything for great texture.
Achieving the Perfect Sugar Crinkle Top for Your peanut butter blossoms
That signature look—the crazed, sugary pattern on the outside—is surprisingly easy but totally crucial for a perfect bloom! Before you even think about popping these in the 375-degree oven, those dough balls need a good bath. Place the reserved granulated sugar in a shallow dish, roll that peanut butter dough ball completely until it’s coated evenly, and then place it on the sheet. The sugar coating caramelizes just enough during the short bake time to create that beautiful, delicate crinkle top you want to see.
Ingredients for Perfect Soft & Chewy peanut butter blossoms
Okay, let’s talk about what goes into making these iconic cookies. The ingredient list for our Chocolate Kiss Cookies is straightforward, which is another reason I love them so much for quick holiday baking. Remember, quality matters here, even on a simple recipe for Easy Holiday Cookies! We need softened butter—and I mean properly softened, not melted and greasy—and creamy peanut butter. Make sure you grab your large eggs and remember to unwrap all those chocolate kisses *before* you start baking because things move fast once they hit the oven!
Ingredient Notes and Substitutions for peanut butter blossoms
Here are a few things I learned while testing the ultimate Recipe with Hershey Kisses: Stick with creamy peanut butter if you can because crunchy bits compete with the smooth texture we are aiming for. Creamy gives you that beautiful, uniform smooth base. Also, your eggs should definitely be at room temperature! Cold eggs drop the temperature of your creamed butter mixture way too fast, and we lose all that beautiful structural air we worked so hard to beat in earlier. If they are cold, just place them in a bowl of warm (not hot) water for about five minutes before cracking them in. It’s a little extra step, but it ensures your dough stays happy and handles beautifully.
Step-by-Step Instructions for Classic peanut butter blossoms
Alright, now that we’ve got our team of perfect ingredients lined up, let’s get these beauties into the oven! Since we are aiming for these beautiful cookies to be ready fast—perfect for a last-minute baking session or fitting into your busy holiday baking ideas schedule—I’m happy to report this is a No Chill Peanut Butter Cookies recipe. No waiting required!
First things first: get that oven preheated to 375 degrees F and make sure your baking sheets are lined with parchment paper. If you skip the parchment, they can sometimes stick, and trust me, peeling stuck cookies off a sheet is no picnic!
Next, we mix. Cream your wet ingredients until they’re fluffy—I can’t stress that enough—then slowly start introducing the dry stuff. This next part is where so many people go wrong when they’re making Homemade Peanut Butter Treats: once you add the flour mixture, you mix only until you see *just* the last streak of flour disappear. If you overmix here, you develop gluten, and that’s how you go from soft and chewy to tough and cakey. Don’t worry about a few tiny pockets of dry flour; one of the reserved sugars will take care of that!
Roll those balls up nicely in the extra granulated sugar for that gorgeous crackle effect, and pop them onto the sheet. They only need 8 to 10 quick minutes in the oven. Watch them close! You want the edges set but the centers still looking a little soft when you pull them out. To see other ways people keep their cookies soft, check out this great advice on soft peanut butter blossom cookies.
The Crucial Step: Adding the Chocolate Kiss to peanut butter blossoms
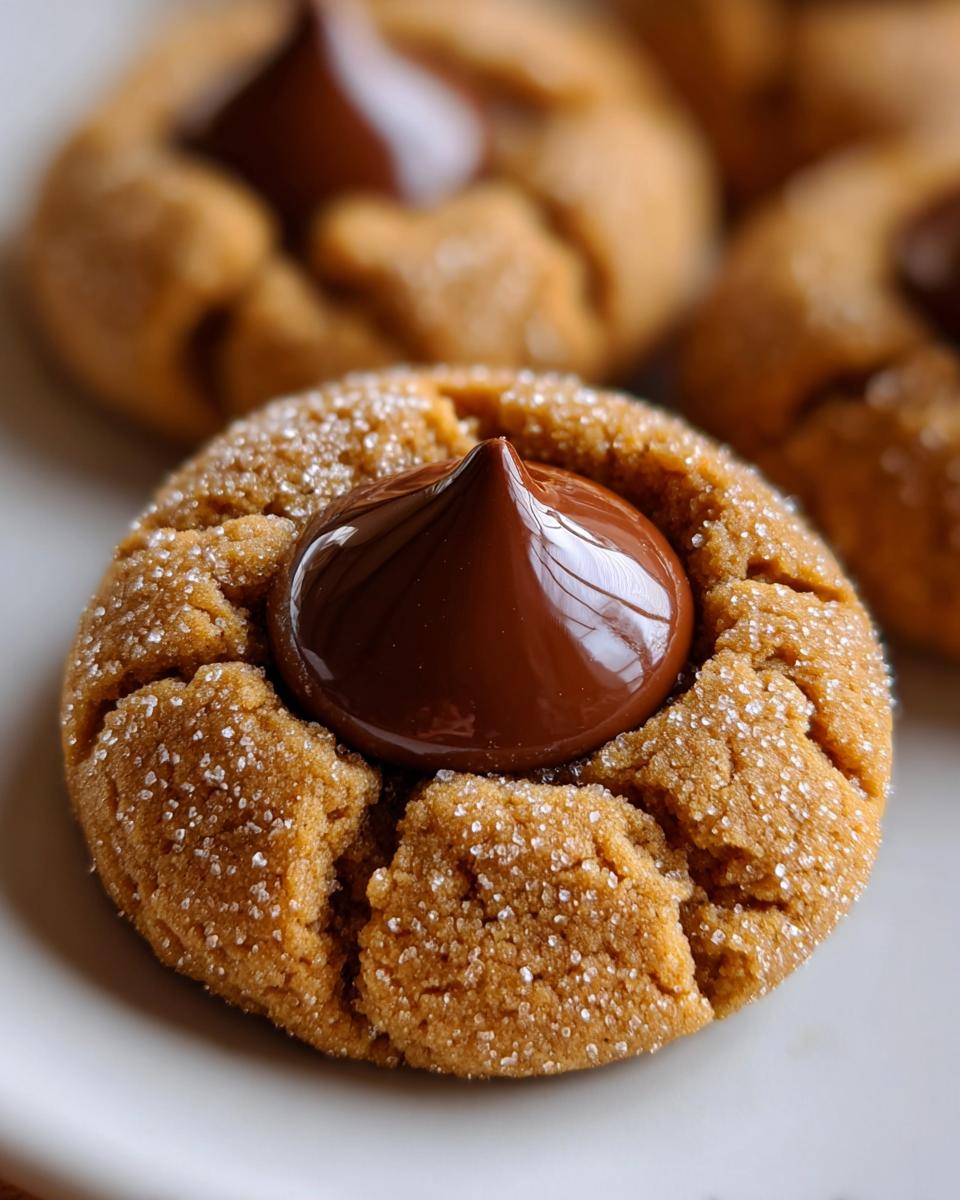
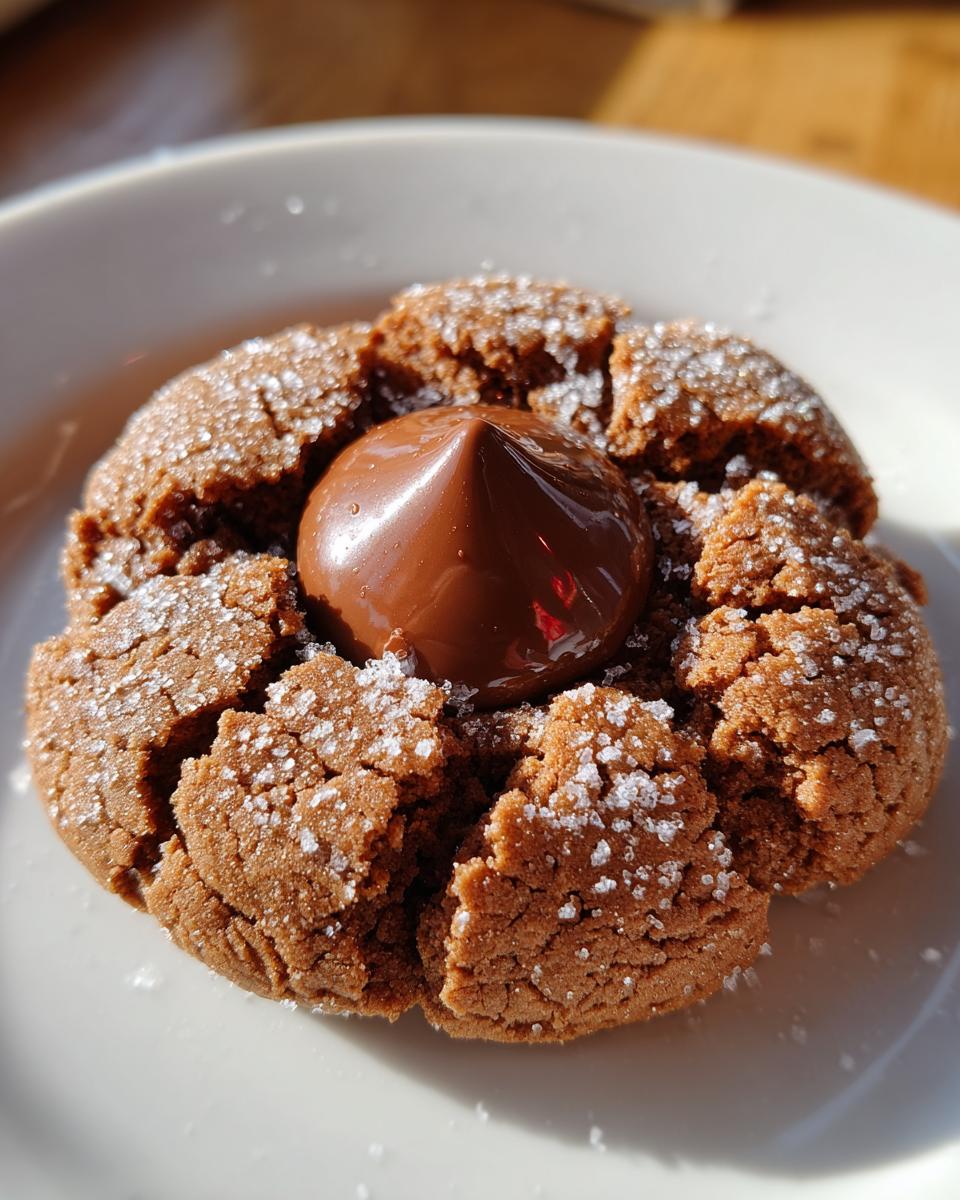
This is the moment of truth, the “Blossom” part! You have to strike while the iron is hot, literally. As soon as those warm cookies come out of the oven, grab your unwrapped chocolate kisses and gently press one, straight down, right into the center of each cookie. The residual heat is just enough magic to soften the chocolate slightly so it nests perfectly into the cookie, giving you that beautiful, slightly melted base.
If you wait too long, the spot won’t be soft enough, and you’ll crumble the top trying to push the kiss in. But if you wait too little, the kiss just melts into a flat puddle! My rule of thumb is to let them sit on that hot pan for exactly five minutes. After five minutes, carefully transfer those beauties to a cooling rack to finish setting up. If you move them too soon, they might break apart!
Tips for Making the Best peanut butter blossoms Every Time
So, you want these Best Peanut Butter Blossoms to turn out perfect batch after perfect batch? That’s usually about consistency, which is easy enough to achieve once you know the little secrets professionals use. Since this is one of those wonderful No Chill Peanut Butter Cookies recipes, you don’t have to stress about planning ahead—we mix, we roll, we bake!
The main thing to watch for is your dough consistency right after mixing. If your dough seems crumbly or just won’t hold a ball shape when you try to roll it, it might just need a quick hug. Seriously! Just use your hands to gently warm and press the dough together for about 30 seconds; the heat from your palms helps the fats bind everything up nicely. If it’s somehow wetter than you expect, just pop the whole bowl in the fridge for ten minutes—no long chill required!
Also, make sure all your dough balls are the exact same size, about 1-inch across. I use a small standardized scoop for this! If you have big cookies next to tiny ones, the small ones will burn before the large ones are set, messing up that delicate balance we need for the chocolate kiss to land just right. Uniformity equals predictable baking, and predictable baking means consistently delicious Christmas Cookie Favorites!
Storage and Keeping Your peanut butter blossoms Fresh
Listen, the hardest part about making a batch of these incredible cookies is actually stopping yourself from eating them all in one sitting! But what if you want to make them ahead of time for a big party, or maybe you just need some amazing Homemade Peanut Butter Treats stashed away for later? That’s smart thinking, and luckily, this recipe is built for longevity.
The good news is that these are naturally keepers! Unlike some lighter, cakey cookies, the richness from the peanut butter and the sugar coating actually helps them stay perfectly moist for ages. You absolutely do not need to refrigerate these unless your house is terribly warm. Refrigeration actually dries out soft cookies faster, which is the last thing we want for our perfect blossoms.
The best method is simple: grab a good, heavy-duty airtight container. Layer them up, but here’s a fun kitchen trick I use: put a small square of parchment paper between the layers. This stops them from sticking together in a big clump when the chocolate softens just a tiny bit against the cookie next to it. When stored properly at room temperature, these cookie favorites stay wonderfully soft and chewy for a solid five to seven days. Honestly, they usually don’t last past day three in my house anyway!
Serving Suggestions for peanut butter blossoms
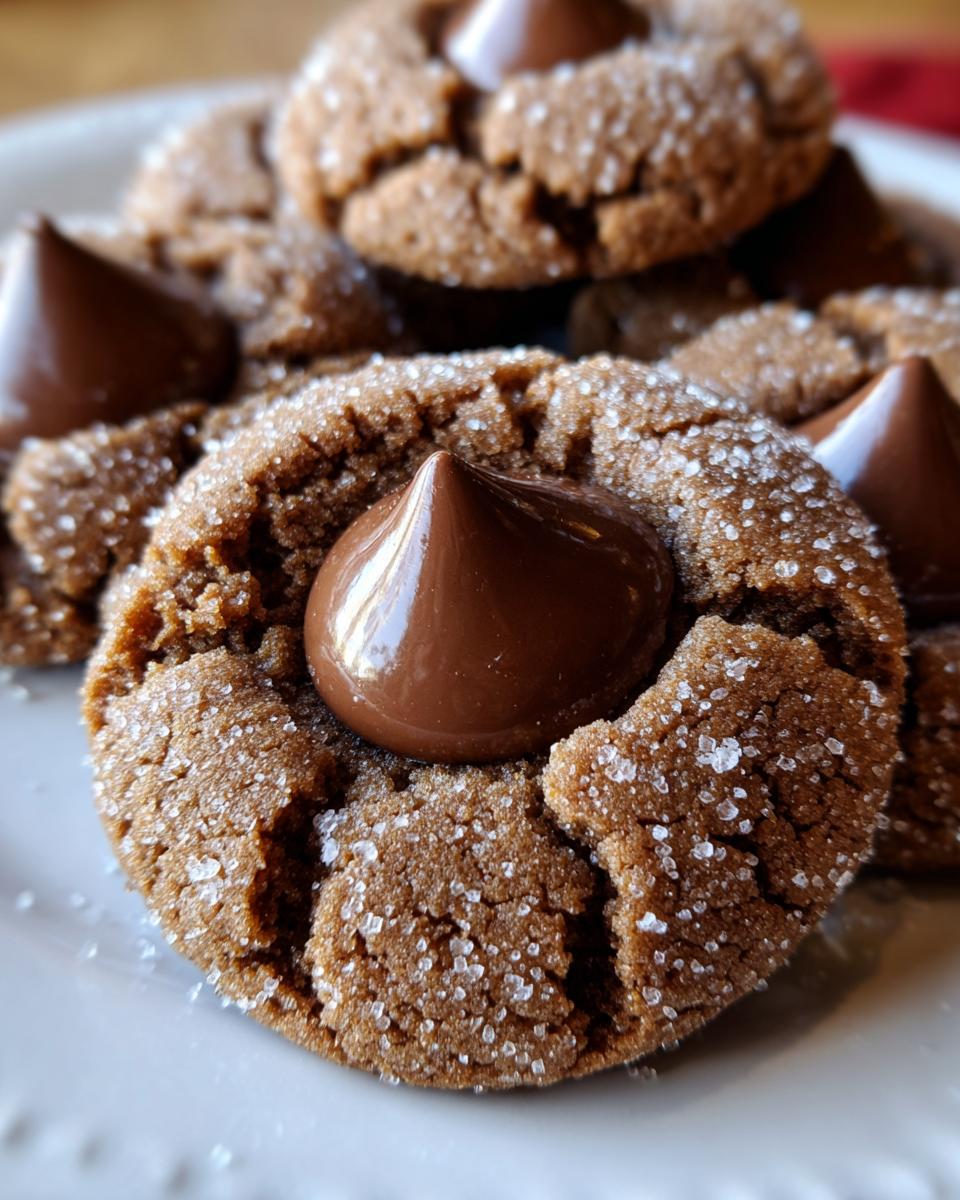
These cookies don’t just belong on a plate; they deserve a starring role! Since they are incredibly sturdy and transport well, they are my absolute go-to when I’m preparing trays for Peanut Butter Cookie Exchanges during the busy season. They look amazing next to something bright, like maybe a lemon bar, or alongside richer chocolate items too. But honestly? Nothing beats dunking one of these soft beauties into a cold glass of milk or a warm cup of coffee. If you happen to make my New Orleans Iced Coffee, that sweet, salty, peanut-buttery intensity is just heavenly alongside it. They’re simple, they’re festive, and they always disappear first at any gathering! For more wonderful holiday ideas, you should definitely check out reports on other classic peanut butter blossoms.
Frequently Asked Questions About peanut butter blossoms
Can I use crunchy peanut butter instead of creamy in this peanut butter blossoms recipe?
That’s a question I hear a lot when people are looking for Classic Peanut Butter Cookies variations! You absolutely *can* use crunchy peanut butter, but you need to know what you’re signing up for. Using crunchy will change the overall texture; instead of that smooth, melt-in-your-mouth feel we aim for, you’ll end up with little peanut chunks throughout your cookie base. If you love that extra bite, go for it! But if you want that classic, smooth, soft cookie experience, creamy is definitely the way to go for these Homemade Peanut Butter Treats.
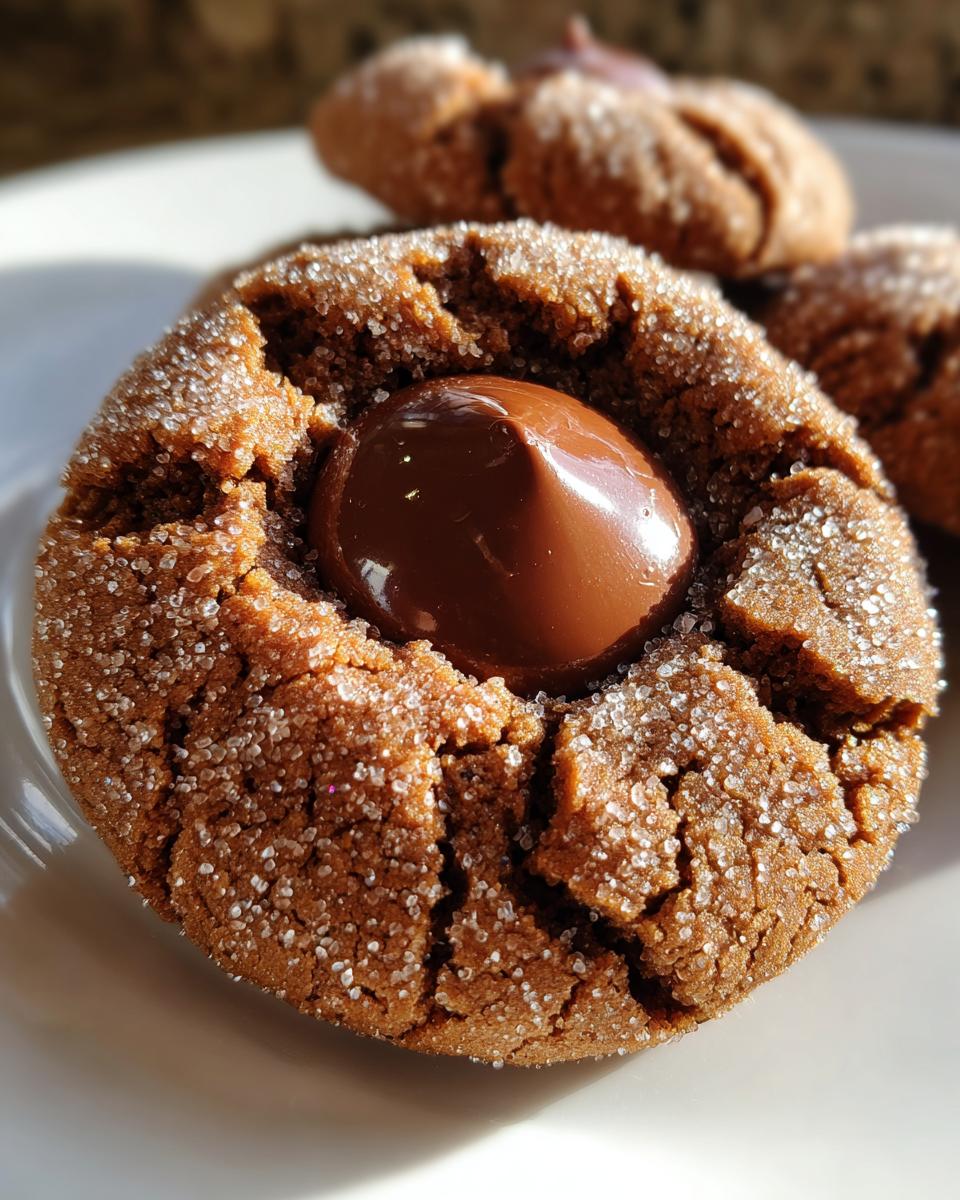
My chocolate kiss melted completely flat when I took them out. What did I do wrong?
Oh man, that’s the saddest moment when making Chocolate Kiss Cookies! This usually happens for one of two reasons, and it all comes down to timing. First, if you baked them too long—say, 12 or 13 minutes instead of the 8 to 10 specified—the whole cookie structure gets too hot, and the chocolate immediately turns soupy. The second reason is waiting too long to press them in. If you wait more than a minute or two after pulling them from the oven, the cookie cools down too much. You need that residual heat! Try pulling them out right when the edges look set, wait exactly 3 to 5 minutes, and then press gently but confidently.
Can I chill the dough for these easy holiday cookies now and bake them later?
Good news for busy bakers planning their Holiday Baking Ideas: yes, you can chill the dough! Since this is designed as a No Chill Peanut Butter Cookies recipe, chilling isn’t necessary for texture, but it’s great for prep work. Roll the dough into balls, put them on a tray, cover them tightly with plastic wrap, and pop them in the fridge for up to three days. When you’re ready to bake, you might need to add just one or two extra minutes to the baking time since the dough balls are cold, but otherwise, proceed exactly as written!
Why do I need to roll the peanut butter blossoms in sugar?
This step is non-negotiable if you want that classic look and texture! Rolling the dough ball in granulated sugar before baking is what creates that signature crackle pattern, which is a huge part of what makes them one of my Best Peanut Butter Blossoms. The sugar coating helps keep the outside from spreading too much while baking and caramelizes slightly on the exterior, giving you that beautiful golden crust that contrasts so nicely with the soft center.
Estimated Nutritional Data for peanut butter blossoms
I always feel a little sheepish including big nutritional breakdowns because, let’s be honest, we aren’t eating these Classic Peanut Butter Cookies for the fiber content, right? They are a treat, a wonderful part of any celebration or just a cozy afternoon snack!
But, because I believe in being transparent about what we are making in our kitchen experiments, here is the estimated breakdown for one single peanut butter blossom based on the standard ingredients used in this recipe. Keep in mind that these numbers are just a starting point—your exact brand of peanut butter or size of egg can nudge these values around a bit.
- Serving Size: 1 cookie
- Calories: About 150
- Fat: 8g
- Carbohydrates: 18g
- Sugar: 12g (Yes, they are sweet! That’s the magic!)
- Protein: 3g
This is just a helpful guide for those tracking things closely. My main focus remains on making sure these Simple Dessert Recipes are absolutely delicious for everyone who enjoys them. If you’re doubling the batch for your Cookie Exchanges, just multiply accordingly! Just a friendly reminder—this information is an estimate based on standard ingredient sizing, so think of it as a close ballpark figure rather than a laboratory report!
Share Your Symphony: Rate This peanut butter blossoms Recipe
We’ve worked through the creaming, the mixing, and the crucial dance with the chocolate kiss. Now that you’ve enjoyed baking these iconic peanut butter blossoms in your kitchen, I’d genuinely love to hear how they turned out for you! Cooking is collaboration, you know? We all learn from the little adjustments everyone makes.
Please take a moment and leave a star rating right below this section. If the texture was perfect, or if you tried adding a sprinkle of sea salt on top with the sugar—tell us! Hearing about your results, and seeing how many stars you give this reliable recipe, helps other home cooks feel confident trying it out next time. Happy baking, and thanks for making music in your kitchen with me today!
PrintClassic Soft & Chewy Peanut Butter Blossoms
Make the best Peanut Butter Blossoms with this easy recipe. You get soft and chewy peanut butter cookies with a sugary crackle top, finished with a milk chocolate kiss. These are a perfect holiday cookie favorite.
- Prep Time: 15 min
- Cook Time: 10 min
- Total Time: 25 min
- Yield: 4 dozen 1x
- Category: Dessert
- Method: Baking
- Cuisine: American
- Diet: Vegetarian
Ingredients
- 1 cup unsalted butter, softened
- 3/4 cup creamy peanut butter
- 3/4 cup granulated sugar, plus 1/4 cup for rolling
- 3/4 cup packed brown sugar
- 2 large eggs
- 1 teaspoon vanilla extract
- 2 1/4 cups all-purpose flour
- 1 teaspoon baking soda
- 1/2 teaspoon baking powder
- 1/2 teaspoon salt
- About 48 milk chocolate kisses (like Hershey’s Kisses), unwrapped
Instructions
- Preheat your oven to 375 degrees F. Line baking sheets with parchment paper.
- In a large bowl, cream together the softened butter, peanut butter, 3/4 cup granulated sugar, and brown sugar until the mixture is light and fluffy.
- Beat in the eggs one at a time, then stir in the vanilla extract.
- In a separate bowl, whisk together the flour, baking soda, baking powder, and salt. Gradually add the dry ingredients to the wet ingredients, mixing until just combined. Do not overmix.
- Place the remaining 1/4 cup of granulated sugar in a shallow dish.
- Roll the dough into 1-inch balls. Roll each ball in the reserved sugar until coated.
- Place the sugar-coated dough balls about 2 inches apart on the prepared baking sheets.
- Bake for 8 to 10 minutes. The edges should look set, but the centers should still look slightly soft.
- Remove the baking sheets from the oven. Immediately press one unwrapped chocolate kiss into the center of each warm cookie. The residual heat will soften the chocolate slightly.
- Let the cookies cool on the baking sheet for 5 minutes before transferring them to a wire rack to cool completely.
Notes
- To keep your Peanut Butter Blossoms soft for days, store them in an airtight container at room temperature.
- If the chocolate kiss melts too much while pressing, let the cookies cool for an extra minute or two before adding the chocolate.
- You can use any type of creamy peanut butter, but natural peanut butter may change the texture slightly.
- These cookies are excellent for holiday cookie exchanges and gifting trays.
Nutrition
- Serving Size: 1 cookie
- Calories: 150
- Sugar: 12g
- Sodium: 95mg
- Fat: 8g
- Saturated Fat: 4g
- Unsaturated Fat: 4g
- Trans Fat: 0g
- Carbohydrates: 18g
- Fiber: 1g
- Protein: 3g
- Cholesterol: 25mg