
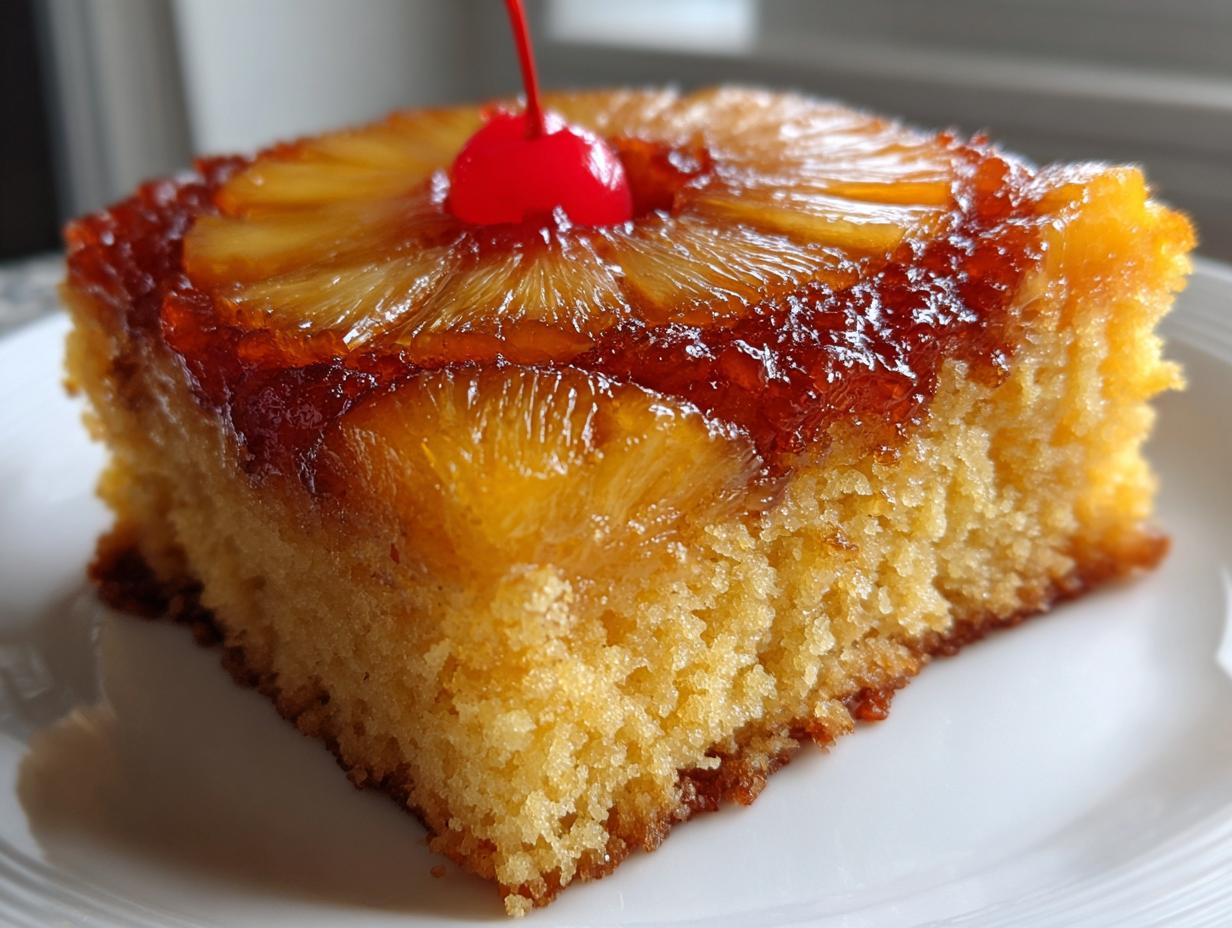
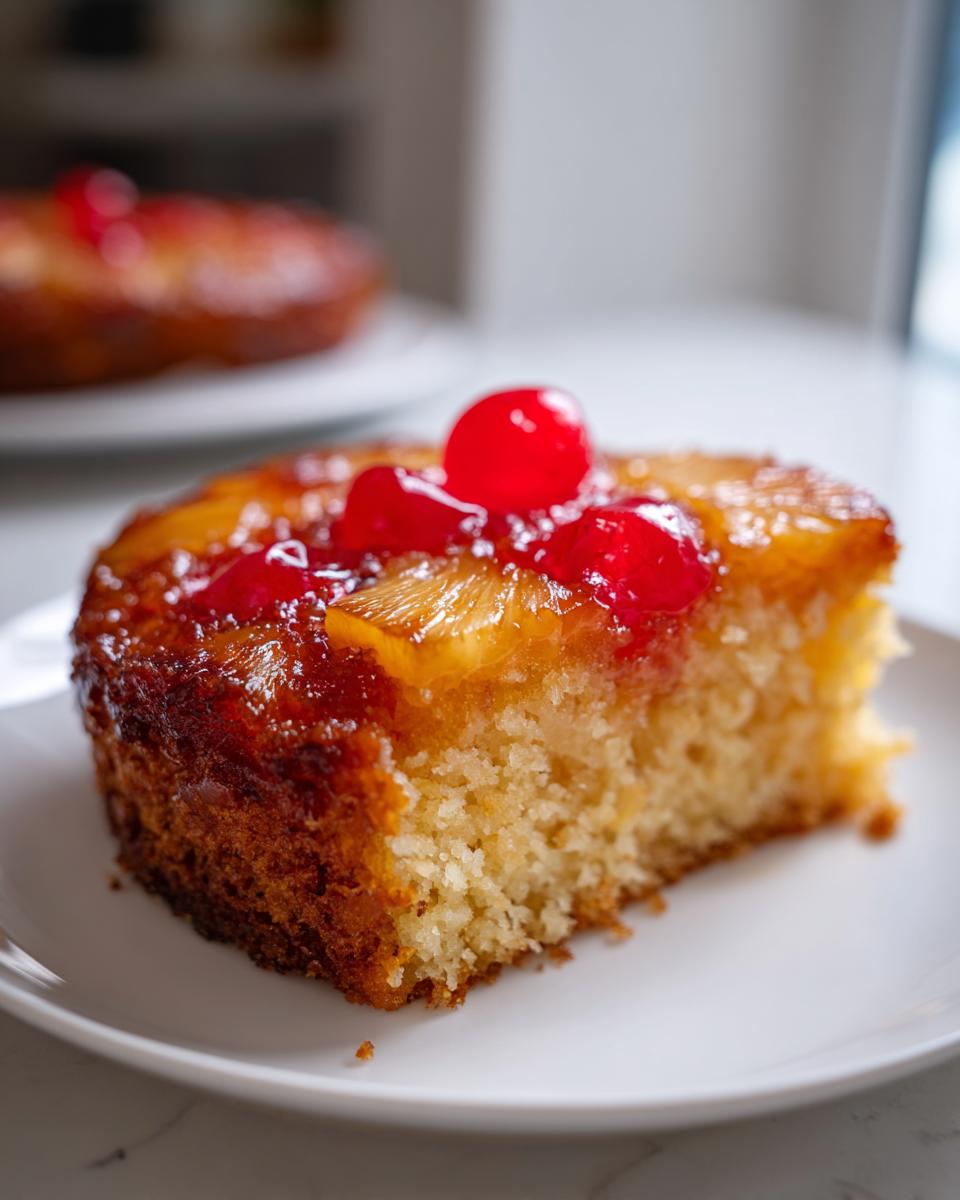
Oh, does this classic pineapple upside down cake ever take me straight back to my grandmom’s kitchen! There’s just something about that sticky, warm caramel topping that screams ‘special occasion,’ even if it’s just a random Tuesday treat. Forget the stiff, dry versions you might have tried; this is the real deal, made completely from scratch, guaranteeing you get that stunning, glossy caramelization every single time. I spent years dialing this recipe in, using the same practical, flavor-first approach Mike Carter loves here at Delish Symphony, making sure it’s straightforward but absolutely unforgettable. Trust me, once you master this buttery technique, you’ll never look back.
- Why This Classic Pineapple Upside Down Cake Stands Out (E-E-A-T Focus)
- Ingredients for Your Homemade Pineapple Cake
- Step-by-Step Instructions for the Best Pineapple Upside Down Cake
- Expert Baking Tips for a Flawless Pineapple Upside Down Cake
- Variations on the Classic Pineapple Upside Down Cake
- Storage and Reheating Instructions for Your Pineapple Upside Down Cake
- Serving Suggestions for This Nostalgic Dessert Recipes
- Frequently Asked Questions About Pineapple Upside Down Cake Recipe
- Estimated Nutritional Data for One Serving of Pineapple Upside Down Cake
- Share Your Homemade Pineapple Cake Experience
Why This Classic Pineapple Upside Down Cake Stands Out (E-E-A-T Focus)
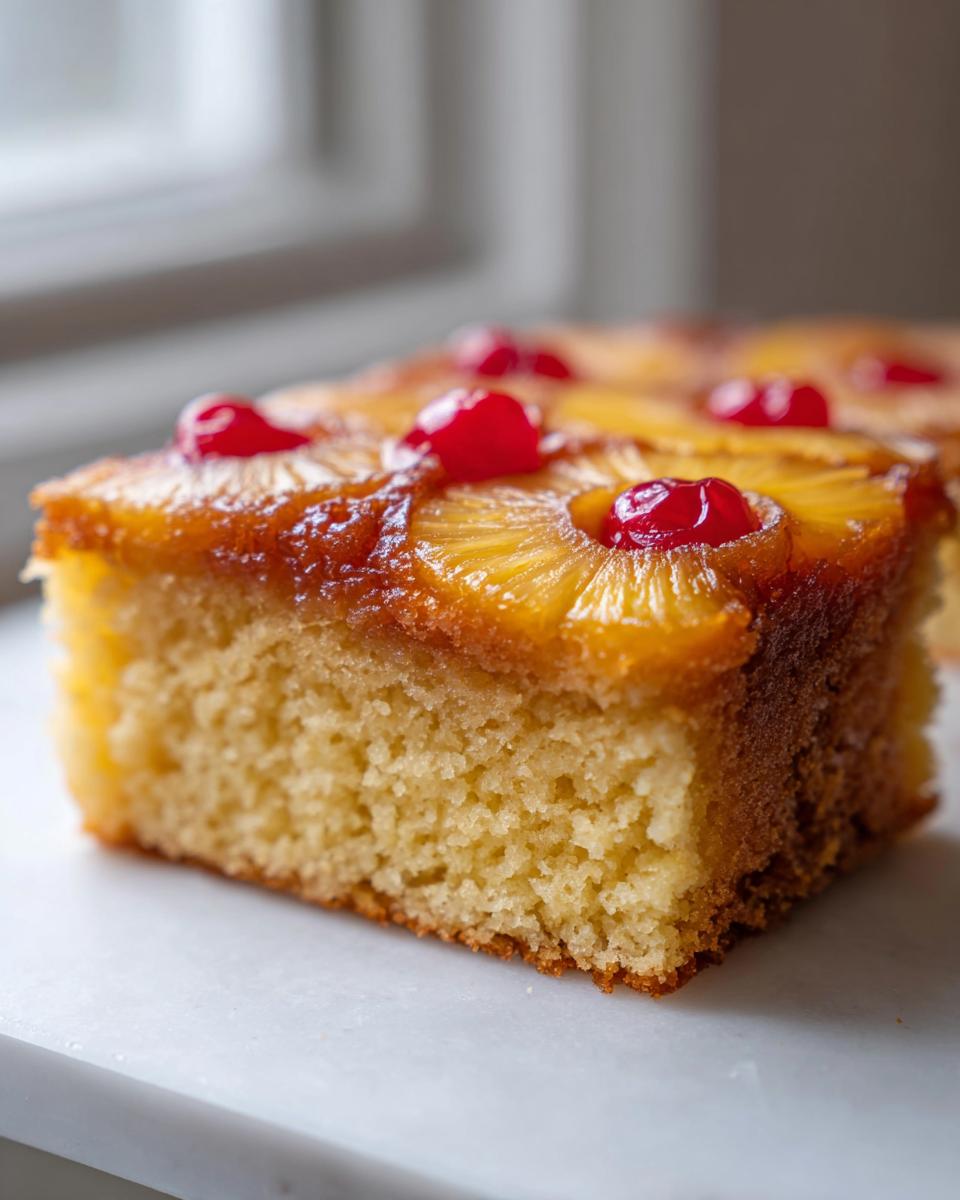
What makes this recipe my go-to? It’s the promise of a truly moist pineapple upside down cake that doesn’t taste like it came from a box. We’re making everything from scratch here, and the result is an incredibly flavorful, perfectly structured dessert. You get that wonderful, buttery texture that just melts in your mouth, which is why folks always ask for the recipe. This isn’t just good; it’s the gold standard for a buttery pineapple cake.
Achieving the Perfect Caramelized Pineapple Cake Topping
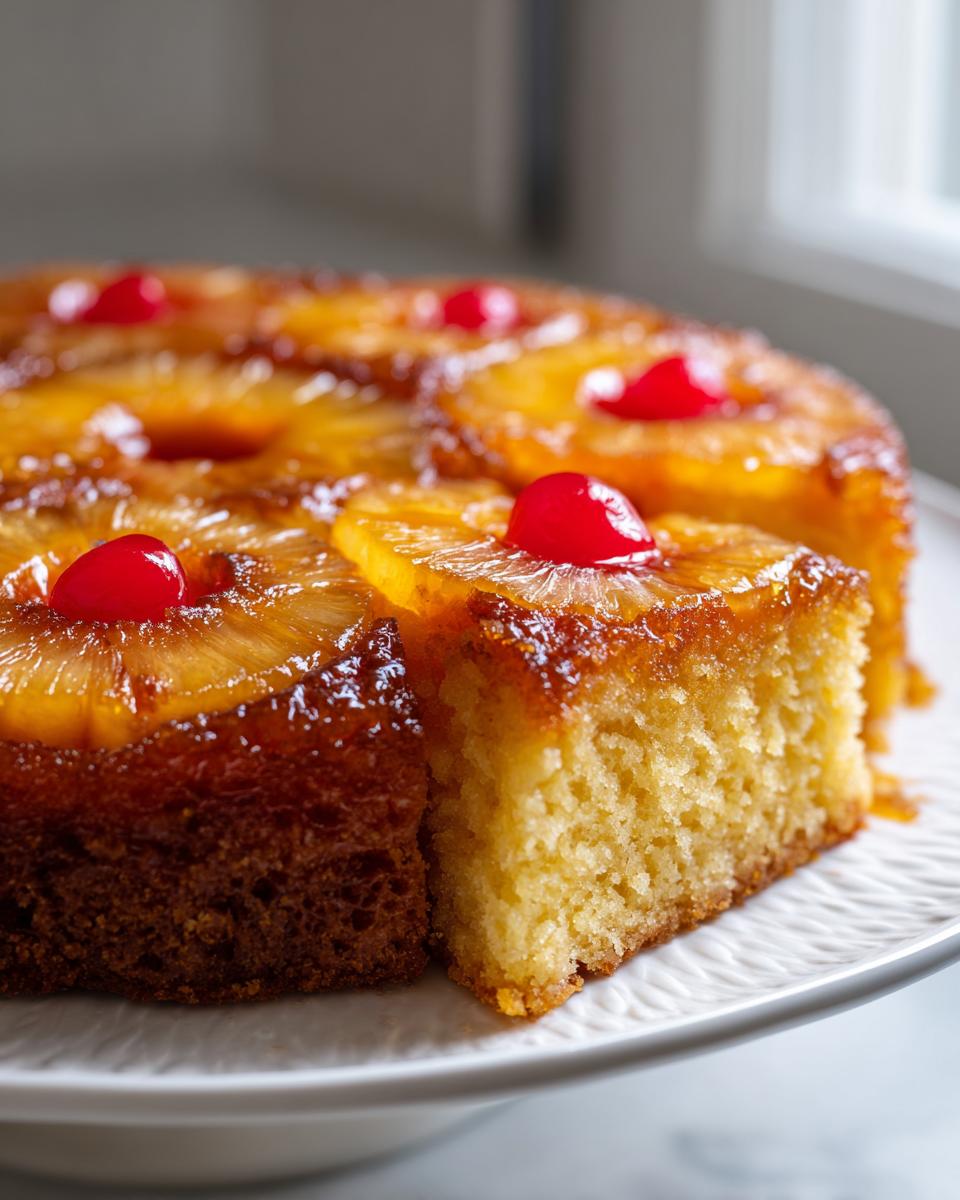
Listen, the topping is everything, right? You can’t have a sad, stuck-on mess! That glossy, amber finish comes straight from layering that rich melted butter right under the brown sugar before the fruit goes on. It melts down together in the oven and creates its own beautiful, non-stick sauce. When you flip it, *thwack*, perfect, glistening pineapple and cherry rings. It’s foolproof, I promise!
Tips for a Truly Moist Pineapple Upside Down Cake Batter
We need serious moisture to stand up to that heavy caramel layer. My trick is simple: we don’t waste any of that sweet liquid treasure from the can! I toss the reserved pineapple juice right into the wet ingredients along with the milk. That little bit of tropical tang keeps the crumb perfectly tender and juicy. It’s that simple addition that separates an okay cake from the best upside down cake you’ve ever had.
Ingredients for Your Homemade Pineapple Cake
Now, look at this list. It looks like a lot of things, but really, it’s just the topping stuff and the cake stuff! I always pull out my ingredients before I even think about turning on the oven. Having everything measured and ready keeps things moving smoothly later on, especially since this is such a quick pineapple upside down cake recipe.
- 1/2 cup unsalted butter, melted (for the topping, don’t mess this up!)
- 3/4 cup packed light brown sugar
- 1 (20 ounce) can pineapple slices in juice, drained (make sure you save that juice!)
- 10 maraschino cherries
- 1 1/2 cups all-purpose flour
- 1 1/2 teaspoons baking powder
- 1/2 teaspoon salt
- 1/2 cup unsalted butter, softened (for the cake batter, this needs to be soft!)
- 1 cup granulated sugar
- 2 large eggs
- 1 teaspoon vanilla extract
- 1/2 cup milk
- 1/4 cup reserved pineapple juice
Step-by-Step Instructions for the Best Pineapple Upside Down Cake
Okay, get your 9-inch round pan ready! This isn’t hard, but we have to do this topping *first* because we’re baking this tropical beauty upside down. Remember, the magic of a great pineapple upside down cake happens layering it just right before the batter goes in. We want that gorgeous, even caramel.
Preparing the Caramelized Topping for Your Pineapple Upside Down Cake
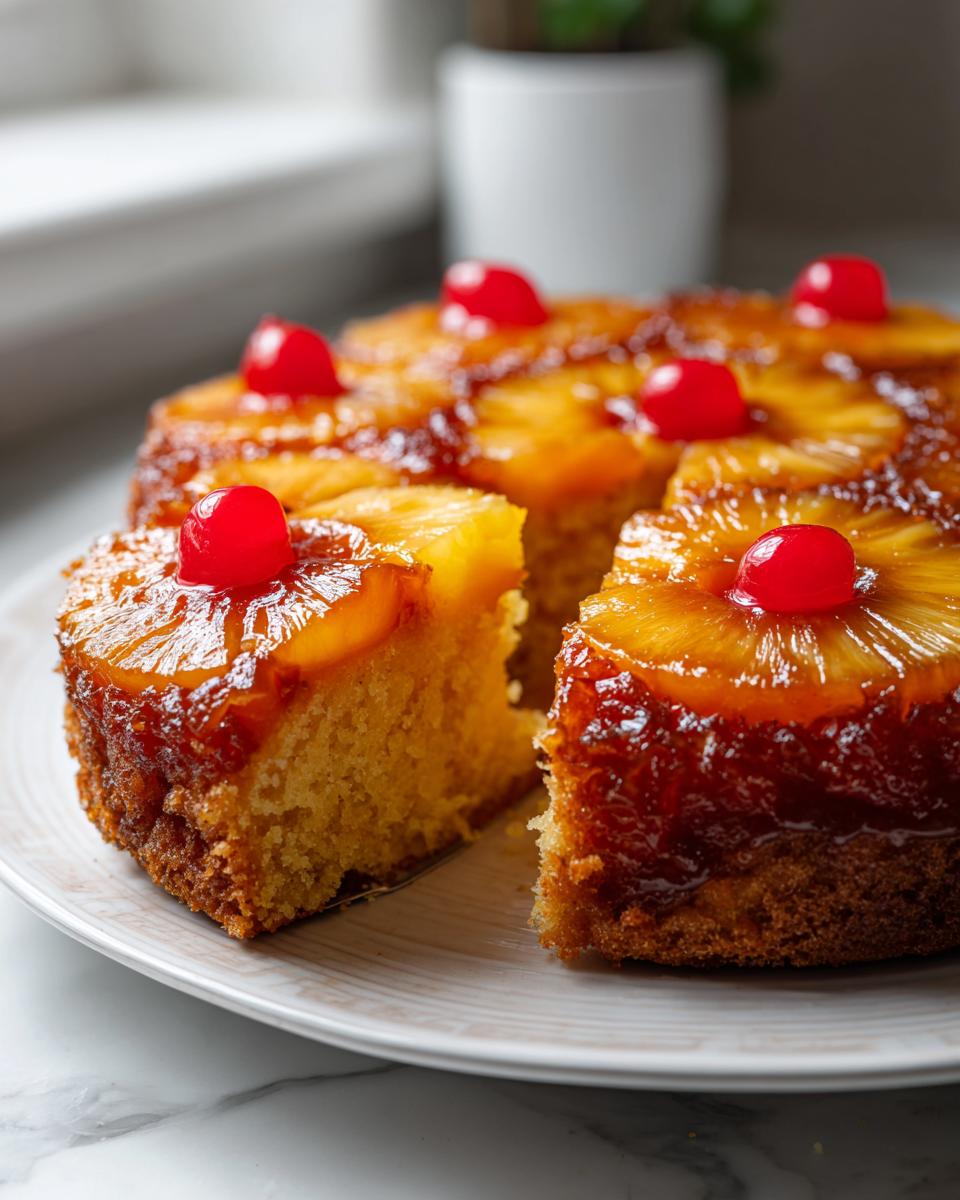
First thing: crank that oven up to 350°F (175°C). Now, grab your melted butter and pour it right into the bottom of that pan. Sprinkle that brown sugar evenly over the butter—make sure it covers everything! This is your caramel foundation. Then, get artistic! Arrange your drained pineapple slices nicely on top of the sugar. I usually do one ring in the middle and then fill the gaps. Pop a cherry right in the center of each slice. How pretty is that?
Mixing the Batter for a Fluffy From Scratch Pineapple Cake
While that pan is waiting, let’s get the batter going. Whisk your flour, baking powder, and salt together in a medium bowl—set that aside. In your big mixing bowl, you need to cream the softened butter and the regular granulated sugar until it’s super pale and fluffy. Beat in those two eggs one at a time until they disappear completely. Now, don’t forget to stir in your vanilla!
Here’s the mixing secret for a tender result in your pineapple upside down cake: mix the milk and that reserved pineapple juice together. Now, add your dry stuff and your wet stuff alternately to the butter mixture. Start and end with the dry ingredients, dumping just enough in at a time to mix—stop stirring as soon as it mostly comes together. If you overmix this batter, we ruin the fluffiness, and nobody wants that sad texture in a Classic Pineapple Cake.
Baking and Inverting Your Pineapple Upside Down Cake
Carefully pour that batter right over your pretty fruit layer. Spread it gently so you don’t mess up your pineapple design. Pop it in the preheated oven for about 35 to 40 minutes. You want a wooden pick coming out clean when you test it! The real test for any pineapple upside down cake comes after it leaves the oven.
Let it sit on a wire rack for exactly 10 minutes. Not five, not fifteen! Ten minutes is the sweet spot. Then, take a serving plate—place it upside down over the pan, grab both handles—and flip it quick! Lift that pan off slowly. If a tiny bit of topping decides to stay behind as a rebel, just scoop it up with a spatula and put it right back where it belongs. That’s how you get a showstopper every time!
If you want some ideas for quick weeknight baking projects after you finish this, check out some of my easy breakfast recipes!
Expert Baking Tips for a Flawless Pineapple Upside Down Cake
Even though this recipe is wonderfully simple, a few expert tips can bump your pineapple upside down cake from great to legendary. If you’re baking pineapple cakes for a crowd, you need flawless execution, right? Here are a few things I learned watching my local bakers work their magic.
First, about the fruit: if you want maximum flavor payoff, especially if the canned slices seem a bit pale, briefly sauté them in a tiny knob of butter before layering them. You are basically jumpstarting that caramelization process! Just cook them for maybe two minutes per side until they look glazed. It makes a difference!
Second, pan choice matters. I always use a 9-inch round pan because the cake bakes evenly, but if you only have a 9×9 inch square pan, go for it! Just know that because the square pan is shallower, it might bake a minute or two faster than the round one, so keep an eye on it. You can certainly find more info on making specialized versions, like that amazing from scratch pineapple cake!
Finally, please, please use room-temperature eggs when you start making the cake batter. Cold eggs shock the perfectly creamed butter and sugar, messing up all those lovely air pockets we worked so hard to create earlier. I learned that lesson the hard way!
For more solid foundational baking knowledge that applies to tons of desserts, you should check out my favorite thoughts on making a classic apple crisp recipe—those lessons transfer beautifully here!
Variations on the Classic Pineapple Upside Down Cake
Now that you’ve mastered the gold standard, maybe you want to get a little wild, right? This pineapple upside down cake base is so sturdy and flavorful, it loves playing dress-up! If you’re dreaming up some fun tropical dessert ideas, try swapping out half the pineapple slices for slightly thickened peach halves. You get a different color and flavor profile immediately.
For those of you who like a little warmth, I highly recommend dusting just a tiny pinch of ground cinnamon or maybe even a whisper of nutmeg into your dry ingredients when you mix the flour. It doesn’t change the cake much, but it smells absolutely heavenly while baking. You still get that classic pineapple goodness, just with a warm hug of spice!
Storage and Reheating Instructions for Your Pineapple Upside Down Cake
The best part about this pineapple upside down cake is that it just keeps getting better, thanks to that sugary topping! You don’t need to worry about keeping it in the fridge, which is great for potlucks. According to my notes, it stays perfectly fine covered up at room temperature for up to two full days. No fuss at all!
If you happen to have leftovers after that, the texture starts to change a bit. If you are saving slices for longer, wrap them tightly in plastic wrap and chill them. When it’s time to eat a cold slice, microwave it alone for about 15 or 20 seconds. That little bit of heat brings the caramel right back to life—it gets gooey and glossy again, just like when you first flipped it out of the pan!
Serving Suggestions for This Nostalgic Dessert Recipes
This pineapple upside down cake is just begging for a cool, creamy partner. Honestly, I think this is one of those nostalgic dessert recipes that just tastes ten times better when paired with something simple. A big, fluffy scoop of really good vanilla ice cream is non-negotiable for my family—the cold creaminess against that warm, buttery caramel is perfection!
If you’re serving it after a long dinner, a simple dollop of freshly whipped cream works great, too. And since we’re bringing in those tropical vibes, you can’t go wrong pairing a slice with one of my favorite afternoon pick-me-ups, like this New Orleans iced coffee creme brulee. It’s the perfect elegant finish!
Frequently Asked Questions About Pineapple Upside Down Cake Recipe
I get so many messages asking about little hiccups when people first try making this pineapple upside down cake recipe. Don’t worry at all! Most issues are super easy to fix, and trust me, that beautiful color makes it worth figuring out just one or two things. Here are the biggest questions I hear from bakers trying to achieve the best upside down cake!
Can I make this pineapple upside down cake in a Bundt pan?
Oh yes, you absolutely can, and it looks spectacular! If you go for a Pineapple Bundt Cake Recipe, you need to be extra careful greasing and sugaring every nook and cranny. Because Bundt pans are deep, you should plan on adding at least 15 to 20 extra minutes onto your baking time and checking often with that wooden pick.
What is the best way to prevent the topping from sticking to the pan?
This is the number one fear people have! The secret is two-fold. First, make that butter and brown sugar layer cover every single speck of the pan bottom. Second, you *must* let it cool for that precise 10 minutes before flipping. If you flip it too soon, everything runs out. If you wait too long, the caramel hardens and glues itself to the pan!
Can I use fresh, or frozen, pineapple instead of canned?
I really recommend sticking to canned pineapple for this classic version. Fresh pineapple tends to have way more water, and it won’t caramelize the same way in the brown sugar mixture. If you absolutely must use fresh, drain it super well, pat the rings dry with paper towels, and maybe even cook them lightly in the butter first before adding the sugar. It’s just easier sticking to the can for a foolproof outcome!
Estimated Nutritional Data for One Serving of Pineapple Upside Down Cake
Now, because we are using real butter and lovely packed brown sugar, this is a dessert, my friends!
The numbers below are just estimates for one standard slice of this glorious homemade pineapple cake. Remember, these figures are based on the exact ingredients listed above. If you use a different pan size or load up on the whipped cream topping, those numbers might shift a bit, but you knew this treat was worth it regardless, right?
- Serving Size: 1 slice
- Calories: 350
- Fat: 17g
- Carbohydrates: 48g
- Protein: 4g
- Sugar: 30g
Share Your Homemade Pineapple Cake Experience
Well, that’s it! You’ve made it through the process of creating what I truly believe is the best upside down cake around. Now that you’ve got that warm, sticky beauty sitting on the counter, I really want to hear about it!
Please, take a moment and leave this pineapple upside down cake a solid five-star rating if it brought a smile to your face. And tell me in the comments what your final act was! Did you keep it classic with vanilla ice cream, or maybe try something wild? I love seeing how everyone puts their own little stamp on these delicious dessert recipes. Your feedback helps me keep testing and perfecting things here in my kitchen!
Happy baking, and I hope this cake brings as many wonderful memories to your table as it does to mine!
PrintClassic Pineapple Upside Down Cake From Scratch
Make this classic pineapple upside down cake from scratch for a moist, buttery dessert with a beautiful caramelized topping. This recipe is perfect for family gatherings and potlucks.
- Prep Time: 15 min
- Cook Time: 40 min
- Total Time: 55 min
- Yield: 8 servings 1x
- Category: Dessert
- Method: Baking
- Cuisine: American
- Diet: Vegetarian
Ingredients
- 1/2 cup unsalted butter, melted
- 3/4 cup packed light brown sugar
- 1 (20 ounce) can pineapple slices in juice, drained (reserve juice)
- 10 maraschino cherries
- 1 1/2 cups all-purpose flour
- 1 1/2 teaspoons baking powder
- 1/2 teaspoon salt
- 1/2 cup unsalted butter, softened
- 1 cup granulated sugar
- 2 large eggs
- 1 teaspoon vanilla extract
- 1/2 cup milk
- 1/4 cup reserved pineapple juice
Instructions
- Preheat your oven to 350°F (175°C). You will need a 9-inch round cake pan.
- Pour the melted butter into the bottom of the cake pan. Sprinkle the brown sugar evenly over the butter.
- Arrange the pineapple slices on top of the brown sugar mixture in a decorative pattern. Place one maraschino cherry in the center of each pineapple ring.
- In a medium bowl, whisk together the flour, baking powder, and salt. Set this dry mixture aside.
- In a large bowl, beat the softened butter and granulated sugar together with an electric mixer until light and fluffy.
- Beat in the eggs one at a time, mixing well after each addition. Stir in the vanilla extract.
- In a small bowl, whisk together the milk and the reserved pineapple juice.
- Gradually add the dry ingredients to the wet ingredients, alternating with the milk mixture, beginning and ending with the dry ingredients. Mix until just combined; do not overmix.
- Carefully pour the cake batter over the pineapple and cherry layer in the pan, spreading it evenly.
- Bake for 35 to 40 minutes, or until a wooden pick inserted into the center comes out clean.
- Let the cake cool in the pan on a wire rack for 10 minutes.
- Place a serving plate upside down over the cake pan. Carefully invert the cake onto the plate. Lift the pan away slowly. If any topping sticks, gently place the fruit back onto the cake.
- Serve warm or at room temperature.
Notes
- For extra moisture, you can substitute some of the milk with pineapple juice in the batter.
- If you do not have a 9-inch round pan, a 9×9 inch square pan works as an alternative.
- This cake keeps well covered at room temperature for up to two days.
Nutrition
- Serving Size: 1 slice
- Calories: 350
- Sugar: 30g
- Sodium: 250mg
- Fat: 17g
- Saturated Fat: 10g
- Unsaturated Fat: 7g
- Trans Fat: 0.5g
- Carbohydrates: 48g
- Fiber: 1g
- Protein: 4g
- Cholesterol: 75mg