
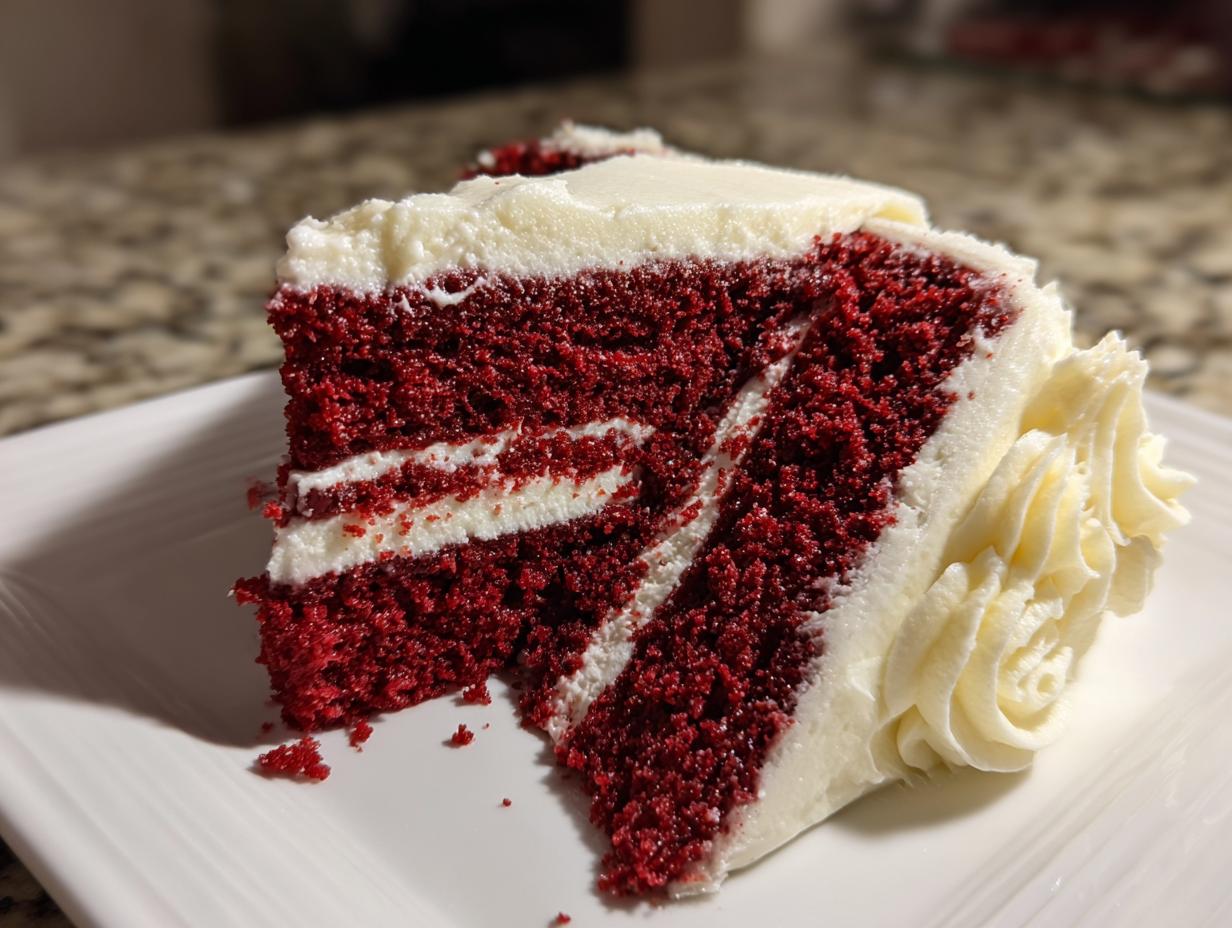
There is just something magical about a perfectly constructed layer cake, isn’t there? It promises celebration, drama, and incredible flavor all stacked up high. Forget those dry, crumbly store-bought versions; what we are diving into today is the absolute best ultra-moist Southern Red Velvet Layer Cake from scratch. I spent ages perfecting this formula right here in my own kitchen, following that Delish Symphony promise—a promise rooted in the dedication you can read about on our About page—to make sure everything is foolproof and accessible for you. My goal with every recipe, especially this iconic red velvet cake, is to ensure you get a consistent, show-stopping result every single time you bake. This cake is pure comfort, and I can’t wait for you to try it!
- Why This Is The Best Red Velvet Cake Recipe You Will Ever Make
- Ingredients for Your Authentic Southern Red Velvet Cake
- Step-by-Step Instructions for Red Velvet Cake From Scratch
- Expert Tips for a Vibrant Red Velvet Cake Tutorial
- Storage and Reheating Instructions for Your Red Velvet Cake
- Frequently Asked Questions About Red Velvet Cake
- Estimated Nutritional Data for This Red Velvet Cake Recipe
- Share Your Perfect Red Velvet Cake Creation
Why This Is The Best Red Velvet Cake Recipe You Will Ever Make
I know everyone claims theirs is the best, but trust me on this one. This cake hits that Southern sweet spot perfectly. It’s not just pretty; it’s texturally perfect. When I test recipes, I look for three things: incredible moisture, a tender crumb, and true depth of flavor. This red velvet cake delivers on all fronts. Check out why this combination just works so beautifully. If you want more guaranteed successes, check out my full collection of delicious dessert recipes!

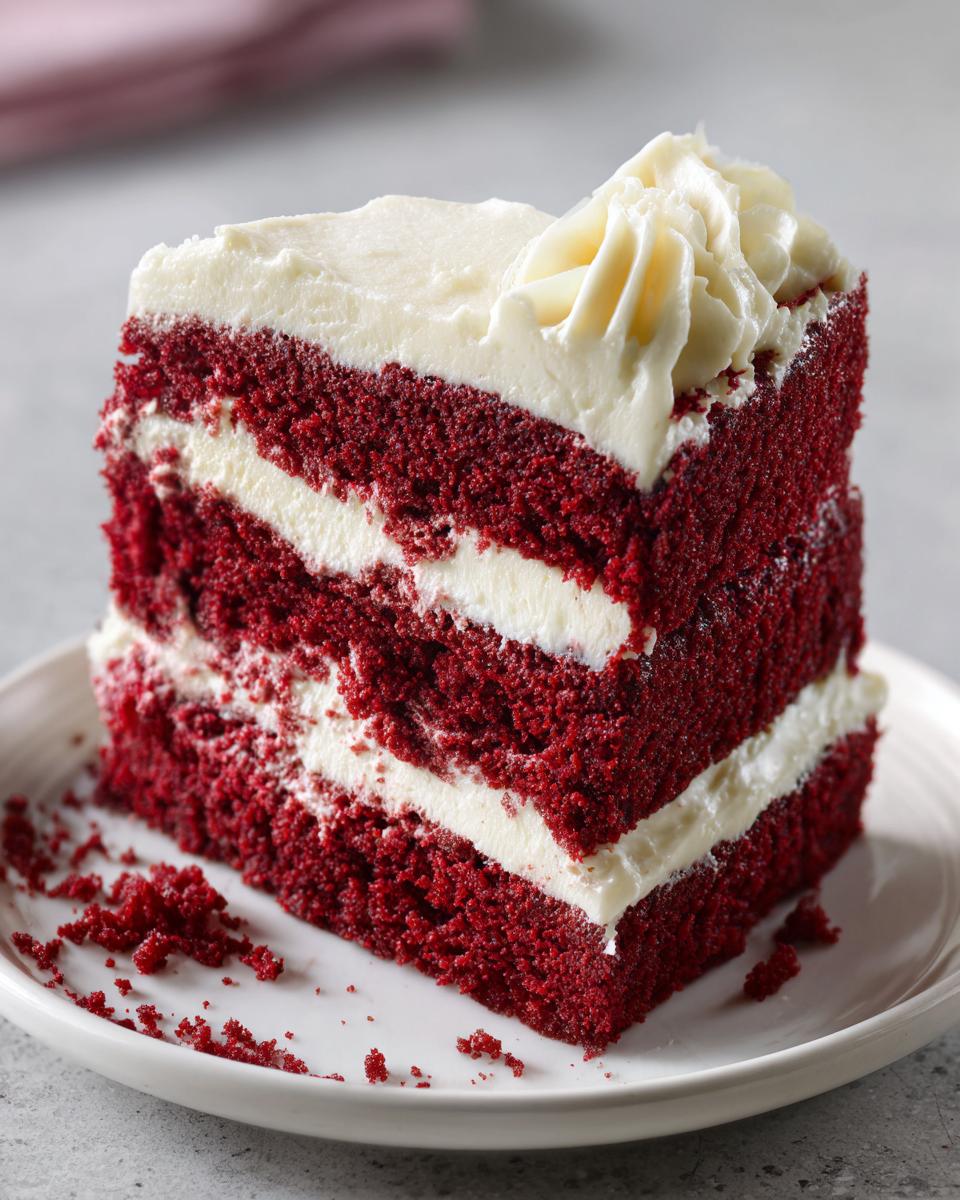
Achieving Ultra-Moist Red Velvet Layers
The biggest complaint I hear about cake is dryness, but that won’t happen here! A huge part of why this Moist Red Velvet Cake Recipe stays fresh for days is the use of oil instead of just butter. Oil coats the flour particles better than melted butter, which traps moisture inside during baking. Plus, we use plenty of tangy buttermilk, which keeps everything beautifully saturated. It’s simple baking science winning the day!
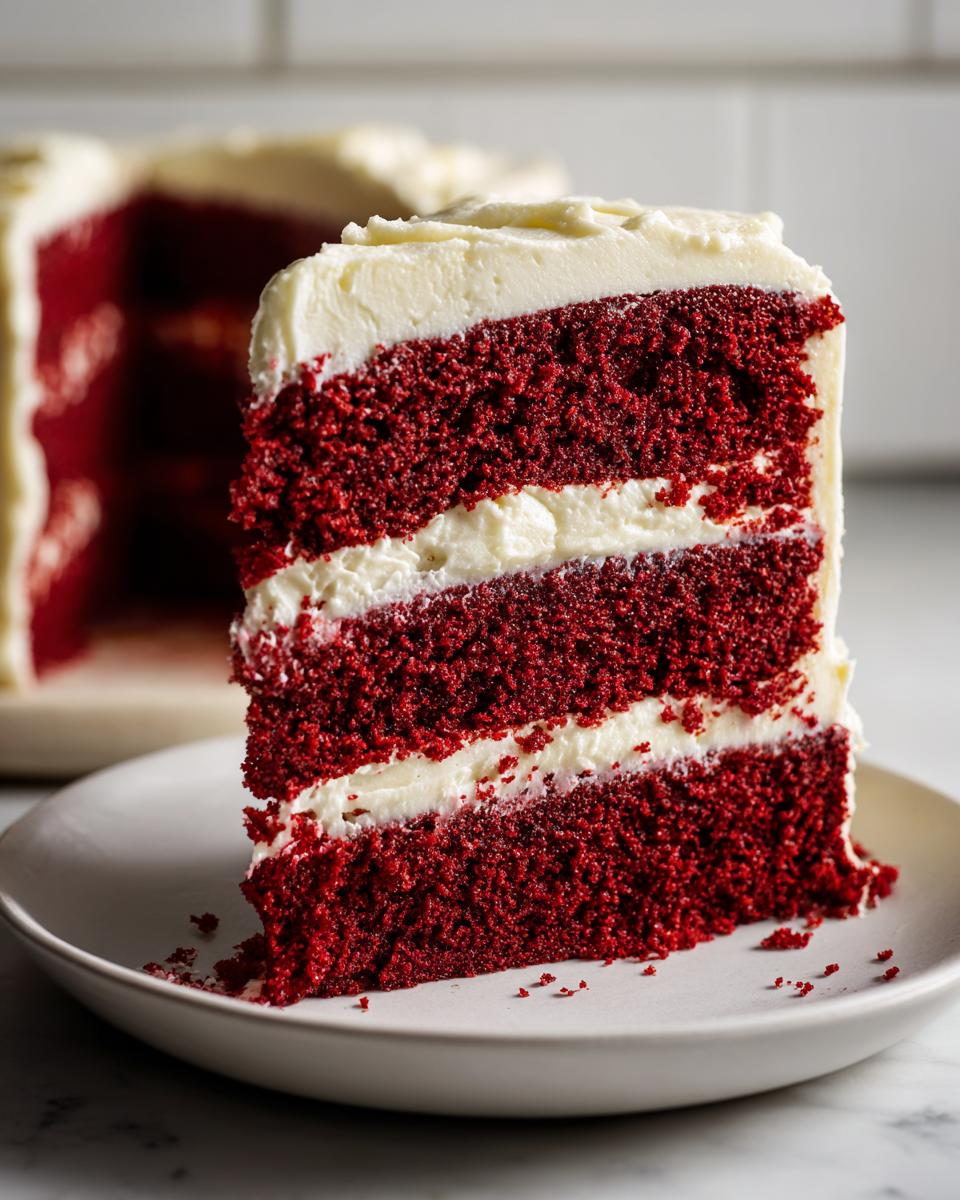
The Secret to Soft and Fluffy Red Velvet Layers
If you think this cake is just about color, you’d be missing the point! We rely on the classic reaction happening in the batter. When the vinegar hits the baking soda mixed with the buttermilk? Whoosh! You get perfect lift without needing heavy aeration. This chemical magic is your ticket to those Soft and Fluffy Red Velvet Layers that feel unbelievably delicate when you cut into them. Remember, the goal is tender, not tough!
Ingredients for Your Authentic Southern Red Velvet Cake
Okay, getting the right ingredients is half the battle, so listen up! This list is non-negotiable if you want that true Southern flavor profile. We keep things straightforward, focusing on quality and making sure you have the exact right components for the batter and, of course, that impossibly smooth frosting. I always lay everything out before I start mixing—it saves so much time! When you follow these precise measurements, you’re setting yourself up perfectly for success. Don’t worry about finding weird stuff; everything on this list is standard at any decent American grocery store.
For the Red Velvet Cake Batter
- 2 1/2 cups all-purpose flour
- 1 1/2 cups granulated sugar
- 1 teaspoon baking soda
- 1 teaspoon salt
- 1 tablespoon unsweetened cocoa powder (this is key for that red velvet flavor hint!)
- 2 large eggs
- 1 cup vegetable oil
- 1 cup buttermilk
- 1 teaspoon white vinegar
- 1 teaspoon vanilla extract
- 1 to 2 tablespoons red food coloring (liquid or gel)
For the Classic Cream Cheese Frosting Recipe
No red velvet cake gets served without its crown! This recipe is for the incredibly decadent, smooth topping you know and love. We make sure the texture is perfect for spreading and swirling on top of those Moist Red Velvet Cake Recipe layers.
- 8 ounces cream cheese, softened (make sure it’s truly soft!)
- 1/2 cup unsalted butter, softened
- 4 cups confectioners’ sugar, sifted (Sifting prevents clumps, trust me!)
- 1 teaspoon vanilla extract
Step-by-Step Instructions for Red Velvet Cake From Scratch
Alright, let’s get these beautiful layers baked! I promise you, this part is straightforward, but timing is everything. We want maximum fluffiness and zero dry edges on our final red velvet cake. I’ve also put a link here to my guide on easy moist banana bread if you need a quick break later, but for now, focus on these steps. We’re mixing the dry stuff, mixing the wet stuff, combining them gently, and then we bake until perfectly done. Simple, right? Just remember the cardinal rule: don’t touch that mixer after the wet meets the dry!
Preparing the Cake Layers and Baking
First things first, get that oven set to 350°F (175°C). Make sure you’ve greased and floured those two 9-inch pans properly; a sticking cake is the enemy of any home baker! In a big bowl, whisk your dry ingredients—flour, sugar, soda, salt, and that hint of cocoa powder—just until they look happy together. In a separate bowl, whip up all your wet things: eggs, oil, buttermilk, vinegar, vanilla, and all that gorgeous red coloring. You’ll know it’s ready when the color is deep and uniform. Pour the wet right into the dry. Mix it on low speed, and I mean *low*, until everything disappears. Stop mixing the second that flour streak vanishes. Overmixing means tough cake, and we want tender!

Divide that lovely batter evenly between your pans. Pop them in the oven for about 30 to 35 minutes. Do the wooden pick test—if it comes out clean, you’re golden. Let them hang out in the pans for about 10 minutes before carefully flipping them onto a wire rack to cool down completely. Patience here pays off big time!
Making the Cream Cheese Frosting
While those layers are cooling—and they must be *completely* cool before frosting, or you’re asking for a meltdown—it’s frosting time! Get that softened cream cheese and softened butter into your bowl. Beat those two together until they are perfectly smooth. Seriously, no lumps allowed! This is where we build the base for that luxurious texture. Once it looks like a pale, creamy cloud, start adding the sifted confectioners’ sugar slowly while mixing. Once it’s incorporated, turn the speed up a bit and whip it until it’s light and fluffy. A little splash of vanilla at the end brightens everything up. Perfect!
Assembling Your Showstopping Layer Cakes
This is the fun part where everything comes together into one of those gorgeous Showstopping Layer Cakes you dream about. Once those layers are stone cold, place layer one down. Take about a third of that amazing cream cheese frosting and spread it edge-to-edge evenly. Then, gently place the second layer right on top. Use the rest of your frosting to lovingly cover the top and then smooth it all down the sides. Don’t worry if it’s not perfectly smooth; a rustic swirl looks just as beautiful. Now, step back and admire your handiwork!
Expert Tips for a Vibrant Red Velvet Cake Tutorial
You’ve got the recipe and the steps locked down, but if you want this cake to really sing—to look like it came from a professional bakery display—you need a couple of insider tricks. This is where we take this recipe from great to legendary. I’ve gathered all my best advice to help you pull off this weeknight dinner recipes-style easy bake into something that looks absolutely phenomenal. If you follow these tips, you’ll ace that showstopping layer cakes presentation.
Buttermilk Red Velvet Cake Secret: Why It Matters
I want to talk about the buttermilk for a second—it’s the true soul of an Bakery Style Red Velvet Cake. A lot of beginner recipes try to swap it out for regular milk, but please don’t! That mild acidity is essential. It reacts with the little bit of cocoa powder we use, which historically was what created the subtle ‘velvet’ red tint back when they didn’t have strong dyes. It also tenderizes the gluten, giving you that incomparable crumb. That’s the real Buttermilk Red Velvet Cake Secret to achieving that authentic Southern feel.
Color Intensity: Liquid vs. Gel Dye
If you’re aiming for that deep, dramatic red that people expect—especially around Valentine’s Day—you need to pay attention to your dye. If you use too much of the cheap liquid food coloring, you risk making your batter soupy and ruining the texture that we worked so hard for! For a truly Vibrant Red Velvet Cake Tutorial result, spend the extra dollar on a good quality gel paste. You only need a tiny dab, and it gives you that intense, gorgeous hue without adding unnecessary liquid to the batter. Trust me, the difference in color payoff is huge!
Storage and Reheating Instructions for Your Red Velvet Cake
Now that you’ve successfully baked the most incredible red velvet cake, we need to keep it perfect! Since we used that gorgeous, authentic cream cheese frosting, we absolutely cannot leave this beauty on the counter. Pop the whole frosted cake into an airtight container and stash it in the fridge. I’ve found it stays fantastic for about three or four days this way.
When you’re ready to serve, here’s the secret: don’t cut it cold! Take a slice—or the whole cake, who am I to judge?—out of the fridge about 30 to 45 minutes before serving. Letting it come back up to room temperature allows the butter and cream cheese in that frosting to soften up just right, making the cake layers taste incredibly moist and fluffy again. Enjoy every bite!
Frequently Asked Questions About Red Velvet Cake
You’ve put in the baking time, and now maybe a few lingering questions pop up! That’s totally normal, especially when dealing with such a classic recipe. I’ve gathered the most common things people ask me about this specific red velvet cake and laid out my practical answers below, especially if you’re trying to compare it to other desserts. If you want more answers to baking dilemmas, feel free to browse my other delicious dessert recipes collection!
Is Red Velvet Cake with Cocoa Powder really chocolate?
Oh, this is the big one! No, it is not just a basic chocolate cake with food coloring, I promise! True Southern red velvet cake uses just a tiny bit of unsweetened cocoa powder—usually just a tablespoon or so. Its flavor is supposed to be very subtle, almost earthy, setting the stage for the tang of the buttermilk and the richness of the cream cheese frosting. If you use a whole cup of cocoa, you get chocolate cake! We are aiming for velvet, not fudge!
Can I make this Easy Homemade Red Velvet Cake recipe ahead of time?
Yes, you absolutely can make parts ahead, which is a huge time saver for holidays! You need to let the layers cool completely, then you can wrap them tightly in plastic wrap and keep them at room temperature (if your kitchen isn’t too hot) for up to two days, or freeze them for a month. However, when it comes to the frosting, hold off! The cream cheese frosting is best made the day you plan to frost and serve the cake. It holds up fine overnight in the fridge, but it’s always fluffiest when freshly whipped right before assembly.
Estimated Nutritional Data for This Red Velvet Cake Recipe
Now, let’s talk real figures for a second. I always say that if you’re making a showstopper like this, you aren’t doing it for the calorie count, but it’s responsible to give you an idea of what’s in your gorgeous slice. Remember, the nutritional breakdown changes wildly depending on how thickly you frost those layers—and how big you cut the slice!
These numbers reflect a standard slice of the assembled cake, using the recipe as written. This is just an estimate based on general ingredient usage, so actual values can shift a bit depending on the exact brands you use. But hey, this is the best red velvet cake out there, and a little indulgence is definitely worth it!
- Serving Size: 1 slice
- Calories: 450
- Sugar: 55g
- Sodium: 350mg
- Fat: 24g
- Saturated Fat: 10g
- Unsaturated Fat: 14g
- Trans Fat: 0g
- Carbohydrates: 60g
- Fiber: 1g
- Protein: 4g
- Cholesterol: 65mg
Share Your Perfect Red Velvet Cake Creation
Now that you’ve baked this incredible cake, I truly want to know how it turned out for you! Did you manage to wrestle with that vibrant food coloring? Did the buttermilk keep everything perfectly soft and fluffy? Don’t be shy—I depend on your feedback to know which recipes are truly working wonders in home kitchens across the country.
Please take a moment to leave a rating right below this section. If you have any tips you discovered along the way, or if you ended up dusting it with pecans instead of frosting the sides—tell us about it in the comments! I love seeing your beautiful bakes, so if you shared your final red velvet cake on social media, tag me so I can swoon over your layers. If you have any burning questions that I didn’t cover, head over to my Contact page and let’s chat!
PrintThe Best Ultra-Moist Southern Red Velvet Layer Cake From Scratch with Classic Cream Cheese Frosting
Make an authentic Southern Red Velvet Cake that is ultra-moist, soft, and fluffy. This recipe uses buttermilk and a small amount of cocoa for true flavor, topped with rich, homemade cream cheese frosting.
- Prep Time: 25 min
- Cook Time: 35 min
- Total Time: 60 min
- Yield: 12 servings 1x
- Category: Dessert
- Method: Baking
- Cuisine: American
- Diet: Vegetarian
Ingredients
- 2 1/2 cups all-purpose flour
- 1 1/2 cups granulated sugar
- 1 teaspoon baking soda
- 1 teaspoon salt
- 1 tablespoon unsweetened cocoa powder
- 2 large eggs
- 1 cup vegetable oil
- 1 cup buttermilk
- 1 teaspoon white vinegar
- 1 teaspoon vanilla extract
- 1 to 2 tablespoons red food coloring (liquid or gel)
- 8 ounces cream cheese, softened
- 1/2 cup unsalted butter, softened
- 4 cups confectioners’ sugar, sifted
- 1 teaspoon vanilla extract
Instructions
- Preheat your oven to 350°F (175°C). Grease and flour two 9-inch round cake pans.
- In a large bowl, whisk together the flour, sugar, baking soda, salt, and cocoa powder. Set aside.
- In a separate medium bowl, whisk together the eggs, oil, buttermilk, vinegar, vanilla extract, and red food coloring until fully combined and the color is uniform.
- Pour the wet ingredients into the dry ingredients. Mix on low speed until just combined. Do not overmix.
- Divide the batter evenly between the prepared cake pans.
- Bake for 30 to 35 minutes, or until a wooden pick inserted into the center comes out clean.
- Let the cakes cool in the pans for 10 minutes before inverting them onto a wire rack to cool completely.
- Prepare the frosting: In a large bowl, beat the softened cream cheese and butter together until smooth.
- Gradually add the sifted confectioners’ sugar, beating until light and fluffy. Mix in the vanilla extract.
- Once the cakes are completely cool, place one layer on a serving plate. Spread about one-third of the frosting evenly over the top.
- Place the second layer on top and frost the top and sides of the entire cake with the remaining cream cheese frosting.
Notes
- For the most vibrant red color, use high-quality gel food coloring instead of liquid coloring.
- Buttermilk is essential for the classic tang and moist texture of true red velvet cake.
- Do not overbake the layers; this is the main cause of dry cake. Check for doneness early.
Nutrition
- Serving Size: 1 slice
- Calories: 450
- Sugar: 55g
- Sodium: 350mg
- Fat: 24g
- Saturated Fat: 10g
- Unsaturated Fat: 14g
- Trans Fat: 0g
- Carbohydrates: 60g
- Fiber: 1g
- Protein: 4g
- Cholesterol: 65mg