
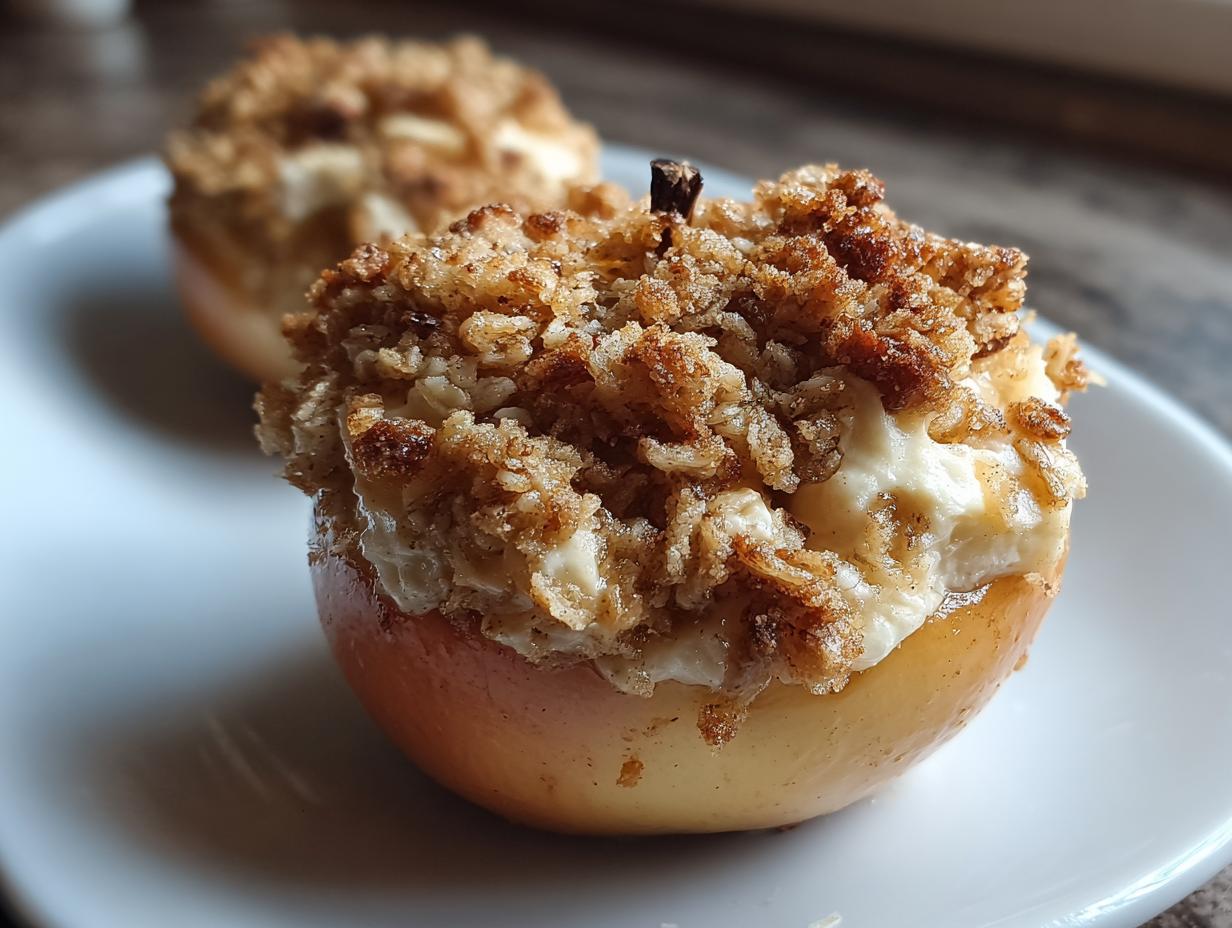
When that first crisp breeze hits the air, my mind immediately jumps to that warm, comforting symphony of spices only fall can offer. Forget wrestling with pie dough! If you want the true essence of autumn comfort without a fuss, you need to master the art of the humble yet magnificent baked apples. Today, I’m sharing my go-to recipe for Stuffed Baked Apples with Cinnamon Oat Filling. This isn’t some complicated dessert; this is what I make when I’ve had a long day wrestling with code and just need something deeply satisfying to taste like home.
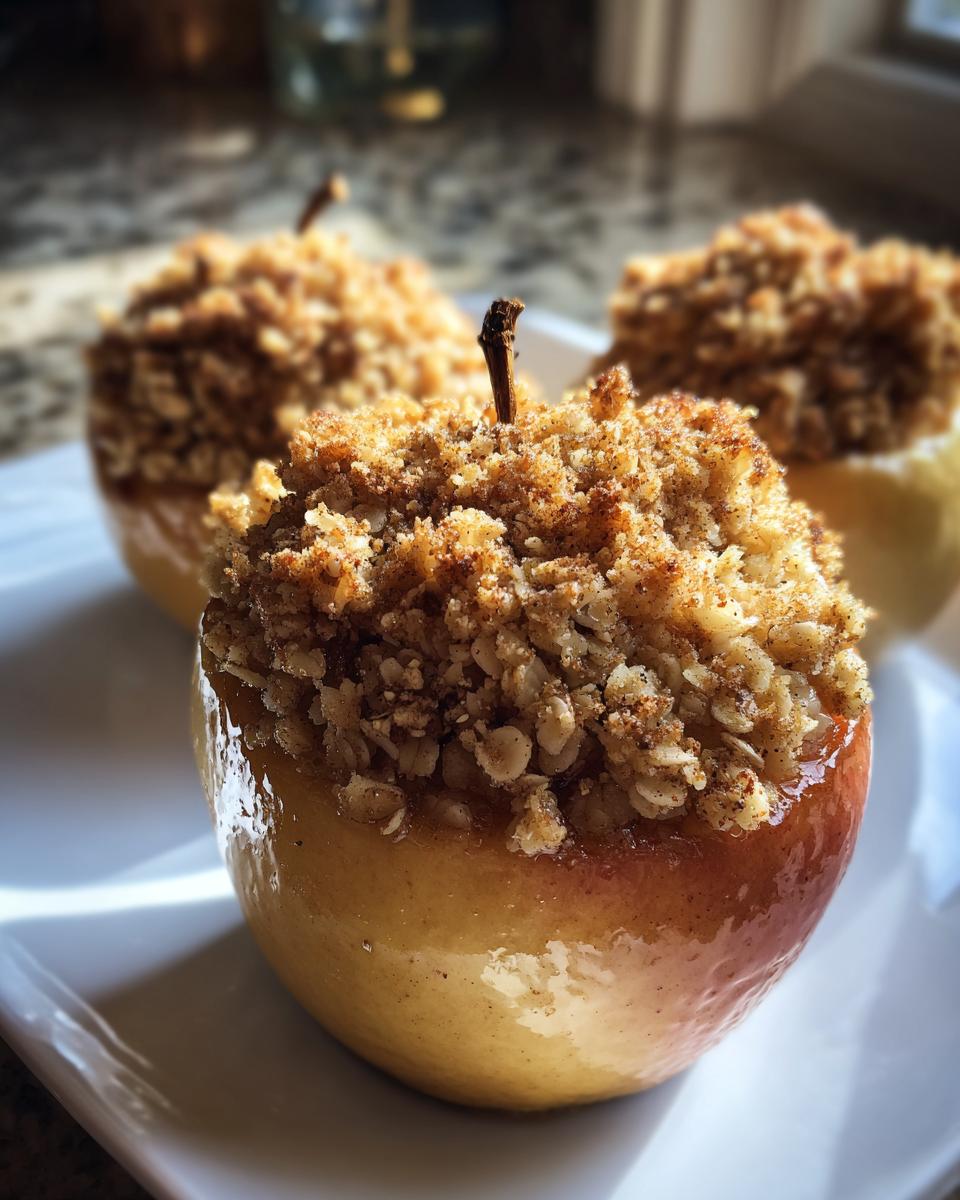
This recipe is truly foolproof and packs a huge flavor punch for very little effort. We’re aiming for tender fruit hugging a crisp, buttery oat mixture. Trust me, the smell alone will make your whole house feel cozy. If you love my classic apple crisp, you are going to adore this elegant, single-serving version of spiced fruit.
- Why This Easy Baked Apples Recipe Is Your New Fall Favorite
- Gathering Ingredients for Stuffed Baked Apples
- Expert Tips for Preparing Your Baked Apples
- Step-by-Step Instructions for Simple Oven Baked Apples
- Variations on Classic Baked Apples with Cinnamon
- Serving Suggestions for Your Warm Apple Dessert
- Storing and Reheating Your Baked Apples
- Frequently Asked Questions About Baked Apples
- Understanding the Nutrition of These Sweet Spiced Apples
- Share Your Cozy Apple Recipes Experience
Why This Easy Baked Apples Recipe Is Your New Fall Favorite
Why mess with a masterpiece? This Easy Baked Apples Recipe moves straight to the main event: pure, unadulterated comfort. You don’t need fancy equipment or hours of your evening to achieve this level of cozy satisfaction.
- It’s versatile enough to be a Comfort Food Apple Dessert one night and a completely valid, soul-satisfying Healthy Baked Apples Side Dish the next, especially next to roasted pork.
- Minimal cleanup—you bake them right in the dish they sit in. That’s my kind of kitchen harmony!
- They taste like nostalgia, but take about half the time of dealing with an entire pie crust.
Flavor Harmony: Sweet Spiced Apples
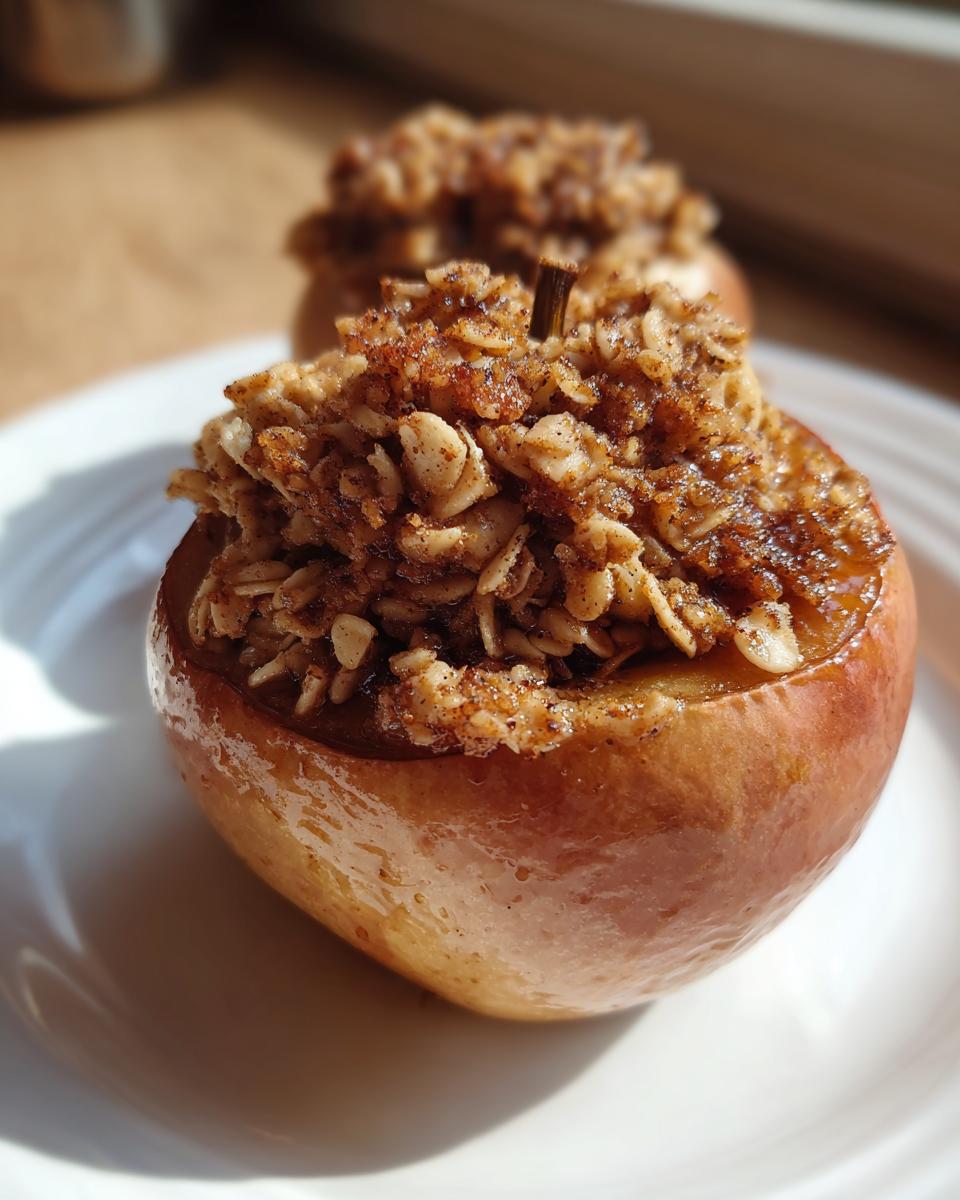
When I talk about flavor harmony, this is what I mean. We balance the natural tartness of a firm apple—which keeps it from turning to mush—with the deep, caramelly notes of dark brown sugar. Then, we wake everything up with cinnamon and just a hint of nutmeg. Those Sweet Spiced Apples soak up the melting butter as they cook. It’s unbelievably rich without being overly heavy.
Practical Preparation for Perfect Baked Apples
Don’t let the word “stuffed” scare you off. The whole trick to these baked apples is the coring trick, which I explain later, but the assembly is basically just mixing oats and butter and spooning it in. Preheat, core, fill, bake—that’s the entire rhythm. It’s practical cooking built for busy people.
Gathering Ingredients for Stuffed Baked Apples
When we compose a recipe here at Delish Symphony, we focus on ingredients that speak for themselves. For these baked apples, you don’t need specialty items, just a run to your local grocery store. Everything needed is right there, ready to make magic happen. Look at this list—it’s short, sweet, and leads straight to a comforting plate!
Since we are keeping this recipe super straightforward, the quality of the individual parts really shines through. If you’ve made my homemade applesauce, you know I believe in simple components leading to big flavor. Pay close attention to the butter temperature; it’s key!
- 4 large firm apples (I always grab Honeycrisp or Granny Smith)
- 1/2 cup rolled oats
- 1/4 cup packed brown sugar
- 2 tablespoons all-purpose flour
- 1 teaspoon ground cinnamon
- 1/4 teaspoon ground nutmeg
- Pinch of salt
- 4 tablespoons unsalted butter, cold and cut into small pieces
- 1/4 cup water
- 1 tablespoon lemon juice (optional, for serving)
Apple Selection for Baked Apples
This is crucial, folks. If the apple gets too soft, the whole thing collapses into applesauce, and we’re aiming for structure here! You need a firm apple that holds its shape while baking but softens enough to eat with a spoon. Granny Smith is my classic go-to because it has that nice tartness that cuts through the sweetness of the topping.
However, Honeycrisp apples are amazing too, especially if you want a sweeter bite overall. Whatever you choose, just make sure they are firm to the touch. Those softer varieties tend to break down completely when baked whole.
Expert Tips for Preparing Your Baked Apples
I’ve seen a few sad, leaky baked apples over the years, and honestly, 99% of the time it comes down to two simple preparation steps. We want our filling to stay put and our topping to be crisp, not soggy! Taking an extra two minutes here really guarantees you get the perfect result with these baked apples.
Mastering the Core: How to Make Cups for Filling
This is the step where beginners often accidentally poke a hole right through the bottom of the apple cup, letting all the wonderful juices leak out into the water below. Don’t do that! Take your corer or small pairing knife.
- Start working straight down into the apple from the top where the stem was.
- Go slowly, rotating as you carve out the center core.
- Stop carving when you *feel* you are about an inch from the bottom. You need a solid base to hold that sweet oat filling in place.
If you leave a good thick base, you can actually spoon a little extra topping right into that small hollow on the bottom, too. Genius, right?
Achieving the Perfect Crumble Texture in Your Baked Apples
For your topping to be that lovely, chunky, crisp layer, you absolutely must use cold butter—and I mean straight-from-the-fridge cold butter cut into very small cubes.
When you combine that cold butter with the brown sugar, oats, and flour, you are using what is called the ‘cutting in’ method. Use your fingertips—the warmth of your whole hand melts the mixture too fast. Scramble that butter into the dry stuff until it looks like rough sand with a few pea-sized clumps remaining. Those little clumps? They melt into crispy pockets of heaven while baking. If it starts looking too greasy or incorporated, pop the whole bowl back in the fridge for five minutes!
Step-by-Step Instructions for Simple Oven Baked Apples
Now that we’ve prepped our apples and mastered that crumbly filling, it’s time to bring it all together. This is where the house starts smelling incredible! These Simple Oven Baked Apples require very little attention once they hit the heat, which is exactly what I need after a busy day. You’ll want to preheat your oven to 375 degrees Fahrenheit first, and make sure you grease up that 8×8 baking dish lightly—we don’t want any sticking surprises when it’s time to serve.
Once your dish is ready, gently place those filled apples inside. Remember that water we need? Pour that last 1/4 cup right into the bottom of the dish, around the apples, not inside the filling. That water creates the steam needed to soften the fruit perfectly without drying it out.
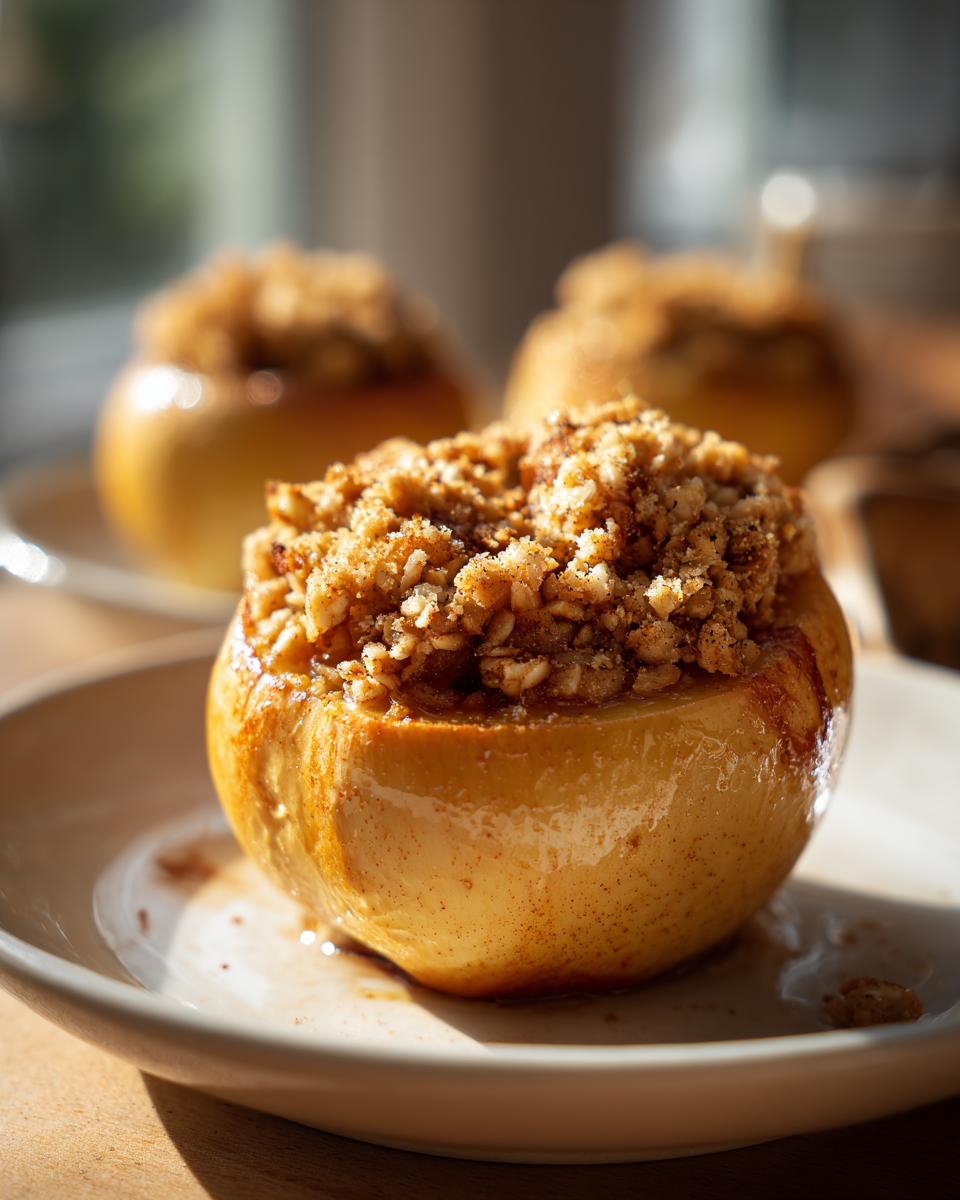
They go into the 375°F oven for 35 to 45 minutes. How do you know they are done? You test them! Pierce an apple—if your fork slides in with just a little gentle pressure, they are ready. The topping should be golden brown and the juices bubbling happily around the edges. I usually check mine around the 30-minute mark. If the tops look done but the apple feels still a bit firm, just baste them with the liquid in the pan once, and let them finish up. Quick, easy, and just waiting for a scoop of vanilla ice cream. If you enjoy fuss-free baking, you should check out my easy pumpkin bars recipe for another great seasonal treat!
Variations on Classic Baked Apples with Cinnamon
While I promise this base recipe for Cinnamon Baked Apples is pretty much perfect—it’s what I turn to first!—sometimes you want to shake things up a bit, right? That’s the musician in me coming out, always looking for a new riff on an old tune. These simple tweaks allow you to customize your dessert while keeping that core cozy flavor.
If you love the topping texture here, you’ll definitely want to consider these modifications. This is where we get closer to true Apple Crisp Stuffed Apples territory, or maybe something even lighter.
Making Healthy Baked Apples Side Dish Swaps
Remember how I mentioned these work as a killer side dish? If we’re leaning towards savory alongside pork chops, we might want to dial back the sweetness a touch. Instead of getting rid of all the brown sugar, try swapping half a tablespoon for a pure, intense maple syrup in the filling—it adds complexity. Also, if you are watching white flour intake, using half whole wheat flour in the topping gives you a slightly nuttier flavor that performs beautifully.
For a real wellness boost that still feels indulgent, try mixing in about two tablespoons of chopped walnuts or pecans right in with the oat filling. They toast up perfectly in the oven. If you enjoyed the streusel topping on my sweet potato casserole, you know how well nuts and baked fruit play together!
Serving Suggestions for Your Warm Apple Dessert
The baked apple is delicious all on its own, absolutely. But to truly elevate this into a spectacular Warm Apple Dessert for those crisp nights, you need to think about what complements that warm, spiced fruit. This is where the harmony really sings, turning a simple bake into a real event!
My absolute favorite way, year-round, is a melting scoop of good quality vanilla bean ice cream right on top—the hot-cold contrast is unbeatable. But if you’re serving this for breakfast or a lighter finish, pouring some of the residual syrupy liquid over a bowl of fresh oatmeal is divine.
If you’re looking for a great pairing beverage to round out your Fall Dessert Ideas, I love something rich. You could try whipping up a batch of my New Orleans Iced Coffee Creme Brulee if you want something rich but cool, or stick to something bright like our Cranberry Orange Punch to keep that holiday feel going!
Storing and Reheating Your Baked Apples
One hallmark of a truly great, practical recipe—and I can’t stress this enough for building trustworthiness in the kitchen—is how well it handles leftovers. Thankfully, these baked apples are fantastic cozy food today, but they are almost as good tomorrow!
Once they’ve cooled down completely, you can cover that baking dish tightly with foil or plastic wrap and tuck them right into the refrigerator. Honestly, they keep beautifully for about three or four days this way. The apple will soften a bit more, but the buttery oat topping stays mostly intact.
Now, about freezing: Yes, you can freeze them! Let them cool completely, then wrap each individual apple tightly in plastic wrap, followed by a layer of foil. You can freeze them for up to three months easily. Remember, these are best when you reheat them gently to bring back that warm, spiced flavor profile.
For reheating refrigerated apples, I strongly suggest using the oven or an air fryer set to about 325°F for about 10 minutes. This allows the topping to crisp up again without turning the apple to mush. If you’re in a super huge rush, the microwave works, but just microwave them for 30-40 seconds at a time, checking frequently, until they are warm through. Microwaving tends to steam the topping, so save that method for when time is truly your enemy!
Frequently Asked Questions About Baked Apples
I get so many thoughtful questions every week about how to make these recipes work in different kitchens, which tells me you all are thinking about harmony in your own homes! I’ve gathered a few of the most common queries I hear about this dish, hoping to clear up any confusion so you can jump right into baking your Best Baked Apples for Fall.
If you’re looking for more fast and reliable techniques, my collection of weeknight dinner recipes is always updating with ideas just like this!
Can I make these baked apples without coring them first?
You absolutely can! If you are in a rush for a Quick Apple Treat, ditch the coring process. Instead of coring four whole apples, just slice all four apples thinly (about 1/4 inch thick) and toss them gently with the filling mixture after you’ve cut in the butter. You’ll pour the mixture into your 8×8 dish, spread it out evenly, and you’ll likely need to reduce the water slightly. Because the surface area is much larger, they cook faster—probably closer to 25–30 minutes instead of 45. This is more like making an apple crisp than stuffed apples, but it’s still delicious!
What is the best way to sweeten these apples naturally?
If you’re aiming for a Healthy Baked Apples Side Dish or just prefer a different flavor profile than molasses, going natural is easy. You can swap the brown sugar entirely for an equal amount of pure maple syrup or honey. Just be cautious: syrups are liquids, so when you do this, you should omit the 1/4 cup of water that goes into the baking dish, as those natural sweeteners will release some liquid during heating. This keeps the overall liquid ratio correct for your topping texture.
For more reliable, delicious ideas, you can always check out other favorites like the simple process shared over at Belle of the Kitchen’s easy baked apples. Always good to compare techniques!
Understanding the Nutrition of These Sweet Spiced Apples
When we talk about flavor harmony, we also like to be transparent about what’s going into that harmony. These Sweet Spiced Apples feel like a treat, but because we are using whole fruit and an oat-based topping, they are much more balanced than a typical dessert. Now, please know that this is my best estimate based on the ingredients listed—every apple is different, after all!
For one serving (one whole stuffed apple), here is the approximate breakdown:
- Calories: 320
- Sugar: 35g (mostly from the apple and brown sugar)
- Protein: 4g
- Fat: 12g
- Fiber: 6g
It’s just such a fantastic way to include warm fruit in your diet, whether you enjoy it as a light dessert or a guilt-free afternoon indulgence!
Share Your Cozy Apple Recipes Experience
Now you have the rhythm, the ingredients, and all my little home-cook secrets for creating the ultimate baked apples. But frankly, my kitchen symphony isn’t complete until I hear from you! I genuinely want to know how these turned out in your home.
Did you stick to the classic cinnamon blend, or did you add a secret pinch of cardamom? Did you serve them piping hot over ice cream, or perhaps use them as that fantastic side dish I mentioned?
Please, take a moment and leave a rating and a comment below. Tell me what made this your go-to recipe for the Best Baked Apples for Fall. If you snapped a picture of your perfect, golden-topped feast, tag us on social media so I can see your beautiful work! That connection is what cooking is all about—sharing the flavor and the joy.
If you want to learn more about my philosophy on simple, flavor-first home cooking, you can always read a bit more about me over on the About Us page. Happy baking, and I can’t wait to read your notes!
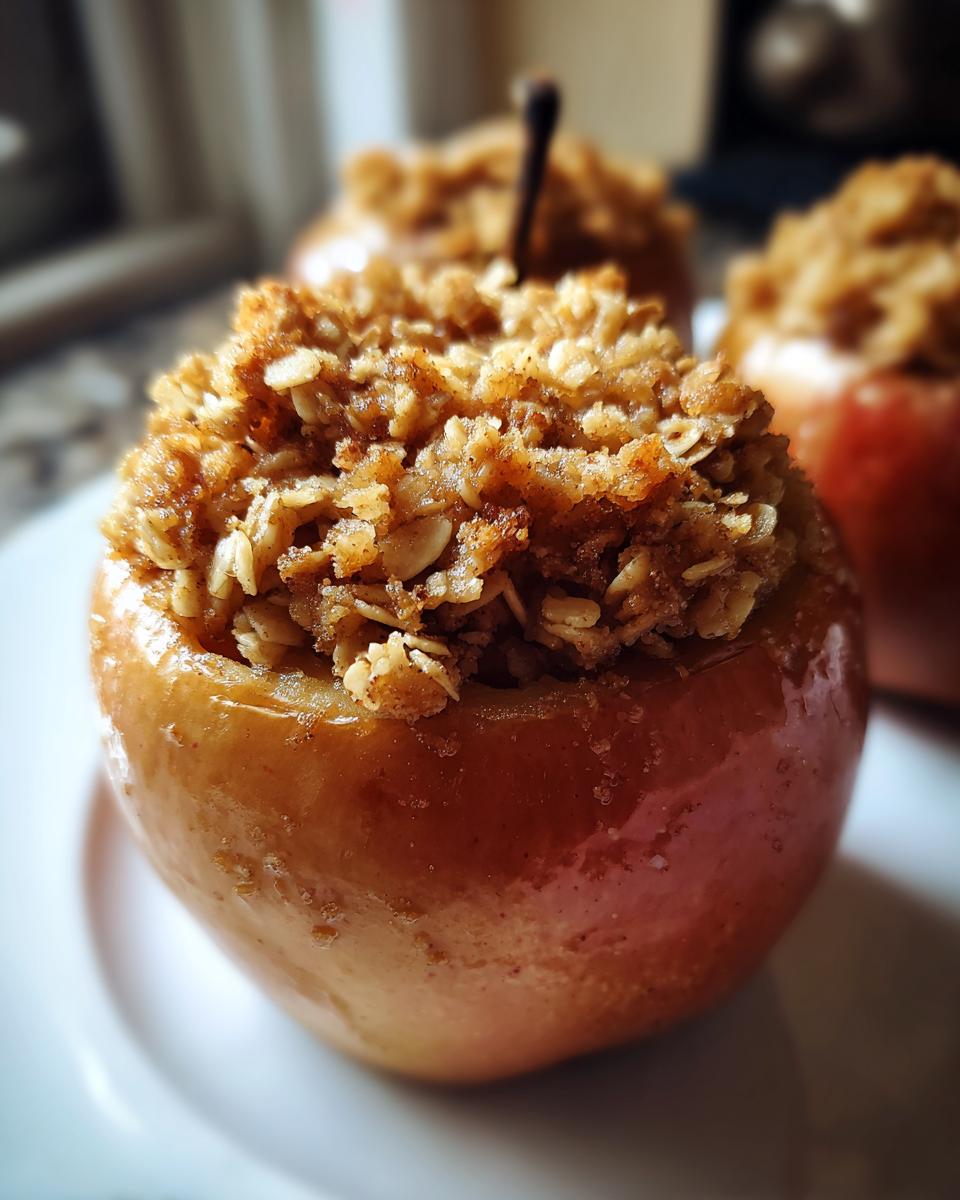
PrintStuffed Baked Apples with Cinnamon Oat Filling

Bake whole apples stuffed with a warm, spiced oat mixture. This simple recipe creates a comforting fall dessert or side dish.
- Prep Time: 15 min
- Cook Time: 45 min
- Total Time: 60 min
- Yield: 4 servings 1x
- Category: Dessert
- Method: Baking
- Cuisine: American
- Diet: Vegetarian
Ingredients
- 4 large firm apples (like Honeycrisp or Granny Smith)
- 1/2 cup rolled oats
- 1/4 cup packed brown sugar
- 2 tablespoons all-purpose flour
- 1 teaspoon ground cinnamon
- 1/4 teaspoon ground nutmeg
- Pinch of salt
- 4 tablespoons unsalted butter, cold and cut into small pieces
- 1/4 cup water
- 1 tablespoon lemon juice (optional, for serving)
Instructions
- Preheat your oven to 375 degrees Fahrenheit. Lightly grease an 8×8 inch baking dish.
- Prepare the apples: Wash the apples. Use a small knife or melon baller to carefully core the center of each apple, leaving the bottom intact to create a cup for the filling. Do not cut all the way through the bottom.
- Make the filling: In a medium bowl, combine the rolled oats, brown sugar, flour, cinnamon, nutmeg, and salt.
- Cut in the butter: Add the cold, cubed butter to the dry filling mixture. Use your fingers or a pastry blender to cut the butter into the mixture until it resembles coarse crumbs.
- Fill the apples: Divide the oat mixture evenly among the four cored apples, packing it gently into the center cavity.
- Bake: Place the stuffed apples into the prepared baking dish. Pour the 1/4 cup of water into the bottom of the dish around the apples.
- Bake for 35 to 45 minutes, or until the apples are tender when pierced with a fork and the topping is golden brown. Baste the apples with the liquid in the pan halfway through baking if they look dry.
- Serve warm. Drizzle with lemon juice if desired, or serve with vanilla ice cream or oatmeal.
Notes
- For a richer flavor, substitute 2 tablespoons of the brown sugar with maple syrup in the filling.
- If you prefer a softer apple, you can peel the apples before coring them.
- This recipe works well as a healthy baked apples side dish alongside pork chops.
Nutrition
- Serving Size: 1 apple
- Calories: 320
- Sugar: 35
- Sodium: 50
- Fat: 12
- Saturated Fat: 7
- Unsaturated Fat: 5
- Trans Fat: 0
- Carbohydrates: 55
- Fiber: 6
- Protein: 4
- Cholesterol: 30