
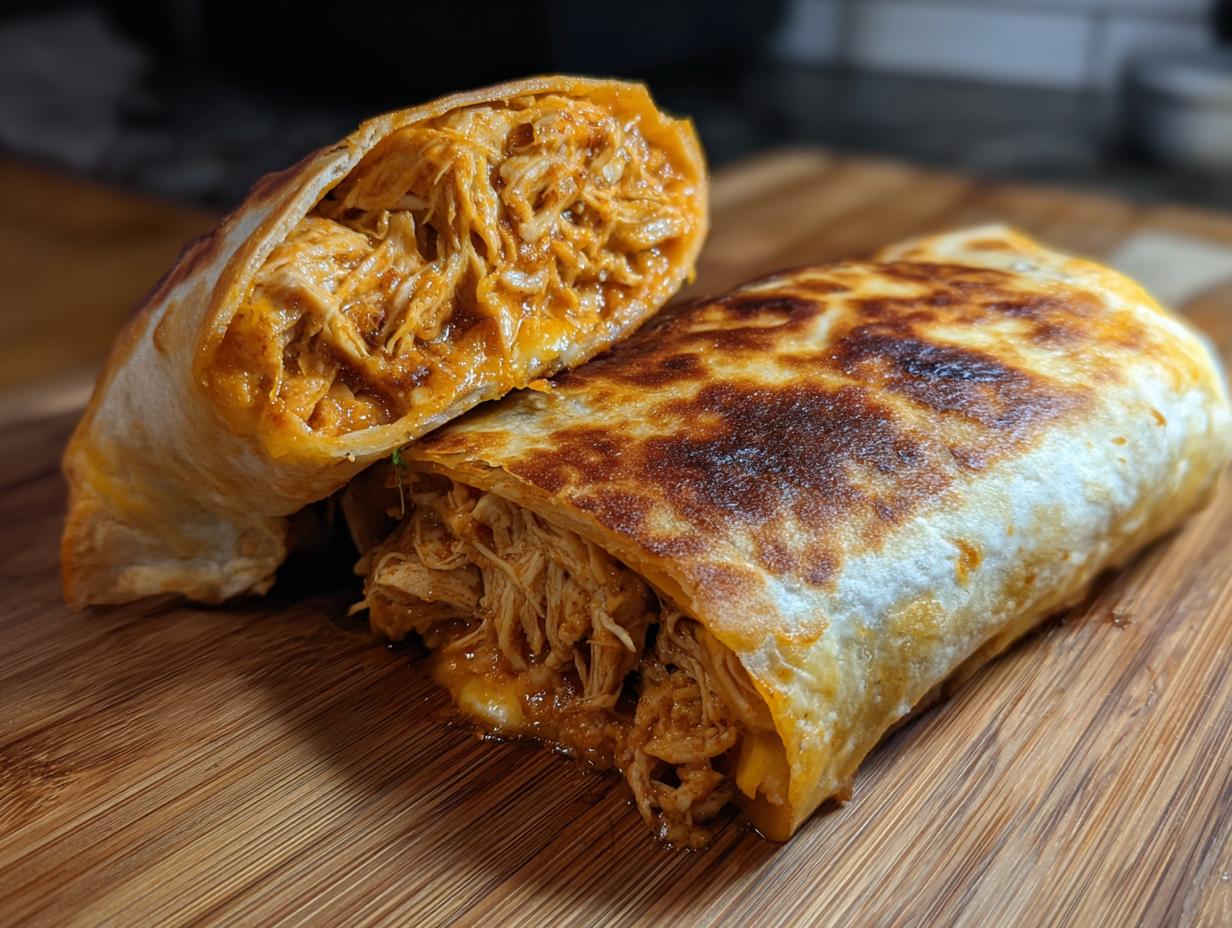
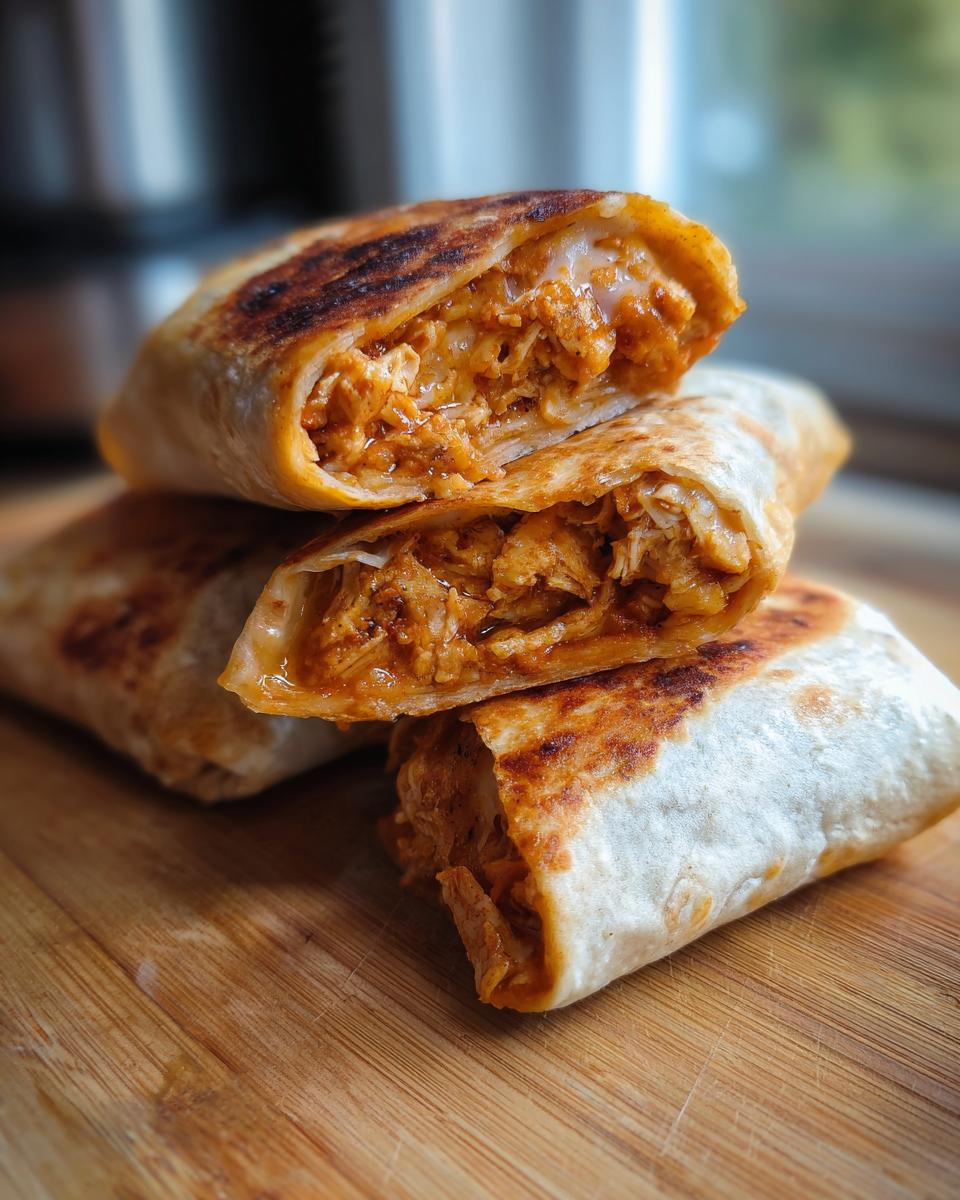
There’s just something about deep-fried—or, let’s be modern about it, air-fried—that makes food taste like a celebration, even if it’s Tuesday night! If you’re looking for that ultimate, satisfying crunch found in Mexican comfort food, you’ve landed in the right spot. Today, we’re diving headfirst into making the most incredible Crispy Air Fryer Chicken Chimichangas. These amazing little packages deliver that golden brown crust you crave without all the oil mess.
That’s the whole point here at Delish Symphony. I’m Mike, and I test every recipe to make sure it’s totally foolproof for busy people. You don’t need to be a professional chef to nail these flavorful Chimichangas; you just need a few simple steps to get that maximum crunch and perfectly seasoned chicken filling. Forget complicated takeout; this speedy dinner is about to become your new favorite!
- Why This Crispy Chicken Chimichangas Recipe Works for Weeknights
- Essential Ingredients for Flavorful Homemade Chimichangas
- Step-by-Step Instructions: How to Make Chimichangas
- Expert Tips for Perfect Crispy Chimichangas Every Time
- Serving Suggestions for Your Tex Mex Dinner Ideas
- Storage and Reheating Instructions for Leftover Chimichangas
- Frequently Asked Questions About Making Chimichangas
- Estimated Nutritional Data for Chicken Chimichangas
- Share Your Crispy Chimichangas Experience
Why This Crispy Chicken Chimichangas Recipe Works for Weeknights
When I was juggling my IT job and trying to get home-cooked Tex Mex Dinner Ideas on the table, speed was everything. This recipe is engineered to deliver big satisfaction in almost no time. It truly shines because it hits all the high notes you look for in comfort food without demanding hours of your evening.
- It’s seriously fast! We’re talking 15 minutes of prep and about 10 minutes in the air fryer.
- The texture is phenomenal—that crunch without the deep-fry mess.
- This is a fantastic, family-friendly way to get delicious Chimichangas made tonight.
Quick Assembly for Easy Chimichanga Recipe Success
You read that right—fifteen minutes prep! Honestly, most of that time is spent sautéing the onions and garlic before you toss in the cooked chicken. Because we’re using pre-cooked, shredded chicken, the heavy lifting is already done. It totally qualifies as a Quick Dinner Recipe. You mix the filling, wrap ’em up, and they’re ready to go. Ten minutes later, dinner is on the table!
Achieving Golden Brown Chimichangas Without Deep Frying
This is my favorite part about this specific Easy Chimichanga Recipe—the air fryer does all the hard work. We spray them lightly with cooking spray, and the air circulation gets them perfectly crisp. You get these beautiful Golden Brown Chimichangas that look totally fried, but they are so much lighter. It’s the best way to get true crunch for your Air Fryer Chimichangas!
Essential Ingredients for Flavorful Homemade Chimichangas
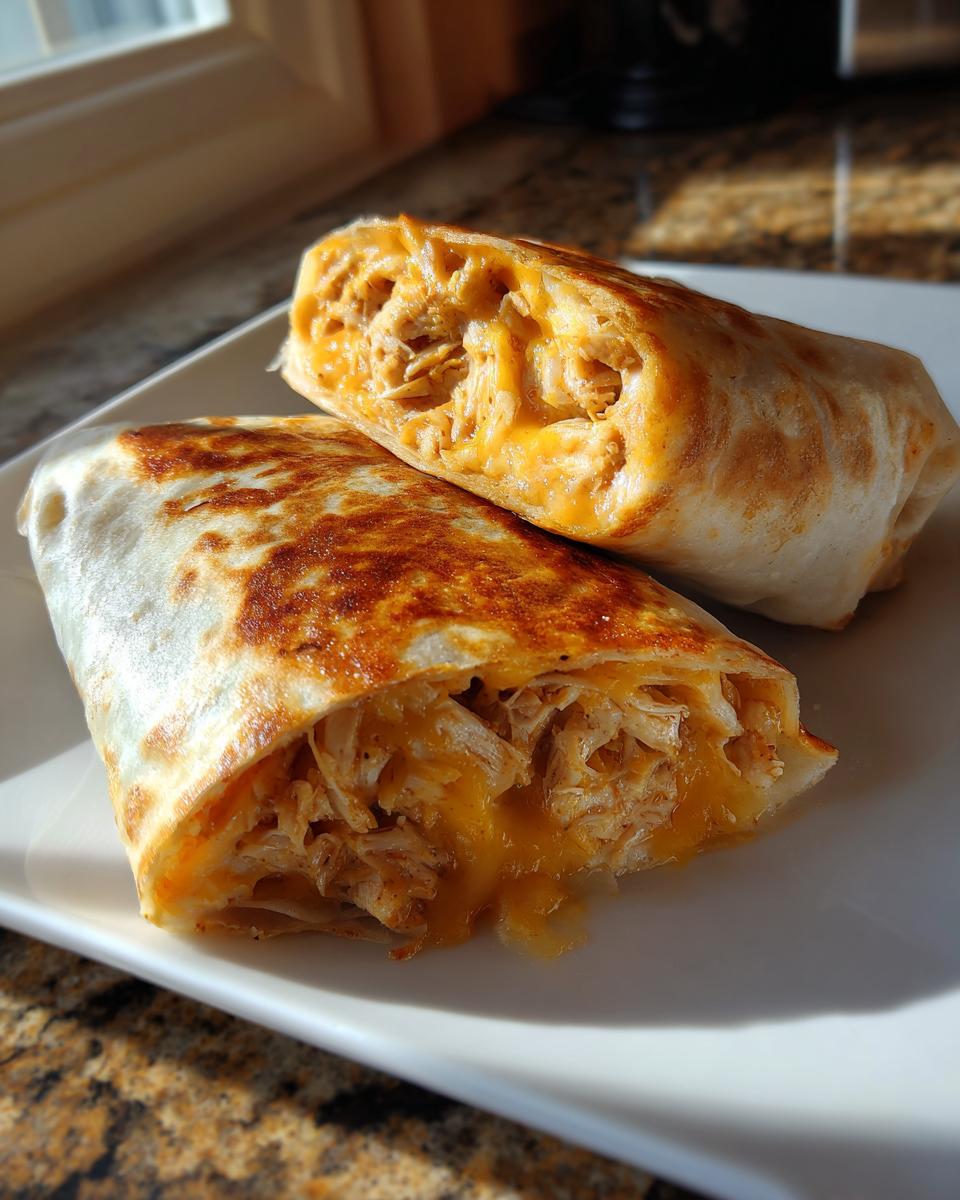
Okay, you can’t make amazing Homemade Chimichangas without starting with top-notch ingredients. When I develop these recipes, I focus on accessible things you already have or can grab easily on a quick run to the store. This filling is so savory, and the cheese melts beautifully, making for those perfect, gooey pockets inside. We aren’t making anything complicated here; it’s all about combining simple flavors perfectly. Seriously, the quality of your spices makes a huge difference in developing that rich Tex-Mex flavor profile we all love!
Here’s exactly what you need to pull this off. Remember, we’re focused on flavor harmony!
- 1 tablespoon olive oil
- 1 small onion, chopped
- 2 cloves garlic, minced
- 2 cups cooked, shredded chicken (grab a rotisserie chicken if you’re really short on time!)
- 1 teaspoon chili powder
- 1/2 teaspoon cumin
- 1/4 teaspoon dried oregano
- 1/2 cup chicken broth
- 1 cup shredded Monterey Jack cheese (or a Mexican blend)
- 8 medium flour tortillas (about 8 inches wide—don’t go too small!)
- Cooking spray
Ingredient Notes and Substitution Tips for Your Chimichangas
This filling is super forgiving, which is why I love it for quick meals. For the cheese, if you want those extra-gooey, ultra-Cheesy Chimichangas moments, sometimes I’ll mix in a couple of tablespoons of cream cheese right at the end with the Monterey Jack. It just makes the inside unbelievably creamy when it melts!
Now, about protein: if you don’t have chicken, ground beef works just as well. If you swap it over to Beef Chimichangas, just brown your pound of beef first in the pan before you add the onions, drain off any excess grease, and then proceed with the garlic and spices. It’s that easy. The broth helps soak up all the flavor bits leftover in the pan, so don’t skip that simmer step!
Step-by-Step Instructions: How to Make Chimichangas
This is where the magic happens! Once you have your simple ingredients ready, putting together what I consider the Best Chimichanga Filling is incredibly straightforward. I can whip this up while the kids are finishing their homework. The goal here is a filling that is flavorful but, and this is crucial for our crispy results, *not* watery. No one wants a soggy center!
Preparing the Chicken Chimichangas Filling
First things first, we need to infuse flavor. Heat your olive oil in a skillet over medium heat. You’re going to sauté that chopped onion until it gets nice and soft—about five minutes. Once they’re translucent, toss in your minced garlic, chili powder, cumin, and oregano. Let that cook only for about a minute until you can really smell those spices waking up; don’t actually burn the garlic, okay?
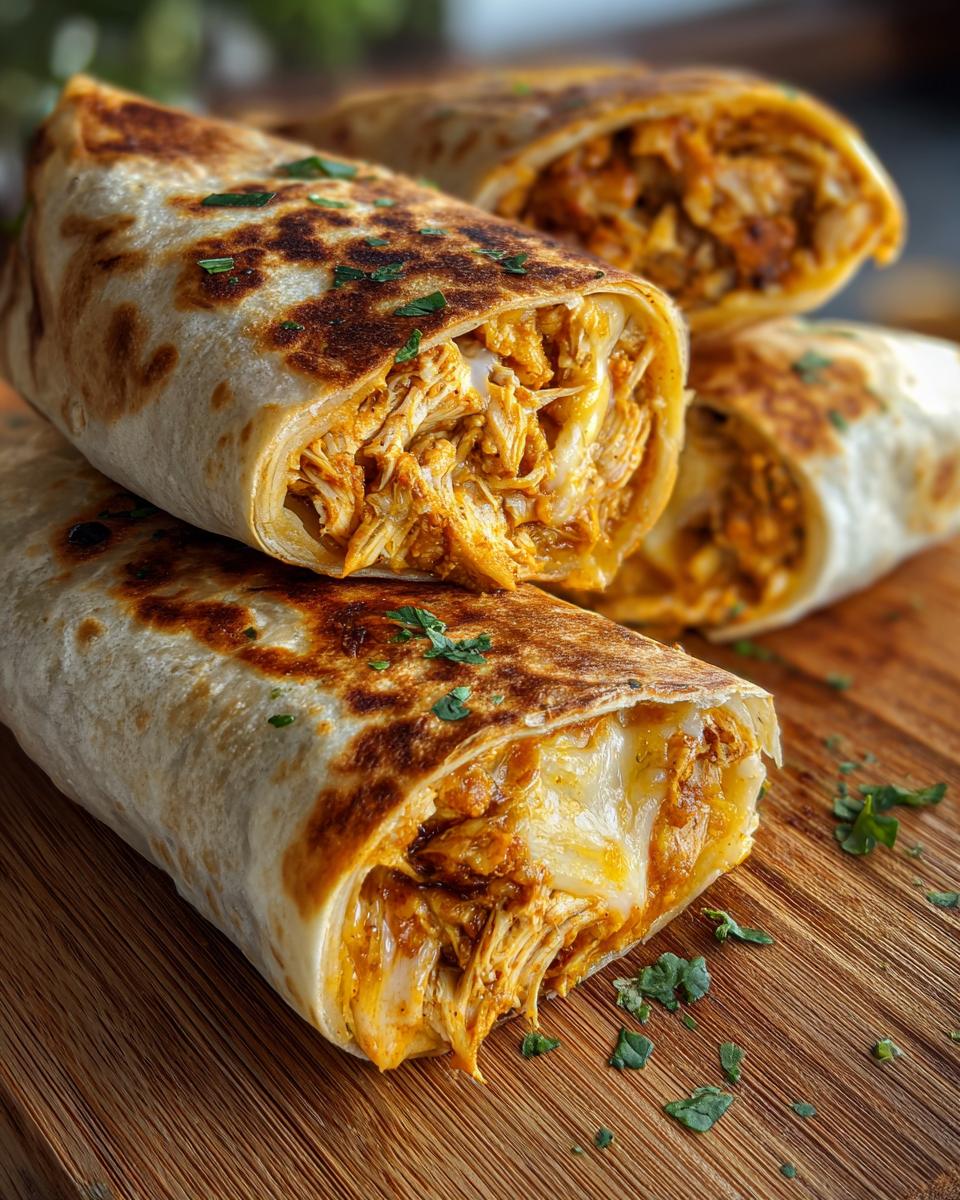
Next, add the shredded chicken and the chicken broth right into the pan. Now for the key part: you need to let this simmer gently for about five to seven minutes. The goal is to let that liquid evaporate almost completely. This step ensures your Homemade Chimichangas don’t steam themselves! Once the moisture is gone, take it off the heat and stir in that cup of shredded cheese until it’s totally melted and gooey around the chicken. That’s your stunning filling, ready to go!
Rolling and Sealing Your Homemade Chimichangas
Time to wrap things up! Lay one tortilla perfectly flat. Take about a quarter cup of that hot filling and place it just below the center line. Now, think neatness here: fold both sides of the tortilla inward, trapping the filling snugly in the middle. Once the sides are folded over, you tightly roll the tortilla up from the bottom, just like you’re rolling a burrito.
If you’re worried about them unrolling during cooking—and I use toothpicks often, especially when teaching new recipes—secure the seam with a toothpick or two. Just please, please, please remember those toothpicks before serving! Repeat this process until all your yummy Chimichangas are tightly tucked in.
Cooking Crispy Chimichangas in the Air Fryer
Here’s where the air fryer does its textural magic! You want to lightly spray both sides of each rolled Chimichanga with cooking spray. This helps achieve that deep golden color. Place them in the air fryer basket in a single layer—don’t crowd them, they need that space to crisp up!
Set your air fryer temperature to 380°F (195°C). Cook them for a total of 8 to 10 minutes, but you must remember to flip them halfway through cooking so that both sides get that beautiful crisp finish. When they come out, they should be perfectly rigid and deeply colored. That lovely crispness is exactly what we want from our Air Fryer Chimichangas!
Expert Tips for Perfect Crispy Chimichangas Every Time
Look, I love my air fryer—it’s a lifesaver on busy nights—but I know some of you want that deep, greasy, restaurant-quality crunch. That’s totally fair! If you don’t have an air fryer, or if you just feel like getting a little messy, you can absolutely still make fantastic Chimichangas using the classic pan-fry method. I want to make sure everyone gets a chance at this glorious Mexican Comfort Food!
The secret to either method, honestly, is making sure that tortilla surface is dry and lightly coated before it hits the heat. It’s that combination of dry surface and high heat that gives you that beautiful, brittle crunch we’re aiming for.
Alternative Frying Method for Traditional Chimichangas
If you are going the stovetop route to nail that Authentic Chimichanga Style, you need a decent sized skillet. You’ll be using about a half-inch of vegetable oil—don’t skimp, but you don’t need to deep-fry them completely submerged either. Get that oil heated up over medium-high heat. You’ll know it’s ready when a tiny piece of tortilla dropped in sizzles immediately.
Carefully place your rolled Chimichangas into the hot oil, but only cook two at a time so you don’t drop the oil temperature too much. Fry them for about two to three minutes per side. Keep an eye on them because they brown fast! After they turn that perfect golden brown, pull them out immediately and let them drain on a plate lined with paper towels. Blotting them helps keep that crunch intact because it removes the excess oil right away.
Serving Suggestions for Your Tex Mex Dinner Ideas
You’ve made the crunchy dream! Now, what about the supporting cast? These Tex Mex Dinner Ideas need great toppings to balance that salty, cheesy chicken. My absolute favorite combination is a dollop of cool sour cream, some fresh pico de gallo, and a big squeeze of lime. If possible, make a batch of chunky guacamole—it goes perfectly with the chicken filling.
For a heartier meal, serve them alongside some cilantro lime rice or maybe some simple black beans. If you made my homemade salsa, now is the time to break that out! Don’t forget to take a picture before you dig in!
Storage and Reheating Instructions for Leftover Chimichangas
It’s rare in my house that we have leftovers, because these Chimichangas disappear so fast, but if you’re lucky enough to snag one for lunch the next day, we absolutely need to talk about preserving that crunch!
First, make sure they are fully cooled down before you even think about storing them. If you put warm food into a sealed container, you are basically guaranteeing a soggy tortilla the next morning. Once cool, wrap them individually tightly in plastic wrap, and then pop them into a freezer-safe bag or airtight container. They keep great like this in the fridge for about three to four days.
Reheating for Maximum Crispness
If you fried your Chimichangas, the microwave is your absolute enemy here! It will turn that beautiful crust instantly soft. For the best results, whether you air-fried or pan-fried them originally, you need dry heat for reheating.
The toaster oven is fantastic for one or two leftovers—just a few minutes at 350°F until they are hot through. But honestly, the air fryer is the champion for reheating. Set it to about 350°F (175°C) for just 4 to 6 minutes. Because they are already cooked, you are just heating them through and reactivating that crispy exterior. They come out tasting nearly as good as when they were first made. This is how you save your Homemade Chimichangas!
Frequently Asked Questions About Making Chimichangas
I always get a ton of questions when people try these amazing Chimichangas for the first time! It’s natural, right? You want that perfect texture and the right flavor balance. I’ve gathered some of the most common things people ask me about switching up the recipe or perfecting the classic method. Hopefully, this clears everything up so you can get cooking!
Can I use ground beef instead of chicken in this Chimichanga Recipe?
Yes, you absolutely can! In fact, many people prefer Beef Chimichangas, and this filling base handles it beautifully. The only tiny change you need to make is replacing Step 3 slightly. Instead of adding pre-cooked chicken, you cook your ground beef right there in the pan until it’s totally browned and crumbly. Make sure you drain off any significant grease after browning—we want flavor, not excess oil pooling in the bottom when we add the broth. Then, proceed with adding the broth and spices as written; it’s going to be delicious!
What is the difference between a chimichanga and a burrito?
This is the classic confusion, and it’s a great question! The easiest way to separate them is by the finish. A burrito is usually served soft, steamed, or warmed, just wrapped up nicely. A Chimichanga, on the other hand, is essentially a deep-fried (or, in our case, air-fried) burrito. The frying process makes the tortilla shatteringly crispy and golden brown. So, if it’s crispy, it’s a chimichanga; if it’s soft, it’s a burrito. That simple difference in preparation totally changes the texture experience!
Can I make these ahead of time and freeze them?
You totally can! Since we’re aiming for that fantastic crunch, assembly is key. Roll your Homemade Chimichangas tightly and secure them with a toothpick, just like in the steps above. Lay them on a baking sheet just like that, making sure they aren’t touching. Pop the whole sheet into the freezer until they’re solid—this prevents them from sticking together. Then, transfer them to a heavy-duty freezer bag. When you want to cook them later, you can cook them directly from frozen in the air fryer; just add about 5 to 7 minutes to the cooking time listed in the main recipe!
Estimated Nutritional Data for Chicken Chimichangas
Okay, let’s talk numbers for a second. I know some of you are tracking macros or are just curious! Providing nutritional information is one of those ways I try to be transparent and build trust—after all, you need to know why I think these are a worthy addition to your routine. These figures below are calculated based on the serving size of two air-fried Chimichangas using the exact ingredients listed in the recipe.
But here’s my standard home-cook disclaimer: these are just estimates, plain and simple. If you end up deep-frying these instead of air frying, your fat content is going to jump up noticeably! Also, if you decide to load them up with extra sour cream or my favorite chunky guacamole, the final count will change. Just keep that in mind as you look at the breakdown:
- Serving Size: 2 chimichangas
- Calories: 450
- Fat: 20g
- Saturated Fat: 7g
- Carbohydrates: 45g
- Protein: 25g
- Sugar: 3g
- Sodium: 650mg
For being such a satisfying Mexican Comfort Food bomb, getting 25 grams of protein for only 450 calories is a pretty fantastic ratio, especially using the air fryer method we used here. It makes these Chicken Chimichangas a perfect centerpiece for a family dinner without completely derailing the week!
Share Your Crispy Chimichangas Experience
Well, friend, now you have everything you need to make these amazing, speedy, crispy Chicken Chimichangas right in your own kitchen. I truly hope they bring that wonderful Tex-Mex comfort feeling to your table tonight, just like they do in mine!
When you finally get that perfect golden brown exterior and taste that cheesy, savory filling, I want to hear all about it! Seriously, my favorite part of running this site is connecting with you all and seeing my recipes in your homes. Did you stick to the air fryer, or did you risk the oil and go full traditional fry? Did you load them up with sour cream?
Please drop a comment below and let me know how your batch turned out. If you snapped a picture of your plate—maybe next to a bowl of my homemade salsa—tag me on social media! I love seeing your results, and user feedback helps me know that this recipe works just as well for you as it does for me in my kitchen. If you tried this out, I’d love for you to give it a star rating at the top of the post, too. And if you loved this chicken version, check out another great recipe idea from one of my food-loving friends over at Home Cooked Bliss!
Happy cooking, and I’ll catch you on the next symphony!
PrintCrispy Air Fryer Chicken Chimichangas

Make crispy, flavorful chicken chimichangas quickly using your air fryer. This recipe delivers a satisfying Tex-Mex meal perfect for weeknight dinners.
- Prep Time: 15 min
- Cook Time: 10 min
- Total Time: 25 min
- Yield: 4 servings 1x
- Category: Dinner
- Method: Air Frying
- Cuisine: Tex-Mex
- Diet: Vegetarian
Ingredients
- 1 tablespoon olive oil
- 1 small onion, chopped
- 2 cloves garlic, minced
- 2 cups cooked, shredded chicken
- 1 teaspoon chili powder
- 1/2 teaspoon cumin
- 1/4 teaspoon dried oregano
- 1/2 cup chicken broth
- 1 cup shredded Monterey Jack cheese
- 8 medium flour tortillas (about 8 inches)
- Cooking spray
Instructions
- Heat olive oil in a skillet over medium heat. Add onion and cook until soft, about 5 minutes.
- Add garlic, chili powder, cumin, and oregano. Cook for 1 minute until fragrant.
- Add shredded chicken and chicken broth to the skillet. Simmer until most of the liquid evaporates, about 5-7 minutes. Remove from heat and stir in the shredded cheese until melted. This is your filling.
- Lay a tortilla flat. Place about 1/4 cup of the chicken filling slightly below the center. Fold the sides of the tortilla inward over the filling.
- Tightly roll the tortilla up from the bottom, creating a sealed package. Secure with a toothpick if necessary. Repeat with remaining tortillas and filling.
- Lightly spray both sides of each rolled chimichanga with cooking spray.
- Place the chimichangas in the air fryer basket in a single layer, ensuring they do not touch.
- Air fry at 380°F (195°C) for 8 to 10 minutes, flipping halfway through, until they are golden brown and crispy.
- Carefully remove toothpicks before serving. Serve immediately with your favorite toppings.
Notes
- For a pan-fried version, heat 1/2 inch of vegetable oil in a skillet over medium-high heat and fry chimichangas for 2-3 minutes per side until golden brown. Drain on paper towels.
- You can substitute ground beef for chicken, cooking it with the seasonings until browned before adding broth.
- Use cream cheese or a splash of heavy cream in the filling for extra creaminess.
Nutrition
- Serving Size: 2 chimichangas
- Calories: 450
- Sugar: 3
- Sodium: 650
- Fat: 20
- Saturated Fat: 7
- Unsaturated Fat: 13
- Trans Fat: 0
- Carbohydrates: 45
- Fiber: 3
- Protein: 25
- Cholesterol: 75