
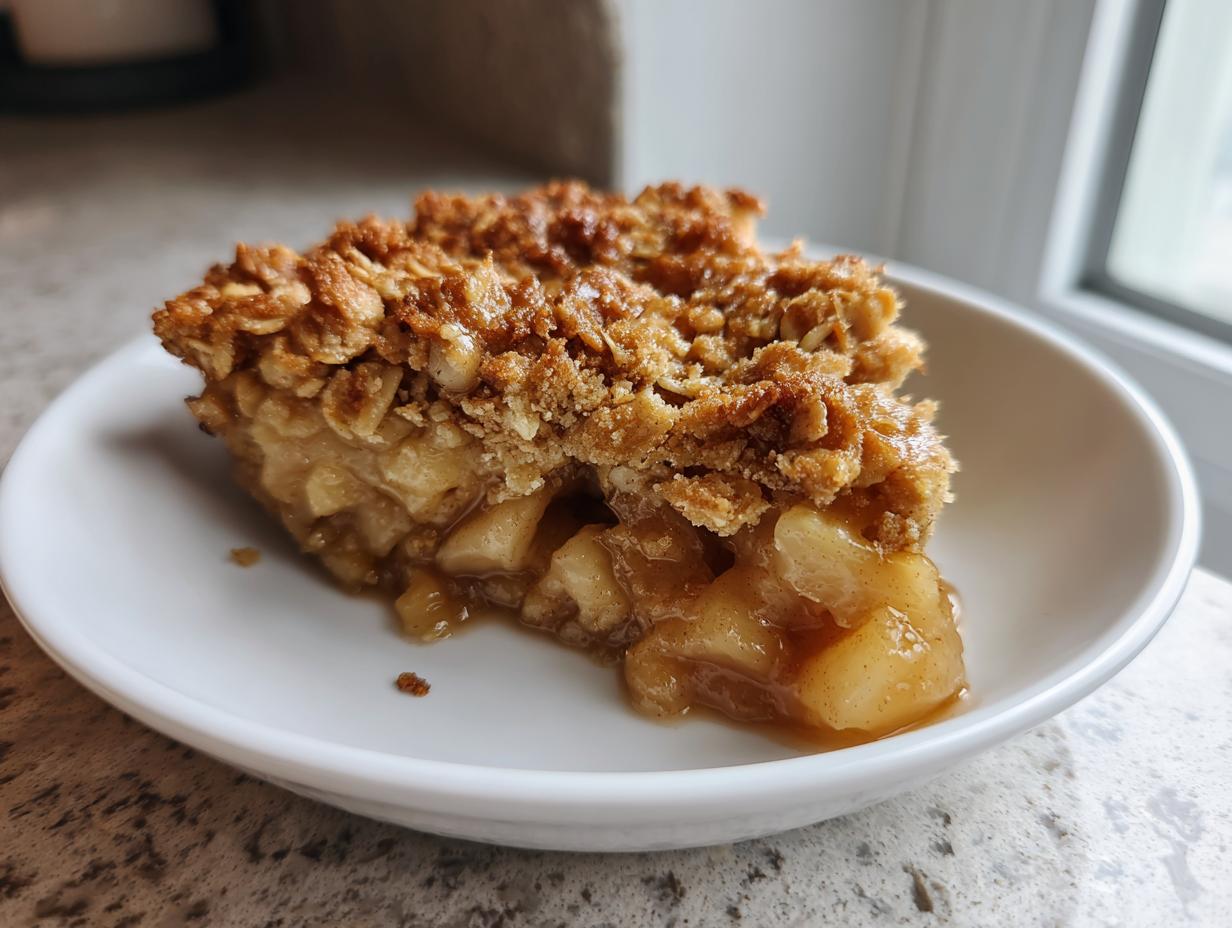
When the air gets that first crisp bite and the leaves start turning gold, my mind immediately goes to comfort food. No symphony of flavors sings louder in my kitchen than a steaming dish of apple crisp fresh from the oven. Forget the fussy pies; this dessert is pure harmony in a baking dish. I’m talking about tender, cinnamon-spiced apples tucked under a perfectly buttery, gloriously crunchy oat topping. Trust me, finding this balance—this simple, satisfying rhythm—is what makes the simplest baking feel spectacular. This is The Ultimate Easy & Cozy apple crisp, and it’s about to become your new favorite fall ritual.
If you want to see the full process for this amazing dessert, check out the finished recipe steps here: the classic apple crisp recipe.
- Why This is the Best Apple Crisp Recipe You Will Ever Make
- Ingredients for Your Classic Apple Crisp
- How to Prepare This Quick Apple Crisp Recipe
- Tips for the Most Flavorful Homemade Apple Crisp
- Serving Suggestions for Your Warm Apple Dessert
- Storage and Reheating the apple crisp
- Frequently Asked Questions About Making Apple Crisp
- Estimated Nutritional Data for This Cozy Apple Crisp Dessert
- Share Your Experience with This Apple Crisp
Why This is the Best Apple Crisp Recipe You Will Ever Make
I know everyone claims they have the Best Apple Crisp recipe, but stick with me here. When I developed this one, I focused on eliminating the mushy filling and soggy topping that plagues so many attempts at this Easy Apple Crisp Recipe. This isn’t just throwing things together; it’s about timing the ingredients so every bite sings a perfect chord of texture and warmth.
It’s fast—seriously, 15 minutes prep time—but it tastes like you spent all afternoon lovingly nurturing it. That’s the harmony I aim for in my kitchen: maximum payoff for minimum effort.
Achieving the Perfect Crunchy Apple Topping
That topping is everything, right? If you’re going to make this crunchy oat topping, it has to deliver a satisfying crunch, not just flop sadly onto the apples. The secret here lies in the cold butter. When you cut that cold butter into the brown sugar, oats, and flour, those little pieces don’t fully incorporate. When they bake, those pieces melt into pools of golden, buttery deliciousness, creating that incredible, uneven crunch.
Tender, Cinnamon Apple Crisp Filling
For the filling, forget the mealy apples! I use a 50/50 split between tart Granny Smith and sweeter Honeycrisp. This gives you structure and maximum flavor complexity. The lemon juice is crucial, too—it brightens up the whole dish and stops the cinnamon apple crisp filling from tasting flat or too sweet. When you pull that dish out, you want the apples soft enough to slice with a spoon, but still holding their shape firmly.
If you’re looking for another simple baked fruit dessert that hits all the right cozy notes, you should definitely check out my recipe for rhubarb crisp, too! It uses the same topping philosophy.
Ingredients for Your Classic Apple Crisp
When we talk about harmony in cooking, the right ingredients are our foundational notes. For this classic apple crisp, I keep things straightforward—nothing fancy, just quality components that do their job well. You’ll notice I’m very specific about *how* things are prepped; that clarity is how we ditch the pressure and guarantee success every time. If you’re perfecting your apple pie filling flavors, you might find some overlap here, but this apple crisp is all about that amazing topping!
You can see a full breakdown of the required items in the recipe card, but here is how I organize them in my head when I’m pulling ingredients for this simple baked apple dessert:
For the Apple Filling
- 6 medium baking apples (I use a mix of Granny Smith or Honeycrisp, peeled, cored, and sliced about 1/4-inch thick—it’s crucial they are sliced consistently!)
- 1/4 cup granulated sugar
- 1 tablespoon all-purpose flour (this helps thicken the juices)
- 1 teaspoon ground cinnamon (the warming heart of the dish)
- 1 tablespoon lemon juice (don’t skip this, it brightens everything up!)
For the Buttery Oat Topping
This is the powerhouse section! Because we need that perfect crunch, you must make sure these elements are well-chilled before you combine them.
- 1/2 cup all-purpose flour
- 1/2 cup packed brown sugar (packed tightly, please!)
- 1/2 cup old-fashioned rolled oats (not instant, they won’t give you that structure)
- 1/4 teaspoon ground cinnamon (just a whisper more spice here)
- 1/4 teaspoon salt
- 1/2 cup (1 full stick) cold unsalted butter, cut into small pieces
Remember, those small pieces of cold butter are the absolute key to getting that famous, crunchy apple topping. If your butter is soft, the topping will turn into a greasy paste instead of beautiful golden crumbs. Keep it cold, keep it chunky!
If you want to look up how to make a fantastic stovetop filling ahead of time for comparison, that recipe is here, but honestly, keeping the apple crisp filling right in the baking dish keeps the cleanup simple.
How to Prepare This Quick Apple Crisp Recipe
This is where the magic happens, and I promise you, this Quick Apple Crisp Recipe is designed for speed without sacrificing that cozy, homemade feeling. We’re moving fast, but deliberately. The entire prep time is just 15 minutes before it heads into the oven to do the heavy lifting. A reminder to preheat your oven to 375 degrees Fahrenheit while you gather your bowls!
Preparing the Apple Base and Dish
First things first: lightly grease that 8×8 inch baking dish. You want to make sure the apples have an easy escape route later on! In a large bowl—and I mean large because those apples take up space—toss your sliced apples with the granulated sugar, the small amount of flour, that teaspoon of cinnamon, and the lemon juice. Toss it gently with a spatula. We aren’t bruising the fruit here; we are just coating them evenly in their sweet, spiced bath.
Making the Buttery Apple Crisp with Oat Topping
Now, switch bowls for the topping. Whisk together the topping flour, brown sugar, oats, salt, and that extra bit of cinnamon. This is the critical moment for the texture! Add those cubes of cold butter. You need to cut that butter in either with a pastry blender or, my favorite, just use your fingertips. Work quickly so the butter stays cold. Stop mixing when you have coarse crumbs—some pieces should be the size of small peas. This is what creates that glorious Buttery Apple Crumble finish.
Baking and Resting the apple crisp
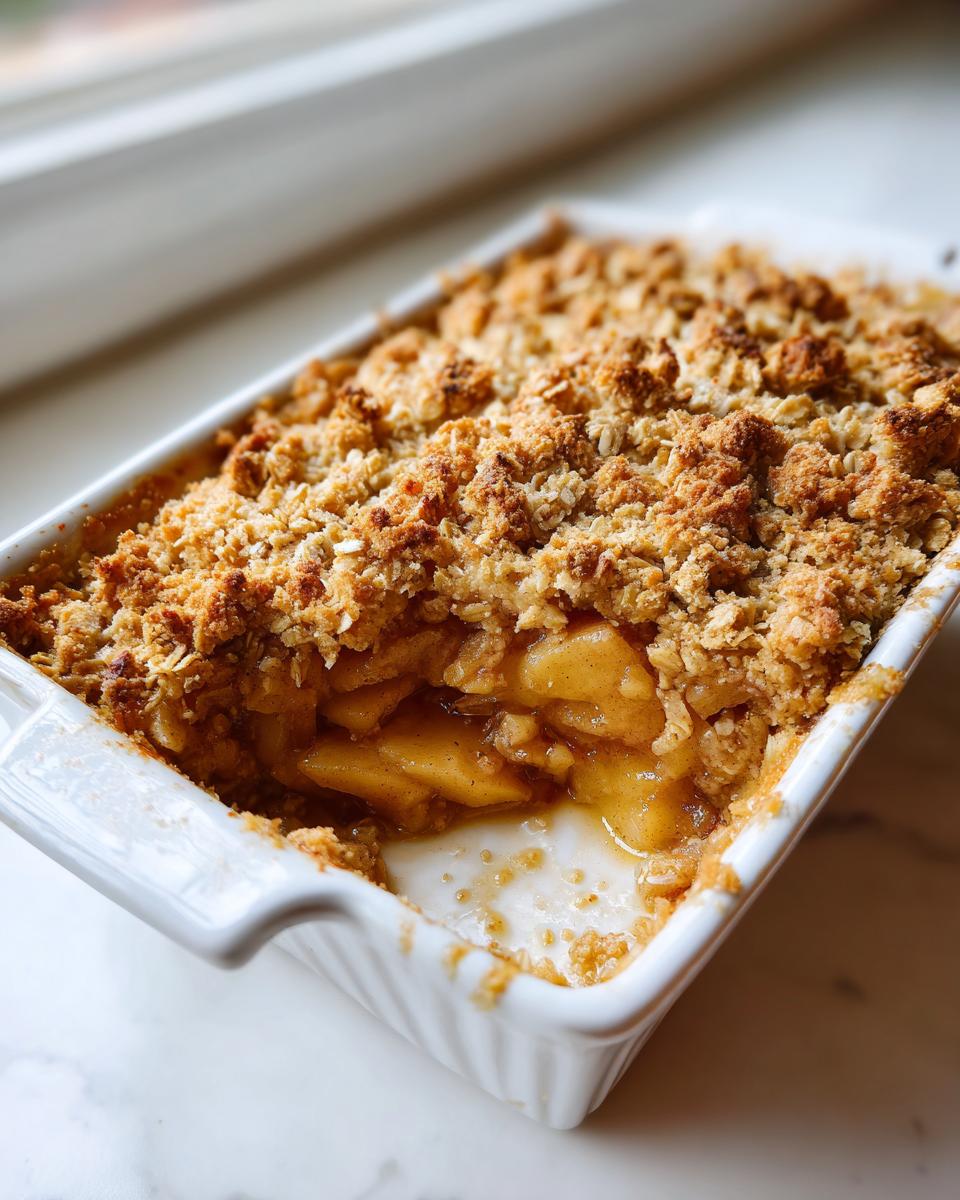
Spread the apple mixture into your prepared dish first, then sprinkle that crumbly topping evenly over the top. You bake this for about 40 to 45 minutes. Look for the topping to turn a deep, golden brown and see those apple juices aggressively bubbling up around the sides. That’s your sign it’s done! But here is my pro tip for a perfect texture: let it rest for a full 15 minutes on a wire rack after it comes out. This cooling time lets those juices thicken up so you don’t have soup instead of a set filling!
If you’re busy during the week, checking out my guide on easy fall baking methods might give you more quick ideas for desserts just like this!
Tips for the Most Flavorful Homemade Apple Crisp
Getting a truly spectacular Homemade Apple Crisp isn’t just about following the steps; it’s about understanding the *why* behind them. I’ve tested this recipe dozens of times, swapping out ingredients and changing temperatures, just to lock in that perfect harmony for you. If you want to graduate from a good dessert to a legendary one, pay close attention to these details. This is where we elevate the simple dish into something worthy of a holiday table!
Apple Selection for the Best Apple Crisp
The single biggest heartbreak in making any baked apple dessert is ending up with apple soup instead of tender fruit. You need apples that hold their structure under high heat. That’s why I rely heavily on Granny Smith—they bring a necessary tartness that cuts through the sweetness of that brown sugar topping, and they are absolute tanks in the oven; they just don’t turn mushy. If you want a slightly sweeter flavor profile, mix your Granny Smiths with Honeycrisp or Fuji.
My personal favorite for an Old Fashioned Apple Crisp flavor is two-thirds Granny Smith and one-third Honeycrisp. The blend gives you structure, tartness, and that wonderful initial sweet note. If you’re using a softer apple, you might need to briefly sauté them or slightly increase the flour in the filling to absorb extra moisture, but generally, stick to the firm ones!
Techniques for a Superior Crunchy Apple Topping
We talked about cold butter, but let’s really emphasize this one point: do not over-mix the topping. When you’re cutting the butter into the dry ingredients, stop as soon as the majority of the mixture looks like coarse meal with distinct pea-sized chunks of butter still visible. If you keep mixing until it’s smooth and sandy, you’ve basically made a stress ball instead of a crumble.
Those little pockets of butter are what steam in the oven and create craters of pure, buttery crunch. If you see it melting too fast while you mix because your hands are warm, just pop the bowl into the freezer for five minutes before topping the apples. That insurance policy guarantees you get that satisfying, Crunchy Apple Topping every single time you pull this apple crisp out. If you like adding nuts, tossing some chopped pecans here would pair beautifully, similar to how I use them in my candied pecans recipe.
Serving Suggestions for Your Warm Apple Dessert
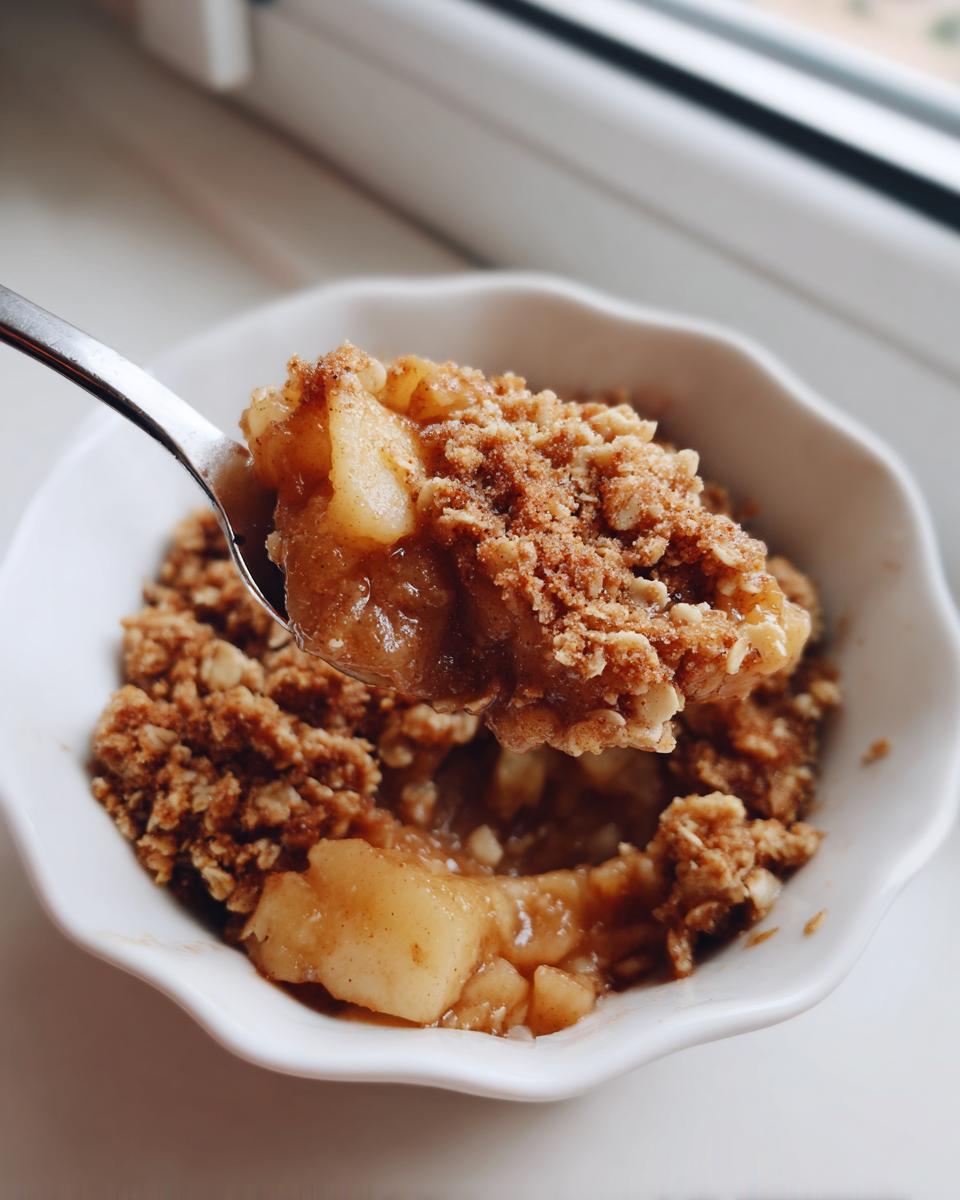
I swear, eating this Warm Apple Dessert straight out of the oven with a spoon feels a little bit like cheating—it’s just too good to wait! But to truly complete the symphony of flavors and textures, you need the perfect partner for this apple crisp. For me, there is only one way to serve it, especially when I’ve just pulled that golden dish out.
You absolutely must—and I mean, absolutely must—serve it warm with a generous scoop of vanilla ice cream. It’s the ultimate pairing, the way it’s meant to be enjoyed for the perfect Comfort Food Dessert experience. That cold, creamy vanilla melting down into the hot, spiced apples and soaking into the crunchy oat topping? That contrast between hot and cold is what brings this whole dish into beautiful focus. It’s just heaven.
If you’re making a big batch for a family gathering, sometimes ice cream melts too fast, so I have a tip for you! If you’re after something a little richer but want to keep it cool, a dollop of slightly sweetened whipped cream works wonders. If you have my recipe for amazing fluffy vanilla frosting, you can even lighten that up with a little milk to create a smooth, drizzle-able sauce that tastes incredible over the warm fruit.
But honestly, if you haven’t tried this Apple Crisp with Ice Cream yet, you’re missing the main movement in this recipe. Don’t hold back!
Storage and Reheating the apple crisp
Okay, let’s talk about leftovers, because let’s be real—sometimes there are leftovers, even though this apple crisp disappears fast! Storing your delicious creation properly is key to making sure that next-day slice is just as satisfying as the first. You want to preserve the integrity of that amazing topping, right? We don’t want a soggy mess tomorrow.
I always let the apple crisp cool completely to room temperature before I even think about covering it. If you cover it while it’s warm, you trap steam, and that steam is the enemy of a crunchy topping. Once it’s totally cool, cover the baking dish tightly with plastic wrap or transfer the leftovers into an airtight container. Stored this way on the counter (if you plan to eat it within 24 hours) or in the fridge, this homemade apple crisp holds up beautifully for about three to four days.
Reheating for Maximum Crunch
Here’s where we revive the symphony! If you try to reheat this in the microwave, you’ll get the warm apples, sure, but the topping will turn soft and chewy. It’s okay in a pinch, but it’s not the harmony we’re aiming for.
For the best results, use the oven or an air fryer. Pop a serving (or the whole dish, if you’re sharing later) back into a 350-degree oven for about 10 minutes. If you’re just reheating a single portion, five minutes usually does the trick. If the topping looks a little sad after resting in the fridge, you can sprinkle a tiny pinch of raw oats and sugar over the top of the portion before reheating to give it a fresh boost of texture!
If you’re planning your next seasonal bake, you might want to check out my recipe for winter fruit salad. It uses some similar warm spices and makes a wonderful bright contrast to the deep, cozy flavors of this apple crisp.
Frequently Asked Questions About Making Apple Crisp
It’s natural to have questions when you’re aiming for perfection in something as fundamental as an apple crisp. I’ve gathered the most common queries I get from folks trying this recipe for the first time. Making great Comfort Food Desserts is about having confidence, and knowing these little tricks builds that confidence right up!
Can I use different fruits in this apple crisp recipe?
Yes, you absolutely can experiment around a bit! While this recipe is calibrated perfectly for apples—it’s The Ultimate Easy & Cozy apple crisp, after all—the filling base is quite versatile. Pears work beautifully alongside apples, or you can swap out half the apples for firm plums or even firm peaches if they are in season. If you use softer fruits like berries, you might want to increase the flour in the apple filling mix slightly, just to help absorb any extra liquid they release. But if you’re looking for that classic flavor, stick to the apples!
What is the difference between apple crisp and apple crumble?
This is a fun one that gets debated at every potluck! Traditionally, an apple crisp includes oats in the topping, which gives it that signature slightly rougher, heartier texture—our glorious crunchiness! An apple crumble, on the other hand, usually has a topping made strictly from butter, flour, and sugar, making it smoother, more like a shortbread or streusel. Since we are aiming for that satisfying texture, calling ours an apple crisp is spot on, but if you leave the oats out, you’ve essentially got a lovely Buttery Apple Crumble topping!
How do I prevent the apple crisp topping from burning before the apples are done?
This is a great catch! Sometimes the sugars in the topping caramelize faster than the apples soften, especially if your oven runs hot. The fix is simple and classic: protection! About 10 minutes before you think the apple crisp is done (when the topping looks golden but you still hear the filling bubbling gently), just grab a piece of aluminum foil and loosely tent it over the top of the dish. Don’t press it down tight; you just want to shield the top from direct heat while the middle finishes cooking through. Pull the foil off for the last minute or two if you need an extra blast of color on that crunchy oat topping.
If you need help whipping up other quick sides or dips while your dessert is baking—maybe for a gathering—my recipe for creamy dill dip is surprisingly quick!
Estimated Nutritional Data for This Cozy Apple Crisp Dessert
Now, I always like to be upfront about what we’re consuming when we create such an indulgent dish. While my focus is always on making the most flavorful, comforting food, it’s good practice to know what we’re working with. Remember, this is just an estimate based on the ingredients listed in the recipe—your apple size, how much sugar you really pack in, or if you add extra butter will shift these numbers slightly! But this data gives you a very clear picture of the harmony we’ve created here.
This wonderful apple crisp gives you a satisfying serving that truly embodies the best of Fall Apple Dessert flavors without too many surprises. Here’s the breakdown, per serving, based on our 6-serving yield, which includes that delicious, buttery topping:
- Serving Size: 1 serving
- Calories: 380
- Total Fat: 20g (with 12g Saturated Fat)
- Carbohydrates: 50g
- Total Sugar: 35g
- Protein: 4g
It’s a dessert, so we expect a little indulgence, and 35 grams of sugar helps give you that deep caramel flavor we were aiming for with the brown sugar! This recipe feels incredibly satisfying because of that nice balance of fat and fiber, which helps you feel full sooner. It’s definitely balanced enough to serve after a big family dinner.
If you’re looking for another super simple, surprisingly streamlined treat, you should check out my recipe for easy 5-ingredient almond joy cookies. Sometimes you just need something quick that doesn’t require a fruit filling!
Share Your Experience with This Apple Crisp
And there you have it—the blueprint for what I genuinely believe is the most harmonious, perfectly textured, and incredibly easy apple crisp you’ll ever bake. Getting that buttery, golden topping to cooperate every single time is such a win, isn’t it? It’s the centerpiece of my collection of delicious dessert recipes for a reason!
Now that you’ve experienced The Ultimate Easy & Cozy Apple Crisp, I really, truly want to hear what you think! Did the cinnamon hit just right? Did your topping achieve peak crunchiness? Don’t keep that feedback to yourself! Knowing how this recipe performs in your oven—whether you’re making it for a quiet Tuesday night or a big family get-together—helps me keep the symphony playing sweet tunes.
Please take a moment to leave a rating right below this section. And more importantly, drop a comment and tell me about your baking journey! If you snapped a picture of that beautiful, bubbling Fall Apple Dessert, tag me on social media so I can see your creation. I love seeing how you bring these simple recipes to life in your own kitchens.
If you tried this recipe and loved how simple it was, maybe check out how another happy cook enjoyed theirs over at The Recipe Factory, and then come right back here and tell me what you thought of ours by comparison. Happy baking, friends. I hope this apple crisp brings you all the cozy comfort this season!
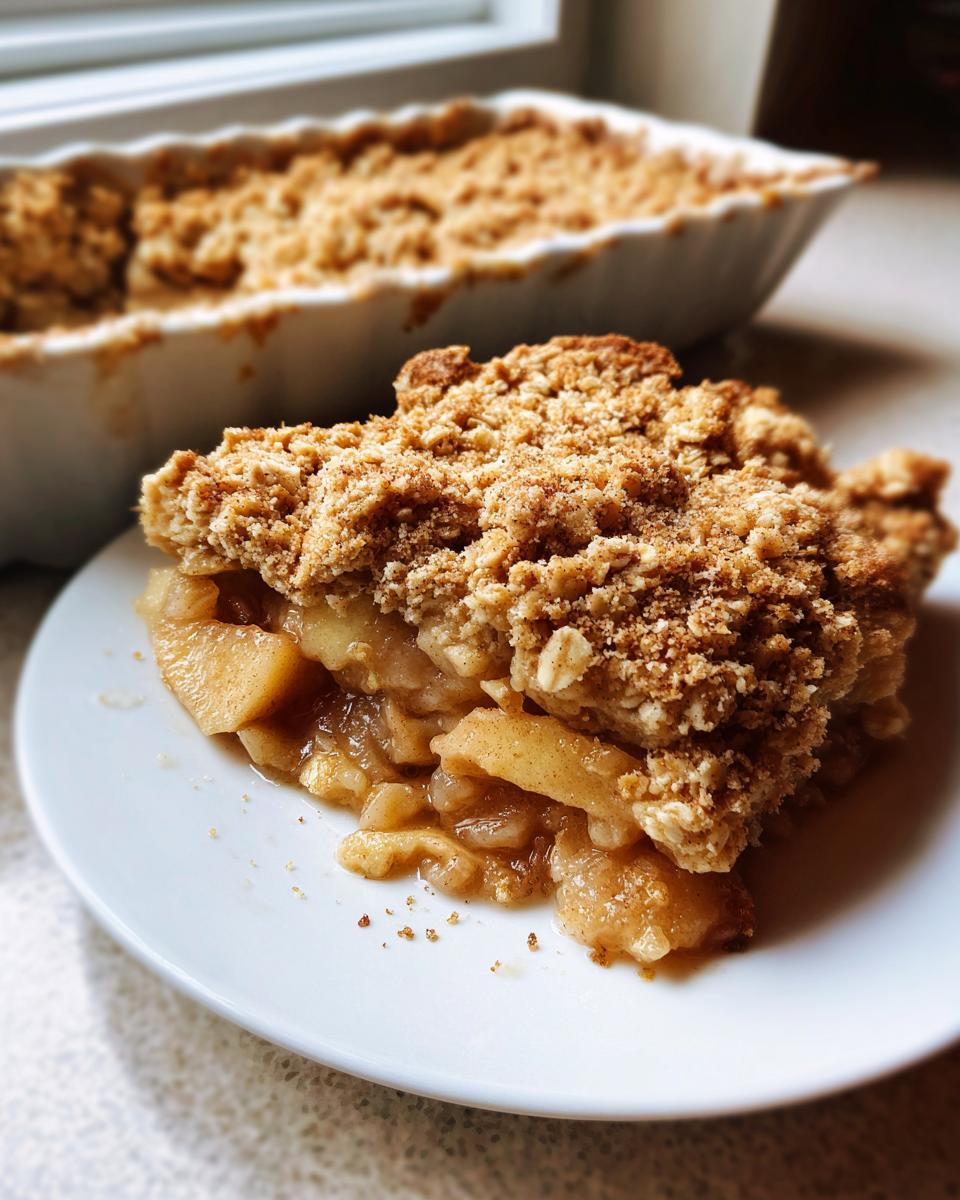
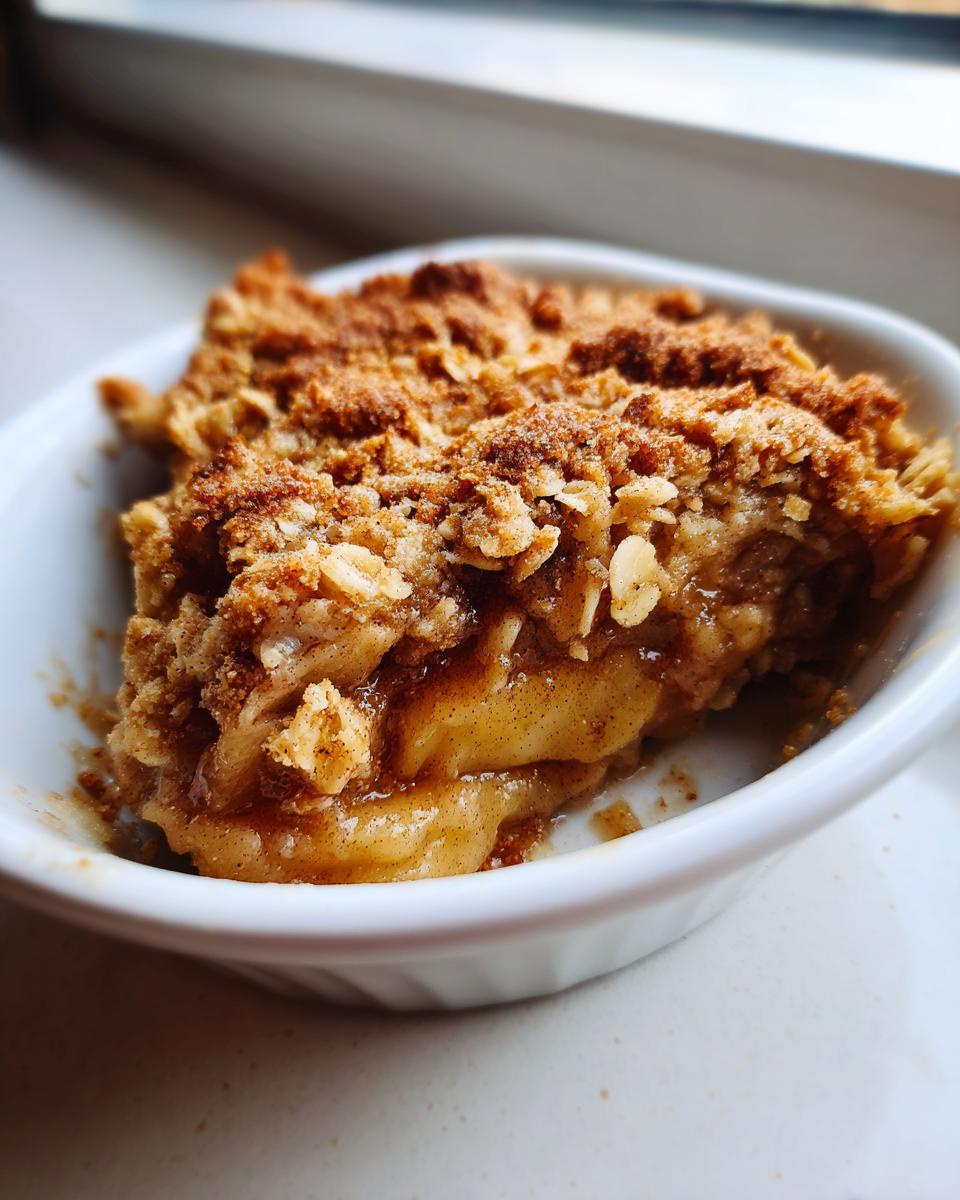
PrintThe Ultimate Easy & Cozy Apple Crisp with a Buttery Brown Sugar Oat Topping

Find the best apple crisp recipe here. This classic dessert features tender, cinnamon-spiced apples beneath a perfectly buttery, golden, and crunchy oat topping. It is simple to make and ideal for a cozy fall evening or family gathering.
- Prep Time: 15 min
- Cook Time: 45 min
- Total Time: 60 min
- Yield: 6 servings 1x
- Category: Dessert
- Method: Baking
- Cuisine: American
- Diet: Vegetarian
Ingredients
- 6 medium baking apples (like Granny Smith or Honeycrisp), peeled, cored, and sliced 1/4-inch thick
- 1/4 cup granulated sugar
- 1 tablespoon all-purpose flour
- 1 teaspoon ground cinnamon
- 1 tablespoon lemon juice
- 1/2 cup all-purpose flour (for topping)
- 1/2 cup packed brown sugar (for topping)
- 1/2 cup old-fashioned rolled oats
- 1/4 teaspoon ground cinnamon (for topping)
- 1/4 teaspoon salt
- 1/2 cup (1 stick) cold unsalted butter, cut into small pieces
Instructions
- Preheat your oven to 375 degrees Fahrenheit. Lightly grease an 8×8 inch baking dish.
- In a large bowl, combine the sliced apples, granulated sugar, 1 tablespoon flour, 1 teaspoon cinnamon, and lemon juice. Toss gently until the apples are evenly coated.
- Spread the apple mixture evenly into the prepared baking dish.
- In a separate medium bowl, prepare the topping. Combine the 1/2 cup flour, brown sugar, rolled oats, 1/4 teaspoon cinnamon, and salt. Whisk these dry ingredients together.
- Cut in the cold butter pieces using a pastry blender or your fingertips until the mixture resembles coarse crumbs with some pea-sized pieces remaining. Do not overmix; you want some texture for a crunchy apple topping.
- Sprinkle the buttery oat topping evenly over the apple layer in the baking dish.
- Bake for 40 to 45 minutes, or until the topping is golden brown and the apple filling is bubbling thickly around the edges.
- Let the apple crisp cool on a wire rack for at least 15 minutes before serving. This allows the juices to set slightly.
- Serve your warm apple crisp with a scoop of vanilla ice cream for the ultimate comfort food dessert experience.
Notes
- For the best texture, use firm apples that hold their shape when baked, like Granny Smith or a mix of sweet and tart varieties.
- If you prefer a richer flavor, substitute half of the all-purpose flour in the topping with whole wheat flour for an old-fashioned apple crisp taste.
- To speed up prep time, you can peel and slice the apples a few hours ahead of time; store them in water with a splash of lemon juice to prevent browning.
Nutrition
- Serving Size: 1 serving
- Calories: 380
- Sugar: 35g
- Sodium: 150mg
- Fat: 20g
- Saturated Fat: 12g
- Unsaturated Fat: 8g
- Trans Fat: 0g
- Carbohydrates: 50g
- Fiber: 4g
- Protein: 4g
- Cholesterol: 50mg