
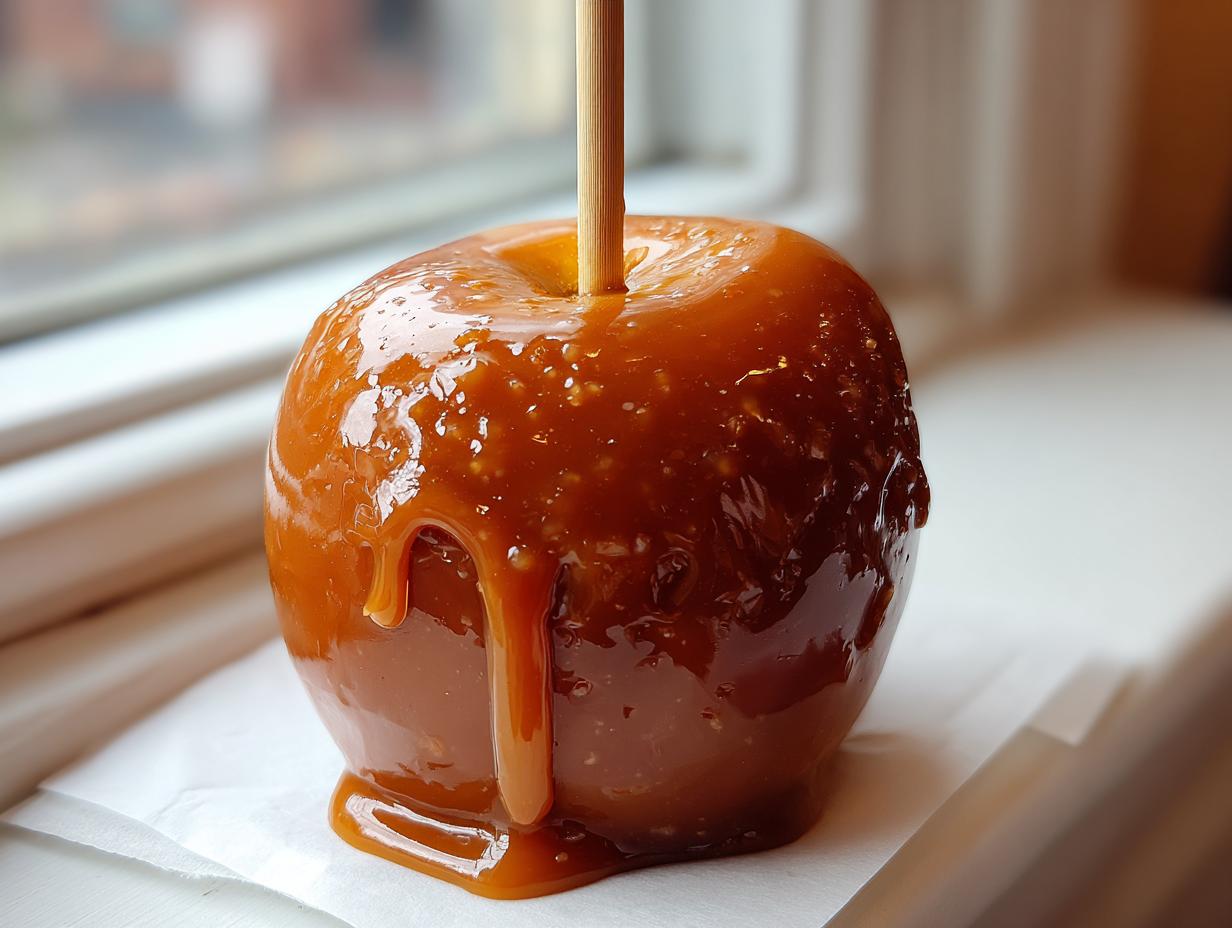
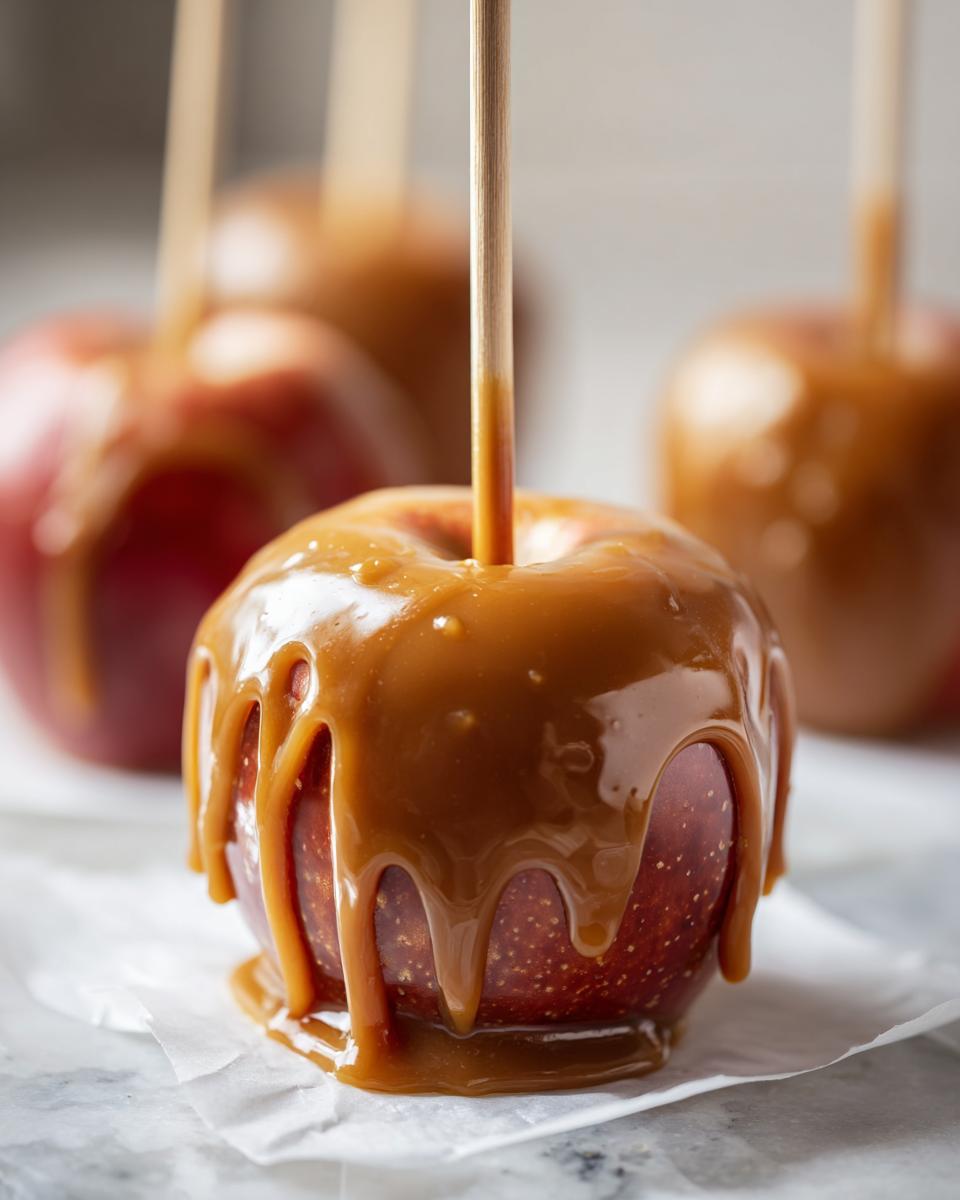
Doesn’t the smell of crisp apples and melted sugar just instantly take you back to autumn festivals? I love that kind of nostalgia, but honestly, I used to hate making them at home. You know the problem—you spend all that time on the perfect, rich caramel, dip the apple, and three hours later, the whole thing has slid off onto the wax paper. Not anymore! Here at Delish Symphony, Michael Carter and I have tested this caramel apple recipe rigorously to give you a foolproof guarantee: this caramel sticks, and it stays wonderfully chewy. This is the straightforward technique you need for truly gourmet fall treats.
- Why This is the Best Caramel Apple Recipe for Home Cooks
- Gathering Ingredients for Foolproof Caramel Apples
- Step-by-Step Instructions for Making Classic Caramel Apples
- Gourmet Caramel Apples: Topping Ideas and Variations
- Alternative Ways to Enjoy Caramel Apple Flavors
- Storage and Handling for Your Homemade Caramel Apples
- Troubleshooting Common Caramel Apple Issues
- Frequently Asked Questions About Caramel Apples
- Estimated Nutritional Data for This Fall Dessert Recipe
- Share Your Perfect Caramel Apple Creation
Why This is the Best Caramel Apple Recipe for Home Cooks
Look, there are a million ways to make caramel, but most fall short when dealing with a cold, waxy apple. I used to hate making them because I’d spend all that time on the perfect, rich caramel, dip the apple, and three hours later, the whole thing had slid off onto the wax paper. Not anymore! Here at Delish Symphony, we’ve tested this caramel apple recipe rigorously to give you a foolproof guarantee: this caramel sticks, and it stays wonderfully chewy. This is truly your guide to a no fail caramel coating.
- We use sweetened condensed milk and corn syrup which lock in moisture, giving you that perfect gooey-but-chewy pull.
- The process is managed using a candy thermometer, removing all the guesswork that usually ruins candy making.
- We cook it to the exact temperature needed for that satisfying, classic snap right before the chew kicks in.
If you want to see how other folks have had success with this foolproof method, check out this great breakdown on mastering chewy results here. If you’re interested in other classic fall bakes, don’t miss our famous apple crisp recipe!
Achieving the Perfect Chewy Caramel Sauce Recipe
The secret to chewiness isn’t just in the ingredients; it’s the temperature! You absolutely need to hit the Firm Ball Stage, which means getting your thermometer to exactly 245 degrees Fahrenheit. If you pull it off the heat too soon, you get thin, runny caramel that slides right down. But here’s the trick: after you stir in the vanilla and salt, you must let it cool for about five to ten minutes before dipping. That resting period lets the caramel thickens beautifully before it ever touches your apple, setting you up for that signature homemade chew.
How to Make Caramel Apples Stick Every Time
If your caramel isn’t sticking, it’s almost always the apple prep, not the caramel itself. Water is the enemy here! First, your apples need to be completely dry after washing—I mean bone dry. Second, and this is the big one: you need to remove surface wax. A quick 5-second dip in boiling water strips off that waxy barrier. Just be extremely careful when dipping! Once you dry them thoroughly after that water bath, the caramel grabs hold instantly. It makes all the difference when making the perfect caramel apple.
Gathering Ingredients for Foolproof Caramel Apples
For this to be the absolute best caramel apple experience, we need to be crystal clear about what’s going into the pot. I’ve learned over the years that vague measuring just leads to kitchen headaches later on. This recipe is built on simple, quality components, and sticking to these counts guarantees that perfect, slightly salty, rich caramel texture we are aiming for. Remember, we are making six beautiful apples here, so gather these quantities precisely.
You’ll need 6 large, firm apples, of course, and 6 wooden sticks ready to go. For the actual caramel base, make sure you have 1 cup (that’s exactly two full sticks) of unsalted butter, 2 cups of light brown sugar that is nice and packed down in the cup, 1 full cup of light corn syrup, and one 14-ounce can of sweetened condensed milk—don’t use the evaporated kind!
Finally, always use the real stuff for depth of flavor: 1 teaspoon of pure vanilla extract and 1/2 teaspoon of sea salt. If you happen to want toppings, have things ready like chopped nuts, mini chocolate chips, pretzels, or sprinkles nearby. That way, when the caramel is cooled just perfectly, you aren’t scrambling!
Selecting the Right Apples for Your Caramel Apple
Choosing the apple is just as important as making the caramel, truly! You want a firm structure that can handle the thick coating and the stick insertion without immediately breaking or getting mushy. I find Granny Smith are my go-to because their tartness sings when paired with the sweet caramel. Honeycrisp or Fuji work great too, as long as they are crisp and haven’t been sitting on the counter for a week. Avoid anything soft!
Step-by-Step Instructions for Making Classic Caramel Apples
Alright, let’s get cooking! Making the caramel itself is the most nerve-wracking part, but if you follow this plan, you’ll handle that saucepan like a pro. Remember, precision here is what guarantees a perfect coating for your beautiful caramel apple project. First things first: get your butter, sugar, corn syrup, and condensed milk into a heavy-bottomed pan. I like heating things slowly, so stir it constantly over medium heat until that sugar is completely dissolved—you don’t want any gritty bits ending up on your finished candy.
Once it’s dissolved, that’s when we stop stirring! Attach your candy thermometer, making sure it’s not touching the bottom of the pan. Let that mixture come to a rolling boil for about fifteen to twenty minutes until the thermometer screams out 245 degrees Fahrenheit. Now, if you’d like some ideas for easy weekday dishes while this is simmering, I’ve got some great easy breakfast recipes, but for now, stay focused on that temperature!
When you hit that magic number, yank the pan off the heat immediately. Stir in your vanilla and salt—that’s where the good flavor comes from—and then we wait. Don’t rush this next step! Check out the details on how to finish these by looking at this guide on making caramel apples, but stick with me for the crucial time-saving tips right here.
Candy Making Precision: Hitting the Right Temperature for Your Caramel Apple
That thermometer is your best friend! If you pull the caramel when it’s only at 240°F, it will be too soft and guaranteed to slide off. We need 245°F—that’s the firm ball stage. This tells us that when the caramel cools, it will set up thick enough to hold onto the apple without being rock hard. Also, remember not to stir the pot once it starts boiling; stirring encourages sugar crystals to form, which will eventually turn your beautiful caramel grainy and stiff!
Dipping Technique and Setting the Caramel Apple
This is where patience pays off again! After you take the caramel off the heat and mix in the vanilla, you absolutely need to let it cool for about five to ten minutes before you even attempt to dip. If it’s blazing hot, it will run right off your perfectly prepped apple. Letting it sit lets the caramel develop the perfect thick viscosity—it should coat the back of a spoon nicely but still be easy to swirl around. Tilt the pot slightly to help cover the entire surface, let the excess drip, and then move that coated apple right onto your parchment paper to set up firm.
Gourmet Caramel Apples: Topping Ideas and Variations
Okay, you mastered the stick and you nailed the chewiness. Now for the fun part: making your caramel apple truly gourmet! We have all the goodies listed in the ingredients list, but trust me, presentation matters. Once your apple is coated and you’ve let that caramel settle for just a minute—not too long, or it won’t stick—immediately roll it through your chosen toppings.
Chopped nuts are a classic, of course, and mini chocolate chips melt slightly to create these amazing little pockets of richness. But if you want to take this fall dessert recipe up a notch, try crushed pretzels for a fantastic salty/sweet combo. If you need more inspiration for decorating, I found a fantastic list with over 20 ideas right here! These flavors are just as good in different formats, too; I love using similar ideas in my easy pumpkin bars recipe.
Creating Spiced Caramel Apples
Want a truly unique flavor profile? Don’t just stop at outside toppings. Stir a teaspoon of pumpkin pie spice or just a half teaspoon of ground cinnamon right into your caramel batch after you shut off the heat. This infuses the whole coating with warmth, making them truly spiced caramel apples that smell incredible!
Alternative Ways to Enjoy Caramel Apple Flavors
I totally get it; sometimes you want that incredible flavor combination without the commitment of dipping an entire apple. It’s messy, and sometimes you just want a few bites! That’s why exploring other ways to get that sweet, sticky flavor is an essential part of my fall baking arsenal. Thinking beyond the classic caramel apple lets us get these flavors onto the table faster, especially when company drops by unexpectedly.
If you’re looking for something super easy for a crowd, you have to try a dip. The richness of the caramel flavor without the work is amazing, and I found a fantastic recipe for a great caramel apple dip variation if you need it! Or, if you happen to have a batch of homemade applesauce sitting around, you can actually turn that into a quick dessert base.
Quick Caramel Apple Slices Dessert
For slicing, you adapt the process slightly. Core and slice your apples as usual. To stop browning, give those slices a very quick, light bath in water mixed with a squeeze of lemon juice, then dry them instantly. You can either gently drizzle the finished, slightly cooled caramel over a platter of slices, or even use the dip mentioned above! It’s perfect for an afternoon snack.
Storage and Handling for Your Homemade Caramel Apples
So, you’ve made the perfect batch of treats! Now, let’s keep them delicious until you’re ready to enjoy them. For the absolute best texture—that same chewy caramel you worked so hard for—you should really store these at cool room temperature, not the fridge. If you plan on eating them within a couple of days, that’s perfect. Just wrap each one individually in plastic wrap. Seriously, wrap them separately so they don’t stick to each other or absorb any weird fridge smells!
If you need them to hold tight for a week or so, the fridge is okay, but remember the caramel might get a bit harder. If you chill them, just pull them out about 30 minutes before serving. That gives the candy time to soften up so you get that perfect buttery texture again. If you’re wrapping them up for gifts or packing them for a party, my advice for weeknight dinner recipes is the same: prep ahead, but store smart!
Troubleshooting Common Caramel Apple Issues
Even with the best recipe, sometimes things go a little sideways in the kitchen, right? Don’t panic if you run into trouble with your caramel apple batch! If you notice your caramel is too runny even after cooling slightly, that just means you need to cook out a tiny bit more moisture. Go ahead and put the whole pot back on very low heat for just a couple of minutes, swirling it gently, then pull it off again and let it cool before dipping.
If, on the flip side, the caramel feels too stiff when you dip, it might have gotten too hot or cooled too much while you were working. You can warm it back up gently over a very low setting for maybe 30 seconds at a time until it loosens enough to coat. We want that perfect chew, not a rock-hard candy shell!
Frequently Asked Questions About Caramel Apples
I always get questions after someone tries this recipe for the first time, usually centered around making the process easier for next time. It’s great that so many of you are looking for easy caramel apples variations, so let’s clear up the most common hurdles right here.
Can I use store-bought caramel for this caramel apple recipe?
You absolutely can grab a bag of soft caramels and melt them down—I won’t tell! But I have to be honest: the texture just won’t be the same. Store-bought sauces are often formulated to stay softer slightly longer, meaning they might not set up as firmly as ours, and they definitely won’t have that rich flavor we get from making our own chewy caramel sauce recipe from scratch using brown sugar and milk.
What is the best way to prevent apples from browning?
This is such a good question, especially if you’re prepping ahead of time! After you’ve washed your apples but before the super important boiling water scrub to remove the wax, give the apples a quick bath in a bowl of cold water mixed with a good squeeze of fresh lemon juice. It doesn’t need to stay long, maybe just 30 seconds per apple. That acid slows down that oxidizing process beautifully. Make sure they are totally dry before you start dipping, though!
If you’re looking for other ideas on quick bites while you wait for things to set, check out some of my favorite simple snack recipes!
Estimated Nutritional Data for This Fall Dessert Recipe
Okay, now we’re getting into the nitty-gritty details, which I know some of you appreciate! When you’re making something this delicious, you might wonder where it all lands nutritionally. I want to be super clear that these numbers are just estimates, based on using standard ingredients like Granny Smith apples and the recommended amounts in the recipe. I ran the numbers based on the yield of six apples, so this chart reflects one single, glorious caramel apple.
Because we are using butter, brown sugar, and corn syrup heavily in that homemade coating, it’s definitely a treat and not an everyday kind of snack. But hey, everything in moderation, especially when it comes to your favorite delicious dessert recipes! Enjoy it for what it is: a perfect fall indulgence.
- Serving Size: 1 apple
- Calories: 550
- Sugar: 85g
- Sodium: 150mg
- Fat: 22g
- Saturated Fat: 14g
- Carbohydrates: 90g
- Protein: 3g
Share Your Perfect Caramel Apple Creation
That’s it! You’ve done the work, you learned the science, and now you have the best homemade caramel apples around. I’m so excited for you!
Once you’ve tried this foolproof recipe, please come back here and tell me all about it! Did you go for the salty pretzel crunch or stick to the classic nuts? Rate this recipe below and leave a comment sharing your favorite part. I love seeing what incredible treats you all come up with. Curious to share other fall favorites? Check out my story to see why I love making all these classic autumn sweets!
PrintFoolproof Homemade Caramel Apples with Chewy Caramel Guarantee
Follow this simple guide to make perfect homemade caramel apples. This recipe delivers a rich, chewy caramel that sticks flawlessly to crisp apples every time, eliminating the problem of runny caramel.
- Prep Time: 20 min
- Cook Time: 25 min
- Total Time: 45 min
- Yield: 6 servings 1x
- Category: Dessert
- Method: Stovetop Cooking
- Cuisine: American
- Diet: Vegetarian
Ingredients
- 6 large, firm apples (like Granny Smith or Honeycrisp)
- 6 wooden sticks or lollipop sticks
- 1 cup (2 sticks) unsalted butter
- 2 cups light brown sugar, packed
- 1 cup light corn syrup
- 1 (14 ounce) can sweetened condensed milk
- 1 teaspoon pure vanilla extract
- 1/2 teaspoon sea salt
- Optional Toppings: Chopped nuts, mini chocolate chips, crushed pretzels, sprinkles
Instructions
- Wash and thoroughly dry your apples. Remove any wax by briefly dipping them in boiling water for 5 seconds, then dry them completely. This step helps the caramel stick.
- Insert a wooden stick firmly into the core of each apple. Set the apples aside on a parchment-lined baking sheet.
- Combine the butter, brown sugar, corn syrup, and sweetened condensed milk in a heavy-bottomed saucepan.
- Cook the mixture over medium heat, stirring constantly until the sugar dissolves.
- Attach a candy thermometer to the side of the pan, making sure the tip does not touch the bottom.
- Bring the mixture to a boil without stirring. Let it boil until the thermometer reaches 245 degrees Fahrenheit (Firm Ball Stage). This usually takes 15 to 20 minutes. Do not stir during this phase.
- Remove the pan from the heat immediately when it reaches 245 degrees F. Stir in the vanilla extract and salt.
- Let the caramel cool for about 5 to 10 minutes. This cooling period is crucial for achieving a thick, chewy coating.
- Tilt the pan slightly and dip each apple into the caramel, rotating to coat evenly. Lift the apple out, allowing excess caramel to drip back into the pan.
- Immediately roll the coated apple in your desired toppings, if using.
- Place the finished caramel apples back onto the parchment-lined sheet. Let them set completely at room temperature for at least 2 hours, or chill briefly if you need them faster.
Notes
- For the best results, ensure your apples are completely free of moisture before dipping; water prevents the caramel from adhering.
- If your caramel seems too thin after cooling slightly, return it to low heat for a few minutes to cook off a little more moisture, then cool again before dipping.
- Store finished caramel apples wrapped individually in plastic wrap at cool room temperature for up to one week.
Nutrition
- Serving Size: 1 apple
- Calories: 550
- Sugar: 85
- Sodium: 150
- Fat: 22
- Saturated Fat: 14
- Unsaturated Fat: 8
- Trans Fat: 0
- Carbohydrates: 90
- Fiber: 2
- Protein: 3
- Cholesterol: 60