
Oh, friends, let me tell you about pure, liquid gold. Forget everything you thought you knew about making homemade caramel because this recipe changes everything! If the thought of candy-making sends you running for the store aisle, I get it. That’s why we are making the absolute easiest, richest, Salted Caramel Sauce you’ve ever tasted, and the best part? You don’t need a scary candy thermometer. That’s one of the great secrets Michael brought over from his non-chef kitchen—it’s all about practical techniques that actually work when you’re busy. This sauce is buttery, perfectly balanced with salt, and ready in minutes. If you usually rush through supper because you’re trying to plan for later, this versatile topping might just become your new weeknight secret weapon.
- Why This Easy Homemade Caramel Recipe Works (Expert Tips)
- Gathering Ingredients for Your Homemade Caramel Recipe
- Stovetop Instructions for Rich Dessert Sauce Caramel
- Troubleshooting Common Caramel Making Issues
- Serving Suggestions for Your Gourmet Caramel Topping
- Storage and Reheating Instructions for Homemade Caramel
- Frequently Asked Questions About Making Caramel
- Nutritional Estimates for Your Salted Caramel Sauce
- Share Your Buttery Caramel Treats
Why This Easy Homemade Caramel Recipe Works (Expert Tips)
I swear, this recipe is tailor-made for anyone who loves amazing flavor but hates fussy details. We’re not messing around with temperature checks or hoping the sugar doesn’t crystallize. This is confidence in a saucepan! It embodies our philosophy here: Practical Techniques mean you get fantastic results without the stress. This is why it’s such an Easy Caramel Sauce that I trust every single time I make it.
Speed and Simplicity of This Caramel Sauce
Seriously, you can’t beat the timeline here. Prep takes maybe five minutes, and the cooking is done in about ten. That’s right—a rich, buttery syrup ready in a total of 15 minutes! This makes it a true Quick Dessert Syrup. You aren’t trying to make bulky candy; you are crafting a luscious topping, and that process is dramatically faster.
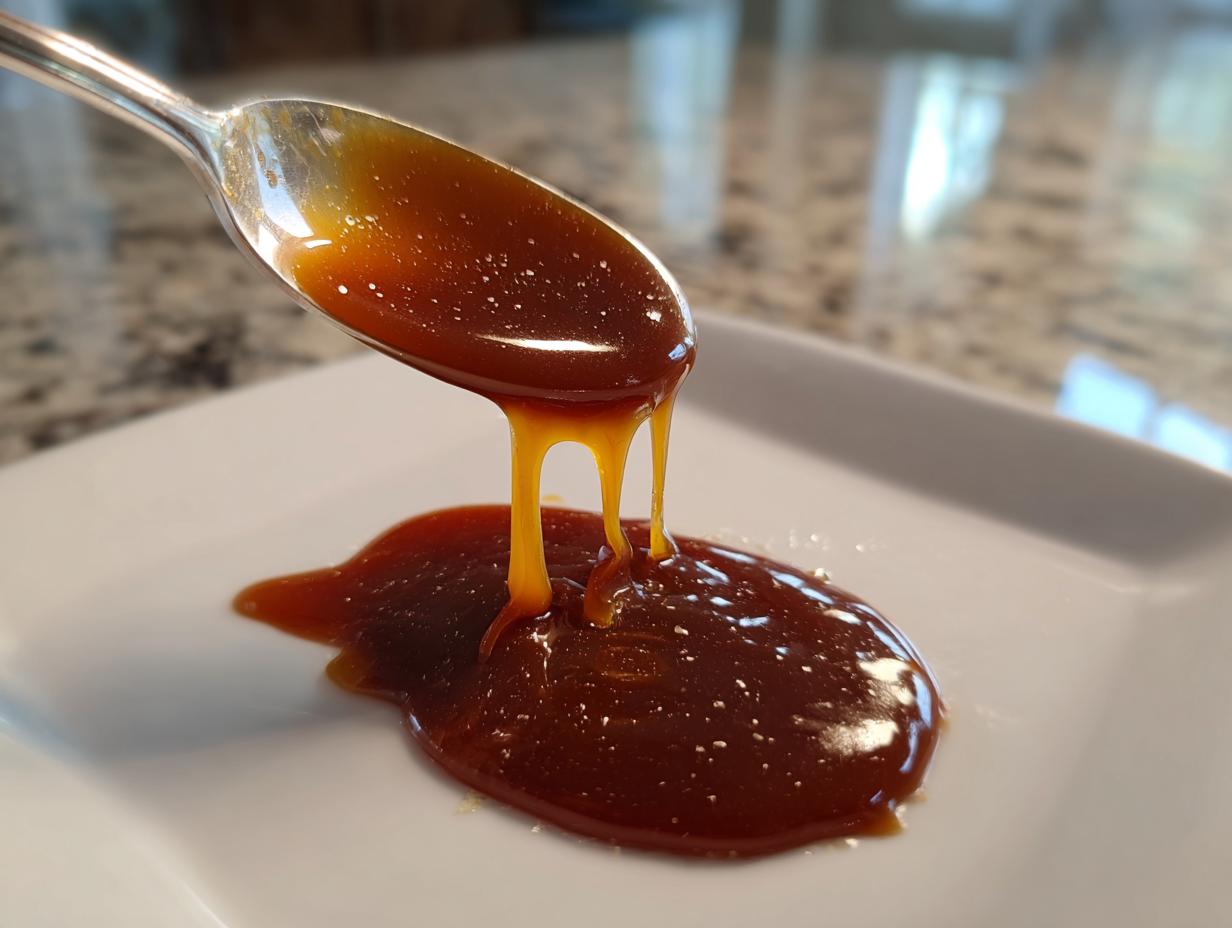
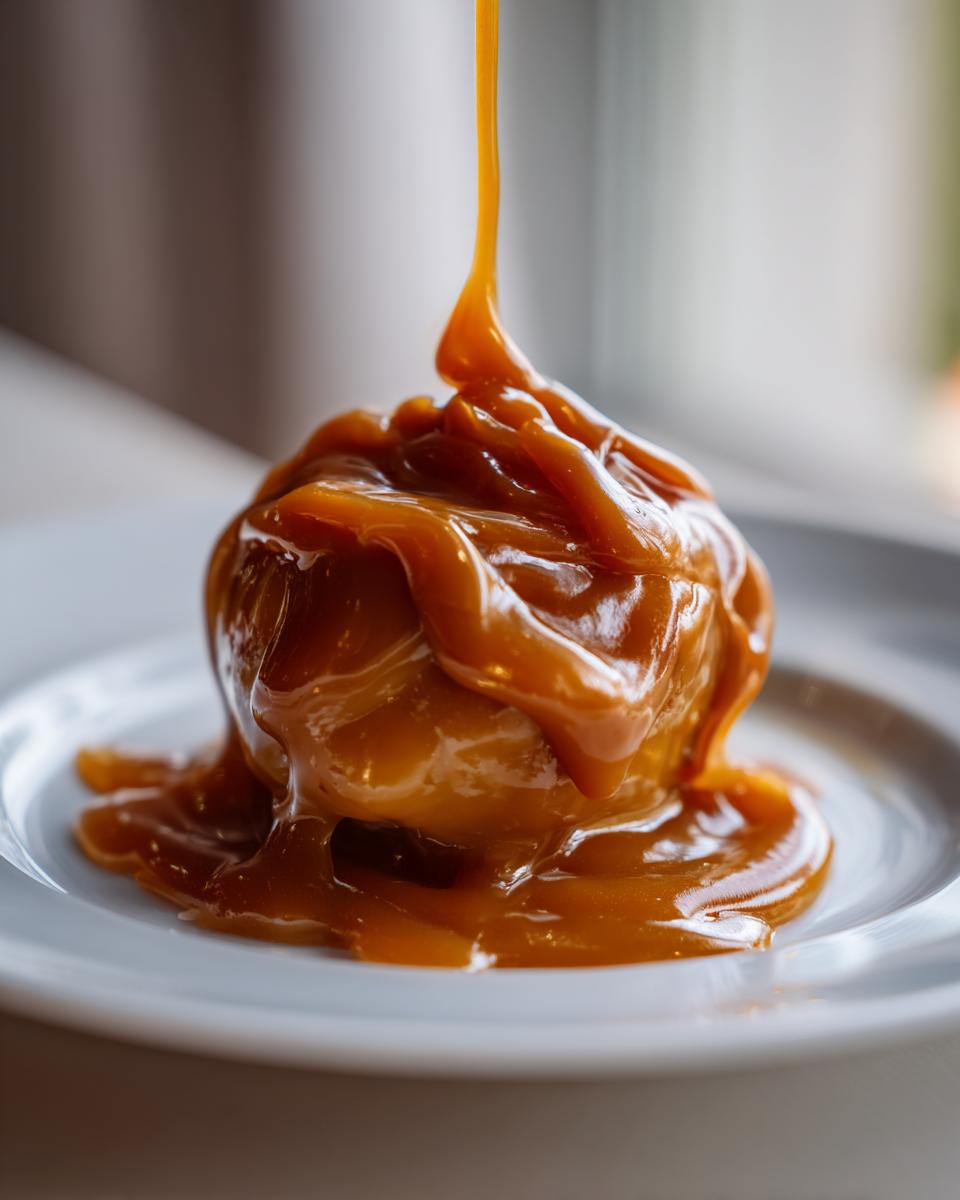
Achieving Perfect Salted Caramel Drizzle Texture
The magic is in the ratio of butter and cream, honestly. When you add those ingredients to the melted sugar—yes, even before returning it to the heat—you lock in moisture and sweetness in a way that ensures it comes out thick and glossy. It pours beautifully right off the stove, perfect for that gorgeous Salted Caramel Drizzle onto your favorite cheesecake. Don’t panic if it seems thin; it firms up perfectly as it cools down after you finish the process.
Gathering Ingredients for Your Homemade Caramel Recipe
One of the best parts about this entire process is how truly approachable the ingredients are. We believe in flavor harmony found right in your local grocery store, not specialty shops! You aren’t going to need anything weird or hard to find for this Homemade Caramel Recipe. If you have sugar sitting in your pantry and some butter and cream in the fridge, you are halfway there. That’s the Delish Symphony way—making spectacular results easy!
Ingredient Specifics and Preparation Notes
Just pay close attention to these few details when you’re getting things ready, because tiny prep steps make a huge difference when you’re working with melting sugar.
- You’ll need one cup of plain granulated sugar. Make sure your pan is heavy-bottomed!
- Grab six tablespoons of unsalted butter, and be sure you cut it into pieces before you start.
- Warm up about a half cup of heavy cream slightly—just gently warming it helps stop the sugar from seizing up on you later.
- Don’t forget your flavorings: one teaspoon of vanilla extract and a half teaspoon of nice sea salt—plus a tiny extra pinch for sprinkling on top if you like that extra pop!
Stovetop Instructions for Rich Dessert Sauce Caramel
This is where the magic happens, but you have to pay attention! Sugar is tricky stuff, but if you follow these steps carefully, you’ll have the best homemade caramel ever. I always stand right over the stove for this part because it goes from perfect to burnt really fast once that sugar starts melting. Forget that scary thermometer; we are aiming for the perfect color here! Forget bitter; we want that deep, golden-brown goodness.
Melting the Sugar to Deep Amber Caramel
First thing: medium heat on your heavy saucepan, sugar goes in. Do not touch it! I had to learn this the hard way—you have to let the edges start to melt all on their own. Once you see that melt happening around the sides, *then* you can gently start nudging it around with your spatula until every single grain is dissolved. Keep stirring gently until it all turns a deep, rich amber color—think of the color of a well-aged bourbon. That deep color is what gives our Rich Dessert Sauce that incredible depth of flavor. This initial step is crucial for any Beginner Caramel Making—patience pays off!
Incorporating Butter and Cream Safely
Okay, moment of truth! Once it’s perfectly amber, pull that pan *off* the heat. Seriously, move it to a cold burner! Now, toss in your butter pieces. It is going to absolutely erupt and bubble like a science experiment—don’t panic! Whisk like crazy until that butter is totally melted in. Next, *very* slowly, pour in that warm heavy cream while you keep whisking constantly. It will bubble up again, which is totally normal. That slightly warmed cream is your best friend and helps stop the mixture from seizing up immediately. Keep whisking until the whole thing comes together smooth. If it does seize up a little, just put it back on the lowest heat and whisk gently until that hardened sugar dissolves.
After you have that gorgeous smoothness, return the pan to low heat for just one quick minute, stirring always. This just helps everything settle. Right at the end, stir in your vanilla and the salt. That’s it! Pour it right into a jar while it’s hot!
Troubleshooting Common Caramel Making Issues
Look, even when we’re using an easy recipe designed for home cooks, sometimes kitchen chemistry just gets moody! Sugar is temperamental, I won’t lie to you. But the beauty of this method is that it’s designed to handle the little slip-ups that usually scare people away from making things from scratch. Don’t worry if things look wrong for a second—that’s just part of the Beginner Caramel Making learning curve!
What to Do If Your Caramel Seizes
The number one fear, right? You pour in the cream, and suddenly your beautiful liquid turns into grainy, rock-hard clumps. That’s called seizing, and it happens! If your stovetop caramel does seize up when you add the cream, don’t throw it out! Just take a breath. Pop the pan back onto the absolute lowest heat setting you have. Keep whisking gently but steadily. Trust me, that heat will encourage the hardened sugar to melt back down into that gorgeous, smooth sauce we are looking for. It takes patience, usually just a minute or two, but it generally saves the batch!
Serving Suggestions for Your Gourmet Caramel Topping
Now that you’ve made this liquid gold—this amazing Gourmet Caramel Topping—the only question is, what are you going to drown it in first? Honestly, since it’s so quick to make, I find myself throwing a batch together just because I need something special for the week. My absolute favorite way to use it is straight up drizzled over a warm slice of banana bread. It makes even a simple treat feel fancy, you know?
But don’t stop there! This is the ultimate topping for anything that needs a little buttery boost. Think about pouring it over homemade brownies or using it liberally as an Ice Cream Sundae Sauce. When that sauce hits that cold ice cream, oh boy, the texture contrast is just divine!
Pairing Caramel with Fall Baking Essentials
When fall hits and everyone is baking apples and pumpkins, this sauce becomes absolutely indispensable. It’s perfect mixed right into your coffee, making a quick caramel latte at home that beats any coffee shop any day. You just heat a spoonful right into your mug before pouring in the milk and espresso. Also, remember that crisp recipe I shared? Drizzling this warm caramel right over a hot apple crisp before serving? It’s just genius. It’s one of those versatile Fall Baking Essentials that you’ll keep whipping up all year long.
Storage and Reheating Instructions for Homemade Caramel
You made a big batch, which is smart! This beautiful sauce keeps really well, which is great news since it tastes amazing all week long. You want to pour the cooled sauce into a clean, airtight jar. Keep it tucked away in the refrigerator, and honestly, it stays perfect for about two whole weeks. Don’t worry if it gets super thick when it’s cold, too—that’s totally normal for something this rich!
When you’re ready to use it, reheating is simple. You can warm a spoonful or two right in the microwave for about 15 to 20 seconds until it’s pourable again. Or, if you need a bigger amount, just put a little bit in a small saucepan on low heat and stir it gently until it loosens up. It’s so quick, you’ll never reach for that jarred stuff again!
Frequently Asked Questions About Making Caramel
When I first started making my own sweets, I had a million questions whirling around—I wish I’d had a place just like this to get quick answers! It’s one of the final steps in sharing this recipe, making sure you feel totally confident diving in. It’s so worth it to learn how to make your own quality caramel additions for all your baking!
Can I use a different type of sugar for this caramel recipe?
For this specific sauce recipe, I really, really recommend sticking with granulated white sugar. When we are melting sugar dry like this the first step, we are relying on the white sugar to melt evenly without developing too many competing flavors too fast. If you use brown sugar here, it has molasses that burns easily when you heat it without any liquid there to protect it. Brown sugar is for later steps, when we want that deeper flavor, but for creating that perfect base syrup, white sugar is the most reliable for beginners!
How do I make this a thick, chewy caramel candy instead of a sauce?
That’s a completely different kettle of fish—or, should I say, a different tray of parchment paper! Making a solid, Chewy Caramel Candy Tutorial requires you to cook that sugar much, much longer until it reaches the ‘firm ball’ stage, which is usually around 248 to 250 degrees Fahrenheit. You absolutely need that candy thermometer for chewy caramels because the time you cook decides if it sets up hard or stays soft. Our recipe is specifically calibrated to stop short of that point, leaving you with a glorious, pourable Homemade Caramel Recipe topping!
Is this recipe suitable for making Microwave Caramel Recipe?
Nope, this specific batch of magic is a stovetop performance. While you can definitely make solid caramels quickly using the microwave—I know a lot of people rely on that for fast candy—this particular method relies on sustained, even heat in a heavy-bottomed pan to develop that rich, toasted flavor profile in the sugar before we add the dairy. This stovetop technique yields a far more complex, deep flavor for your Buttery Caramel Treats than the microwave usually allows him to do!
Nutritional Estimates for Your Salted Caramel Sauce
Okay, so maybe you aren’t just stopping at one drizzle, and I totally get it—this homemade caramel is addictive! Because this sauce is made with real butter and cream, it does clock in with some richness. If you’re counting macros or just curious about what you’re spooning over your ice cream, here’s a general breakdown. Treat these figures like a guideline because, let’s be honest, when you make something this good from scratch, the exact numbers aren’t usually the main focus!
These estimates are based on dividing the entire batch into about 10 servings, with each serving being roughly two tablespoons. Remember, this is just an estimate based on the ingredients we used in the recipe details.
- Serving Size: 2 tablespoons
- Calories: Around 180
- Sugar: About 25g (That’s where the magic comes from, right?)
- Fat: Roughly 9g total
- Sodium: About 110mg (That’s the lovely sea salt working its magic!)
- Carbohydrates: Approximately 25g
- Protein: Almost zero, folks!
Since we are using simple pantry staples, you know exactly what’s going into your topping—no weird stabilizers or preservatives here! If you’re worried about the sugar content, remember you can always use a little less when you drizzle it, although controlling yourself is the real challenge when making this Buttery Caramel Treats!
Share Your Buttery Caramel Treats
I truly want to see what you make with this sauce! Honestly, when I finish a jar of my own homemade caramel, I immediately start thinking about what dessert needs dressing up next—maybe a batch of those apple crisps from last week, or just poured over vanilla ice cream!
Don’t be shy! Once you’ve mastered this technique and you’ve got your own jar of this delicious, rich topping, tag me in your photos on social media. I love seeing your kitchen creations. Did you use it as a Gourmet Caramel Topping over pound cake? Did you try the sea salt sprinkle on top? Snap a picture and show me how you brought this simple recipe to life in your own home.
And please, if you made it, drop a star rating below the recipe card. Those ratings help other home cooks like us know that this recipe is truly worth their time and sugar. Hearing that this simple stovetop method saved someone from buying the stuff in a plastic squeeze bottle? That makes my day! Let’s keep that kitchen symphony playing louder!
PrintEasy Homemade Salted Caramel Sauce (No Thermometer Needed)
Make rich, buttery salted caramel sauce at home with this simple recipe. This method requires only pantry staples and no candy thermometer, resulting in a perfect drizzle for your favorite desserts.
- Prep Time: 5 min
- Cook Time: 10 min
- Total Time: 15 min
- Yield: About 1 1/4 cups 1x
- Category: Dessert Topping
- Method: Stovetop
- Cuisine: American
- Diet: Vegetarian
Ingredients
- 1 cup granulated sugar
- 6 tablespoons unsalted butter, cut into pieces
- 1/2 cup heavy cream, warmed slightly
- 1 teaspoon vanilla extract
- 1/2 teaspoon sea salt, plus more for topping
Instructions
- Place the sugar in a medium, heavy-bottomed saucepan over medium heat. Do not stir initially.
- Allow the sugar to melt around the edges. Once it begins to melt, gently stir with a heatproof spatula until all the sugar dissolves and turns a deep amber color. Watch carefully to prevent burning.
- Remove the pan from the heat. Carefully add the butter pieces. The mixture will bubble vigorously. Whisk until the butter is completely melted and incorporated.
- Slowly pour in the warm heavy cream while whisking constantly. The mixture will bubble up again. Continue whisking until the sauce is smooth.
- Return the pan to low heat and cook for 1 minute, stirring constantly. Do not let it boil rapidly.
- Remove from heat and stir in the vanilla extract and 1/2 teaspoon of sea salt.
- Pour the caramel sauce into a heatproof jar or container. Sprinkle a little extra sea salt on top if desired.
- Let the sauce cool completely before using. It will thicken as it cools.
Notes
- Warm the heavy cream slightly before adding it to the melted sugar and butter mixture. This helps prevent the caramel from seizing.
- If the caramel seizes (hardens) when you add the cream, return the pan to low heat and whisk gently until the hardened sugar dissolves back into the sauce.
- Store the finished caramel sauce in an airtight container in the refrigerator for up to two weeks. Reheat gently on the stovetop or in the microwave before serving.
Nutrition
- Serving Size: 2 tablespoons
- Calories: 180
- Sugar: 25g
- Sodium: 110mg
- Fat: 9g
- Saturated Fat: 5g
- Unsaturated Fat: 4g
- Trans Fat: 0g
- Carbohydrates: 25g
- Fiber: 0g
- Protein: 0g
- Cholesterol: 30mg