
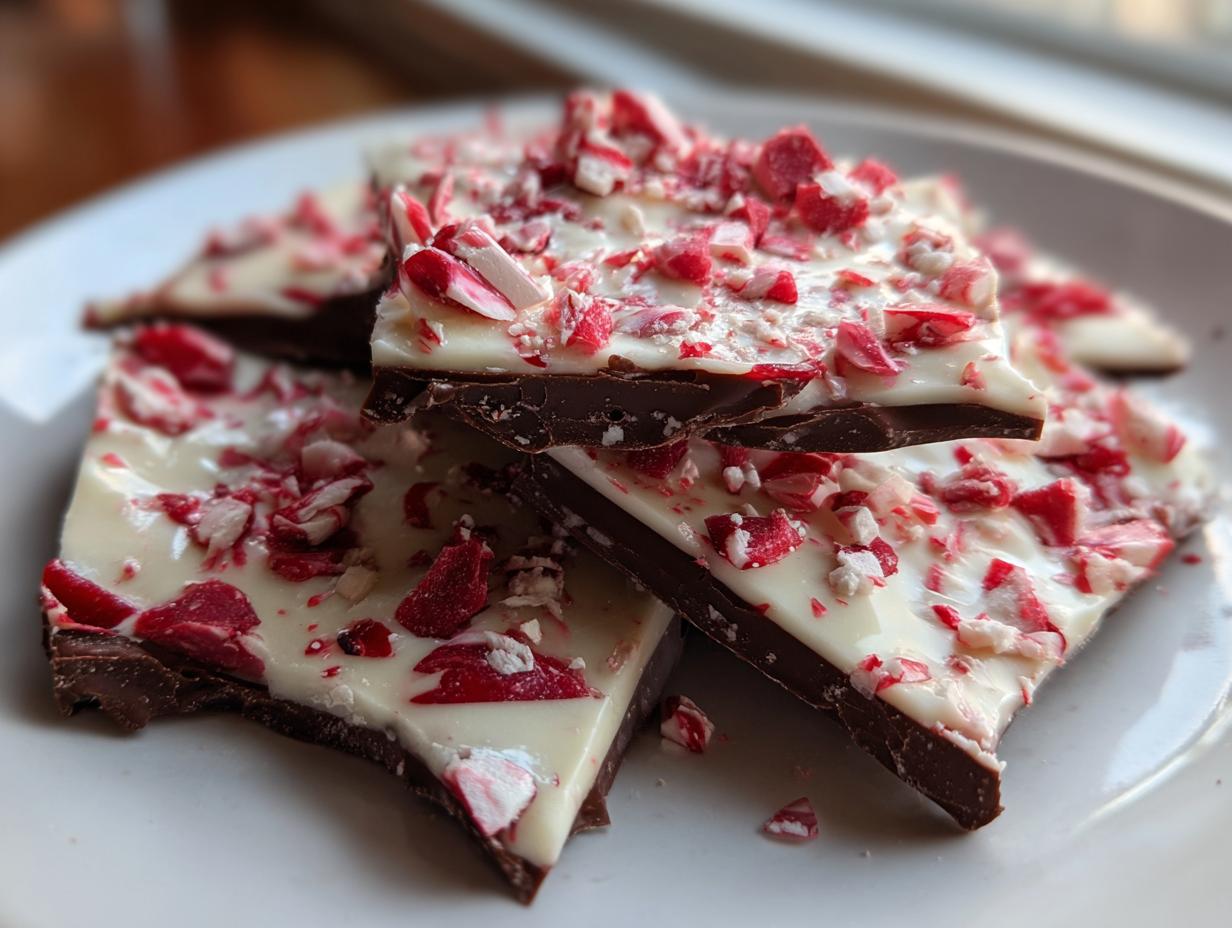
The world gets just a little bit brighter when the first festive holiday sweets start showing up, right? For me, the absolute king of **peppermint bark** season isn’t some complicated layered cake—it’s this stunning, crackly candy. It captures all the cheer in just a few minutes of work. Here at Delish Symphony, Michael Carter focuses on making sure you can pull off elegant holiday treats without spending all day fussing. That’s why I love this one so much; it’s a perfect, foolproof, 4-ingredient, no-bake Christmas candy. If you’ve mastered my fudgy peppermint brownies, you are ready for this simple, crunchy magic. Trust me, you’ve got this!
- Why This Easy Peppermint Bark Recipe is a Festive Favorite
- Gathering Ingredients for Perfect Peppermint Bark
- Classic Peppermint Bark Tutorial: Step-by-Step Instructions
- Tips for Success with Your Layered Chocolate Bark
- Peppermint Bark Variations: Beyond the Classic Recipe
- Storage & Serving Suggestions for Your Festive Holiday Dessert
- Frequently Asked Questions About Homemade Peppermint Bark
- Quick Facts and Estimated Nutrition for Peppermint Bark
- Share Your Symphony of Peppermint Bark
Why This Easy Peppermint Bark Recipe is a Festive Favorite
When the holidays get busy, the last thing anyone needs is a recipe that demands hours of attention. This homemade peppermint bark is my go-to because it delivers maximum holiday impact with minimal effort. It’s truly a spectacular, stress-free dessert.
- Quick Christmas Treats: Ready Fast: We are talking about active time that is less than 20 minutes! This recipe is pure alchemy; you melt, spread, sprinkle, and chill. It’s the definition of No Bake Christmas Candy success.
- Simple Holiday Baking with Only 4 Ingredients: I love transparency, and this recipe proves you don’t need a giant pantry. Dark chocolate, white chocolate, peppermint extract, and candy canes—that’s it! It fits perfectly into any 4 Ingredient Candy Recipe plan you might have.
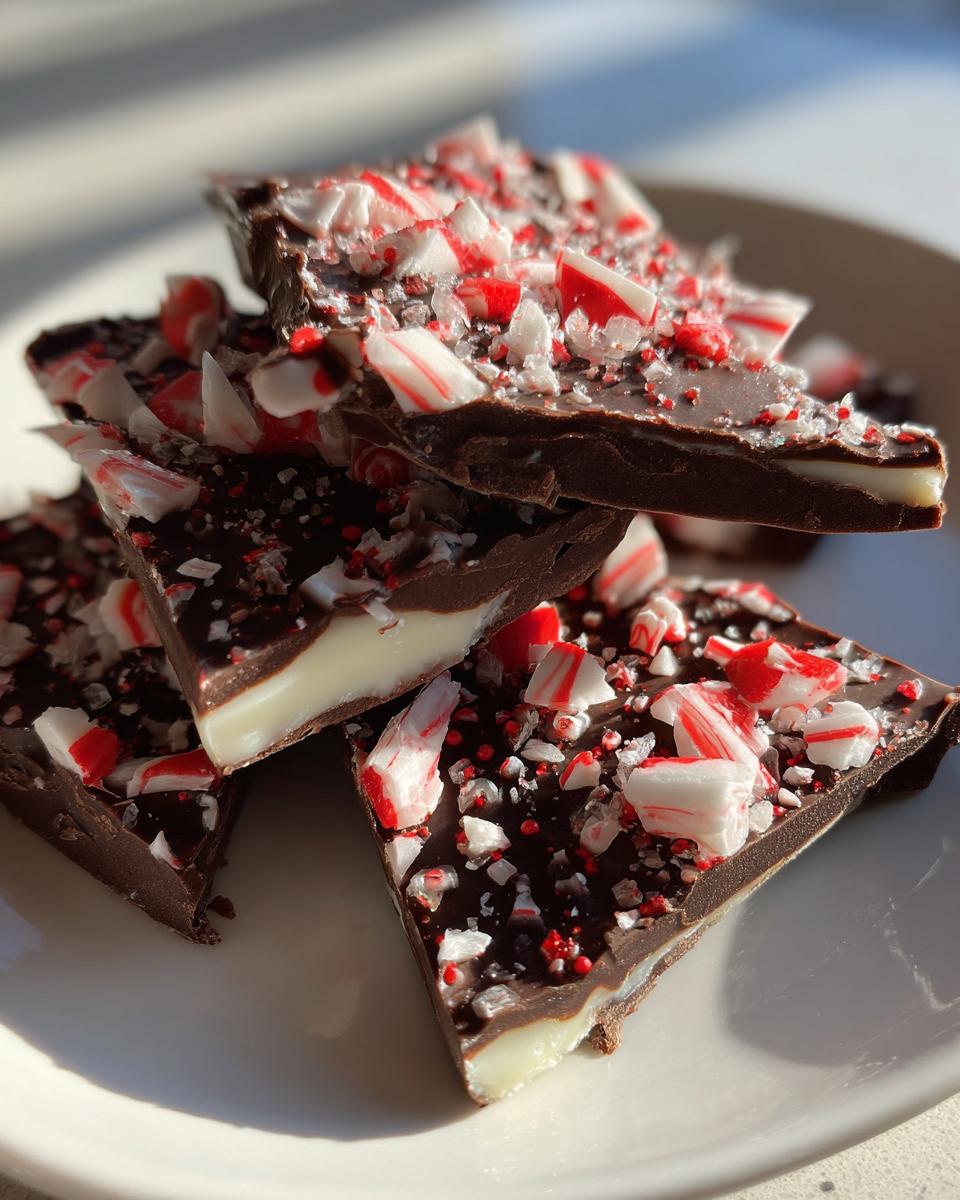
- Perfect for Homemade Holiday Gifts: Because it looks so beautiful when broken into jagged, sparkling pieces, this Homemade Peppermint Bark screams quality. Wrap it up with some twine, and you have a sophisticated, thoughtful gift ready in a flash. If you enjoy simple recipes like my Almond Joy cookies, you’ll adore this.
Gathering Ingredients for Perfect Peppermint Bark
When you’re working with only four components, every single one has to be spot on. If you skip quality here, the whole symphony falls flat! Don’t worry; these are all things you can easily grab at your regular grocery store near the holidays. We aren’t looking for anything fancy—just the essentials for truly great peppermint bark.
You need equal parts dark chocolate and white chocolate, about 12 ounces of each. Whether you use baking bars (chopped) or good quality chips is totally up to you, but make sure they are good melting chocolates!
Ingredient Clarity and Crushed Candy Cane Topping
The flavor structure relies on that dark/white chocolate contrast. And listen, the secret weapon—the thing that makes this look so stunning—is the topping. You absolutely need a full cup of crushed candy canes. I like to crush mine right in the wrapper with the bottom of a heavy pan. You want that mix of fine dust and slightly larger, sparkly shards for texture. Remember, we are aiming for a professional, flawless look even though this is the easiest part of the recipe!
Don’t forget the peppermint extract! That just wakes everything up. For more handy hints on prepping ingredients, check out my guide on candied pecans; the prep work is half the battle!
Classic Peppermint Bark Tutorial: Step-by-Step Instructions
Okay, now for the fun part! This is where the magic happens, and I promise, if you can use a microwave and a spatula, you’ve already mastered 90% of this **peppermint bark** recipe. We’re moving fast, so have your line-covered baking sheet ready to go before you start melting anything. I developed this method after burning a batch trying to melt chocolate on the stove—oops! The microwave technique is faster and way more forgiving.
Preparing the Dark Chocolate Base Layer
First, line that baking sheet with parchment paper. This is non-negotiable; peeling chocolate off a bare pan is a holiday nightmare. Toss your dark chocolate into a microwave-safe bowl. You’re going to zap it in 30-second bursts. Crucially, you must stir it thoroughly after every 30 seconds, even if it still looks chunky. We want it smooth, not scorched. Once it’s silky, pour it out onto your sheet. Use an offset spatula—it’s the best tool for this—to spread it into one nice, thin, even layer. We don’t want deep valleys here. Let it just sit for about five minutes at room temperature, or pop it in the fridge for two minutes until it’s just firm to the touch. It needs to be set enough to hold the next layer but not rock hard yet.
Adding White Chocolate Candy Cane Bark Topping
Now, grab your second bowl for the white chocolate. Melt this just like you did the dark batch, pulsing in 30-second intervals and stirring until absolutely smooth. This is your moment to add that cool, refreshing punch! Stir in that teaspoon of peppermint extract *immediately* into the melted white chocolate. That flavor needs to lock in. Pour that minty goodness right over your slightly set dark layer. Use that spatula again to encourage it into an even coating. Right away—and I mean before it has a chance to skin over—scatter your crushed candy canes everywhere! Use your hands to gently press them down. You want them embedded! If you wait too long, they won’t stick, and you’ll end up with loose mint dust later.
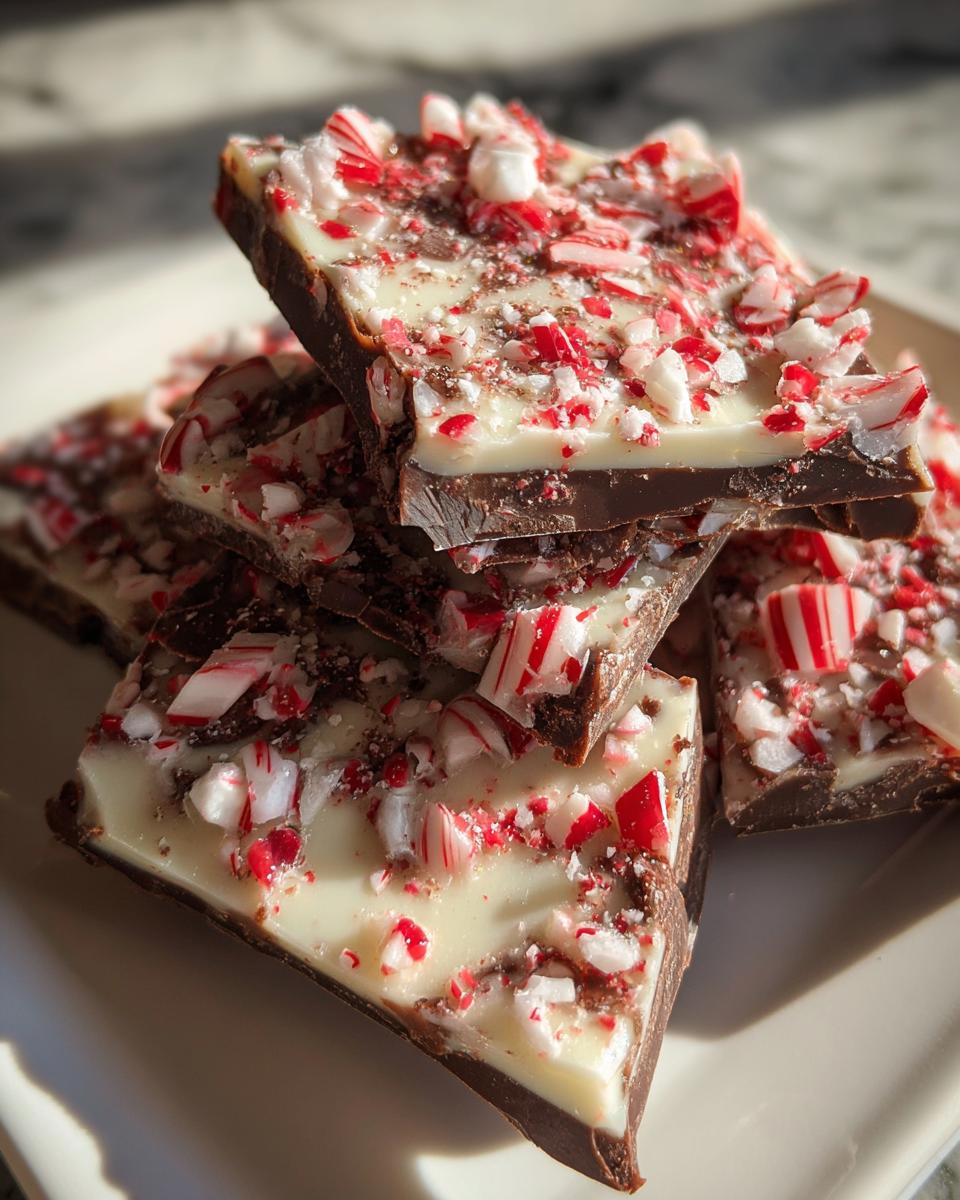
Setting and Breaking Your Homemade Peppermint Bark
Your **Homemade Peppermint Bark** needs to chill out now. You can leave it on the counter for an hour or two if your kitchen isn’t too warm, but I usually cheat and pop the whole tray into the refrigerator for about 30 minutes. You’ll know it’s ready when the whole slab is totally cool and brittle. When it’s set, it’s time for the incredibly satisfying part: breaking it! Don’t try to cut it neatly; that never works. Just lift the parchment paper slightly and snap the bark into irregular, picturesque chunks. For more gorgeous holiday treats, you can look at my guide on making chocolate mousse pie for inspiration.
And if you want to see how the pros handle chocolate, check out this tutorial on chocolate peppermint bark for extra tips on melting!
Tips for Success with Your Layered Chocolate Bark
You’ve got the process down, but I want to share a couple of my tried-and-true tricks to guarantee your **peppermint bark** doesn’t end up looking sad or sticky. Even though this is simple, chocolate can sometimes be temperamental, especially when you mix milk fats into it.
Achieving Flawless Peppermint Bark Texture
My biggest piece of home-cook advice is about quality, just like with baking my famous German Chocolate Poke Cake. Use high-quality chocolate! Cheap chocolate chips have stabilizers that make them seize up or create a dull finish. If the chocolate melts beautifully, your bark will shine.
Also, remember that essential resting period between the dark and white layers. If the bottom layer is too hard, the white chocolate won’t bond; if it’s too soft, they’ll just swirl together. You’re looking for that slightly tacky, just-set stage. For flavor boosting ideas, I always look at unique takes, like the way Julie Blanner adds salt in her salted peppermint bark post. That little touch makes a huge difference!
Peppermint Bark Variations: Beyond the Classic Recipe
While this dark and white chocolate version is my absolute favorite because it feels so complete, I totally encourage you to play around! That’s the fun of home cooking—making it completely yours. If you’re looking to jazz up your standard peppermint bark for a change of pace, there are a few easy tweaks that deliver huge flavor rewards without adding any complexity.
For instance, if you’re making this for kids or you just prefer sweeter chocolate, go ahead and swap out the dark chocolate base for milk chocolate. It gives you a much smoother, sweeter base for that sharp peppermint pop later on. You can see how other bakers experiment with similar flavors in this peanut butter bark recipe.
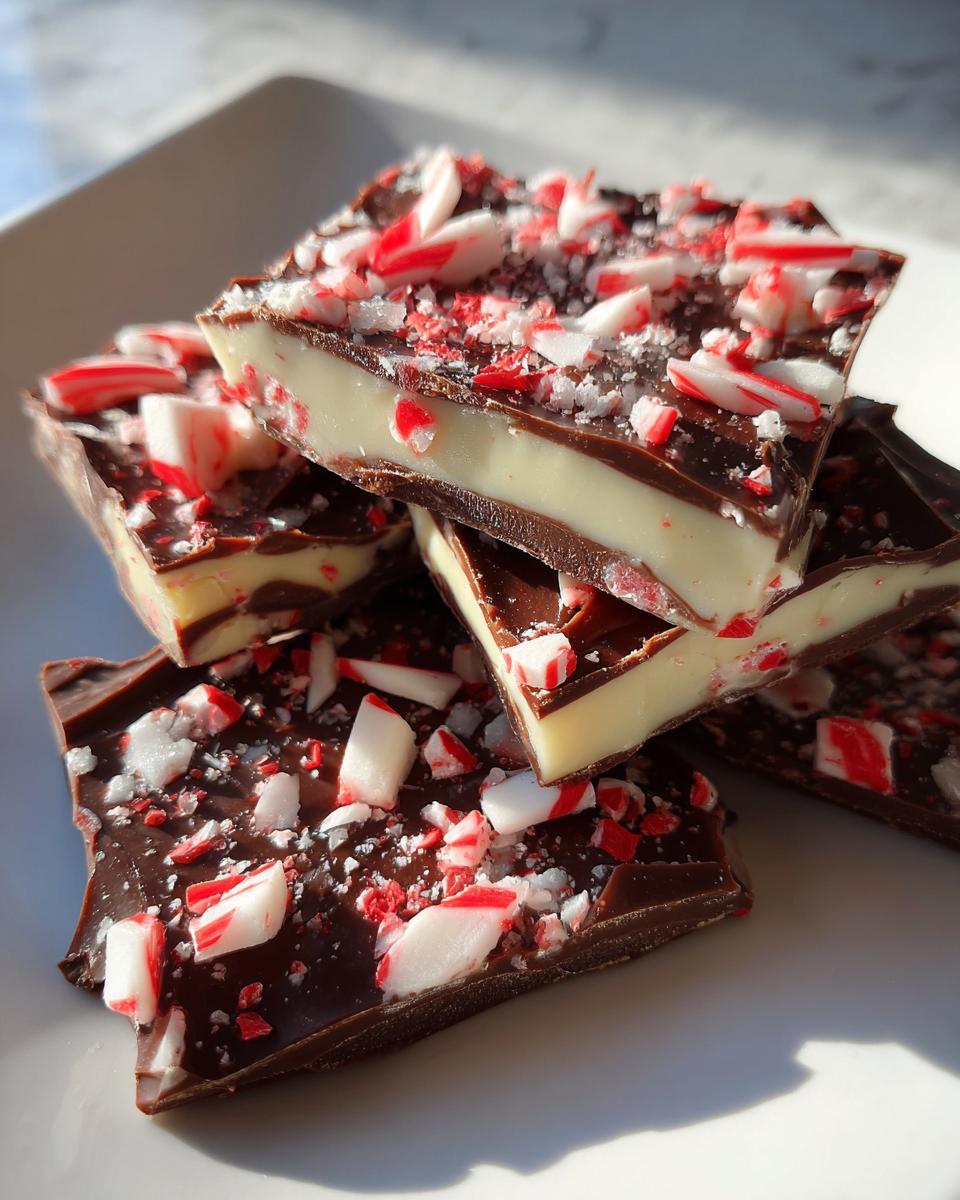
Salted White Chocolate Candy Cane Bark Ideas
If you haven’t tried adding a little sea salt to your holiday candy, you are missing out! Salt cuts the richness of the chocolate and makes the peppermint flavor really zing. If you want to make a Salted White Chocolate Candy Cane Bark variation, here is my trick: Wait until you have sprinkled the crushed candy canes over the wet white layer, but *before* you start pressing them down. Sprinkle a healthy pinch of flaky sea salt (Maldon is great if you have it!) evenly over the top. The little salt flakes adhere perfectly, giving you that gourmet touch seen in recipes like this William Sonoma Inspired Peppermint Bark!
Storage & Serving Suggestions for Your Festive Holiday Dessert
Once you’ve broken up your gorgeous **peppermint bark**, you’ll want to keep it perfect until it disappears—which probably won’t take long! Since this is a no-bake creation, storage is super easy. You don’t need prime real estate in the fridge, but it’s the safest place to keep it cool, especially if your kitchen runs warm this time of year.
Making Peppermint Bark Ahead of Time
This is one of the best holiday cheats! You can absolutely make this ahead of time, supporting that goal of having Quick Christmas Treats ready when you need them. Once fully set and broken into pieces, store your bark in a sturdy, airtight container. It keeps wonderfully at room temperature for about a week, which is great for clearing up fridge space. But if you want it to last closer to two weeks, pop it in the fridge. I always keep mine in the fridge and pull it out about 20 minutes before serving so the chocolate has just a little give. It’s a natural fit for any Christmas cookie bars platter for your holiday parties!
Frequently Asked Questions About Homemade Peppermint Bark
I know sometimes you just need a quick confirmation before diving into a holiday recipe, so I gathered the questions I get asked most often about this simple treat. Having this information handy makes creating your **peppermint bark** even smoother!
Is this really the best Easy Peppermint Bark Recipe?
I certainly think so! It hits that perfect balance: deep dark chocolate grounding the sweetness of the white layer, all under that satisfying crunch of mint. Because it requires zero oven time and only four ingredients, it’s unbeatable for a quick, visually stunning festive holiday dessert.
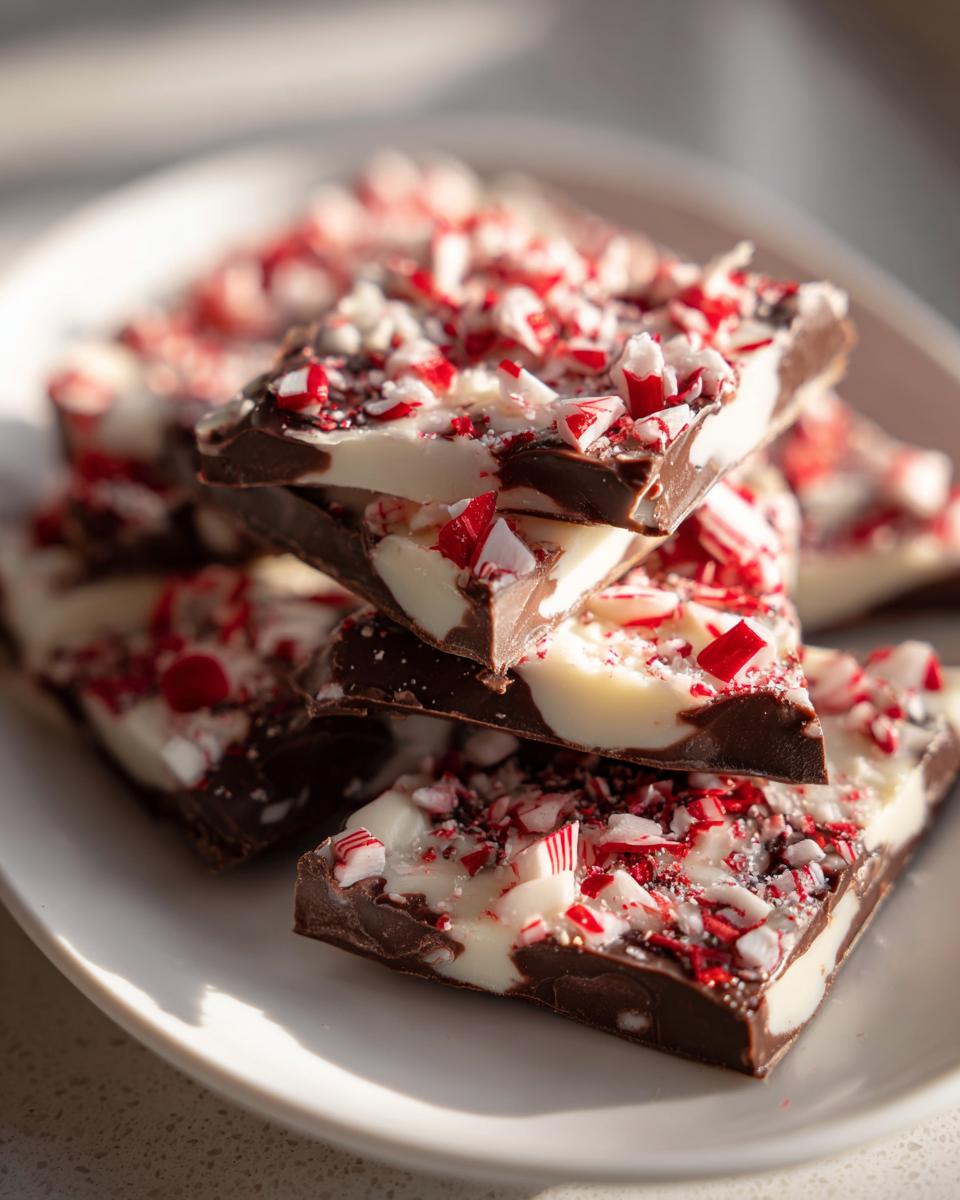
What’s the secret to making it look like Copycat Costco Peppermint Bark?
Great question! The Costco version is famous for its substantial, irregular chunks. To nail that look, make sure your dark chocolate layer is a little thinner than your white layer—that ratio helps it break up nicely. Also, don’t be shy when pressing those crushed candy canes into the white chocolate! A firm press ensures they adhere well for that perfect homemade aesthetic.
Can I use only white chocolate if I don’t like dark chocolate?
Absolutely, you can! If you prefer a purely sweet experience, you can make an all-white chocolate variation. Just use 24 ounces of white chocolate instead of splitting it. Remember that the contrast of the dark layer really deepens the flavor profile, but ultimately, it’s your symphony, so make it how you like it!
Do I need to use real peppermint extract?
Yes, use the extract! Using pure peppermint extract provides that clean, cool flavor. If you only have mint extract, which usually tastes more like spearmint, the bark won’t have that classic holiday zing. Think of the extract as the final, essential note in this recipe, something crucial for a genuinely delicious result, just like balancing the flavors in my snickerdoodle cheesecake.
Quick Facts and Estimated Nutrition for Peppermint Bark
It’s always good to know what you’re working with, especially if you’re doling out these sweet treats at a holiday party or taking them to a large gathering. Remember, since this peppermint bark recipe is based on simple ingredients like chocolate and candy, the numbers can shift slightly based on the exact brand of chocolate you choose. These figures are based on dividing the total yield into one-ounce pieces, giving you a decent ballpark estimate for serving sizes.
Here’s a quick look at the breakdown:
- Calories: About 160 per ounce piece.
- Total Fat: Roughly 10 grams.
- Carbohydrates: You’re looking at about 17 grams.
- Protein: A small boost around 2 grams.
Share Your Symphony of Peppermint Bark
Now that you’ve made your own batch of this festive treat, I want to hear all about it! Did you stick to the four ingredients, or did you try sprinkling on some sea salt? Head down to the comments, give this recipe a rating, and share your beautiful, crunchy results. I love seeing how you bring your own harmony to the Delish Symphony kitchen! Don’t forget to take a peek at my homemade salad dressing recipes for a lighter side when the sweets get too much!
PrintThe Ultimate Easy 4-Ingredient Peppermint Bark (No-Bake Christmas Candy)

Make this classic, festive peppermint bark with only four simple ingredients. This no-bake Christmas candy layers dark and white chocolate with crushed candy canes for a perfect holiday treat or homemade gift.
- Prep Time: 15 min
- Cook Time: 5 min
- Total Time: 20 min
- Yield: About 1 pound of bark 1x
- Category: Dessert
- Method: No-Bake
- Cuisine: American
- Diet: Vegetarian
Ingredients
- 12 ounces dark chocolate, chopped or chips
- 12 ounces white chocolate, chopped or chips
- 1 teaspoon peppermint extract
- 1 cup crushed candy canes (about 10–12 large canes)
Instructions
- Line a baking sheet with parchment paper. Set aside.
- Melt the dark chocolate: Place the dark chocolate in a microwave-safe bowl. Microwave in 30-second intervals, stirring well after each interval, until smooth. Do not overheat.
- Spread the melted dark chocolate evenly onto the prepared baking sheet, creating a thin, flat layer.
- Let the dark chocolate set slightly at room temperature for about 5 minutes, or place it in the refrigerator for 2 minutes until it is firm to the touch but not completely hard.
- Melt the white chocolate: Place the white chocolate in a separate microwave-safe bowl. Microwave in 30-second intervals, stirring until completely smooth. Stir the peppermint extract into the melted white chocolate.
- Pour the white chocolate mixture over the dark chocolate layer. Use an offset spatula to spread it into an even layer.
- Immediately sprinkle the crushed candy canes evenly over the white chocolate layer. Gently press the candy pieces into the chocolate with your hands or the back of a spoon.
- Allow the bark to set completely. You can leave it at room temperature for 1 to 2 hours, or place it in the refrigerator for about 30 minutes for faster setting.
- Once fully set, break the peppermint bark into irregular pieces. Store in an airtight container at room temperature or in the refrigerator.
Notes
- For a professional look, use high-quality chocolate for the best melt and flavor.
- If you want a thicker layer of dark chocolate, let the first layer set completely before adding the white chocolate.
- You can substitute dark chocolate with milk chocolate if you prefer a sweeter base layer.
- Save extra crushed candy canes for decorating cookie exchange platters.
Nutrition
- Serving Size: 1 ounce piece
- Calories: 160
- Sugar: 15
- Sodium: 15
- Fat: 10
- Saturated Fat: 6
- Unsaturated Fat: 4
- Trans Fat: 0
- Carbohydrates: 17
- Fiber: 0
- Protein: 2
- Cholesterol: 10