

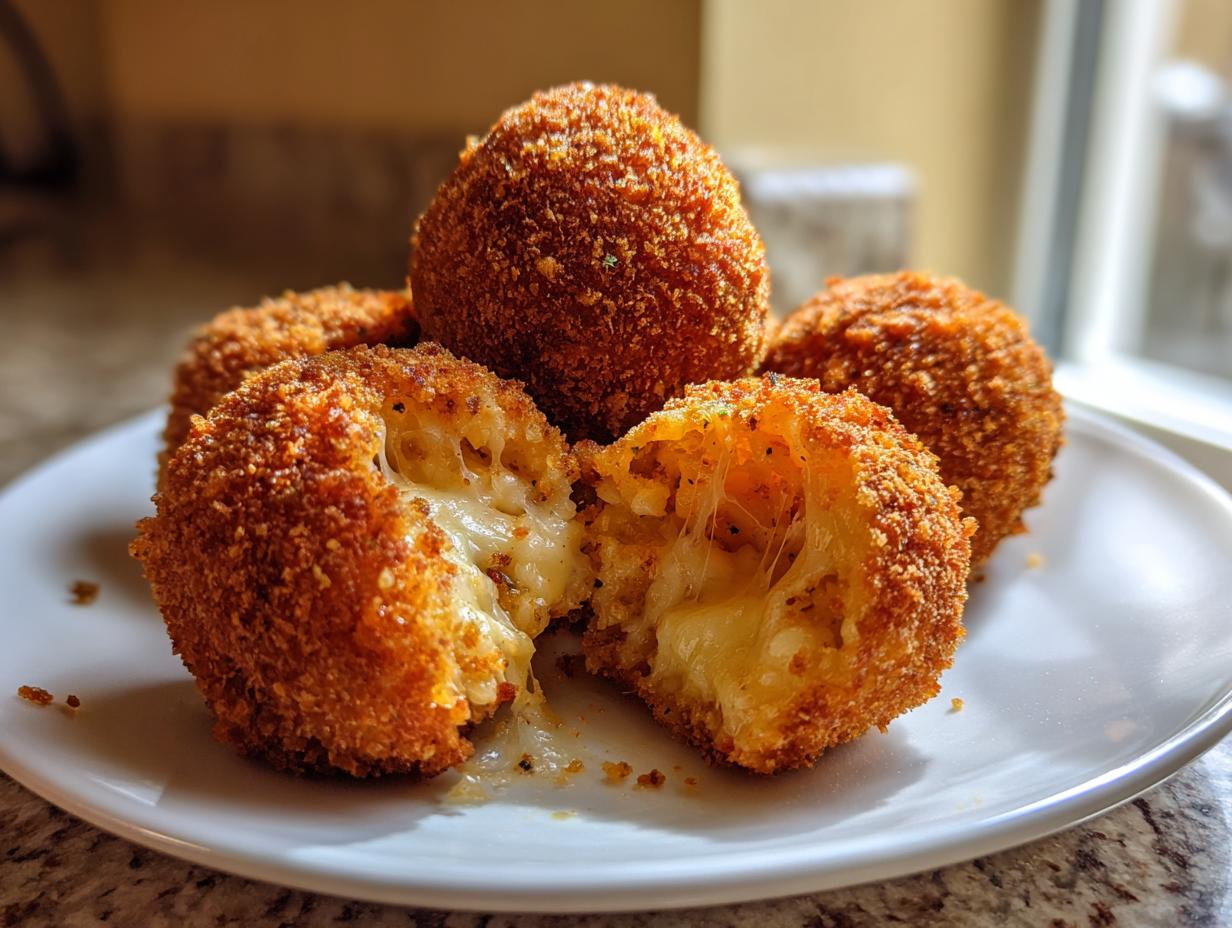
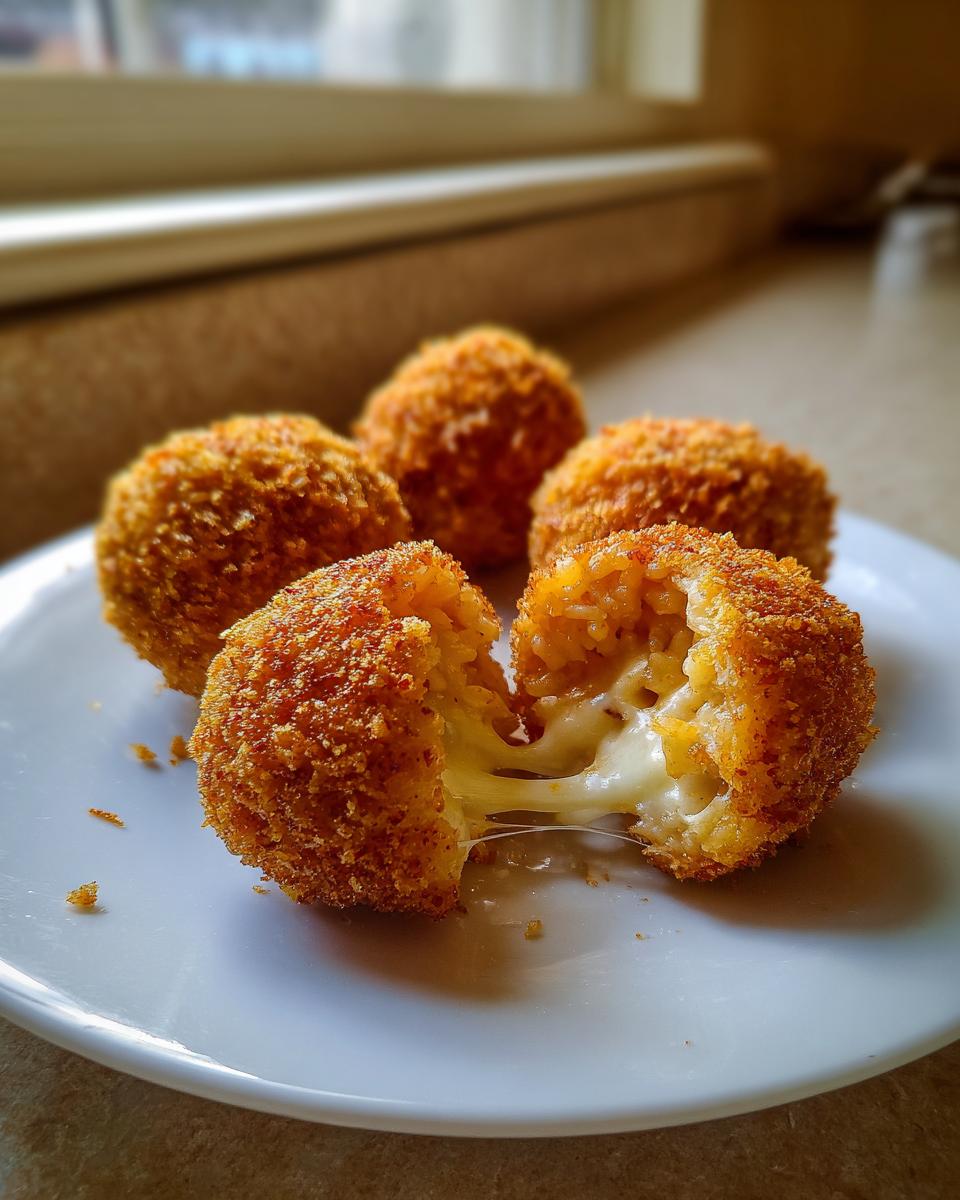
If you’re looking for that perfect appetizer—the kind that disappears the second you set them down—we need to talk about rice balls. Forget meek little snacks; we’re diving headfirst into glorious, comfort-food territory: the Ultimate Cheesy Italian Arancini. I’ve tested this recipe endlessly in my own kitchen to make sure it works flawlessly for busy home cooks like you. Seriously, these are game-changers. We are talking about achieving that seemingly impossible combination: a perfectly golden, shatteringly crispy fried rice balls exterior giving way to a warm, savory, and absolutely gooey cheese center appetizer. Get that leftover risotto ready, because once you master making these authentic Italian street food bites, you won’t look back. You can check out how this recipe fits into our philosophy of simple weeknight dinner recipes, even if Arancini feels a little special!
- Why You Will Make These Cheesy Italian Rice Balls Again
- Essential Ingredients for Perfect Italian Rice Balls
- Expert Tips for Making Your Rice Balls Hold Shape
- Step-by-Step Instructions: How to Prepare Italian Arancini Rice Balls
- Variations for Your Homemade Rice Balls
- Serving Suggestions for These Savory Snack Bites
- Frequently Asked Questions About Arancini Rice Balls
- Storage and Reheating Instructions for Crispy Rice Balls
- Estimated Nutritional Data for Cheesy Rice Balls
- Share Your Homemade Rice Balls Experience
Why You Will Make These Cheesy Italian Rice Balls Again
I know you have tons of recipes competing for your precious time, but these cheesy Italian rice balls are worth scheduling in. They truly hit every mark! If you’re searching for that undeniable crunch paired with pure melted cheese goodness, here’s why this recipe wins every time:
- That perfect snap! The combination of good technique and Panko breadcrumbs guarantees you get that amazing Crispy Fried Rice Balls exterior.
- Instant crowd-pleaser status: These are the ultimate Party Food Finger Foods—they look fancy but are actually simple to make ahead.
- The Melty Magic: Every bite delivers that satisfying, stringy, Gooey Cheese Center Appetizer experience we all crave.
- They are practically an application for your leftovers! Using pre-made risotto makes the prep time surprisingly fast.
- We’ve streamlined the technique so you can confidently make Arancini at home without needing a degree in Italian cooking.
- They transition beautifully from a great appetizer to a hearty main course when served over warm sauce.
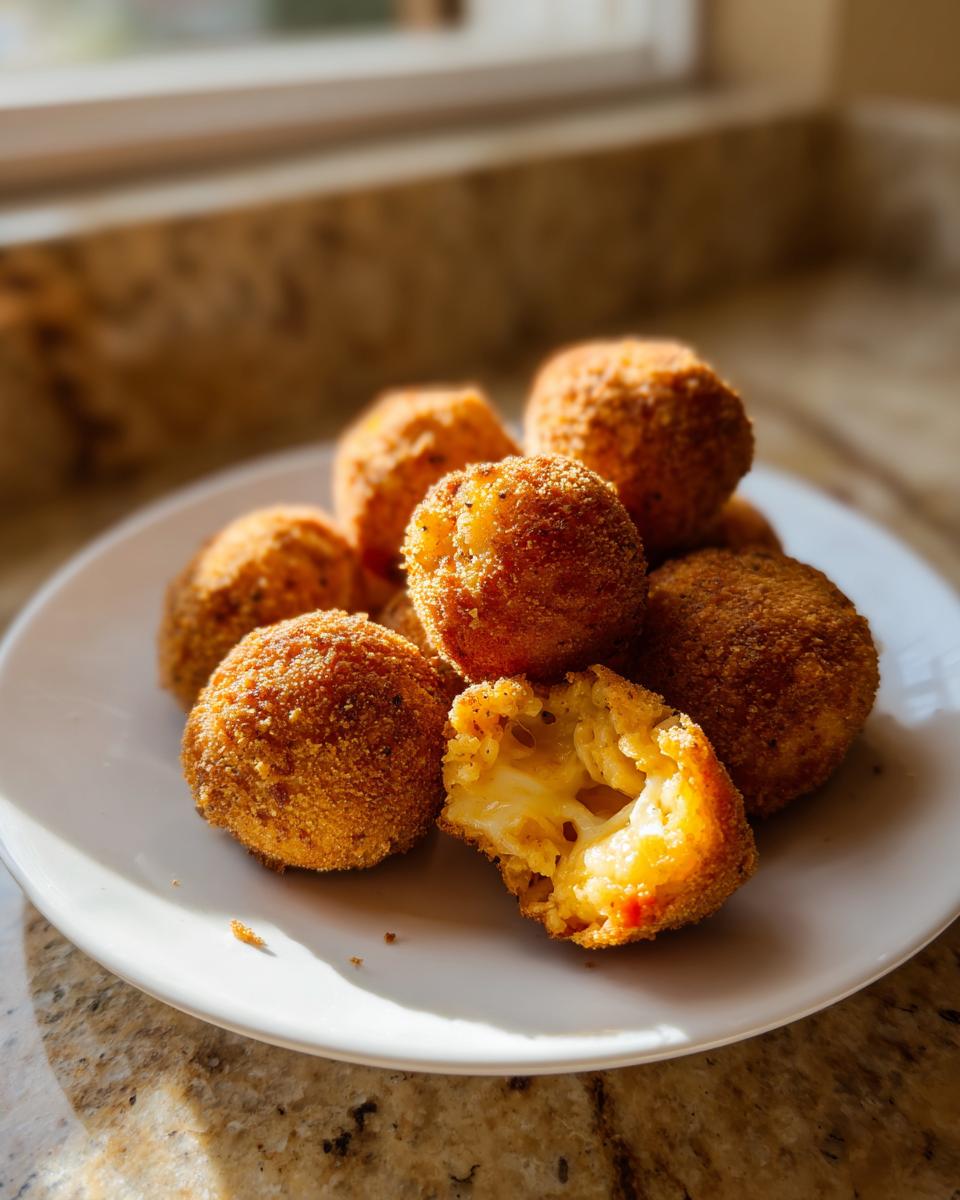
Essential Ingredients for Perfect Italian Rice Balls
Okay, let’s get down to business. Creating incredible Arancini isn’t about obscure ingredients, but it *is* about using the right things in the right proportions. Remember, these need to stand up to hot oil and still give you that creamy interior! I’ve laid out exactly what you need below. Pay close attention to the breadcrumbs—that’s where the real crunch starts!
For the Risotto Base and Filling
The secret sauce starts here. You absolutely must use cooled, day-old risotto if you want these to hold their shape properly during forming and frying. Freshly made, hot risotto just won’t behave itself!
- 3 cups leftover cooked risotto (this needs to be chilled—don’t skip chilling!)
- 1 cup shredded mozzarella cheese (the fresh kind melts best!)
- 1/2 cup grated Parmesan cheese
- 1 large egg, lightly beaten (this helps bind the base mixture, not the dredge)
- 1/2 teaspoon salt
- 1/4 teaspoon black pepper
For the Crispy Coating Station
This is your armor! We need three separate stations to get that professional, beautifully textured crust. I always set these up right next to the stove before I even start scooping the risotto.
- 1/2 cup all-purpose flour
- 2 large eggs, beaten for dredging (this is the glue!)
- 1 cup breadcrumbs (Stop right there! You absolutely need Panko here. Trust me, standard breadcrumbs get soggy too fast. Panko [or Japanese-style flakes] are what give you those spectacular, jagged, super-Crispy Fried Rice Balls.)
You’ll also need about 2 inches of vegetable oil ready for frying, and, of course, warm marinara sauce waiting on the side for dipping. Those few things make all the difference!
Expert Tips for Making Your Rice Balls Hold Shape
Listen, the biggest fear when making anything deep-fried is that it will explode or fall apart in the oil. That is a tragedy we are going to prevent right now! Getting the structure right on these Arancini is mostly about patience—which I know can be hard when something smells this good. We want them sealed tight, ready to handle that hot oil bath so you learn exactly how to make crispy outside rice balls.
The Importance of Chilling Your Rice Balls
You absolutely cannot rush this part. After you’ve rolled your little balls and made sure that mozzarella center is totally sealed—I mean, zero gaps!—they need a mandatory vacation in the fridge. Chilling them for at least 30 minutes firms everything up. Think of it like setting concrete; the cool temperature makes the starches in the rice lock down. If you try to fry them immediately, that gorgeous, hot cheese inside will turn the surrounding rice into mush, and *poof*, you’ve got a broken rice ball floating sadly in your oil.
Step-by-Step Instructions: How to Prepare Italian Arancini Rice Balls
Alright, this is where we bring it all together! Making these savory little treasures is totally doable, even if you’ve never fried anything bigger than an egg. We’re going to take this slow. Remember, this entire sequence happens *after* your chilling time is up, so your rice balls are nice and solid. I often put on a good podcast or maybe even look up some classic Italian music while I’m doing the assembly line work, because efficiency is key here!
Mixing and Sealing the Stuffed Rice Balls
First things first, let’s get that base handled. In your mixing bowl, combine that chilled risotto with the Parmesan, the single beaten egg, and your salt and pepper. Mix it just until everything looks unified—don’t mash it into oblivion! Now, for the fun part: taking about two tablespoons of the mixture, flattening it in your palm, and nestling that little cube of mozzarella right in the center. Be generous, but careful! You have to completely seal that cheese in. Pinch the rice all around it until you have a tight, smooth sphere. No cracks allowed!
Achieving the Ultimate Crispy Fried Rice Balls Texture
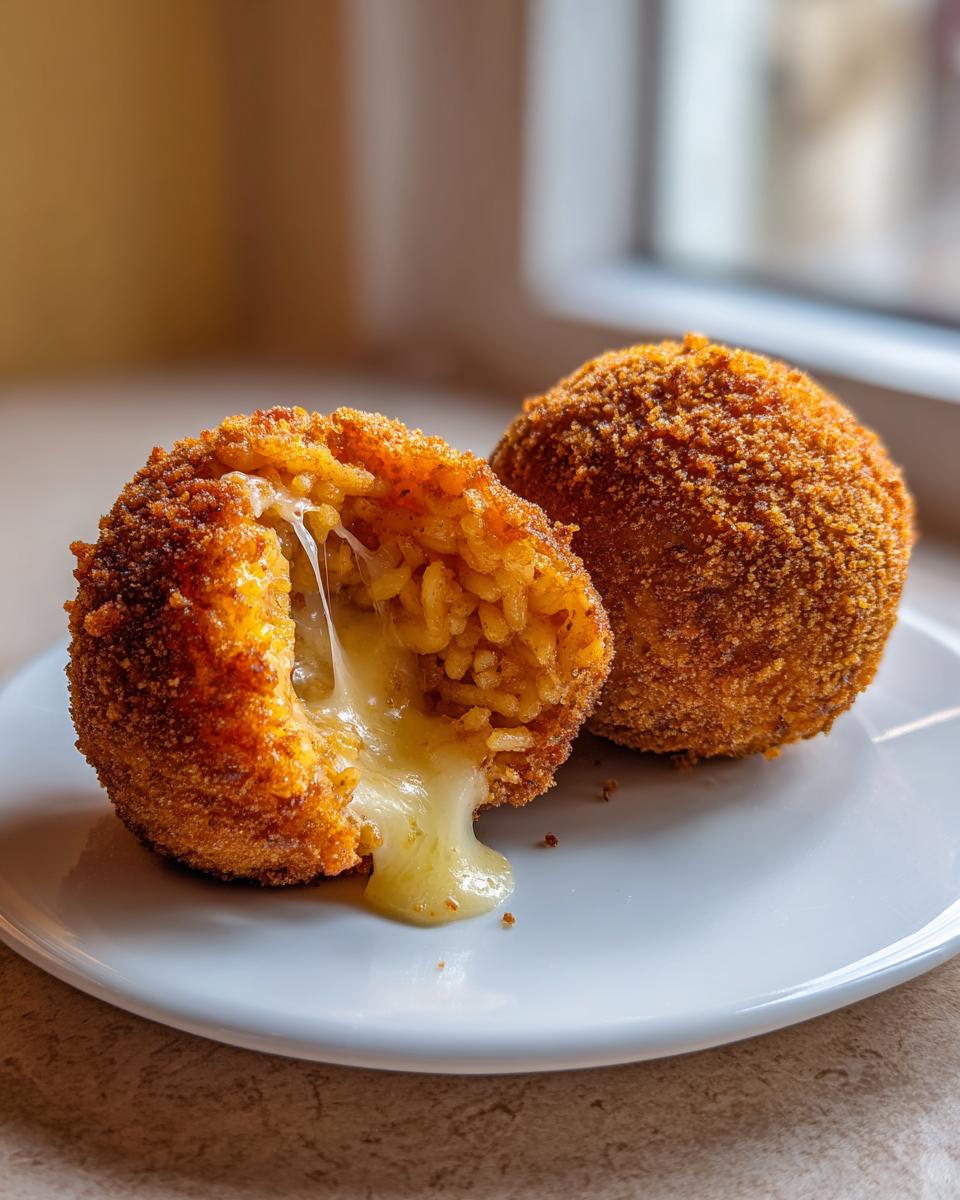
Once everything is shaped and chilled, set up your dredging system: flour dish, two beaten eggs dish, and the Panko breadcrumbs dish. Roll each ball first in the flour—shake off the excess!—then give it a nice dip in the egg bath, and finish it by pressing firmly into the Panko so those flakes stick everywhere. Heat your oil to a happy 350°F (that’s medium-high). Carefully drop them in, no more than three or four at a time so the oil stays hot. Let them bubble away for about 3 to 4 minutes, turning them gently until they are perfectly golden brown all over. Scoop them onto paper towels or a rack right away. Remember, these are best enjoyed immediately, maybe with a side of our creamy garlic aioli or classic marinara!
Variations for Your Homemade Rice Balls
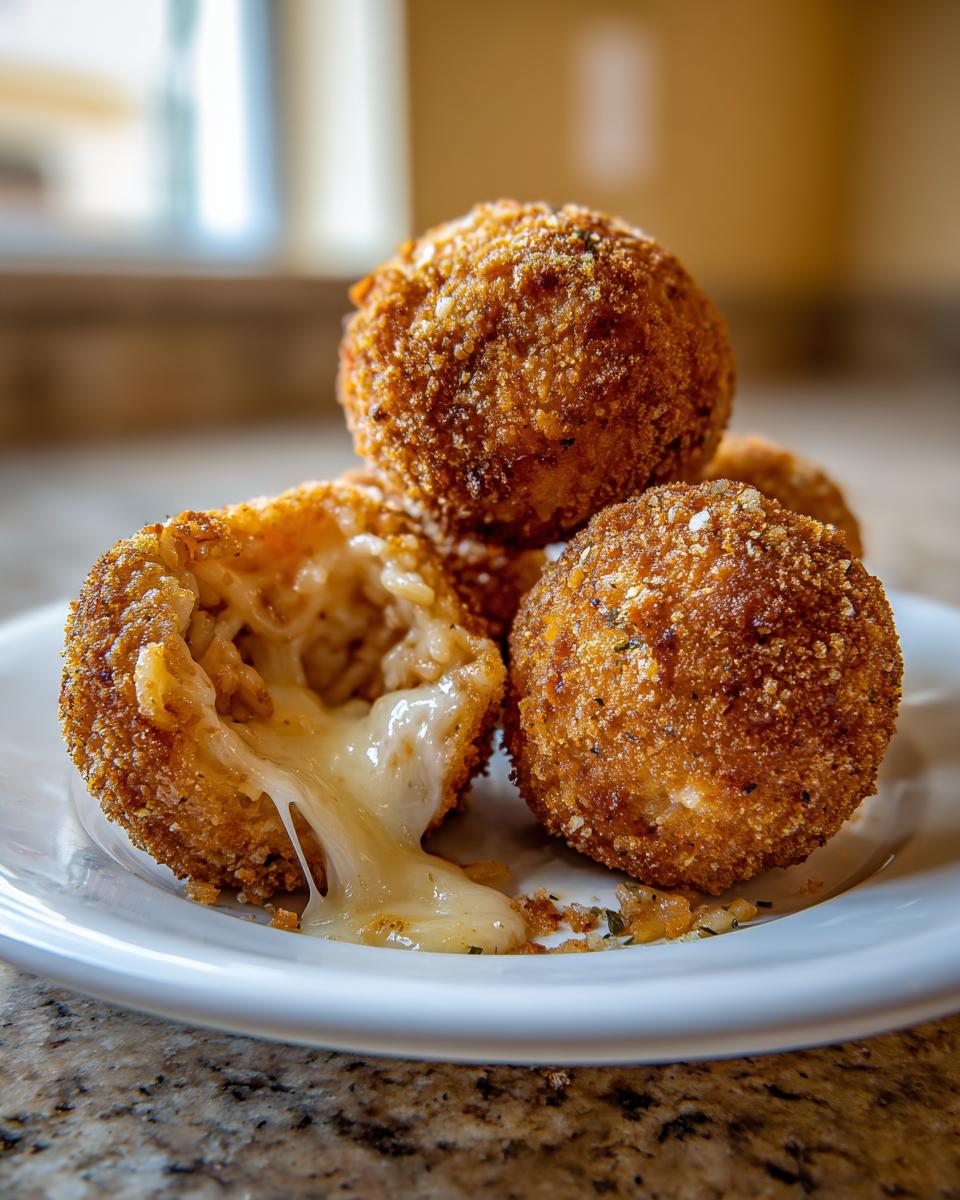
Look, while the classic, cheesy version of these Italian rice balls is pure perfection, I know some of you are looking to sneak in a little extra savory goodness or maybe avoid deep frying altogether. Don’t worry, these recipes are still fantastic, and you can find lots of inspiration for other types of rice balls out there, like those amazing Japanese Onigiri recipes—I highly recommend trying classic Japanese rice balls next! But sticking to our Italian theme for now, here are a couple of simple ways to tweak this base recipe.
Meat and Pepperoni Stuffed Rice Balls
If you’re craving something heartier or trying to feed a crowd that expects meat, this is super easy to adapt. This is where you can really explore the best Arancini filling ideas you can dream up! Right when you are mixing your risotto base (Step 1 in the instructions), just toss in about a cup of pre-cooked, crumbled Italian sausage or some finely chopped pepperoni along with your Parmesan cheese.
When you go to seal the ball, follow the original instruction: flatten a scoop, place your mozzarella cube right in the middle, and then make sure you totally cover it. The meat gets cooked beforehand, so all you are doing is heating it through while frying. It adds such a fantastic salty kick!
Baked Rice Ball Alternative
I totally get that sometimes deep-frying just isn’t practical, or maybe you’re watching the oil intake. You asked if you could bake these, and I checked my notes—yes, you absolutely can get away with a very good, slightly less greasy version! This variation hits that one-pan wonder vibe, even though we skip the pan!
You follow every single step exactly up until the frying part. Instead of plunging them into hot oil, set your coated, chilled rice balls onto a baking sheet lined with parchment paper. Pop them into a preheated oven at 400°F (or 200°C). Bake them for about 15 to 20 minutes total. You’ll need to flip them carefully about halfway through cooking. They won’t get that intense, jagged crispiness that frying provides, but they will turn a lovely golden brown and still be crunchy enough to satisfy!
Serving Suggestions for These Savory Snack Bites
Once these golden treasures are drained, serving them immediately is crucial so that mozzarella starts melting just as they hit the plate! Of course, a bowl of warm, zesty marinara sauce is non-negotiable for dipping—it brings out the herbs perfectly. If you want to elevate them slightly for a truly impressive spread, try brushing them lightly with garlic butter right after they come out of the oil. You could also serve them alongside our simple homemade guacamole for a surprising, flavorful dip contrast.
Frequently Asked Questions About Arancini Rice Balls
It’s natural to have questions when tackling a classic recipe like this! I get comments all the time about structural integrity, and honestly, I love troubleshooting with you folks because it helps us all learn to make the absolute best rice balls possible. Here are the things I hear most often when people are making their first batch of these delicious, savory snack bites.
Can I use freshly made risotto instead of leftover rice balls?
You totally can! The recipe calls for leftover risotto because the chilling process it goes through naturally firms up the starches, which makes shaping so much easier. If you make risotto fresh for this, you *must* let it cool completely. I usually spread it thin on a baking sheet so it cools faster, or even pop it into the fridge for a couple of hours. If it’s warm even slightly, it won’t have the right texture to hold that lovely mozzarella center when you try to seal it.
What is the best way to store leftover fried rice balls?
Oh, if you have any leftovers—lucky you! Store your already-fried Italian rice balls in an airtight container in the fridge for up to three days. Now, here’s the catch: reheating. Never use the microwave if you care about that crunch! To bring back the crispy exterior, you have to use dry heat. I prefer popping them in an air fryer for about 5 minutes at 375°F, or an oven set to 350°F until warmed through. That heat crisps up the Panko again!
Are there Gluten Free Rice Ball Options for this recipe?
That’s a great question, especially if you have sensitivities! Adapting this is quite simple. You’ll just need to make careful swaps in your dredging station. Replace the all-purpose flour with a good quality 1-to-1 gluten-free flour blend, and swap the Panko breadcrumbs for certified gluten-free Panko or even crushed cornflakes if you want a different kind of crunch. The base risotto mixture itself is naturally gluten-free, provided you use plain Parmesan cheese that hasn’t been cross-contaminated! This is a great option for making sure everyone at your gathering can enjoy these wonderful comfort food Asian style knock-offs, even though these are Italian!
Storage and Reheating Instructions for Crispy Rice Balls
Knowing how to store leftovers is almost as important as knowing how to fry them perfectly! You don’t want to ruin that beautiful, crunchy result you worked so hard for. I always try to make extra because these are fantastic the next day, provided you treat them right. How you store them depends entirely on whether they’re still raw (coated but not fried yet) or already cooked, ready to eat.
If you have any extra raw, coated rice balls after your assembly line wraps up, that’s actually a bonus! You can lay them out on a parchment-lined baking sheet and freeze them completely. Once they are rock solid, shake them gently into a zip-top bag. This lets you fry up a small batch whenever you crave them, making them a fantastic make-ahead snack for unexpected guests. This saves you the time of mixing the risotto and dredging later!
Reheating Cooked Arancini for Maximum Crispness
If you’re reheating the fully cooked Italian rice balls, you have to forget the microwave. Putting those golden wonders in the microwave is a one-way ticket to a sad, soggy disappointment, trust me. We need dry, intense heat to re-activate that crunch.
For about 4 to 6 balls, use an air fryer if you have one! Set it to 375°F and zap them for about 4 to 6 minutes. They come out unbelievably crisp, like magic. If you don’t have an air fryer, grab a baking sheet and dust it with a little salt—this helps absorb any residual moisture near the bottom. Bake them at 350°F for about 10 minutes. You’re just looking to heat that mozzarella gooey center back up while crisping the crust. You can find more great tips for keeping things crispy over on Fresh Pantry Co’s guide to delicious arancini rice balls you’ll love to make at home!
For a really comforting reheat, I sometimes toss mine in a cast-iron skillet with just a tiny splash of fresh olive oil over medium heat, turning them constantly until they are fully hot and crispy again. It’s a little more hands-on than the oven, but the flavor is unbeatable. Leftovers taste almost as good as fresh—and that’s saying something! Speaking of great leftovers, I use a similar reheating trick for my classic apple crisp recipe the next day.
Estimated Nutritional Data for Cheesy Rice Balls
Now, I know my main goal here at Delish Symphony is flavor and accessibility, not counting every single carb, but people always ask about the numbers, right? So, here is a general ballpark estimate for two of these amazing, crispy treats. Keep in mind that since these are fried, the final numbers are going to shift around based on how much oil they actually soak up during the cooking process—and whether you snuck in those pepperoni bits!
Think of this as your baseline for two cheesy rice balls. If you stick to the recipe exactly and fry correctly, things should look pretty close to this:
- Serving Size: 2 rice balls
- Calories: Approximately 350
- Fat: About 18g (a good chunk comes from that mozzarella, which we need for the melt!)
- Saturated Fat: Around 8g
- Carbohydrates: Roughly 35g
- Protein: About 14g (thanks to the cheeses and rice!)
- Sodium: Around 450mg
- Sugar: Very low, just 3g
This is just an estimation, though! If you opt for that baked rice ball alternative, you’ll definitely see the fat content drop down a bit. And if you decide to skip the mozzarella extra cube and just leave the base cheesy, that will adjust things too. I always say, the real nutrition comes from the joy it brings when you serve these up!
Share Your Homemade Rice Balls Experience
Wow, we made it! You’ve successfully navigated the world of creating the ultimate rice balls—crispy, cheesy, and truly Italian. I hope you had as much fun rolling and frying these as I did developing the recipe for you. Now that you know how easy it is to make these amazing appetizers, I really want to hear about it!
When you make these cheesy Italian wonders, please come back and drop a rating for me below. Clicking those stars helps other home cooks know this recipe is as reliable and delicious as I promise it is. Did you stick strictly to the mozzarella, or did you sneak in that pepperoni like I suggested? I love seeing your little tweaks!
And don’t forget, the world of rice balls is huge! While these Arancini are incredible, I always encourage you to keep exploring. Once you’re feeling confident with this frying technique, you should totally try making some Japanese style rice balls next. They take a completely different approach—often grilled like tuna mayo rice balls—and are perfect for portable lunches. Let me know in the comments what you try next, or if you need any help with your next culinary adventure. You can always reach out directly through the contact page if you have a burning question that wasn’t covered!
PrintUltimate Cheesy Italian Arancini Rice Balls

Make crispy fried rice balls with a gooey mozzarella center. This recipe shows you how to prepare authentic Italian Arancini at home, perfect for appetizers or party snacks.
- Prep Time: 20 min
- Cook Time: 15 min
- Total Time: 35 min
- Yield: About 12 rice balls 1x
- Category: Appetizer
- Method: Frying
- Cuisine: Italian
- Diet: Vegetarian
Ingredients
- 3 cups leftover cooked risotto (cooled)
- 1 cup shredded mozzarella cheese
- 1/2 cup grated Parmesan cheese
- 1 large egg, lightly beaten
- 1/2 cup all-purpose flour
- 2 large eggs, beaten for dredging
- 1 cup breadcrumbs (Panko recommended for crispiness)
- 1/2 teaspoon salt
- 1/4 teaspoon black pepper
- Vegetable oil, for frying
- Marinara sauce, for serving
Instructions
- Prepare the risotto mixture: In a bowl, combine the cooled risotto, mozzarella cheese, Parmesan cheese, 1 lightly beaten egg, salt, and pepper. Mix until just combined.
- Form the rice balls: Take about 2 tablespoons of the risotto mixture and flatten it in your palm. Place a small cube of mozzarella cheese (about 1/2 inch) in the center. Carefully mold the rice mixture around the cheese to form a tight ball, ensuring the cheese is completely sealed inside.
- Set up the dredging station: Place the flour in one shallow dish, the 2 beaten eggs in a second dish, and the breadcrumbs in a third dish.
- Coat the rice balls: Roll each rice ball first in the flour, shaking off any excess. Next, dip it completely into the beaten eggs. Finally, roll it thoroughly in the breadcrumbs, pressing gently so the crumbs adhere well.
- Chill the balls: Place the coated rice balls on a baking sheet and chill in the refrigerator for at least 30 minutes. This helps them hold their shape during frying.
- Fry the arancini: Pour vegetable oil into a deep pot or Dutch oven to a depth of about 2 inches. Heat the oil to 350°F (175°C).
- Carefully lower 3-4 rice balls into the hot oil, ensuring you do not overcrowd the pot. Fry for 3 to 4 minutes, turning occasionally, until they are golden brown and crispy on all sides.
- Remove the fried arancini with a slotted spoon and place them on a wire rack lined with paper towels to drain excess oil.
- Serve the crispy rice balls immediately with warm marinara sauce for dipping.
Notes
- For a non-fried alternative, you can bake the coated rice balls at 400°F (200°C) for 15-20 minutes, flipping halfway, until golden.
- If you do not have leftover risotto, you can make fresh risotto and let it cool completely before proceeding.
- For a meat filling, add 1 tablespoon of cooked, crumbled Italian sausage or finely chopped pepperoni along with the mozzarella cube.
Nutrition
- Serving Size: 2 rice balls
- Calories: 350
- Sugar: 3
- Sodium: 450
- Fat: 18
- Saturated Fat: 8
- Unsaturated Fat: 10
- Trans Fat: 0.5
- Carbohydrates: 35
- Fiber: 1
- Protein: 14
- Cholesterol: 75