
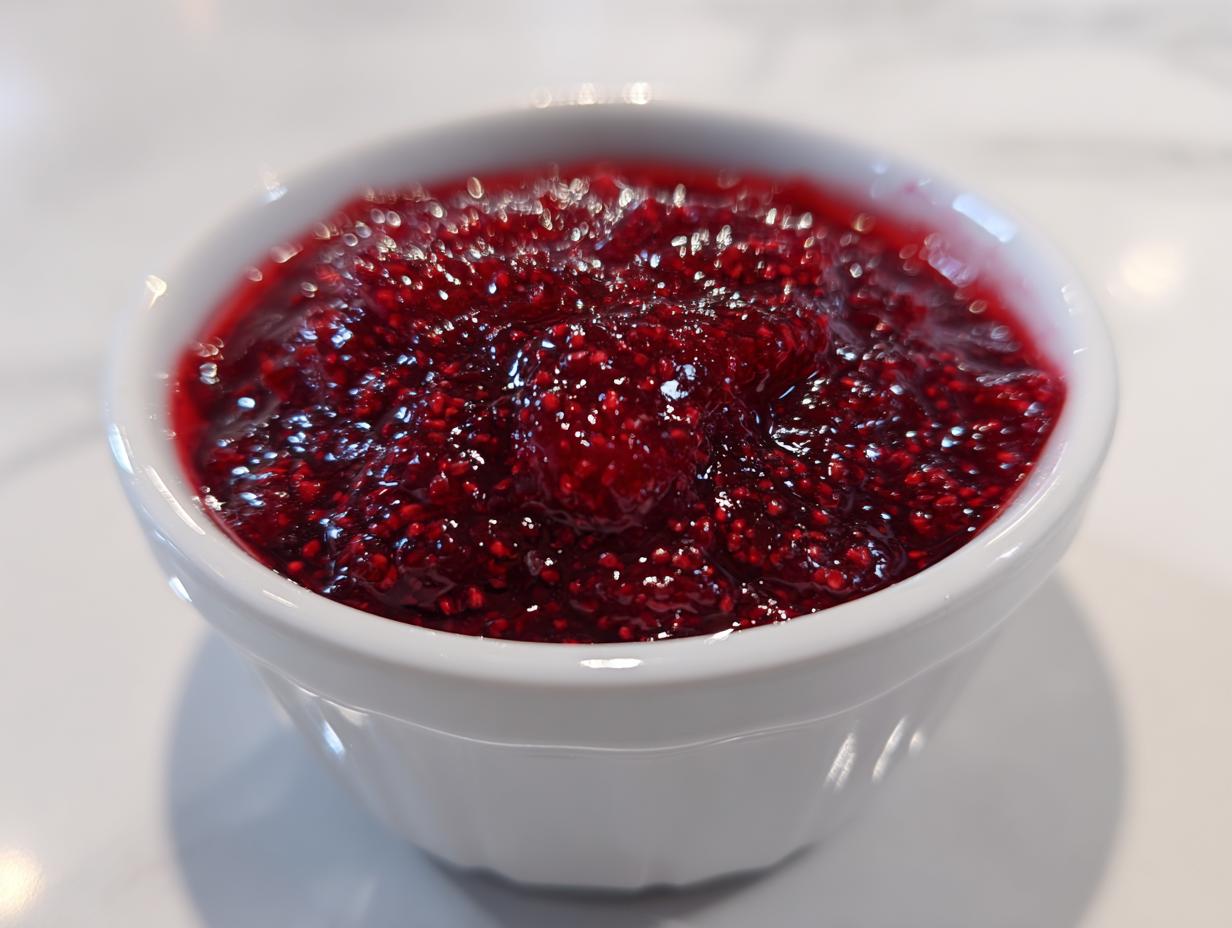
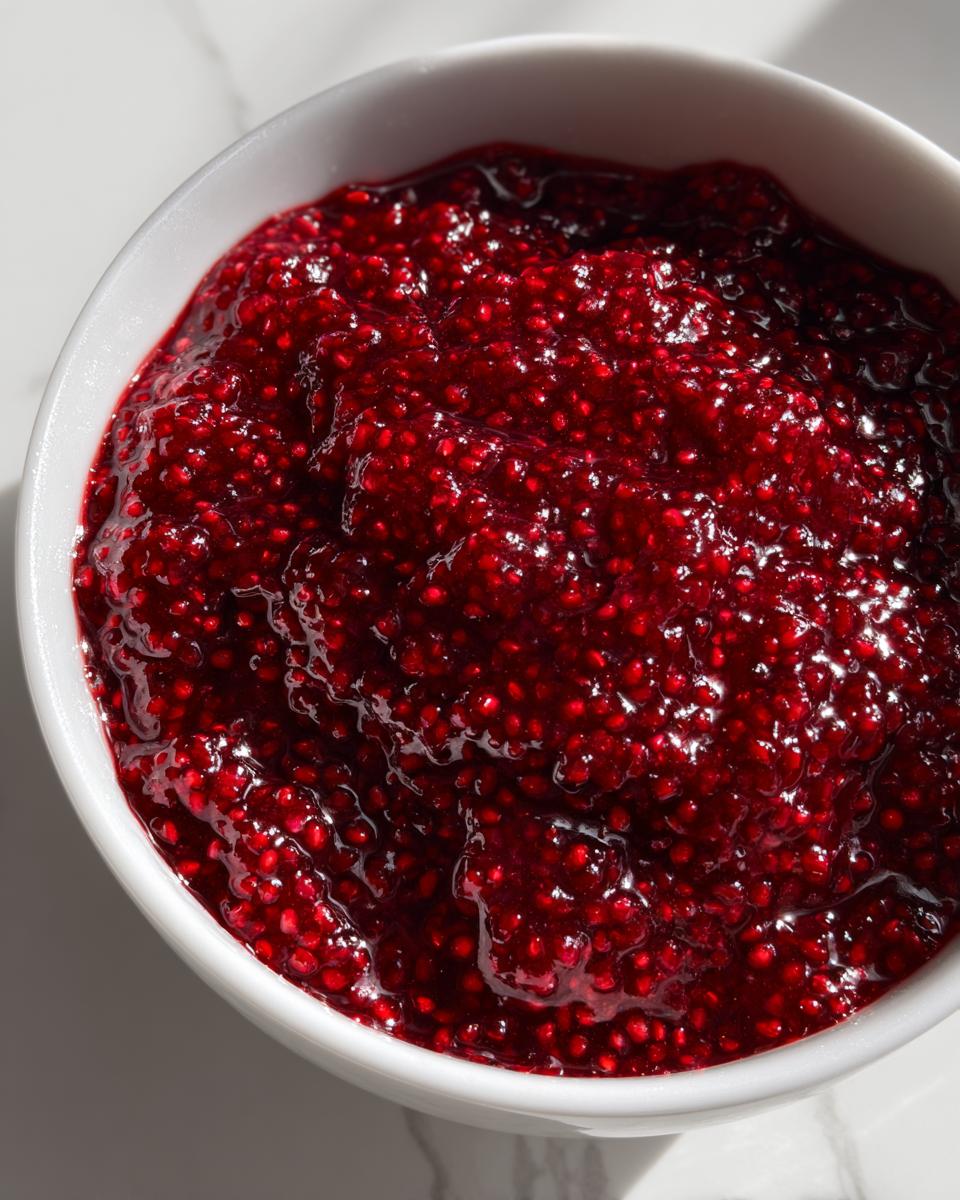
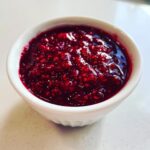
There’s just nothing like the taste of summer, right? I love finding ways to bottle up that bright, fresh flavor to enjoy all year long. Forget complicated processes and weird powders—today, we are making the absolute easiest homemade raspberry jam you’ll ever attempt. The beauty of this recipe is that it requires zero commercial pectin and thickens naturally on the stovetop in minutes. As Michael Carter always says, cooking should be about joy and harmony, not stress. This quick method proves you can achieve that sweet and tart burst you want without spending half the day over a simmering pot of fruit.
- Why This Easy Raspberry Jam Works (No Pectin Needed)
- Gathering Ingredients for Your Homemade Raspberry Jam
- Step-by-Step Instructions for Quick Raspberry Jam
- Storage Options: Canning Raspberry Jam vs. Freezer Jam Recipe
- Tips for Success Making Your Best Raspberry Jam
- Serving Suggestions for Your Vibrant Fruit Jam
- Frequently Asked Questions About Homemade Jam
- Estimated Nutritional Data for Raspberry Jam
- Share Your Simple Berry Preserves Experience
Why This Easy Raspberry Jam Works (No Pectin Needed)
You might be wondering how we get that beautiful, thick set without reaching for a box of commercial pectin. Honestly, good fruit doesn’t need it! Raspberries—and most berries, for that matter—already have a good amount of natural pectin hiding in their cell walls. Our job is simply to coax it out to do its thickening work.
This reliable technique relies on two things working together perfectly: the fruit’s nature and our careful additions. We use plenty of sugar, which acts as a preservative, obviously, but it also locks in moisture, thickening the whole mixture as it cooks down. That’s why we need a rapid, rolling boil!
The lemon juice is the true conductor in this simple symphony of flavor and texture. It brings the necessary acid to the party. Without enough acid, that natural pectin just won’t gel properly, leaving you with sweet, runny syrup instead of rich canning raspberry jam.
The Magic of Natural Thickening in Raspberry Jam
Think of it like this: when the fruit simmers with sugar and the acidity from the lemon juice hits those pectin molecules, they link arms and create a mesh network. This mesh traps all the water from the berries, which is what gives you that lovely, spoon-coating set we’re looking for. I always trust this fruit-and-sugar method because it feels less like science and more like magic happening right there on the stovetop!
Gathering Ingredients for Your Homemade Raspberry Jam
Okay, preparation is everything! Since this is a truly simple 3 ingredient jam, we can’t skimp on the quality of what we do use. You only need four things total, and they are all straightforward. I always use a ratio of 4 cups of berries to 3 cups of sugar for that perfect sweet and tart balance. You absolutely must use fresh lemon juice; the bottled stuff just doesn’t have the same punch.
If you’re not mid-season for fresh berries, don’t panic! Frozen raspberries work wonderfully for this quick raspberry jam batch. Just know that frozen berries release their liquid a bit more slowly during that initial resting period, so keep an eye on the cook time.
- 4 cups fresh or frozen raspberries
- 3 cups granulated sugar
- 1 tablespoon fresh lemon juice
Ingredient Notes and Substitutions for Simple Berry Preserves
This recipe is designed to be incredibly straightforward. We are relying on that incredible natural flavor, so use the best raspberries you can find—bright red and fragrant! If you use frozen, there’s no need to thaw them first; toss them right into the sugar. Because we’re skipping the pectin, the sugar measurement is important for the final set, so measure carefully. Seriously, resist the urge to cut back on the sugar here; it’s what helps this jam achieve its gorgeous texture.
Step-by-Step Instructions for Quick Raspberry Jam
Now for the fun part! This is where the symphony really comes together. Remember, since this is a simple preparation, we move fairly quickly once we get going. Don’t walk away from the stove once that mixture starts bubbling—you want to actively supervise this transformation! Our goal here is speed and precision to get that perfect set we talked about.
Maceration and Initial Cooking for Perfect Raspberry Jam without Pectin
First things first: combine your 4 cups of berries and 3 cups of sugar in a sturdy, heavy-bottomed pot. A heavy pot is key here; it distributes the high heat evenly and stops those sugary berries from scorching on the bottom. Let this sit on the counter for a good 15 minutes. This step is called maceration, and it’s critical. The sugar draws out all the beautiful juices from the fruit, giving us liquid to work with before we even turn on the heat. Once it rests, put it on medium-high heat and stir constantly until every single grain of sugar has dissolved. Don’t rush this part; if you have sugar grains left when you start boiling, you might end up with grainy jam later!
Reaching the Setting Point: The Secret to a Great Raspberry Jam
Once the sugar is gone and the mixture is at a full, rapid boil, toss in that tablespoon of lemon juice—that’s our activator! Now, you have to keep stirring frequently to stop it from sticking to the bottom while it boils hard. We are boiling actively until the jam hits that magic temperature: 220 degrees Fahrenheit on your candy thermometer. If you don’t have a thermometer, I always recommend the “cold plate test.” Keep a couple of small plates in your freezer. To test, drop a tiny spoonful of jam onto a frozen plate, put it back in the freezer for 60 seconds, and then gently push it with your finger. If it wrinkles slightly and doesn’t run back into itself, it’s done! This is the result of a perfectly cooked homemade jam.
Storage Options: Canning Raspberry Jam vs. Freezer Jam Recipe
Now that your beautiful raspberry jam is cooked to perfection, you have decisions to make! Do you want to enjoy this sweet creation immediately, or do you want to preserve summer berries to enjoy months from now? For immediate gratification—say, topping ice cream tonight or stirring into yogurt tomorrow—you can just let it cool down a bit and pop it straight into an airtight container in the fridge. It’ll keep beautifully for about three weeks.
But if you want true shelf stability and gifts for others, we move into the canning process we outlined. Using a boiling water bath, you process those sealed jars for exactly 10 minutes. That short bath locks in the flavor and makes sure your homemade jars are safe for the pantry!
Tips for Safe Water Bath Canning Projects
Safety in canning is non-negotiable, but it’s really not scary! My biggest piece of advice, which I learned the hard way with a batch of pickles once, is to make sure your jars are totally clean and hot when the jam goes in. You can sterilize them easily by boiling them before you start cooking.
Also, pay close attention to headspace—that’s the space between the jam surface and the top of the jar rim. For this simple berry preserves recipe, we need exactly 1/4 inch of headspace. If you leave too little or too much air in the jar, the sealing process might fail, and that’s just frustrating. Wipe those rims spotless before you put the lids on; any sticky residue will stop the vacuum seal from forming correctly!
Tips for Success Making Your Best Raspberry Jam
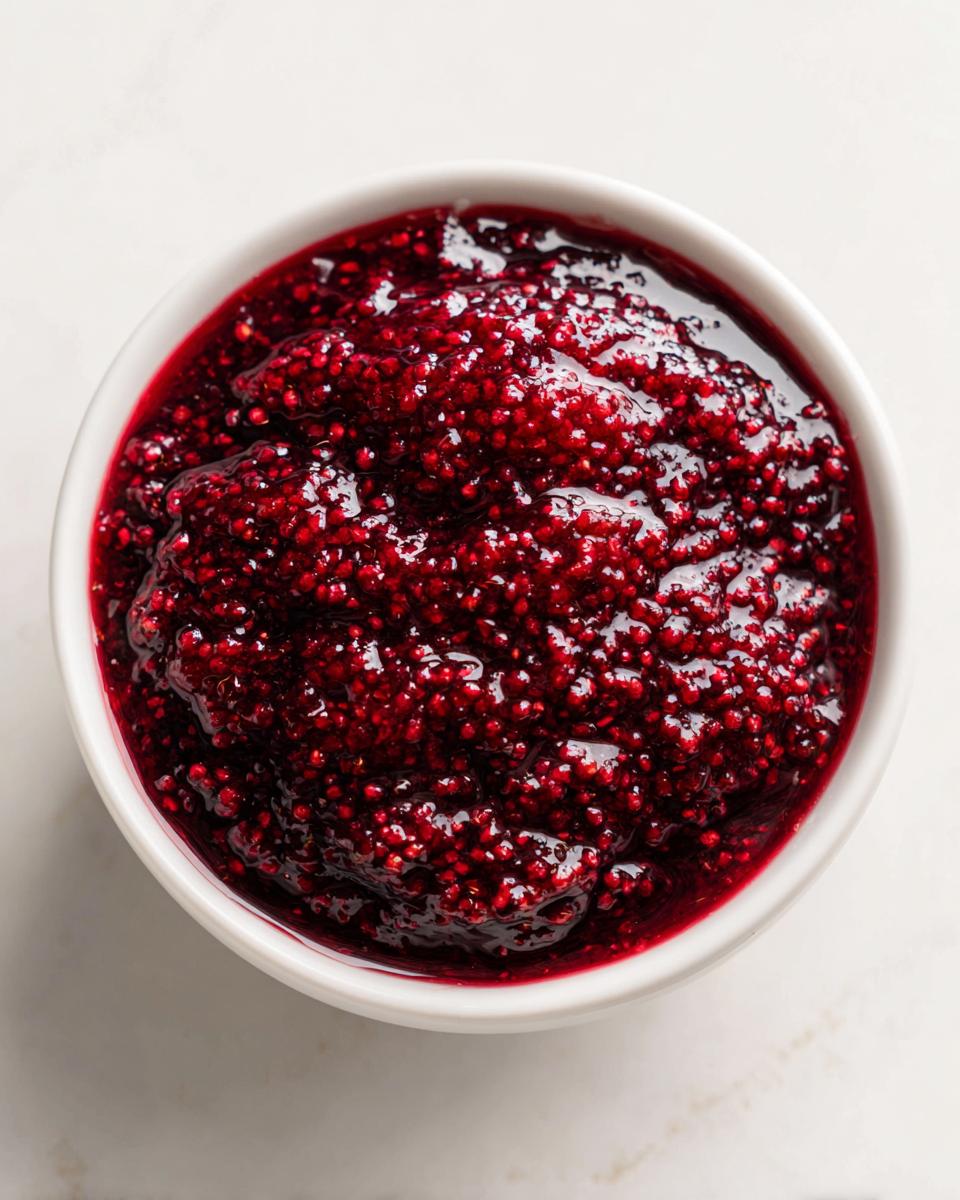
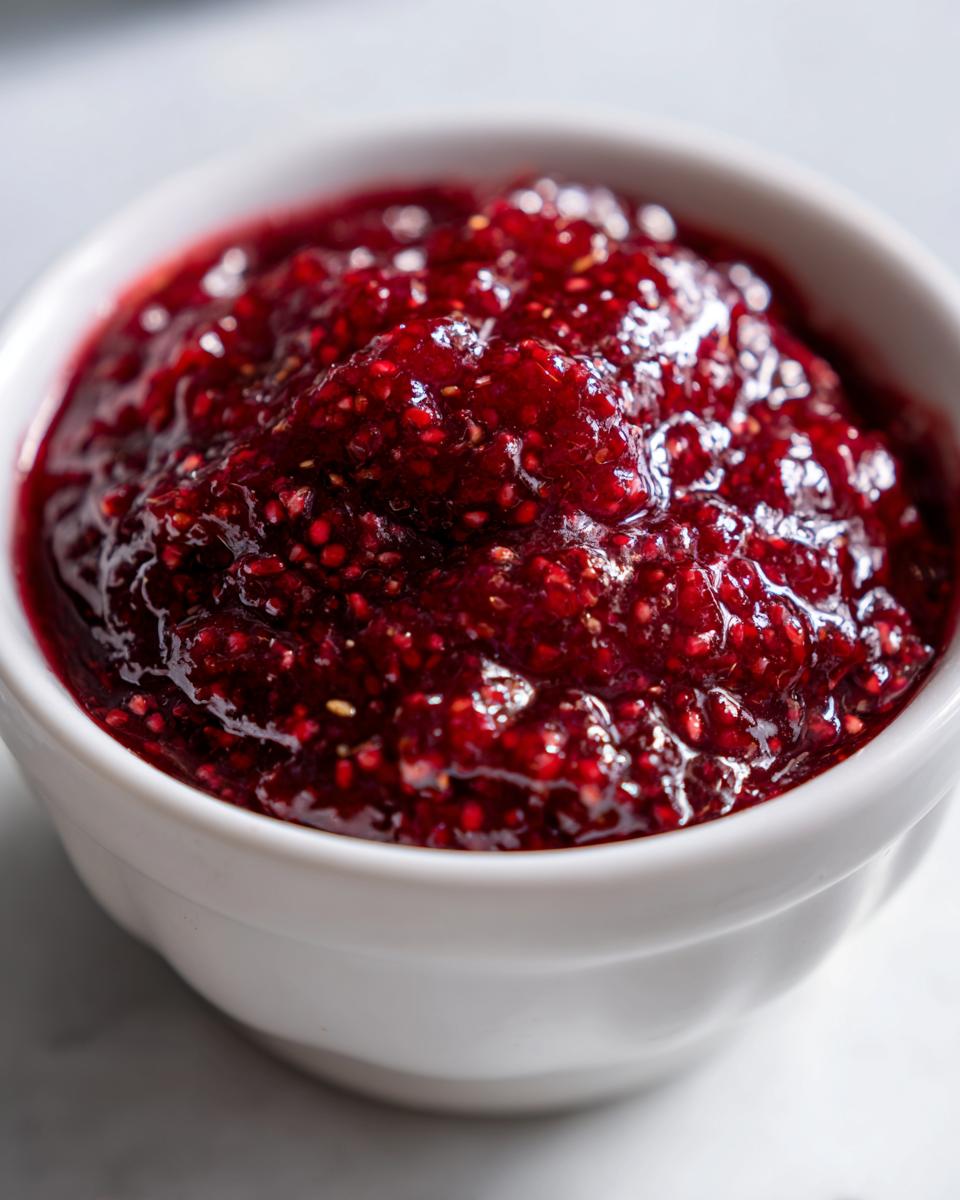
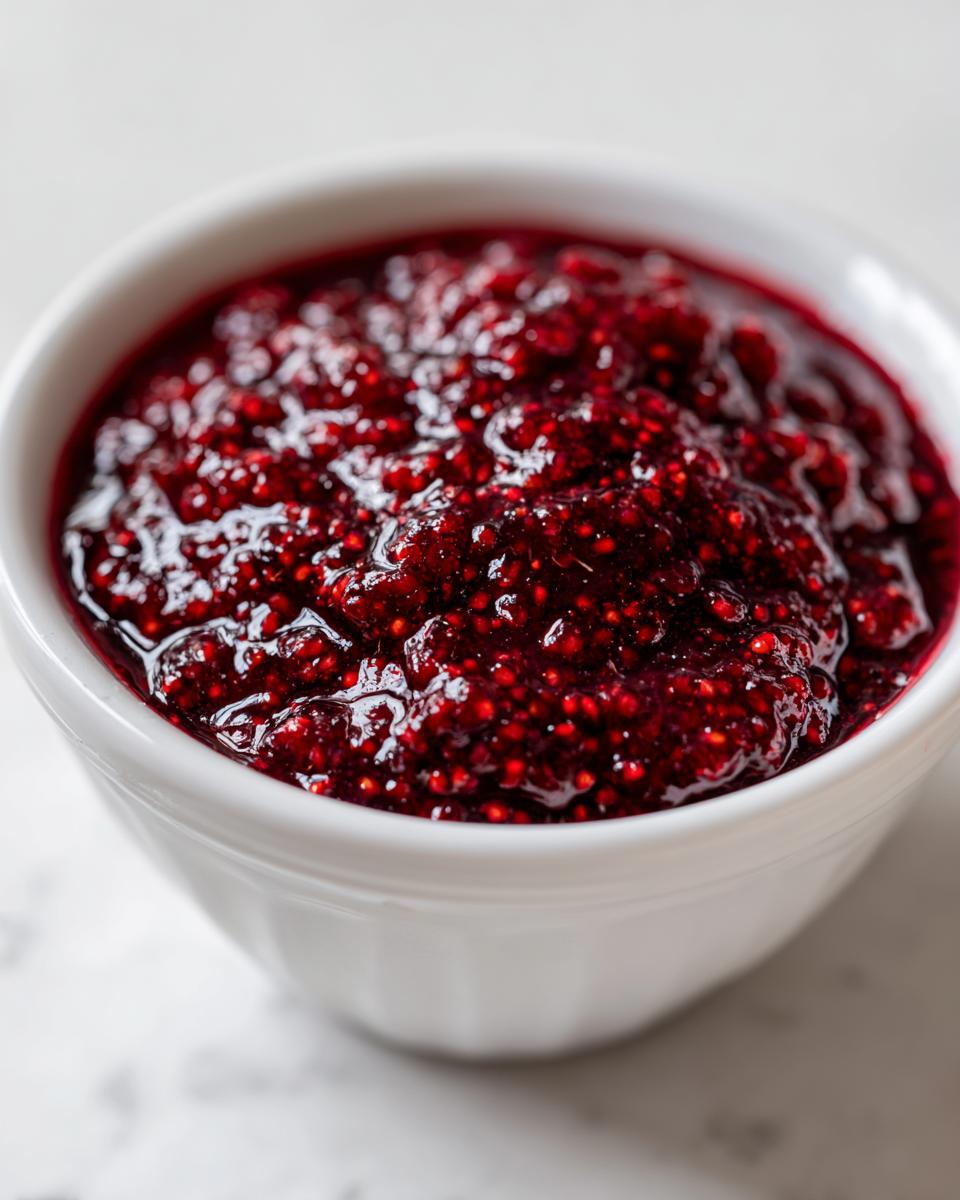
Making homemade jam is usually foolproof with this simple recipe, but I have a couple of little tricks up my sleeve that really elevate the final product. The biggest game-changer for presentation is dealing with those seeds. If you absolutely hate finding seeds in your preserves, here’s the secret: right after the jam finishes the 220°F boil—before you ever jar it—push the whole batch through a fine-mesh sieve. It takes a little arm power, but you end up with the smoothest, most vibrant fruit jam imaginable.
Also, remember how I mentioned using frozen berries? Even if you use fresh ones, don’t skip that 15-minute sugar rest! That initial maceration step ensures you are boiling juice, not just crushing fruit against a hot pan bottom. That patience in Step 1 is repaid tenfold when you see how perfectly this raspberry jam sets up.
Serving Suggestions for Your Vibrant Fruit Jam
We made this easy raspberry jam recipe to be enjoyed far beyond just toast, though it is certainly incredible there! Honestly, once you have this sweet and tart topping ready in the fridge, you start seeing uses everywhere. It’s a simple way to elevate something mundane into something special, which is exactly what Delish Symphony is all about.
Seriously, don’t let this glorious spread stay hidden in the jar labelled “Toast Only.” Try spooning a generous dollop over vanilla ice cream—the coldness contrasts beautifully with the bright fruit flavor. It’s also fantastic swirled right into plain Greek yogurt or mixed into cottage cheese for a quick, gourmet breakfast.
For something a little more spirited, this raspberry jam makes a phenomenal cocktail component. Just add a spoonful to your shaker when making a whiskey smash or a simple gin fizz. I even used it recently when I whipped up a batch of that fun Poison Apple Punch—it adds depth where simple syrup can’t compete! Enjoy finding new and delicious ways to use your homemade preserves!
Frequently Asked Questions About Homemade Jam
I know when you start preserving summer berries, questions pop up! It’s totally normal, especially when you’re trying out a new technique like this quick method. Don’t worry; I’ve dealt with every scenario while testing this easy homemade raspberry jam recipe, so fire away!
Can I make this raspberry jam without using a candy thermometer?
Absolutely, you can! I understand not everyone has a candy thermometer rattling around in their drawer. If you want to skip that gadget, use the ‘cold plate test’ method I mentioned in the instructions. Just get a little dollop of hot jam onto a plate that’s been chilling in your freezer. If it wrinkles when you push it with your finger after about 30 seconds, it’s set! If it slides around or runs back together, keep boiling for a few more minutes and test again. It takes a bit more intuition, but it works perfectly for small batch preserves.
How long does this quick raspberry jam last in the refrigerator?
If you skip the official water bath canning process and just aim for a quick fridge jam—which is perfect if you plan to eat it fast—it keeps really well! Stored properly in a clean, airtight container in the main part of your fridge, this jam should stay fresh and flavorful for about three weeks. If you want to keep it longer than that, you should definitely go the canning route or pop it in the freezer!
Is this recipe suitable for making a small batch raspberry jam?
Yes, this recipe is absolutely fantastic for making a small batch! In fact, I often scale it down when raspberries are expensive or when I just want a taste right away. When you reduce the ingredients, you just need to keep the ratio tight: always 4 parts berries to 3 parts sugar, plus that crucial lemon juice. Just remember, smaller batches heat up faster, so keep a closer eye on the boiling time—it might reach that 220°F mark quicker than the full recipe.
Estimated Nutritional Data for Raspberry Jam
We all want to know what we’re putting into our bodies, even when we’re enjoying something purely delicious like homemade preserves. While I test these recipes rigorously in my kitchen for flavor and texture, I’m not a certified nutritionist, so please see these numbers as a very close estimate based on the ingredients we used.
This data is calculated based on a serving size of just two tablespoons of the final simple berry preserves. Keep in mind that these values can shift a little based on the exact sweetness of your berries or how much liquid evaporates during the rolling boil.
- Serving Size: 2 tablespoons
- Calories: 105
- Sugar: 27 grams (Yes, sugar is essential for texture, remember?)
- Total Fat: 0.2 grams
- Saturated Fat: 0 grams
- Protein: 0.4 grams
- Carbohydrates: 27 grams
- Fiber: 1.5 grams
- Cholesterol: 0 mg
- Sodium: 1 mg
See? Not bad for a bright, vibrant treat! Because we are using only fruit, sugar, and lemon juice, the nutrition profile is totally clean—exactly what you’d expect from a recipe that focuses on flavorful harmony over complicated fillers. It’s great knowing that this homemade jam has virtually no fat or cholesterol!
Share Your Simple Berry Preserves Experience
Well, that’s it! We’ve jarred up summer, captured that perfect sweet-and-tart flavor profile, and resisted the urge to add any unnecessary ingredients. Making this easy raspberry jam recipe should have felt more like playing music than tackling science, and I truly hope you found that simple harmony in your own kitchen.
Now, the symphony isn’t complete until we hear from the audience! I absolutely live for hearing how these recipes turn out for you all. Did you find it faster and easier than you expected? Did the lemon juice really make that big of a difference when setting the jam?
Please take a moment to leave a star rating right below this section—it helps other home cooks see just how reliable this no-pectin method is. And if you have five minutes, drop a comment below telling me what you’re using your fresh homemade raspberry jam for! Is it piled high on sourdough toast, or are you using it as a gourmet dessert topping? I can’t wait to read about your successes!
PrintEasy No Pectin Homemade Raspberry Jam
Make this simple, sweet, and tart raspberry jam using only three ingredients. This recipe requires no commercial pectin and thickens naturally, making it perfect for toast or yogurt.
- Prep Time: 15 min
- Cook Time: 25 min
- Total Time: 40 min
- Yield: About 4 half-pint jars 1x
- Category: Preserves
- Method: Stovetop Cooking and Canning
- Cuisine: American
- Diet: Vegetarian
Ingredients
- 4 cups fresh or frozen raspberries
- 3 cups granulated sugar
- 1 tablespoon fresh lemon juice
Instructions
- Combine the raspberries and sugar in a large, heavy-bottomed pot. Let the mixture sit for 15 minutes to allow the sugar to draw out the juices from the berries.
- Place the pot over medium-high heat. Stir constantly until the sugar dissolves completely and the mixture begins to boil rapidly.
- Once boiling, add the lemon juice. Continue to boil, stirring often to prevent scorching, until the jam reaches 220 degrees Fahrenheit on a candy thermometer, or until it coats the back of a spoon thickly. This usually takes about 15 to 20 minutes of active boiling.
- Remove the pot from the heat. Skim off any foam that forms on the surface using a spoon.
- Carefully ladle the hot jam into clean, sterilized jars, leaving 1/4 inch of headspace. Wipe the rims clean.
- Process the jars in a boiling water bath canner for 10 minutes, adjusting for altitude if necessary, for shelf-stable storage. Alternatively, let the jam cool slightly and store it in an airtight container in the refrigerator for up to 3 weeks, or freeze for up to 6 months.
Notes
- For a seedless jam, press the cooked jam through a fine-mesh sieve before jarring.
- This jam is excellent as a vibrant fruit jam for ice cream or as a base for cocktails.
- If you are making a small batch for immediate use, you can skip the canning steps and simply refrigerate the jam.
Nutrition
- Serving Size: 2 tablespoons
- Calories: 105
- Sugar: 27
- Sodium: 1
- Fat: 0.2
- Saturated Fat: 0
- Unsaturated Fat: 0.1
- Trans Fat: 0
- Carbohydrates: 27
- Fiber: 1.5
- Protein: 0.4
- Cholesterol: 0